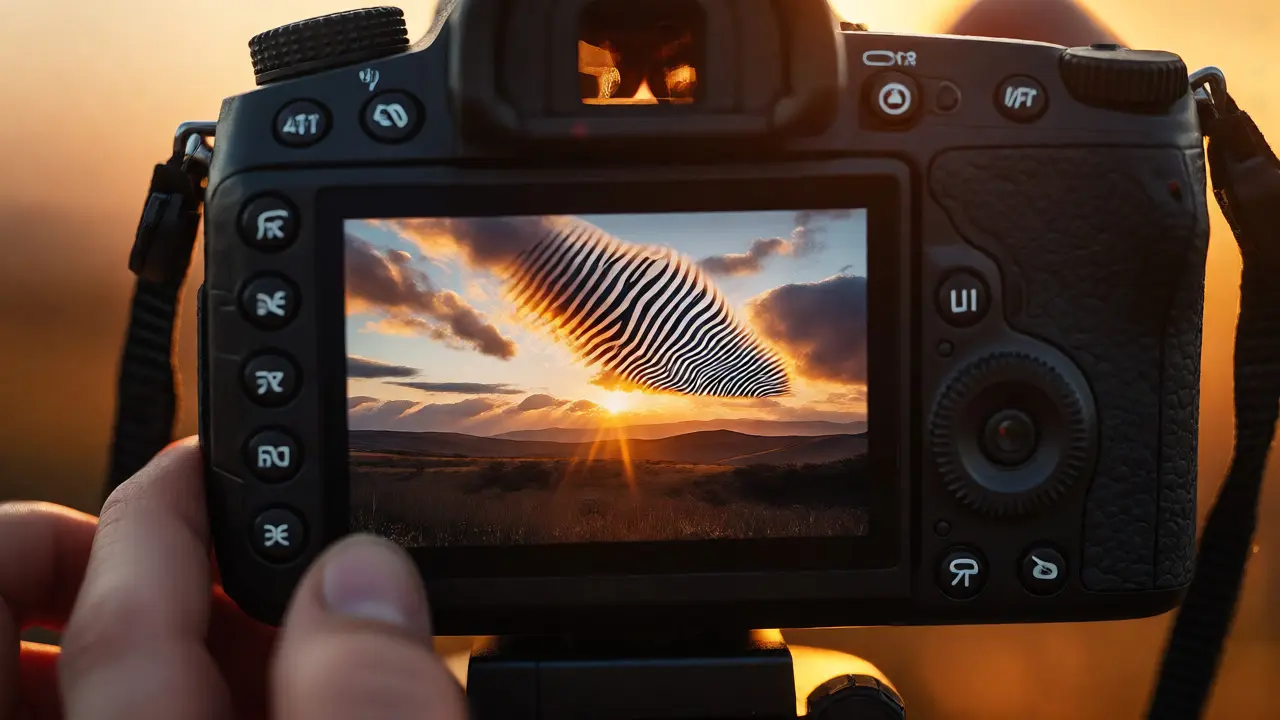
You know that sinking feeling. You just shot the perfect sunset, checked your camera screen, and everything looks golden and warm. But when you get home and open the RAW file on a calibrated monitor, those bright clouds are just white blobs. No detail. No texture. Just digital noise where sky should be. This is called clipping, and it’s the number one enemy of high-quality images.
The good news? Your camera has built-in tools designed specifically to stop this from happening. The most common ones are zebra patterns and highlight warnings (often called "blinkies"). If you’ve ever seen strange diagonal stripes or flashing areas on your LCD screen and thought, "Is my camera broken?"-nope. It’s trying to save your photos. Let’s break down how these tools work, why they matter more than your histogram in the field, and how to use them to nail exposure every single time.
What Are Zebra Patterns?
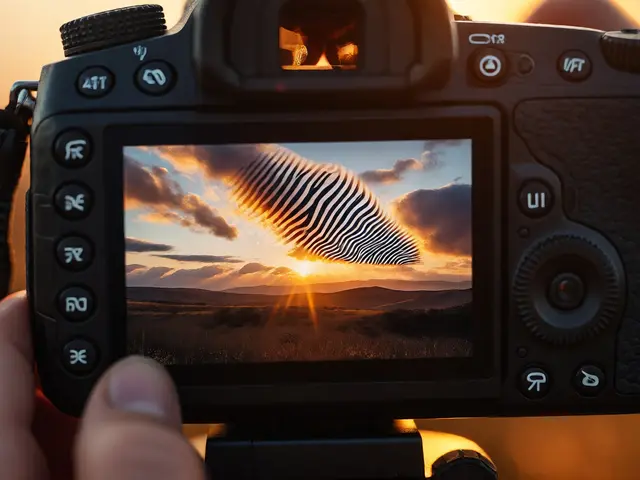
Zebra patterns are an overlay feature found primarily on video cameras, mirrorless hybrids, and some high-end DSLRs. When enabled, your camera draws diagonal black-and-white stripes over any part of the image that exceeds a specific brightness threshold. Think of it as a visual alarm system for overexposure.
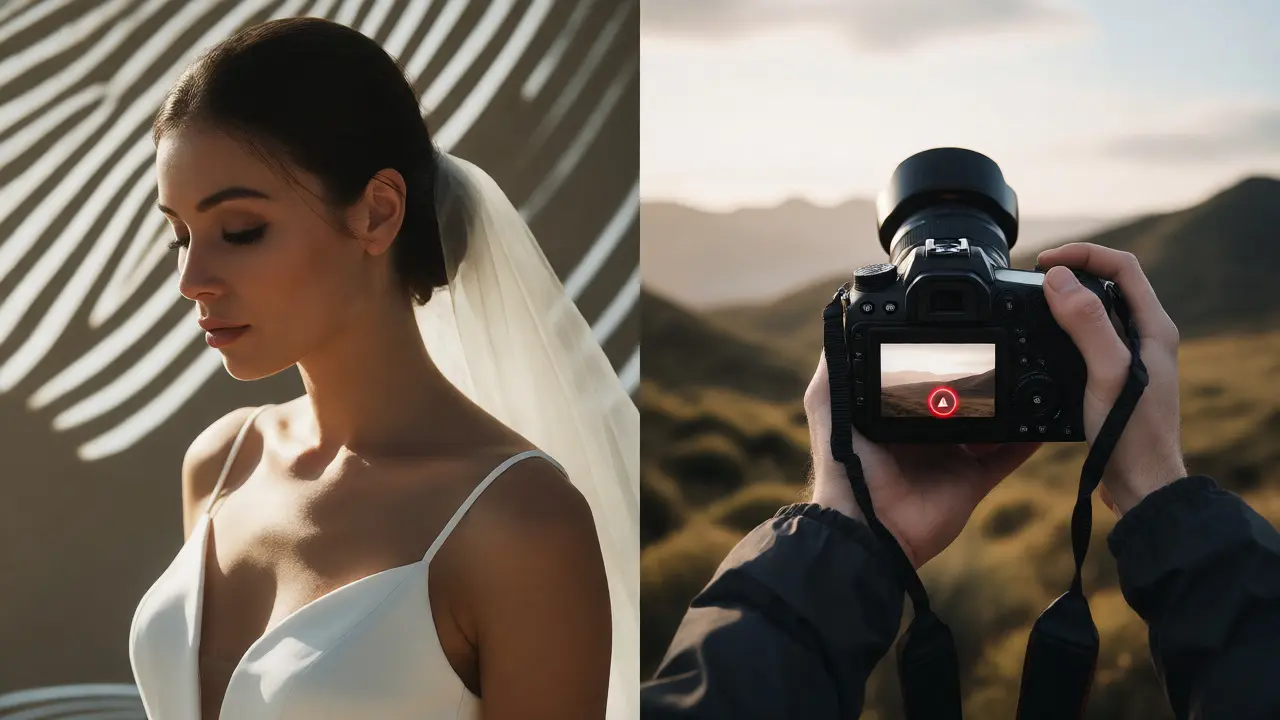
Unlike a histogram, which gives you a statistical graph of all tones in the frame, zebras show you exactly where the problem is. If you see stripes on a bride’s white dress, you know that specific area is losing detail. If the stripes appear on the sun itself, that’s fine-the sun is supposed to be blown out. Context is key here.
Highlight Warnings: The "Blinkies" Explained
If you’re shooting stills with a traditional DSLR or a mirrorless camera without zebra support, you’ll likely use highlight warnings. These are often referred to as "blinkies" because the overexposed areas flash or blink on the playback screen. To activate them, you usually press the Info button repeatedly while reviewing an image until the blinking mode appears.
Blinkies function differently than zebras. Zebras work in Live View or Video mode before you take the shot. Blinkies work after the shot, during playback review. This means you have to shoot, check, adjust, and reshoot if necessary. It’s slightly slower, but it’s incredibly accurate because it reads the actual captured data rather than the sensor’s preview signal.
Here’s the critical distinction: Blinkies only show areas that are completely blown out (pure white, value 255). They won’t tell you if your highlights are merely "hot" or close to clipping. For that, you need a histogram or zebras set to a lower threshold.
Setting Your Threshold: 70% vs. 100%
This is where most beginners mess up. Most cameras allow you to choose the intensity level at which zebras appear. Common settings are 70%, 90%, or 100%. So, what do these numbers actually mean?
- 100%: Stripes appear only when pixels hit pure white. This confirms absolute clipping. Use this for safety checks on skin tones or important textures.
- 90-95%: Stripes appear when highlights are very bright but not yet destroyed. This is the sweet spot for preserving detail in skies or snow.
- 70-80%: Stripes appear on mid-bright areas. This is useful for ensuring skin tones aren't too bright, especially for fair-skinned subjects.
A practical rule of thumb I use in Portland’s gray winters: Set zebras to 95% when shooting landscapes or architecture. You want to protect the sky. Set them to 75% when shooting portraits. Skin tones lose realism quickly once they pass 80% brightness. If your subject’s forehead starts striping at 75%, dial down your exposure compensation by -0.3 or -0.7 stops.
Zebra Patterns vs. Histograms: Which One Wins?
Photographers often argue about this. Histograms provide comprehensive data; zebras provide spatial context. Neither is strictly "better," but they serve different workflows.
| Feature | Histogram | Zebra Patterns | Highlight Warnings (Blinkies) |
|---|---|---|---|
| Real-time Feedback | Yes (Live View) | Yes (Live View/Video) | No (Playback Only) |
| Spatial Awareness | No (Global Data) | Yes (Exact Location) | Yes (Exact Location) |
| Threshold Control | Limited | Highly Customizable | Fixed (Pure White) |
| Best For | Overall Balance | Video & Critical Highlights | Stills Verification |
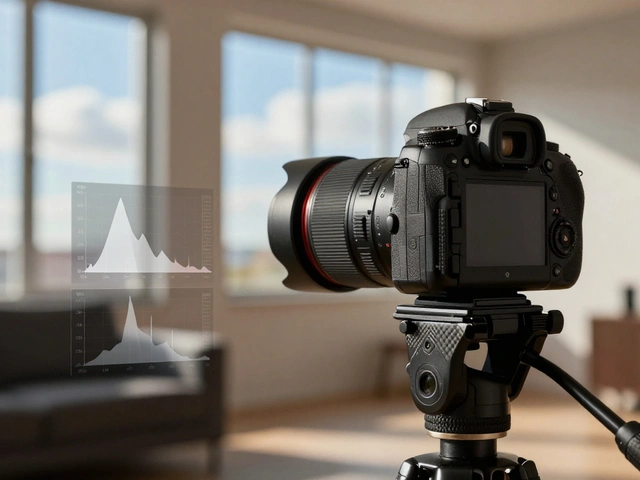
Use the histogram to ensure your overall tonal distribution is balanced. Use zebras to pinpoint specific trouble spots. If your histogram shows a spike on the right edge, switch to zebras to see what is causing that spike. Is it the sun? A reflection off a car? Or is it your subject’s shirt? Knowing the source changes how you fix it.
Practical Scenarios: How to Apply These Tools
Let’s look at three common situations where these tools save the day.
Shooting Portraits in Direct Sunlight
Direct sun creates harsh contrasts. Your subject’s face might be properly exposed, but their hair could be blowing out. Enable zebras at 80%. If you see stripes on the hairline or nose bridge, reduce exposure. Alternatively, use fill flash to bring shadow detail up, allowing you to lower the base exposure without darkening the face.
Landscape Photography with Bright Skies
Landscapes often exceed the dynamic range of your sensor. If you expose for the foreground, the sky clips. If you expose for the sky, the ground goes black. Set zebras to 95%. Adjust your exposure until the stripes just barely touch the brightest parts of the clouds. If the sky is still striped everywhere, you might need a Graduated Neutral Density (GND) filter or bracketing for HDR processing later.
Wedding Videography
Videographers rely heavily on zebras because video has less latitude for recovery than RAW photos. In weddings, white dresses are notorious for clipping. Set zebras to 70-75%. You want the dress to be bright and airy, but never striped. If the dress stripes, you’ve lost texture, and post-production can’t recover it easily in video formats like H.264.
Common Pitfalls and Misconceptions
Don’t let the tool scare you into underexposing everything. Some photographers disable zebras entirely because they find them distracting. That’s valid if you trust your histogram. But if you keep them on, avoid these mistakes:
- Ignoring Light Sources: Don’t panic if the sun, light bulbs, or specular reflections stripe. These are meant to be blown out. Detail isn’t needed there.
- Relying Solely on Playback: LCD screens lie. They’re often too bright or inaccurate. Always cross-reference zebras or blinkies with your histogram if possible.
- Forgetting Color Channels: Standard zebras usually measure luminance (brightness). However, red channels clip faster than green or blue. If you’re shooting deep reds (like roses or cars), check your RGB histogram separately. Red clipping can happen even if the luminance histogram looks safe.
Final Workflow Recommendation
Start with your histogram to get the general exposure right. Then, enable zebras or blinkies to audit the highlights. Adjust your aperture, shutter speed, or ISO until the critical highlights are just below the clipping threshold. Remember, it’s always easier to lift shadows in editing than to invent detail in blown-out whites. Protect your highlights, and your edits will thank you.
Do all cameras have zebra patterns?
No. Zebra patterns are primarily found on video-centric cameras, camcorders, and many modern mirrorless cameras (like Sony Alpha series, Panasonic Lumix, and Canon R-series). Older DSLRs and entry-level point-and-shoots often lack this feature, relying instead on highlight warnings (blinkies) during playback.
Why do my zebras disappear when I change lenses?
They shouldn't disappear permanently, but they might reset if your camera switches modes (e.g., from Photo to Video) or if the menu settings were saved per lens profile. Check your custom settings menu to ensure zebras are enabled globally for both photo and video modes.
Can I recover clipped highlights in Lightroom?
If the highlight is truly clipped (pure white, 255 value), no. There is no data left to recover. If it's near-clipped (e.g., 250-254 value), you can sometimes pull back detail using the Highlights slider. This is why preventing clipping in-camera is superior to fixing it in post.
Are blinkies more accurate than zebras?
Technically, yes, because blinkies analyze the final captured image data. Zebras analyze the live sensor feed, which may differ slightly from the final JPEG due to picture profiles or color spaces. However, zebras are far more useful for immediate correction since you see them before pressing the shutter.
How do I turn off zebra patterns?
The location varies by brand. On Sony, it’s often under Display Settings > Zebra Settings. On Canon, it’s in the Menu > Shooting Tab > Zebra Display. Look for an option labeled "Off" or uncheck the box next to Zebra. Consult your specific model’s manual if you can’t find it quickly.