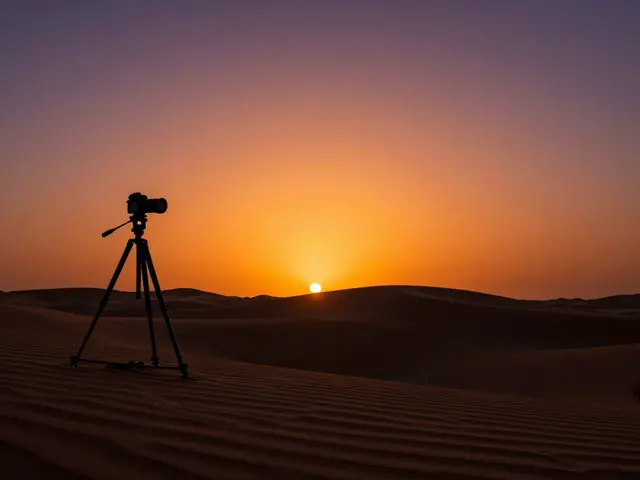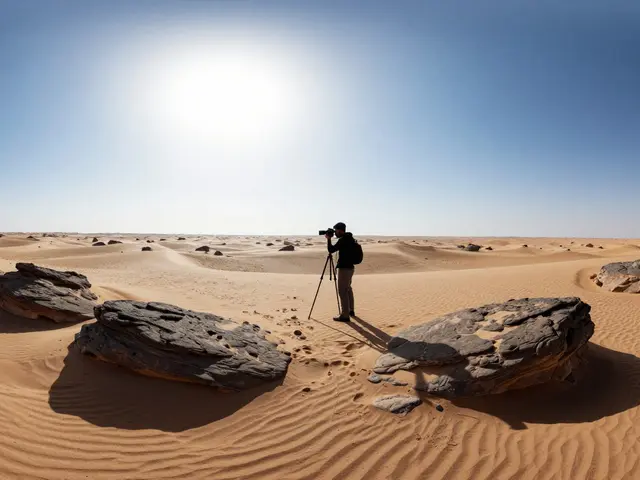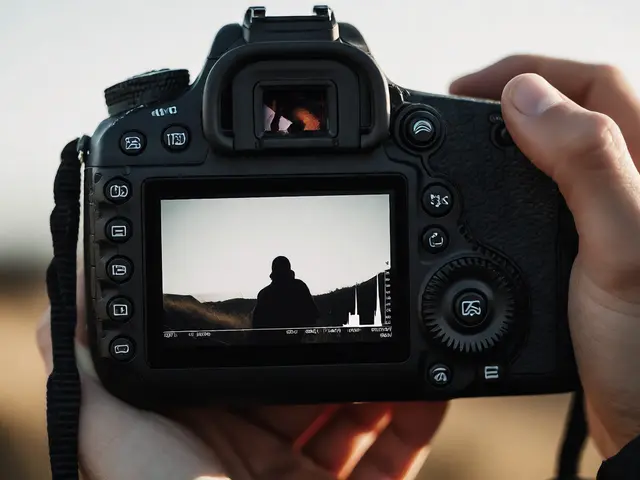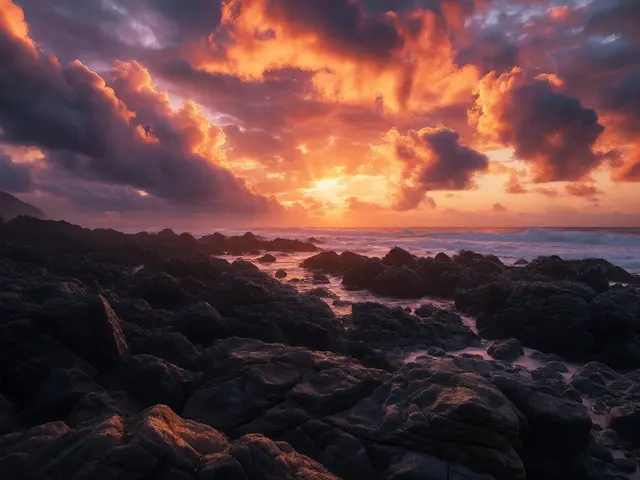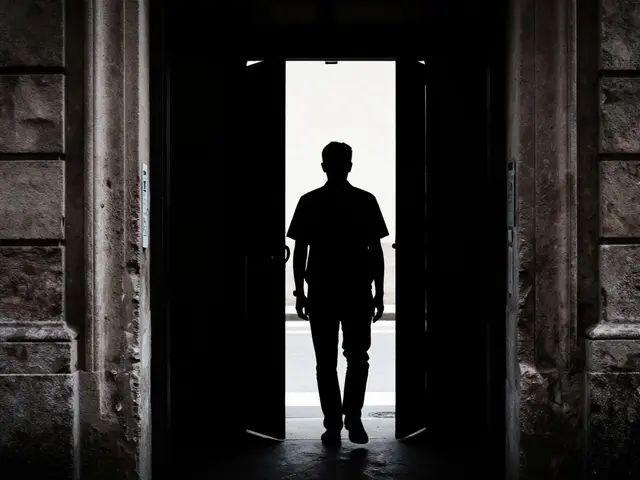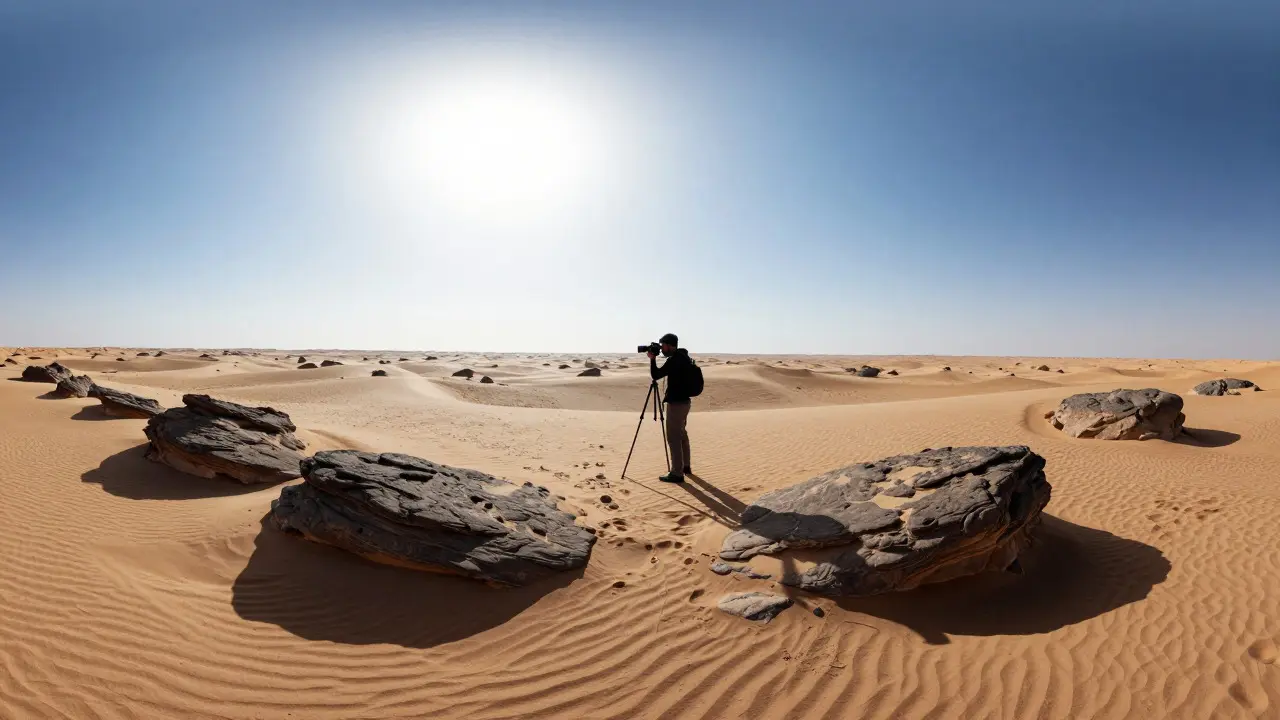
Ever taken a photo where the sky is blown out white while your foreground looks like a dark cave? You’re not alone. This is the classic dynamic range problem that plagues standard digital sensors. High Dynamic Range (HDR) photography solves this by combining multiple exposures to capture detail in both the brightest highlights and the darkest shadows. It’s not just about making images look "over-the-top"; it’s about preserving the full visual information your eyes actually see.
In this guide, we’ll break down how HDR photography works, when to use it, and how to avoid the common pitfalls that make photos look unnatural. Whether you’re shooting landscapes in Oregon or cityscapes in New York, these techniques will help you get more out of every scene.
Why Your Camera Can’t See What You Do
Human eyes are incredibly adaptive. When you look at a bright window with a dark room inside, your pupils adjust, and your brain blends the two perspectives seamlessly. Digital cameras, however, have a fixed sensor size and sensitivity. A typical modern DSLR or mirrorless camera has a dynamic range of about 12 to 14 stops. That sounds impressive until you realize that a sunny outdoor scene can span 15 to 20 stops of light. If you expose for the sky, the ground goes black. If you expose for the ground, the sky goes white.
HDR bridges this gap. By taking three or more photos at different exposure levels, you create a dataset that covers the entire range of light. Software then merges these layers into a single image where details are visible everywhere. This process isn’t magic; it’s math. The software calculates the optimal exposure for each pixel based on the input frames.
The Core Technique: Bracketing
Bracketing is the foundation of any good HDR workflow. Instead of taking one shot, you take a series of shots with varying exposure values (EV). The standard approach is a three-shot bracket:
- Underexposed (-2 EV): Captures the highlights without blowing them out. This frame preserves detail in clouds, sunlit leaves, or reflective surfaces.
- Middle Exposure (0 EV): A balanced shot that serves as the base layer. It usually has the correct color balance and mid-tone detail.
- Overexposed (+2 EV): Lifts the shadows to reveal hidden details in dark areas like forest floors or interior corners.
For scenes with extreme contrast, you might need a five-shot bracket ranging from -3 EV to +3 EV. However, more shots mean more data to process and a higher chance of motion artifacts if anything moves between frames. Stick to three shots unless the scene demands otherwise.
Stabilization Is Non-Negotiable
Here’s the catch: if your subject moves between the underexposed and overexposed frames, the merge will fail. You’ll end up with ghosting-those eerie double-images that ruin the final file. This is why stabilization is critical.
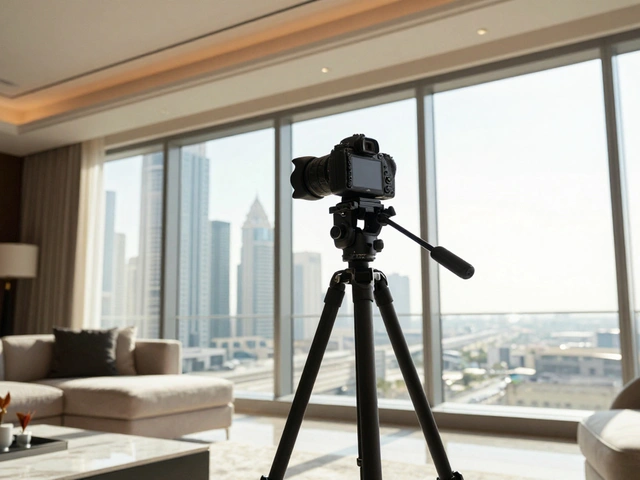
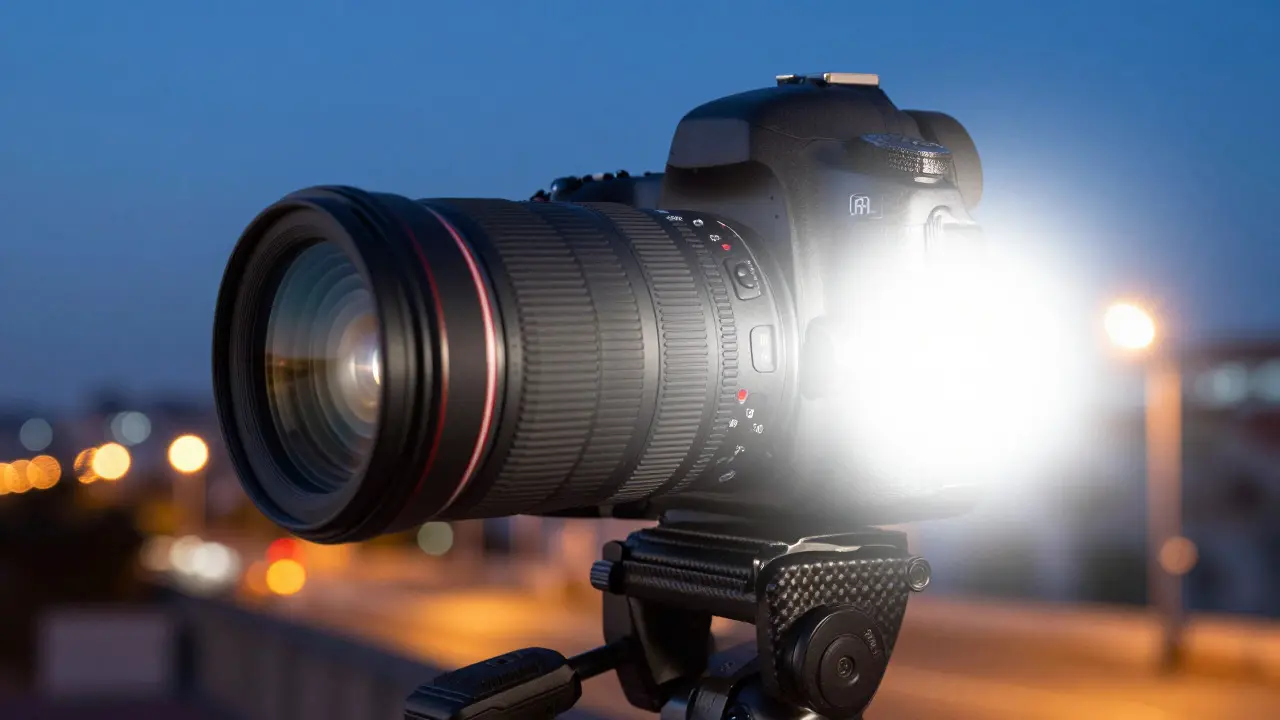
A sturdy tripod is the gold standard. But if you’re shooting handheld, you need to be disciplined. Use a fast shutter speed relative to your focal length to minimize hand shake. For example, if you’re using a 50mm lens, try to keep your shutter speed at 1/50th of a second or faster. Enable continuous burst mode so the camera fires all brackets in rapid succession, reducing the time window for movement.
Even with a tripod, watch out for environmental factors. Wind moving tree branches, people walking across a bridge, or cars passing by can cause ghosting. In post-processing, most software offers a "de-ghosting" tool that attempts to fix these issues, but prevention is always better than cure.
When to Use HDR (and When to Skip It)
HDR is a powerful tool, but it’s not a universal solution. Using it on the wrong subject can result in an artificial, plastic-looking image. Here’s a quick decision guide:
| Scenario | Recommendation | Reason |
|---|---|---|
| Landscape with bright sky and dark foreground | Use HDR | High static contrast; no moving elements. |
| Cityscape at dusk | Use HDR | Balances streetlights against twilight sky. |
| Portrait with moving subject | Avoid HDR | Risk of ghosting; skin tones can look waxy. |
| Sports or action | Avoid HDR | Too much motion; blur risk is high. |
| Low-light indoor event | Avoid HDR | Requires too many frames; noise increases significantly. |
Rule of thumb: if the scene is static and has high contrast, HDR is your friend. If there’s motion or low light, stick to single-exposure techniques or consider multi-exposure blending in post instead.
Post-Processing: Merging Without the Halo Effect
Once you’ve captured your bracketed set, it’s time to merge. Most major editing software, such as Adobe Lightroom or Capture One, has built-in HDR merge tools. The process is straightforward: select your images, click "Merge to HDR," and let the software do the heavy lifting.
The biggest mistake beginners make is cranking up the "Exposure" slider in the HDR settings. This leads to the infamous "halo effect"-bright outlines around edges where objects meet the background. To avoid this, keep the adjustments subtle. Aim for a natural look where the transition between light and dark areas is smooth, not stark.
Here’s a simple checklist for merging:
- Select Frames: Ensure all bracketed images are aligned. Check for focus consistency across the set.
- Auto-Merge: Let the software calculate the initial blend. Don’t touch sliders yet.
- Review Halos: Zoom in to 100% and inspect edges. If you see halos, reduce the "Exposure" or "Contrast" sliders slightly.
- Adjust Tone Mapping: Fine-tune the highlights and shadows to ensure they don’t look crushed or blown out.
- Save as DNG or RAW: Preserve maximum flexibility for further editing later.
Common Pitfalls and How to Fix Them
Even with the best gear, things go wrong. Here are the most common issues photographers face with HDR and how to troubleshoot them.
Ghosting Artifacts: If you see double images, it means something moved between frames. In Lightroom, use the "De-Ghost Amount" slider. Start at 50% and increase until the artifact disappears. If the subject is large, you might need to manually mask out the moving object and replace it with pixels from another frame.
Color Shifts: Sometimes, the merged image has a weird color cast. This happens if the white balance wasn’t consistent across the bracket. Lock your white balance before shooting, or correct it globally in post-processing rather than adjusting individual frames.
Noise in Shadows: The overexposed frame (+2 EV) often contains more noise because you’re lifting dark pixels. Apply noise reduction specifically to the shadow areas after merging. Be careful not to over-smooth, or you’ll lose texture detail.
Advanced Tips for Better Results
Once you’re comfortable with the basics, try these advanced techniques to elevate your work.
Focus Stacking Hybrid: Combine HDR with focus stacking. Take a bracketed set at different focus distances. This gives you deep depth of field and full dynamic range. Perfect for macro landscapes or architectural details.
Local Tone Mapping: Instead of global adjustments, use local tone mapping tools to adjust specific regions. This allows you to darken a bright sky without affecting the darker foreground. It’s more labor-intensive but yields a more natural result.
Shoot in RAW: Always shoot in RAW format. JPEGs compress data aggressively, which limits your ability to recover highlights or shadows during the merge. RAW files give you the flexibility to tweak the blend precisely.
Frequently Asked Questions
Do I need a special camera for HDR photography?
No, any camera that allows manual exposure control can do HDR. Even smartphones have built-in HDR modes that automatically bracket and merge images. However, dedicated cameras offer more control over exposure steps and image quality.
How many shots should I take for a good HDR image?
Three shots is the standard minimum: one underexposed, one normal, and one overexposed. For very high-contrast scenes, you might need five shots. More than five rarely adds value and increases processing time and error risk.
What is the halo effect in HDR?
The halo effect is a bright outline that appears around edges where light and dark areas meet. It’s caused by excessive tone mapping or contrast adjustment. To fix it, reduce the strength of the HDR merge settings and use local adjustments instead of global ones.
Can I use HDR for portraits?
It’s possible but risky. Portraits involve moving subjects, which can cause ghosting. If you do use HDR for portraits, ensure the subject stays perfectly still, use a short exposure interval, and apply gentle tone mapping to maintain natural skin tones.
Is HDR only for landscapes?
No, HDR works well for any static scene with high contrast. This includes cityscapes, architecture, interiors, and even product photography. The key is that the subject must remain stationary between frames.