Have you ever taken a photo of a beautiful sunset or a sunlit room with dark corners, only to find that the sky is completely white or the shadows are pitch black? It’s frustrating. You know there was detail there when you looked through the viewfinder, but your camera couldn’t capture it all in one shot. This happens because real-world scenes often have a wider range of light than our camera sensors can handle at once.
This is where exposure bracketing comes in. It is not just a trick for beginners; it is a fundamental technique used by professionals to capture every bit of detail in high-contrast scenes. By taking multiple photos at different brightness levels, you give yourself the raw material needed to create a perfectly exposed image in post-processing. Whether you are shooting landscapes, real estate, or interiors, mastering this workflow will instantly elevate the quality of your work.
Understanding Dynamic Range and Why Bracketing Matters
To understand why we need to take three or five photos instead of one, we first need to talk about dynamic range. Think of dynamic range as the gap between the brightest highlight and the darkest shadow that still contains visible detail. Your eyes are incredible at handling this contrast-you can look out a window on a sunny day and see details in both the bright clouds and the dark furniture inside the room.
Camera sensors, however, are not quite as flexible. Modern full-frame sensors typically capture around 13 to 15 stops of usable dynamic range. While that sounds like a lot, a scene with a bright window and a dark interior can easily exceed 18 or 20 stops. If you expose for the window, the room goes black. If you expose for the room, the window blows out into pure white.
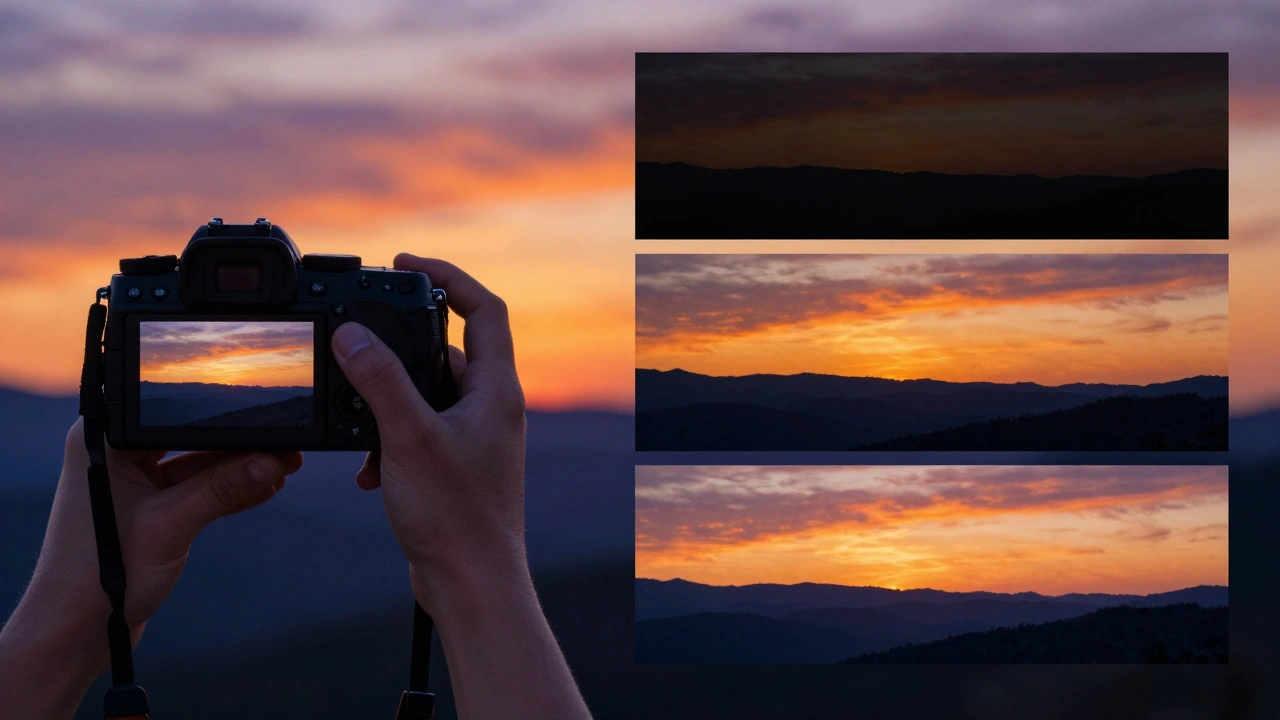
Bracketing solves this problem by splitting the workload. Instead of asking one image to hold all the data, you ask three or five images to share the load. One frame captures the bright highlights correctly, another captures the mid-tones, and a third lifts the deep shadows above the noise floor. Later, you combine these frames to get a single image that looks natural and retains detail everywhere.
How Auto Exposure Bracketing (AEB) Works in Your Camera
You don’t need to be a math genius to use bracketing. Most modern DSLRs and mirrorless cameras from brands like Canon, Nikon, Sony, and Fujifilm have a feature called Auto Exposure Bracketing (AEB). When enabled, the camera automatically takes a series of shots with increasing brightness levels while you hold down the shutter button.
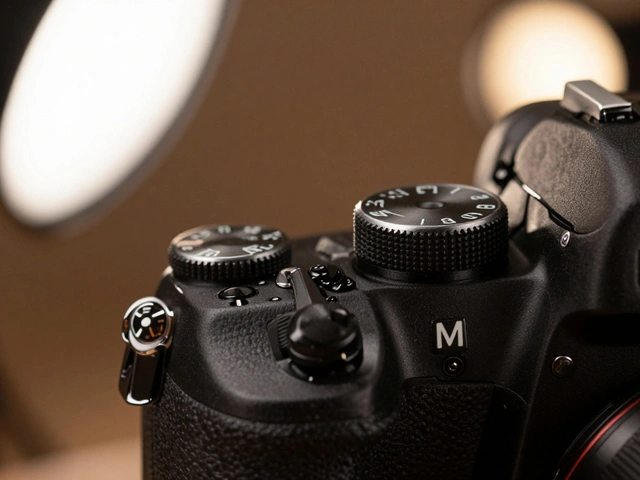
Here is how the technical side works. The camera changes one of the three exposure variables-usually shutter speed-to let in more or less light. It keeps the aperture and ISO constant to ensure depth of field and noise levels remain consistent across the set. An "Ev" or Exposure Value represents a doubling or halving of light. So, if you set your camera to ±1 EV, it will take three photos:
- -1 EV: Underexposed (darker), preserving highlight details.
- 0 EV: Normal exposure, based on the camera’s metering.
- +1 EV: Overexposed (brighter), revealing shadow details.
Most cameras allow you to choose how many frames to shoot (typically 3, 5, or 7) and how big the jump between exposures should be (usually 1/3, 1/2, or 1 full stop). For most high-contrast daylight scenes, a 3-frame bracket at 1-stop intervals is a great starting point. For extremely tricky lighting, like an interior with large windows, you might push it to 5 frames at 2-stop intervals.
Setting Up Your Gear for Consistent Results
Getting the right settings is half the battle; getting the execution right is the other half. If your camera moves even slightly between shots, the software will struggle to align the images, leading to ghosting artifacts or blurry edges.
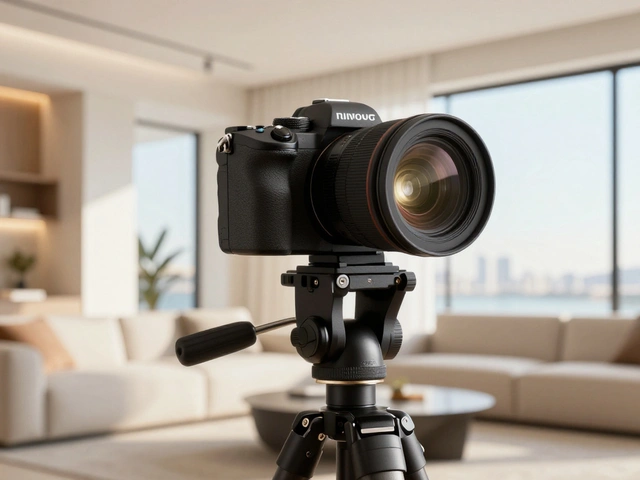
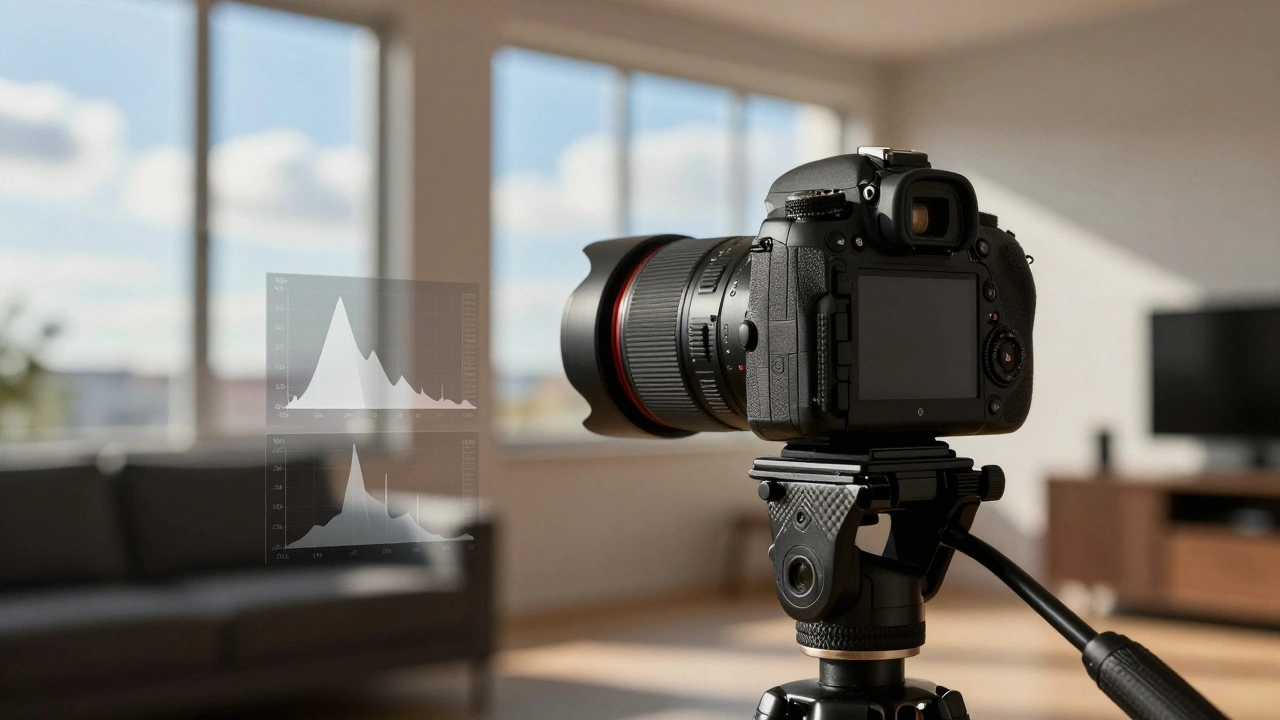
The golden rule of professional bracketing is stability. Always use a sturdy tripod. Vibration from touching the camera to press the shutter can ruin alignment. To avoid this, use a remote shutter release or set your camera’s self-timer to 2 seconds. This gives the camera time to settle before the shutter fires.
If you are shooting handheld-which sometimes happens in windy conditions or tight spaces-you need to move fast. Set your camera to continuous high-speed drive mode. This allows you to burst through the bracketed frames in under a second, minimizing the chance that moving elements like trees, water, or people will shift position enough to cause problems later.
Choosing the Right Bracketing Strategy
Not every scene needs the same approach. How you bracket depends largely on what kind of light you are dealing with. Here are two common strategies used by professionals today.
The Traditional Symmetrical Bracket
This is the standard method for High Dynamic Range (HDR) photography. You center your bracket around a neutral exposure. For example, if your meter says 1/125s is correct, you might shoot at 1/250s (-1 EV), 1/125s (0 EV), and 1/60s (+1 EV). This works well for general landscapes and cityscapes where the light is balanced but wide-ranging.
The Shadow-Priority Bracket (ETTR)
Many modern photographers, including landscape expert Joshua Cripps, have shifted toward a different strategy. Because modern sensors are very good at holding highlight detail, they often don't need extra dark frames. Instead, they focus on capturing clean shadow data. They might take one "normal" shot and then one or two significantly brighter shots (e.g., +2 EV or +4 EV). This ensures that when they pull up the shadows in editing, the image remains smooth and free of digital noise, rather than grainy and colorful.
Post-Processing: Merging and Blending Your Images
Taking the photos is easy; combining them is where the magic happens. There are two main ways to process bracketed images: HDR Tone Mapping and Exposure Blending.
HDR Tone Mapping
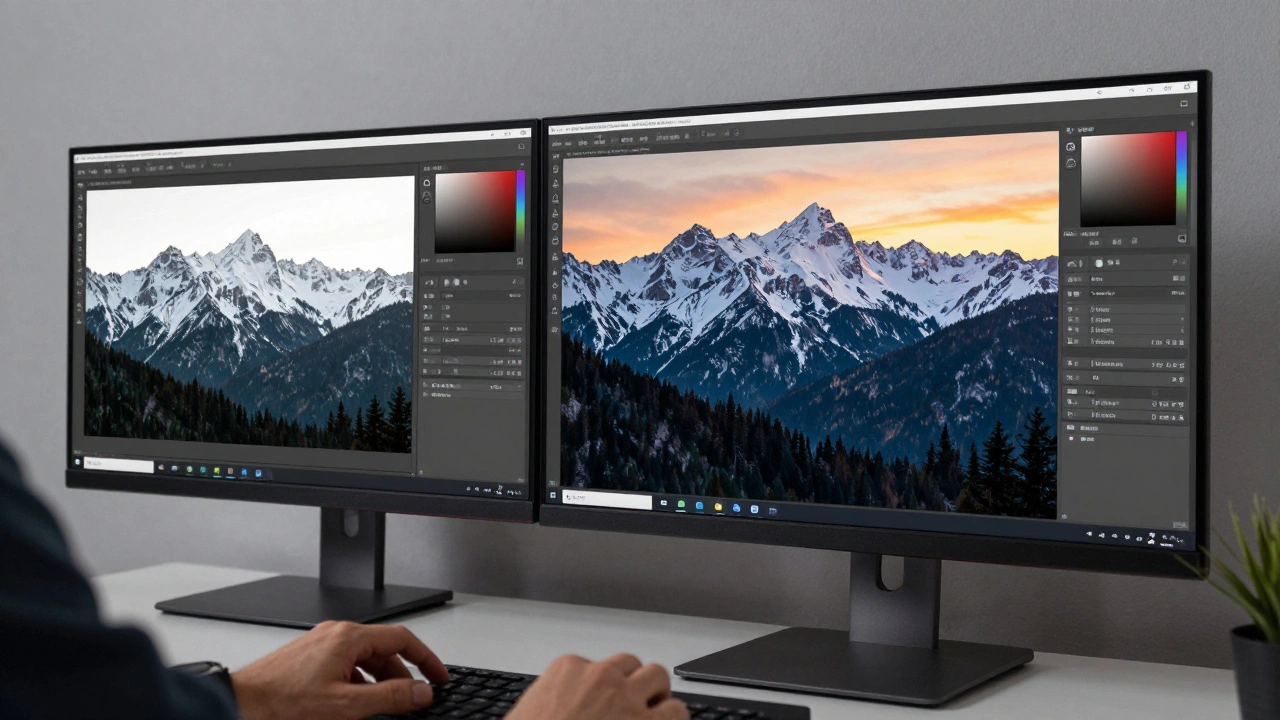
Software like Adobe Lightroom Classic, Photoshop, or dedicated tools like Aurora HDR can merge your RAW files into a single 32-bit HDR file. The software analyzes the pixels from each frame and picks the best-exposed parts from each one. It then "tone maps" this massive amount of data down to a standard 8-bit or 16-bit image that your screen can display. This method is fast and effective, but if you crank up the settings too high, you can end up with that unnatural, glowing "HDR look" with halos around trees and buildings. Keep the effect subtle for professional results.
Exposure Blending
For total control, many pros prefer manual blending in Photoshop. You import your bracketed layers, add layer masks to the top layers, and paint with a black brush to hide the overexposed or underexposed areas. This reveals the correctly exposed parts from the layers beneath. Advanced users use luminosity masks to target specific tonal ranges, allowing for incredibly seamless transitions between sky and ground. This method takes longer but yields the most natural-looking results.
| Feature | HDR Tone Mapping | Manual Exposure Blending |
|---|---|---|
| Speed | Fast (Automated) | Slow (Manual) |
| Control | Moderate (Global adjustments) | High (Pixel-level precision) |
| Learning Curve | Low | High |
| Risk of Artifacts | Higher (Halos/Glow) | Lower (If done carefully) |
| Best For | Batch processing, quick edits | Fine art, critical commercial work |
Common Mistakes to Avoid
Even experienced photographers make errors when bracketing. Here are the biggest pitfalls to watch out for.
- Moving Subjects: People walking, cars driving, or waves crashing will appear as ghosts in your final image if they move between frames. Try to time your burst when the scene is static, or use masking tools in post to remove the artifacts.
- Incorrect Aperture Changes: Never let your camera change the aperture during a bracket. Changing the f-stop alters the depth of field, which means the sharpness plane shifts between images. This makes blending impossible. Always lock your aperture and let the shutter speed do the work.
- Overdoing the Effect: The goal of bracketing is realism, not surrealism. If your sky looks neon purple or your grass looks electric green, you’ve gone too far. Aim for an image that looks like what you saw with your own eyes.
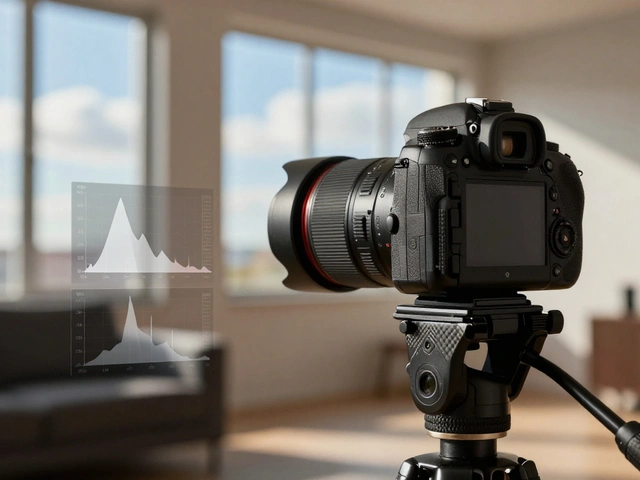
- Ignoring the Histogram: Don’t trust the LCD screen on the back of your camera. Check your histogram after the first bracket. Ensure the left side (shadows) isn’t clipped off in the darkest frame and the right side (highlights) isn’t clipped in the brightest frame. Adjust your range if necessary.
When Do You Actually Need Bracketing?
With modern sensors getting better every year, do you always need to bracket? Not necessarily. On a flat, overcast day, a single RAW file often has enough dynamic range to recover shadows and highlights without issue. However, bracketing becomes essential in specific scenarios:
- Sunsets and Sunrises: The difference between the bright sun and the dark foreground is extreme.
- Real Estate Interiors: Windows blowing out against dark rooms is a classic challenge.
- Backlit Portraits: Keeping the subject’s face lit while preserving the background detail.
- Forests and Canopies: Dappled sunlight creates harsh contrasts that confuse meters.
Think of bracketing as insurance. It costs you a few extra seconds in the field and some hard drive space, but it guarantees you won’t come home with an unusable photo because the light was too tricky. In professional photography, consistency is key, and bracketing is one of the most reliable tools in your kit.
What is the best EV setting for exposure bracketing?
For most high-contrast scenes, a 3-frame bracket at ±1 EV (stop) is the sweet spot. This provides enough coverage for typical landscapes and interiors. If the scene is extremely dynamic, such as a sunset with a dark foreground, increase the interval to ±2 EV or add more frames (5 or 7) to ensure no detail is lost.
Can I use exposure bracketing for video?
Traditional exposure bracketing is designed for still images. While some cameras offer "Auto HDR" video modes, true bracketing requires merging multiple frames, which is not possible in real-time video playback. For video, professionals use ND filters or Log profiles to manage dynamic range instead.
Do I need a tripod for exposure bracketing?
A tripod is highly recommended for professional results, especially when shooting static subjects like landscapes or architecture. It ensures perfect alignment between frames, making the merging process smoother. However, if you must shoot handheld, use a fast burst mode to minimize movement between shots.
What software is best for merging bracketed photos?
Adobe Lightroom Classic and Photoshop are the industry standards, offering robust HDR Merge features. Dedicated software like Aurora HDR or Photomatix Pro offers more specialized tone-mapping controls. For manual blending, Photoshop with layer masks provides the highest level of artistic control.
Why does my HDR image look fake or glowing?
This usually happens due to aggressive tone-mapping settings, particularly high "Clarity," "Structure," or "Radius" values. These settings enhance local contrast excessively, creating halos around objects. To fix this, reduce these sliders and aim for a natural look. Alternatively, try manual exposure blending in Photoshop for a more realistic result.