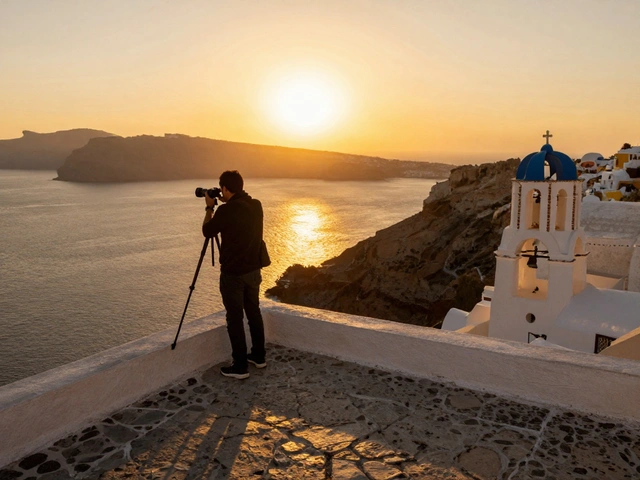
There is a specific moment every morning and evening when the world seems to hold its breath. The harsh, flat glare of midday vanishes, replaced by a soft, directional glow that turns ordinary rocks into textured sculptures and paints the sky in hues of amber and violet. This is golden hour, defined as the period shortly after sunrise or before sunset when sunlight takes on a reddish-yellow hue due to Rayleigh scattering. For landscape photographers, this window isn't just pretty; it’s the only time you can capture true depth through long shadows and saturated colors without heavy post-processing manipulation.
Many photographers miss the magic because they wait until the sun touches the horizon. By then, the light is often too dim for sharp details, and the shadows have stretched so far they lose their defining power. The real secret lies in understanding how low-angle light interacts with terrain. When the sun sits low, it rakes across surfaces, exaggerating textures in grass, bark, and stone. It creates a natural contrast that separates foreground from background, giving your two-dimensional sensor a three-dimensional subject. If you want images that pop with vibrancy and depth, you need to master the mechanics of this fleeting light.
The Physics of Warm Light and Texture
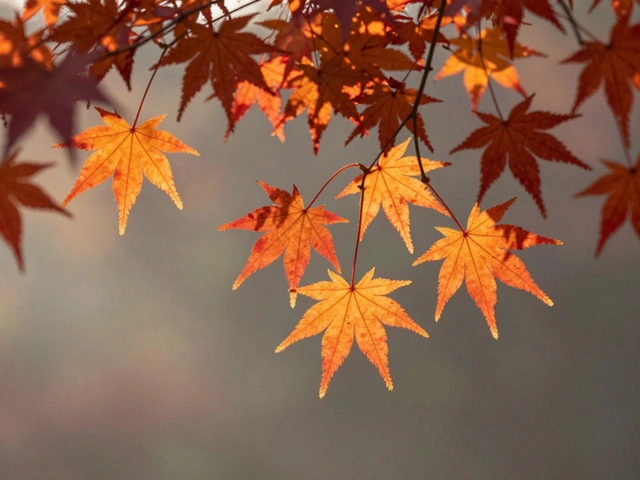
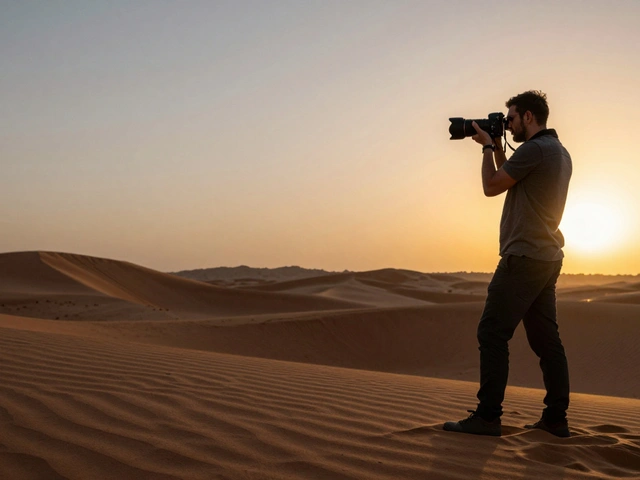
Why does golden hour look so different from noon? It comes down to atmospheric optics. As sunlight travels through more of Earth's atmosphere at low angles, shorter blue wavelengths scatter away, leaving longer red and orange wavelengths to dominate the scene. This warm color temperature typically ranges between 2000K and 3500K, compared to the neutral 5500K of midday sun. This warmth doesn’t just add a tint; it enhances perceived saturation. Greens become richer, blues deepen, and earth tones glow.
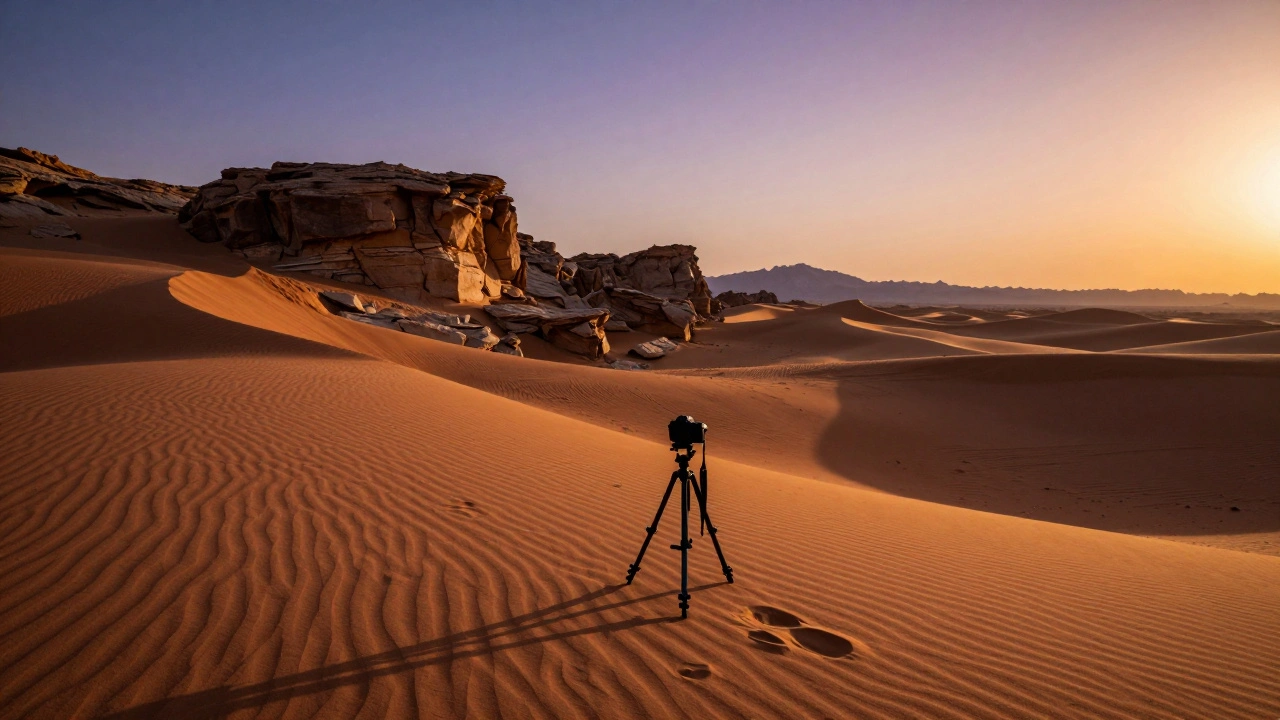
But texture is where the drama happens. Midday sun shines from directly above, casting short, hidden shadows that flatten landscapes. Golden hour light hits from the side or behind, casting long shadows that stretch across the frame. These shadows act as visual anchors. They define the shape of rolling hills, reveal the ruggedness of cliff faces, and separate layers of mountains. Without these shadows, a landscape can look like a smooth, featureless painting. With them, it feels tangible. You’re not just recording light; you’re sculpting with shadow.
| Attribute | Midday Sun | Golden Hour |
|---|---|---|
| Shadow Length | Short, minimal | Long, dramatic |
| Color Temperature | Neutral (5500K) | Warm (2000K-3500K) |
| Contrast | Harsh, high dynamic range | Soft, manageable range |
| Texture Visibility | Low (flattened) | High (raking light) |
| Sky Interest | Uniform blue | Gradient colors, clouds illuminated |
Positioning the Sun for Maximum Impact
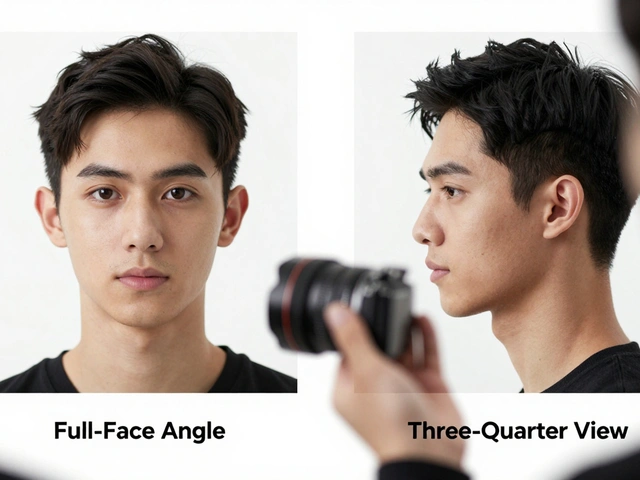
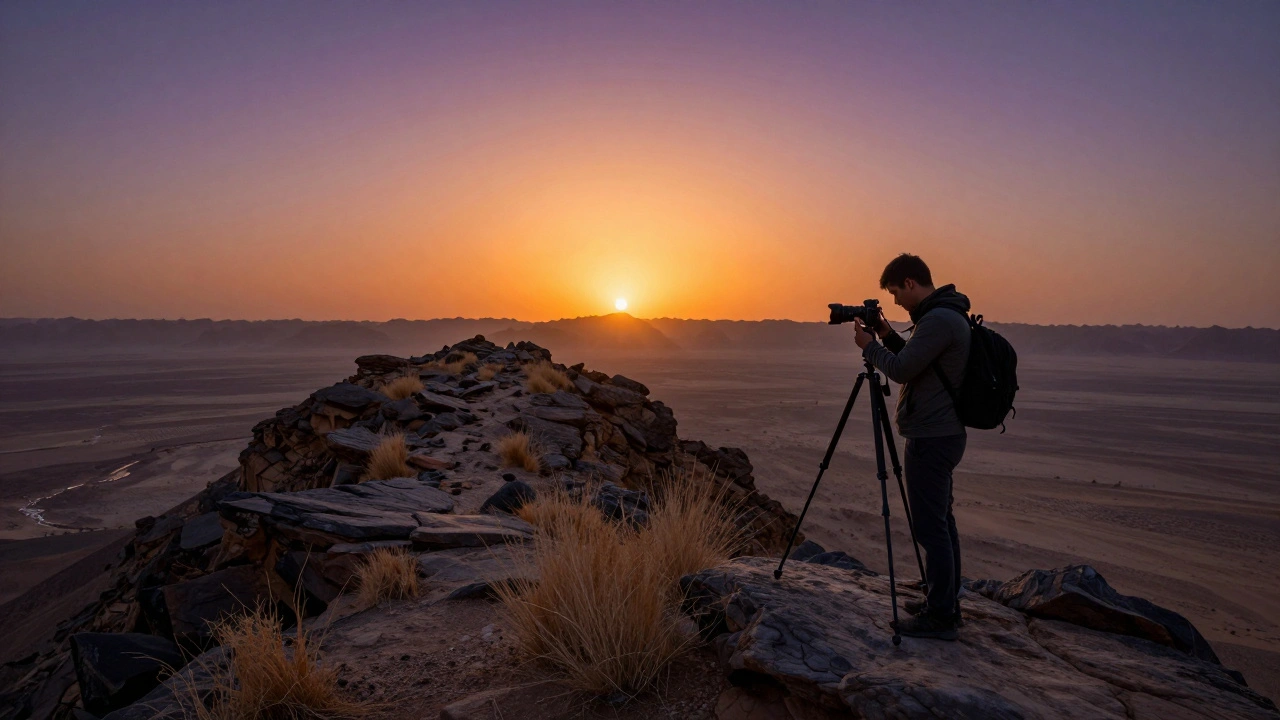
Where you place the sun in your frame changes everything. Most beginners point their cameras directly at the sun, hoping for a silhouette. While silhouettes are striking, they sacrifice detail and often introduce lens flare that ruins clarity. A better approach is side-lighting, where the sun enters the frame from the left or right edge. This technique bathes your subject in warm light while keeping the shadows falling toward the camera, revealing texture without blowing out highlights.
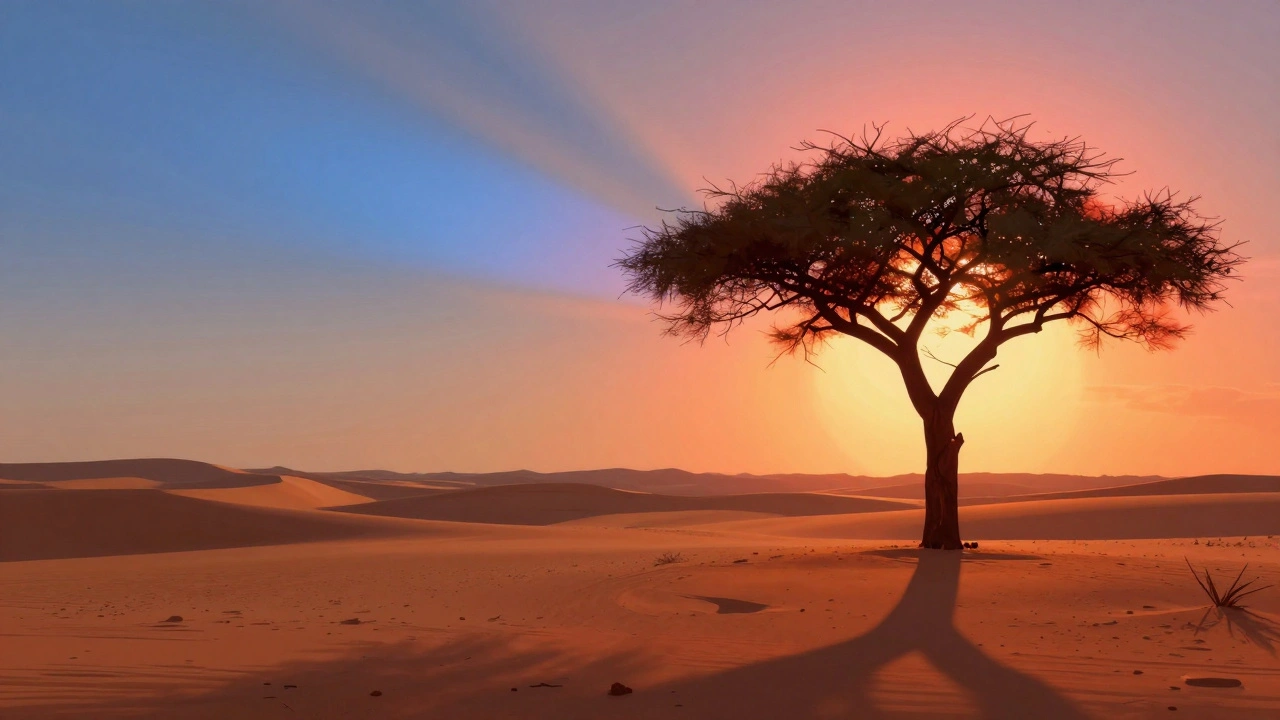
If you want to create a glowing rim effect around trees or mountains, try backlighting. Position the sun just behind your subject. This creates a translucent halo along edges, separating objects from the background and adding an ethereal quality. However, backlighting requires careful exposure control. If you expose for the bright sky, your foreground becomes black. If you expose for the foreground, the sky turns white. The solution? Bracket your exposures. Take one shot for the shadows, one for the highlights, and blend them later. Or, slightly underexpose the image to preserve highlight detail, knowing you can lift shadows in post-processing without introducing much noise.
Avoid placing the sun dead center unless you’re intentionally creating a starburst effect with a narrow aperture (f/16 or higher). Even then, ensure your lens has good coating to minimize flare. A polarizing filter can help cut glare and enhance sky contrast, but be cautious: circular polarizers can darken skies unevenly if rotated incorrectly, especially near the sun. Test it first. If it makes the sky look patchy, take it off.
Camera Settings for Sharp, Vibrant Results
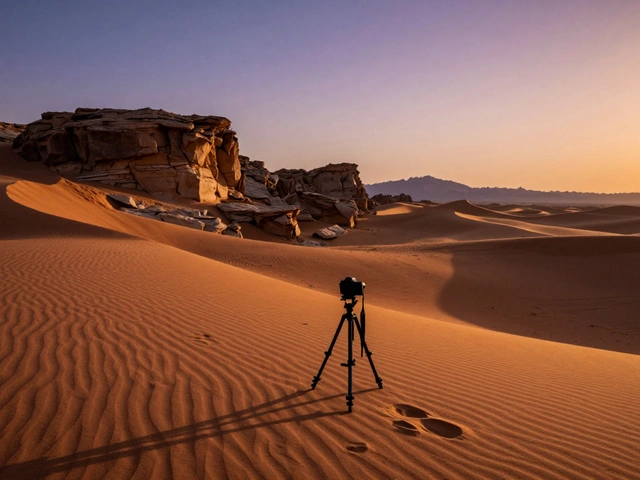
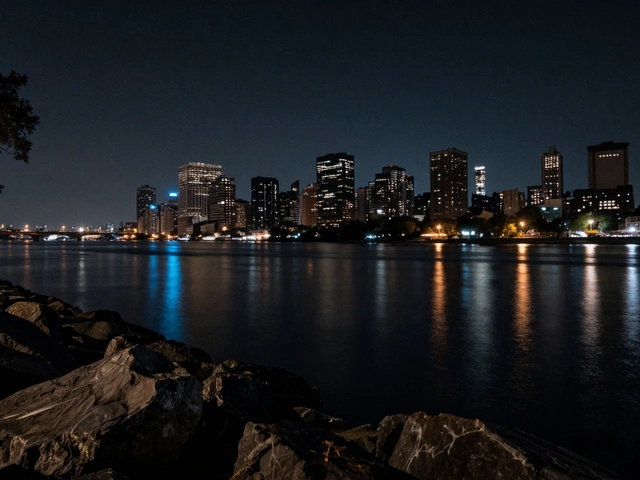
Golden hour demands precise technical execution. The light is changing rapidly, so manual mode gives you full control. Start with a tripod-this is non-negotiable for landscape work. Handholding won’t give you the sharpness needed to resolve fine textures in long exposures. Use a remote shutter release or the 2-second timer to eliminate camera shake.
Set your aperture between f/8 and f/11. This sweet spot provides maximum depth of field while avoiding diffraction issues that soften images at smaller apertures like f/16 or f/22. Your ISO should stay at base level (ISO 100) to maintain clean tonal transitions. Adjust shutter speed to achieve correct exposure. In early golden hour, speeds might be around 1/60s; as the sun dips lower, expect slower speeds like 1/4s or even several seconds.
White balance is critical. Do not use Auto White Balance (AWB), which tries to neutralize the warm tones and kill the mood. Instead, set WB to "Daylight" or manually adjust Kelvin values between 4000K and 5500K to preserve the natural warmth. Shoot in RAW format. JPEGs compress data and limit your ability to recover shadows or adjust color grading later. RAW files retain all the subtle gradations in the sky and ground, giving you flexibility in editing.
Composition Strategies That Work
A beautiful sky means nothing if your foreground is empty. Golden hour rewards strong compositional structure. Look for leading lines-paths, rivers, fence rows-that draw the eye into the scene. Find foreground elements that catch the light: dew-covered grass, weathered wood, or rocky outcrops. These anchor the image and provide scale.
Use the rule of thirds, but don’t be rigid. If the sky is spectacular with fiery clouds, place the horizon in the lower third to emphasize the heavens. If the foreground tells the story-like a lone tree silhouetted against a gradient sky-raise the horizon to the upper third. Balance is key. An unbalanced composition distracts from the light itself.
Consider layering. Golden hour light reveals distance through atmospheric perspective. Distant mountains appear bluer and softer, while nearby elements are sharp and warm. Include multiple layers: foreground detail, midground interest, and background peaks. This creates depth and invites the viewer to explore the entire frame.
Post-Processing: Enhancing Without Overdoing
Editing golden hour images should enhance, not fabricate. Start by recovering highlights and lifting shadows. In Lightroom or Capture One, pull down the Highlights slider to bring back cloud detail, then raise Shadows to reveal texture in dark areas. Avoid pushing Contrast too high; golden hour already has natural contrast. Excessive contrast looks artificial.
For color, focus on saturation and luminance selectively. Global saturation boosts can make greens look neon and skin tones unnatural. Instead, use HSL (Hue, Saturation, Luminance) tools to target specific colors. Boost Orange and Yellow saturation slightly to enhance the warm glow. Increase Red luminance to keep skies vibrant without overpowering other tones. Reduce Cyan saturation if the sky appears too cool.
If you bracketed exposures, blend them using software like Photoshop or specialized tools like Aurora HDR. Align the layers, mask the brighter areas from the highlight exposure and darker areas from the shadow exposure. Keep blending subtle. Viewers can tell when an image is over-edited. Aim for realism with enhanced impact.
Planning and Timing: Be There Before the Light Hits
Golden hour lasts roughly 30 to 60 minutes, depending on latitude and season. In Portland, Oregon, where I live, summer golden hours are brief and intense, while winter ones are longer but cooler. Use apps like PhotoPills or The Photographer’s Ephemeris to predict exact sunrise/sunset times and sun position. Arrive at least 30 minutes early. Scout locations during daylight to identify compositions, check for hazards, and plan your gear setup.
Weather plays a huge role. Clear skies produce vivid sunsets but less interesting clouds. Partly cloudy conditions create dramatic reflections and scattered light. Rain-washed air yields deeper blues and purples. Check forecasts, but also be ready to adapt. Sometimes the best shots happen when plans go wrong-a sudden break in storm clouds can deliver once-in-a-lifetime lighting.
Finally, practice patience. Wait for the light to evolve. Watch how shadows lengthen, how colors shift from gold to pink to purple. Don’t rush. Take multiple frames. Experiment with angles. The most iconic golden hour images aren’t taken quickly-they’re earned through preparation and persistence.
What is the best time to shoot golden hour landscapes?
The optimal window begins about 30 minutes before sunset or after sunrise, lasting until the sun is fully below the horizon. During this period, light is warm, shadows are long, and color saturation peaks. Arrive earlier to scout and set up equipment.
Do I need a tripod for golden hour photography?
Yes. As light fades, shutter speeds slow down, making handheld shots prone to blur. A tripod ensures sharpness, allows for precise composition, and enables longer exposures needed for balanced lighting.
How do I avoid lens flare when shooting toward the sun?
Use a lens hood, angle your camera slightly away from direct sunlight, and consider using a polarizing filter to reduce glare. If flare occurs, embrace it artistically-but avoid letting it wash out critical details.
Should I edit my golden hour photos heavily?
No. Subtle enhancements work best. Recover highlights and shadows, adjust selective color saturation, and maintain natural contrast. Over-editing destroys the authenticity of the moment and looks artificial.
Can I shoot golden hour with a smartphone?
Yes, modern smartphones handle golden hour well. Use manual mode if available, lock exposure on mid-tones, and edit lightly. Pro tips include using Live Photos to select the best frame and avoiding digital zoom.
Why are my golden hour photos looking dull?
Dull results often stem from incorrect white balance (set to AWB), lack of foreground interest, or insufficient contrast. Ensure you’re shooting in RAW, setting WB to Daylight, and including textured elements that catch the light.
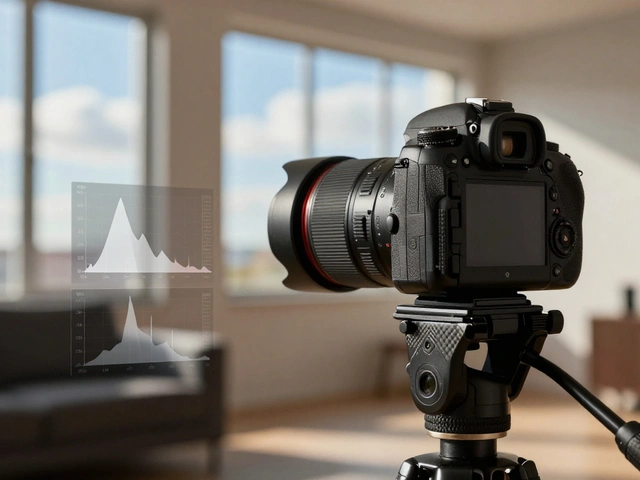
How do I handle high dynamic range scenes?
Bracket exposures: take one underexposed for highlights, one overexposed for shadows, and one normal. Blend them in post-processing using layer masks in Photoshop or automated tools like Aurora HDR.
What lens is best for golden hour landscapes?
A wide-angle lens (14mm-35mm) captures expansive skies and foreground detail. For tighter compositions or isolating subjects, a telephoto lens (70-200mm) compresses distance and emphasizes light patterns.