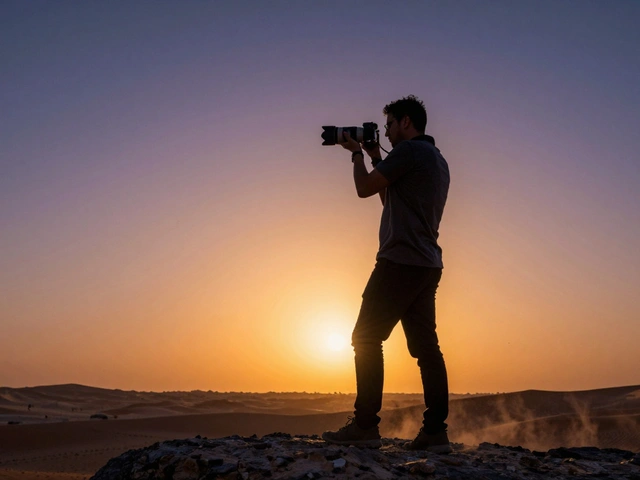
Most photographers treat the hours between 10 AM and 3 PM like a plague. We've all heard the same advice: avoid the sun at noon, wait for the golden hour, and don't even think about shooting when the sun is directly overhead. Why? Because harsh midday light is intense, direct sunlight that occurs when the sun is at its highest point in the sky, creating deep shadows and blown-out highlights. It’s the kind of light that turns a portrait into a map of dark circles under the eyes and makes a landscape look flat and washed out.
But here is the truth: there is no such thing as "bad" light-only light that is used incorrectly. While the soft glow of sunset is easy, mastering the midday sun is what separates the pros from the amateurs. Whether you're stuck at a wedding during a first look or shooting a street scene in July, you can actually use that intensity to your advantage. You don't have to hide in your hotel room until 6 PM; you just need a few tactical shifts in how you position your subject and handle your camera.
Quick Wins for Beating the Noon Sun
- Find Open Shade: Move your subject under a porch or a thick tree canopy.
- Flip the Script: Put the sun behind your subject to create a rim-light effect.
- Use a Reflector: Bounce light back into those deep facial shadows.
- Simplify: Stick to basic compositions; don't let busy backgrounds compete with high contrast.
- Go Monochrome: When colors look washed out, switch to black and white to emphasize shape and grit.
The Magic of Open Shade
If you're feeling overwhelmed by the glare, the fastest solution is open shade. This isn't about putting your subject in a dark room or a cave; it's about finding a spot that is shielded from direct sunlight but still open to the sky. Think of the shadow cast by a building or the edge of a large tree.
By positioning your subject here, you eliminate the "raccoon eyes" caused by overhead light while keeping enough ambient light to get a clean, sharp exposure. It essentially turns the entire sky into one giant softbox, giving you that creamy skin tone without needing any expensive gear. The trick is to keep the subject close to the edge of the shade, facing out toward the light, so their eyes stay bright and clear.
Turning the Sun into a Backlight
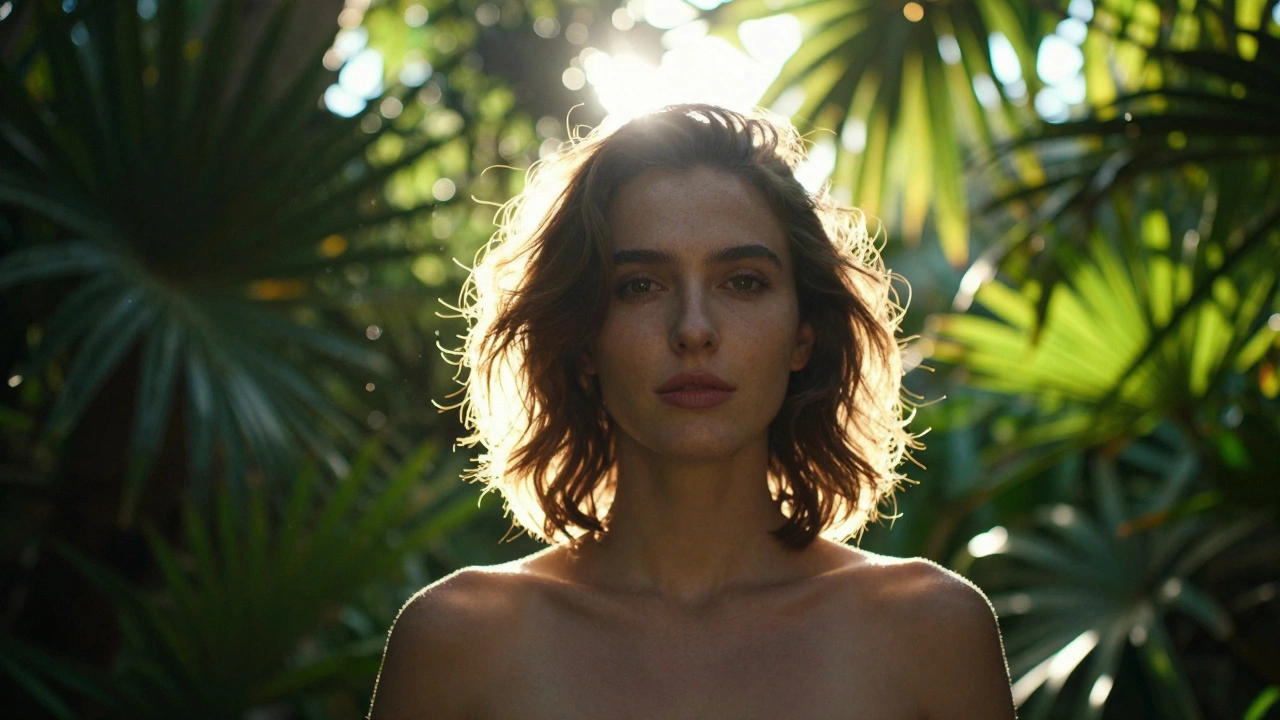
When you can't find shade, stop fighting the sun and put it behind your subject. Backlighting transforms a harsh light source into a creative tool. By placing the sun at the back, you create a glowing halo or rim of light around the subject's hair and shoulders, which separates them from the background.
To nail this, have your subject face the direction of their own shadow. Since the sun is overhead, the shadow will be small, but it still gives you a compass. Have them rotate slowly until you hit the "sweet spot" where the face is softly lit by reflected light but the edges of the subject are popping. If you're shooting through foliage, this technique creates beautiful bokeh as the sun peeks through leaves, adding depth and warmth that mimics a late-afternoon feel even at 1 PM.
Using Diffusion and Reflectors to Balance Contrast
Sometimes the contrast is just too high for the camera sensor to handle. This is where physical modifiers come in. A diffuser is essentially a translucent screen that sits between the sun and your subject. It breaks up the direct beams of light, spreading them out and softening the shadows. If you don't have a professional one, a simple white sheet or thin fabric can do the job.
While a diffuser stops the light from being too harsh, a reflector does the opposite-it adds light where it's missing. When the sun is beating down from above, the area under the chin and nose goes pitch black. By angling a reflector (even a piece of white foam board) upward from below, you bounce some of that midday energy back into the shadows. This balances the exposure across the face and prevents you from having to choose between a blown-out forehead or a completely dark jawline.
| Tool | Primary Function | Best Use Case | DIY Alternative |
|---|---|---|---|
| Diffuser | Softens direct light | Reducing harsh facial shadows | White bedsheet / thin curtain |
| Reflector | Fills in dark areas | Brightening under-eye shadows | White poster board / foil |
| Polarizer | Cuts glare/increases saturation | Making blue skies and water pop | None (requires glass filter) |
| ND Filter | Reduces light volume | Long exposures in bright sun | Dark tinted glass (limited) |
Technical Tweaks: Exposure and Filters
Many photographers make the mistake of underexposing their images to "save" the highlights. This often leads to muddy mid-tones that are a nightmare to fix in post-processing. Instead, try a subtle approach. Setting your exposure compensation between 0 and -0.3 usually takes the edge off the harshness without killing the mood. In some high-key scenarios, you might even overexpose by +0.3 to make the image feel airy and intentional.
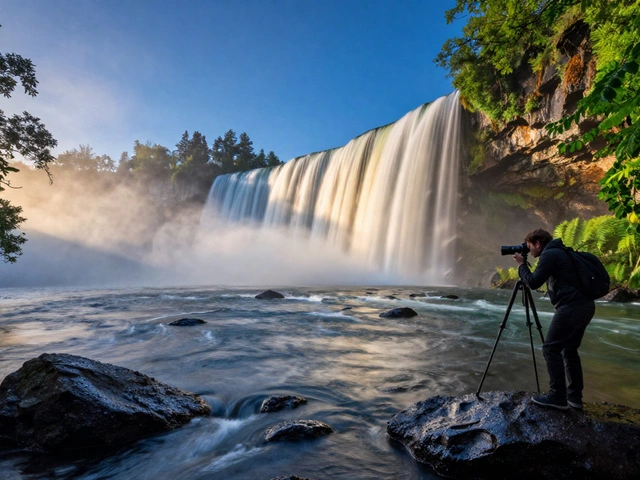
If you want to get technical, use a polarizing filter. This is a must-have for midday shoots. It cuts through the haze, removes unwanted reflections from glass or water, and makes colors-especially greens and blues-look saturated and rich. If you're trying to do something artistic like a motion-blur waterfall in the middle of the day, a neutral density (ND) filter is your best bet, as it acts like sunglasses for your lens, letting you slow down the shutter speed without overexposing the shot.
Composition and Color Strategy
High-contrast light can make a busy scene feel chaotic. The best way to counter this is to keep your compositions dead simple. Focus on one clear subject and remove the clutter. Using a longer focal length, like an 85mm or 105mm lens, helps you isolate the subject and blur out the distracting, high-contrast background.
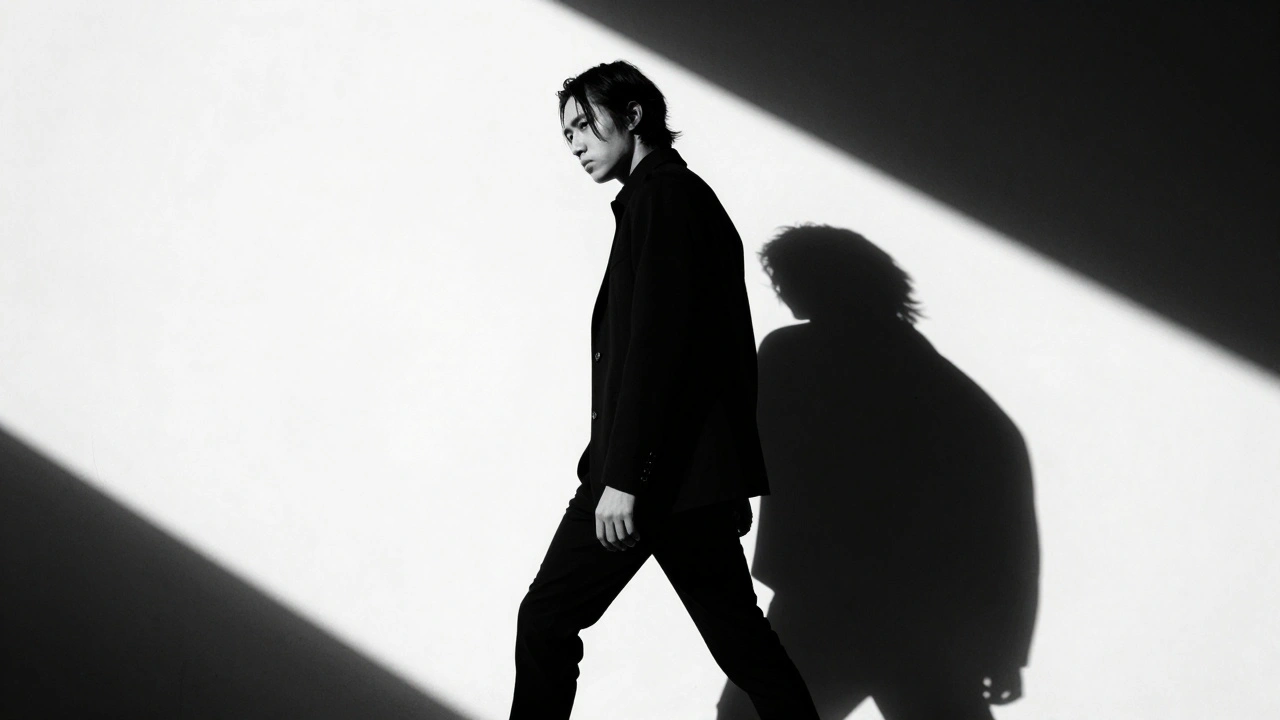
Color also becomes a challenge. Harsh light can wash out pale colors, making everything look grey or bleached. To fight this, look for vibrant, complementary colors-like a bright red dress against a green hedge. If the colors are simply too far gone and the scene looks sterile, don't be afraid to shoot in black and white. Stripping away the color allows you to focus on the raw geometry, shapes, and the dramatic contrast of the light, turning a "technical failure" into a stylistic choice.
Post-Processing for the Finishing Touch
The work doesn't end when you click the shutter. In the editing phase, the goal is to restore the depth that the sun tried to flatten. A subtle vignette is incredibly effective here; by darkening the edges of the frame, you push the viewer's eye back toward the subject and add a sense of dimension to an otherwise flat image.
Avoid cranking the contrast slider too high, as you'll likely just blow out the highlights further. Instead, focus on recovering shadows and bringing down the highlights selectively. If the image feels too "clinical," a slight warmth adjustment can mimic the feeling of a later hour, making the photo feel more inviting.
Why does midday light make people squint?
It happens because the sun is high and intense, forcing the eyes to contract to protect the retina. The best way to fix this is to move the subject into open shade or use backlighting, so they aren't staring directly into the light source.
Can I use a flash during the middle of the day?
Yes, this is called "fill flash." It doesn't create the light for the whole scene, but it provides just enough light to fill in those deep shadows under the eyes and nose, balancing the subject with the bright background.
What is the best lens for shooting in harsh sun?
Telephoto lenses (85mm and above) are generally better because they allow you to isolate your subject and simplify the background, preventing the high-contrast midday environment from becoming too distracting.
Is a polarizer better than an ND filter for sunlight?
It depends on your goal. A polarizer is for color saturation and removing glare, while an ND filter is for controlling the amount of light to allow for longer shutter speeds. For most midday portraits, a polarizer is more useful.
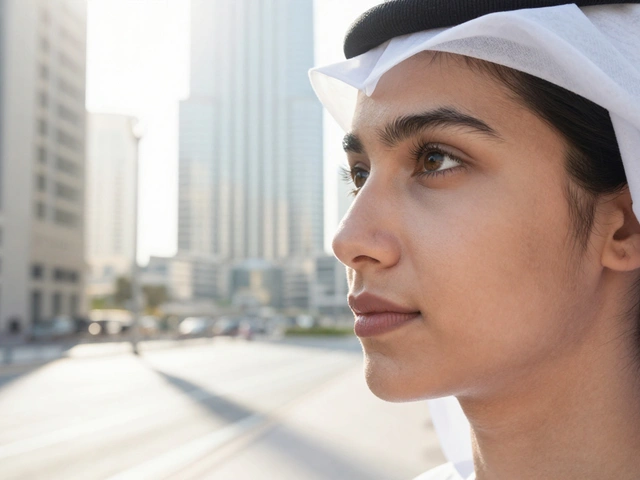
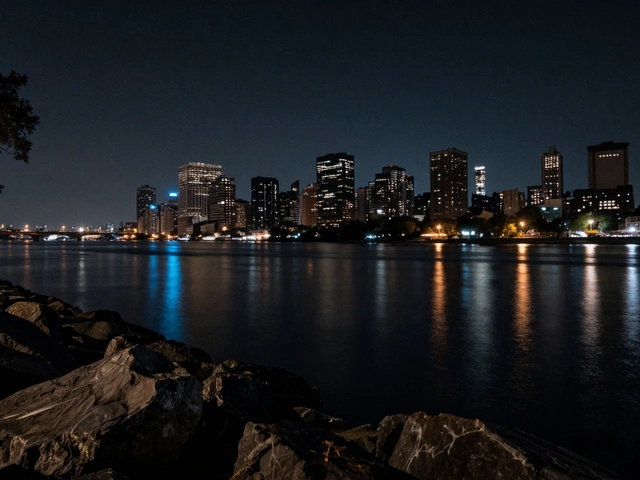
How do I find "open shade" in a city?
Look for the narrow side-streets, the shadow cast by tall skyscrapers, or the overhangs of building entrances. The key is to find an area where you are out of the sun's direct path but still have a clear view of the bright sky.
Next Steps for Your Next Shoot
If you're a beginner, start by practicing the "shadow-facing" rule for backlighting. Spend an hour at noon just observing where the shadows fall and how they change as you move your subject just a few inches. Once you're comfortable with positioning, introduce a simple white reflector to see how much it changes the quality of a portrait.
For those looking to push their boundaries, try a "Hard Light Challenge." Instead of avoiding the sun, seek out the most intense light you can find and try to create a high-fashion, high-contrast look. Embrace the shadows and use them as a compositional element rather than a problem to be solved. The more you experiment, the more you'll realize that the midday sun isn't an enemy-it's just a different kind of tool.