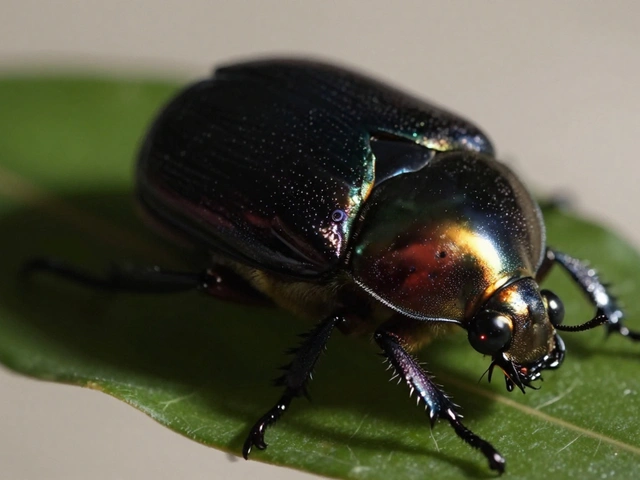
There is nothing more frustrating in macro photography than a perfectly focused subject ruined by a harsh shadow cast by your own lens. You are inches away from a beetle’s iridescent shell or the delicate stamen of a flower, yet the image looks flat, washed out, or strangely dark. The culprit is rarely your focus; it is almost always your lighting. At magnification ratios of 1:1 or higher, standard lighting techniques fail because the laws of physics change when you get this close to your subject.
Lighting for close-ups is not just about adding brightness; it is about controlling quality, direction, and intensity in a space where millimeters matter. Whether you are using a high-speed flash unit, a steady LED continuous light, or the sun itself, understanding how these sources interact with small subjects is the difference between a snapshot and a masterpiece. Let’s break down exactly how to manage light when there is no room to maneuver.
The Power Advantage of Flash in Macro Work
When most photographers think of lighting, they reach for continuous sources like LEDs because they offer what-you-see-is-what-you-get convenience. However, in the world of extreme close-ups, flash lighting remains the dominant choice for a critical reason: power output. A flash emits a burst of intense energy in a fraction of a second, whereas an LED provides a steady, lower-intensity stream of photons.
This power disparity matters immensely when you need a deep depth of field. To freeze motion-like a water droplet hitting a leaf-or to use narrow apertures like f/22 for maximum sharpness across a tiny subject, you need significant light. Most ring lights and standard LED panels simply cannot deliver enough intensity to allow for reasonable ISO settings at these apertures. Flash units, on the other hand, can overpower ambient light, allowing you to create dramatic black backgrounds or bright, high-key scenes that pop with clarity.
Furthermore, the short duration of a flash burst enables you to freeze movement that continuous light would blur. If you are photographing insects in flight or splashing liquids, the speed of your flash shutter is effectively infinite compared to the mechanical shutter of your camera. This makes flash not just a tool for illumination, but a technical necessity for certain types of macro work.
Why Direct Flash Fails and How Diffusion Saves It
If flash is so powerful, why do many beginners avoid it? The answer lies in its raw nature. Direct flash behaves much like midday sunlight: it is hard, directional, and creates stark contrasts. When positioned directly on your camera hot shoe, it produces specular highlights (blinding white spots) and casts harsh, unnatural shadows. In macro photography, where texture is king, this flattens your subject rather than revealing its dimension.
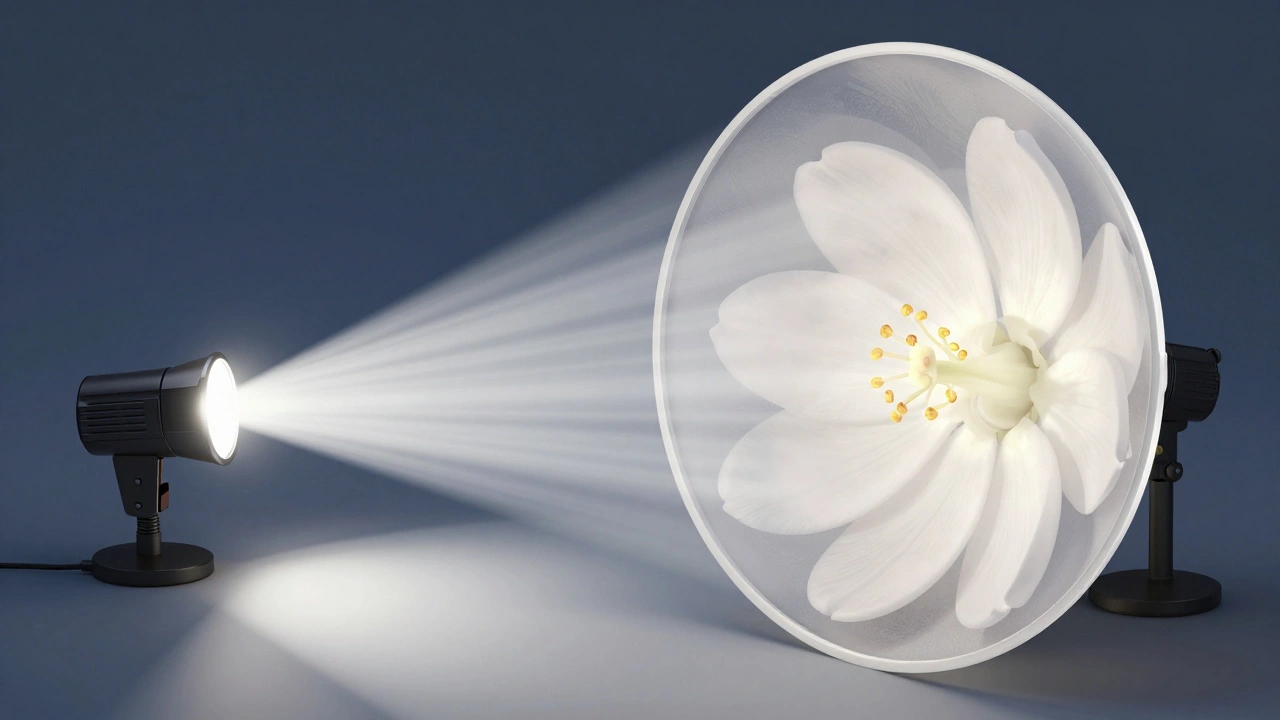
This is where diffusers become essential. A diffuser works by increasing the relative size of the light source. Think of a cloudy day: the clouds act as a giant diffuser for the sun, scattering the light to create soft, even illumination. By placing a diffusion material over your flash head, you transform a small, point-source emitter into a larger, softer area light.
- Tissue Paper: One of the simplest and most effective DIY solutions. Placing several layers of sheer tissue paper over the flash head scatters light evenly without blocking too much intensity.
- Custom Macro Diffusers: These are often dome-shaped attachments designed specifically for macro lenses. They wrap around the front of the lens, ensuring light reaches the subject from multiple angles while keeping the light source close enough to maintain intensity.
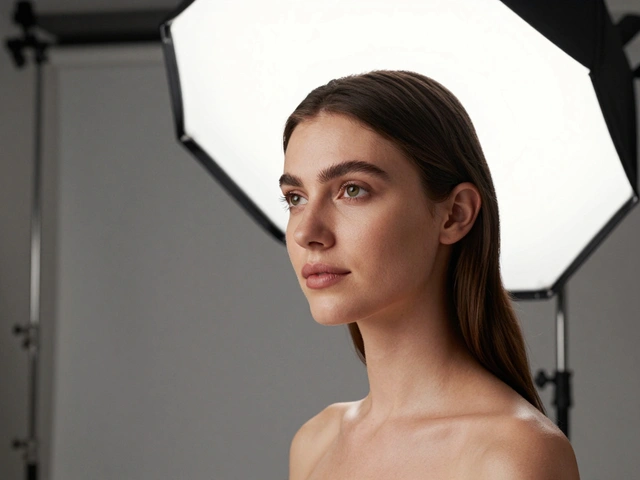
- Softboxes: For off-camera setups, small softboxes provide controlled, directional soft light that mimics window light.
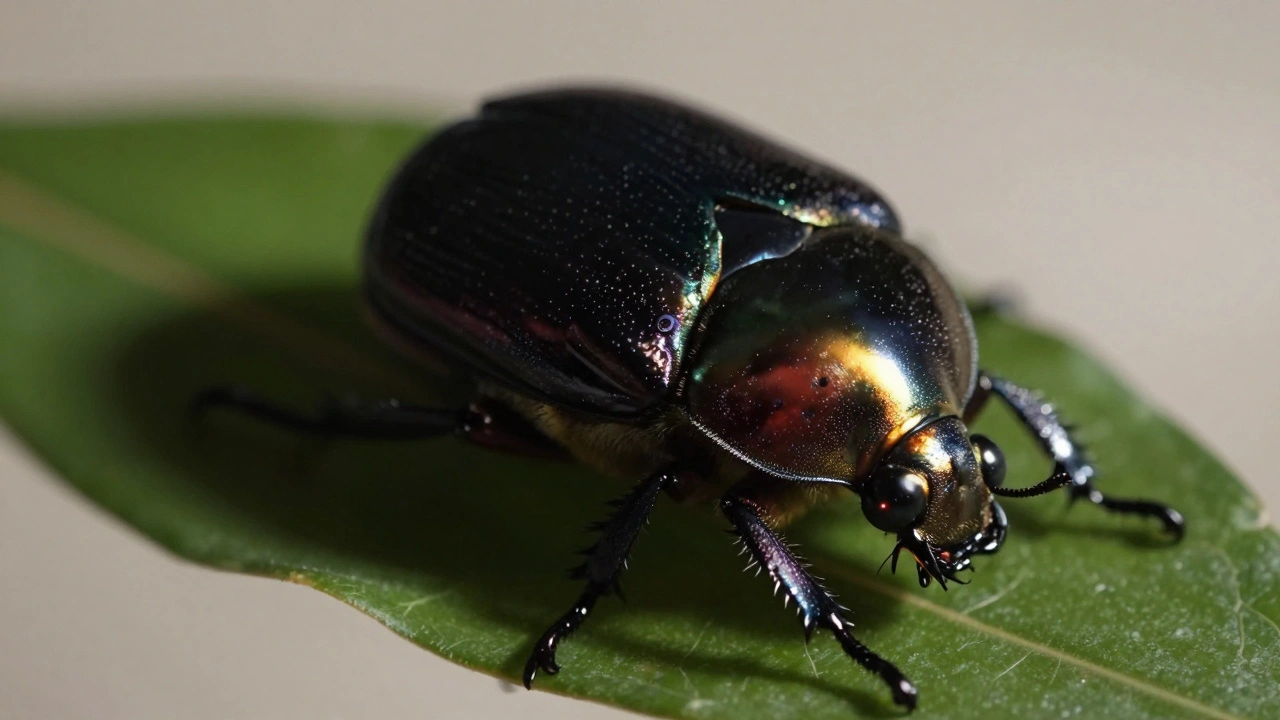
Properly diffused flash reveals details that natural sunlight might miss. It allows you to extract accurate colors and fine textures without the blown-out highlights that direct flash causes. However, keep in mind that diffusion reduces reach. A heavily diffused flash will not illuminate a background that is even a few feet away, which can be either a benefit (for isolating subjects against black) or a limitation (if you want environmental context).
The Ring Light Controversy: Convenience vs. Quality
You have likely seen them: circular lights that wrap around the lens barrel. Ring lights are marketed as the ultimate macro solution because they eliminate lens shadows entirely. Since the light surrounds the lens, it shines directly onto the subject from the same angle as your viewpoint. This ensures that the lens never blocks the light, solving one of the biggest headaches in close-up photography.
However, ring lights come with significant trade-offs. First, they produce a very specific look: flat, shadowless lighting with distinctive circular reflections in eyes or wet surfaces. While this can be useful for commercial product shots or medical documentation, it often lacks the artistic depth and dimensionality that side-lighting or backlighting provides.
Second, as mentioned earlier, their power is limited. Because they are typically powered by batteries or low-voltage DC, they lack the punch of a dedicated flash unit. If you are shooting at high magnifications with small apertures, you may find yourself pushing your camera’s ISO to noisy levels just to get a properly exposed image. Ring lights are best suited for static subjects in well-lit environments or when absolute shadow elimination is required, but they should not be your only tool if you seek dynamic, three-dimensional images.
Off-Camera Flash: The Key to Creative Control
To truly elevate your macro photography, you must move the light source away from the camera. Off-camera flash transforms lighting from a utility into a compositional tool. By positioning your flash to the side, behind, or above the subject, you can sculpt the image with shadows and highlights that reveal form and texture.
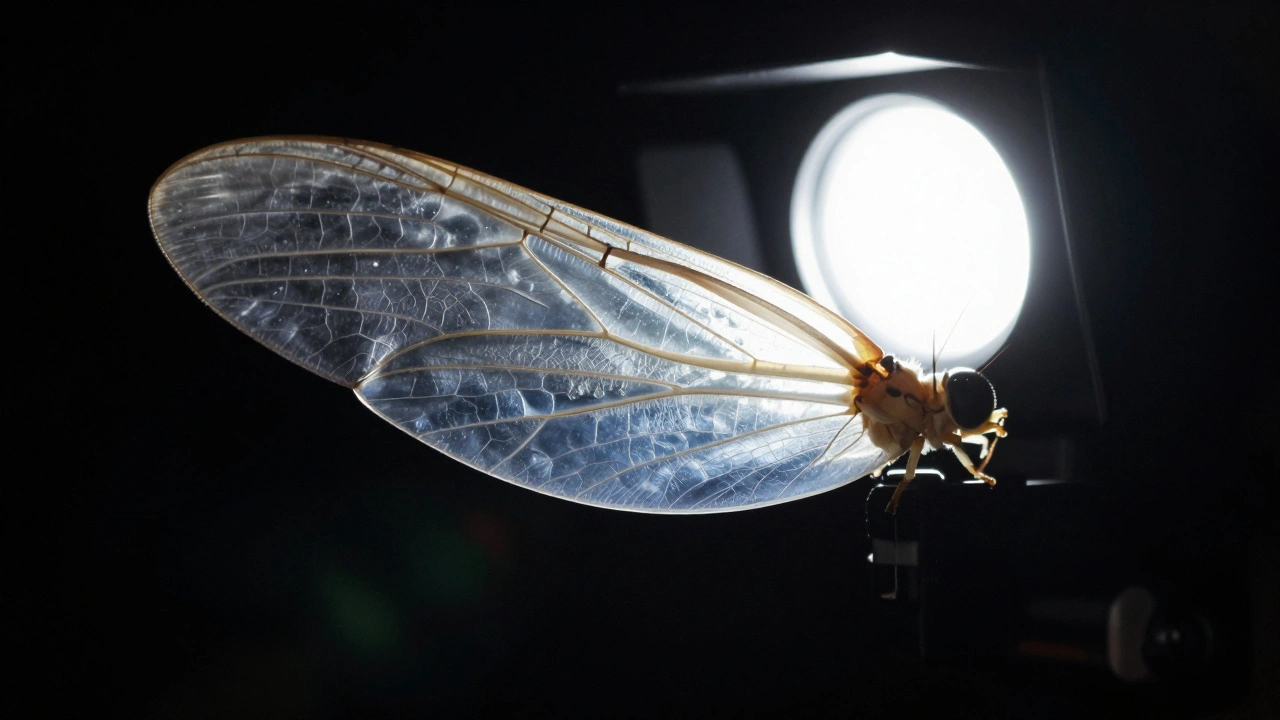
Imagine photographing a mushroom cap. On-camera flash will wash out the gills and flatten the shape. Move the flash to the side, and suddenly the ridges cast tiny shadows, giving the cap volume and realism. Place the flash behind the subject, and you can back-light translucent wings or leaves, creating a glowing effect that draws the eye immediately.
Implementing off-camera flash requires a trigger system (wireless radio triggers are preferred over optical ones for reliability) and a way to mount the flash, such as a stand or a flexible arm. This setup adds bulk and complexity to your gear, but the creative payoff is substantial. You gain the ability to reduce harsh reflections, control the direction of light precisely, and create moody, dramatic compositions that on-camera setups simply cannot achieve.
| Light Source | Power Output | Shadow Control | Best Use Case | Complexity |
|---|---|---|---|---|
| On-Camera Flash | High | Poor (Lens Shadow) | Quick snapshots, emergency fill | Low |
| Ring Light | Low-Medium | Excellent (No Shadows) | Product shots, flat lay, eyes | Low |
| LED Continuous | Low | Moderate | Video, preview composition | Medium |
| Off-Camera Flash | Very High | Excellent (Directional) | Artistic, textured subjects, freezing motion | High |
Natural Light and Continuous LEDs: When to Use Them
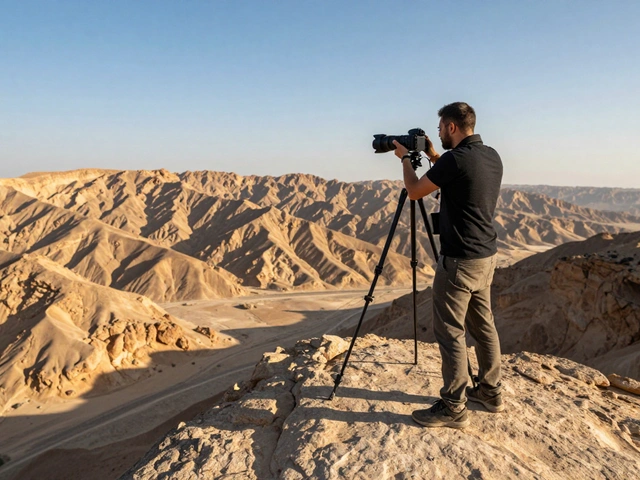
Not every macro shot requires a flash. Natural light, particularly on an overcast day, provides excellent, soft illumination. The sun acts as a massive light source, and clouds diffuse it naturally. For slow-paced subjects like flowers or stationary objects, natural light can yield stunning results with zero equipment hassle.
Continuous LED lights serve a similar purpose but offer consistency regardless of weather. They are invaluable for previewing your composition. With flash, you often have to take a test shot to see if the exposure is correct. With LEDs, you see the final lighting in real-time through your viewfinder or screen. This is particularly helpful for beginners learning how light interacts with complex shapes.
However, remember the power limitation. If you need to stop down to f/16 or f/22 for depth of field, most portable LEDs will struggle. You may end up with grainy images due to high ISO settings. Use continuous light for ease of use and video, but switch to flash when technical demands require more power and speed.
Avoiding Common Pitfalls in Macro Lighting
Even experienced photographers make mistakes when lighting close-ups. Here are the most common errors to watch for:
- Lens Shadow: Never use on-camera flash at extreme close distances without a diffuser or bounce card. Your lens will block the light, creating a dark spot right in the center of your subject.
- Overexposure: Flash power falls off quickly, but at close range, it is still intense. Start with low power settings (1/16 or 1/32) and increase gradually. Overexposed highlights lose all detail and cannot be recovered.
- Ignoring Backgrounds: Be aware that diffused flash has limited reach. If your background is far away, it will appear pitch black. If you want a lit background, you may need a second flash or a reflector to bounce light backward.
- Static Setups: Do not stick to one angle. Move your flash around the subject. Try top-down, side-lighting, and backlighting. Small changes in position dramatically alter the mood and texture of the image.
Mastering macro lighting is a journey of experimentation. There is no single "correct" setup. The best approach is to understand the principles of light behavior-how it spreads, reflects, and decays-and then apply those principles creatively to each unique subject. Start with a simple diffuser on your existing flash, move it off-camera when possible, and don’t be afraid to let shadows play a role in telling the story of your tiny subject.
Can I use my camera's built-in flash for macro photography?
Technically yes, but it is not recommended. Built-in flashes are small and fixed, meaning they will almost certainly cause your lens to cast a shadow on your subject at close distances. Additionally, the light is usually too harsh and undiffused, leading to unflattering specular highlights. If you must use it, place a piece of tracing paper or tissue over the flash to soften the light, but expect limited results.
What is the best type of diffuser for macro flash?
The best diffuser depends on your budget and setup. For a quick fix, layered tissue paper taped over the flash head works surprisingly well. For professional results, a custom macro diffuser dome that attaches to the front of your lens is ideal because it keeps the light source close to the subject while spreading it evenly. Softboxes are also excellent for off-camera setups.
Why does my ring light leave circular reflections in my photos?
This is inherent to the design of ring lights. Because the light source surrounds the lens, any reflective surface (like an eye, water drop, or polished metal) will reflect the entire circle of light. While this can be desirable for certain aesthetic styles or commercial products, it often looks artificial in nature photography. Off-camera flash eliminates this issue by providing directional light.
How do I prevent my lens from casting a shadow?
The most effective way is to move the light source off-camera. Position your flash to the side or above the subject so the lens is not between the light and the subject. If you must use on-camera lighting, use a large diffuser that extends beyond the diameter of your lens, ensuring light wraps around the sides to illuminate the subject evenly.
Is natural light better than flash for macro photography?
Natural light is convenient and free, but it is inconsistent. Cloud cover, time of day, and wind affecting foliage can change your lighting rapidly. Flash offers complete control over intensity, direction, and color temperature. For detailed, consistent results, especially with moving subjects or when you need deep depth of field, flash is superior. Natural light is best for casual shooting or when portability is key.