When you look at a product photo and instantly feel the texture, weight, and shape of the item - even through a screen - that’s not magic. It’s edge lighting. This technique doesn’t just illuminate a product; it defines it. A thin, bright rim of light tracing the edges turns a flat object into something you can almost reach out and touch. For e-commerce, editorial shoots, or high-end catalog work, edge lighting is the difference between a photo that gets scrolled past and one that stops the scroll.
What Edge Lighting Actually Does
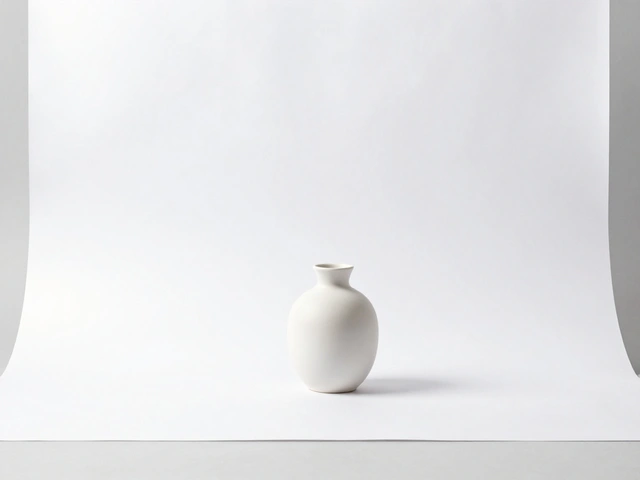
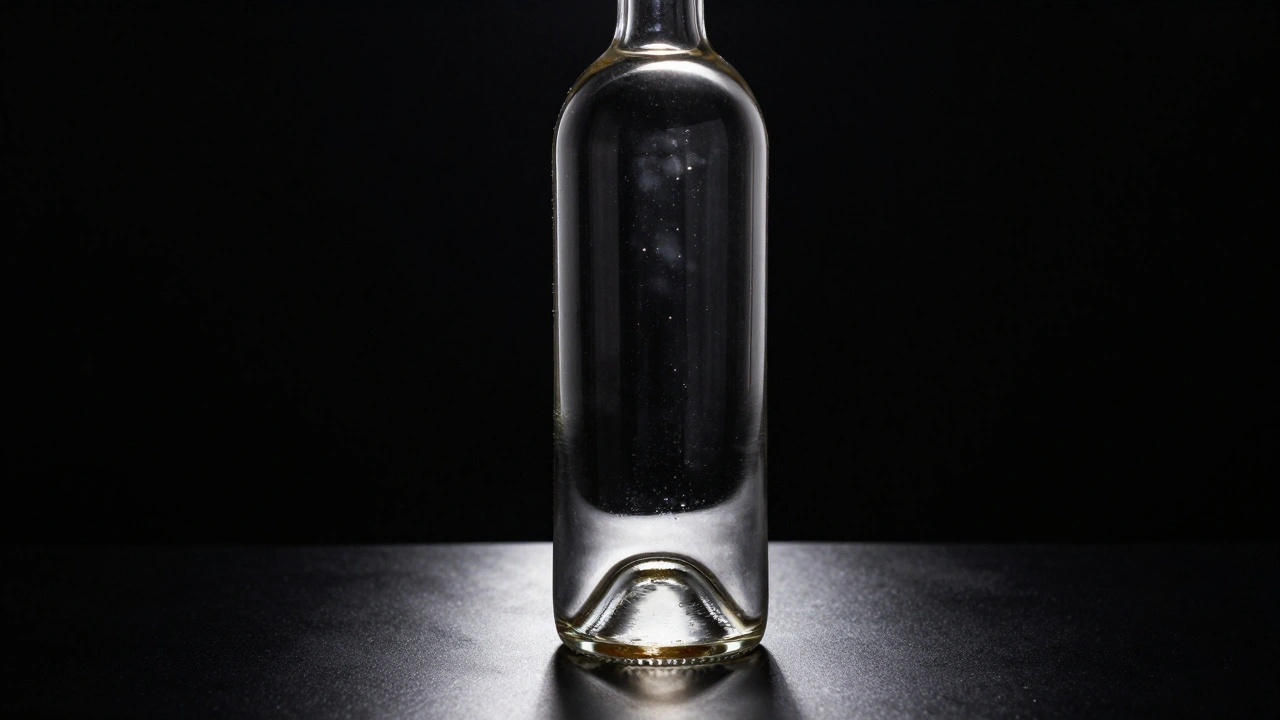
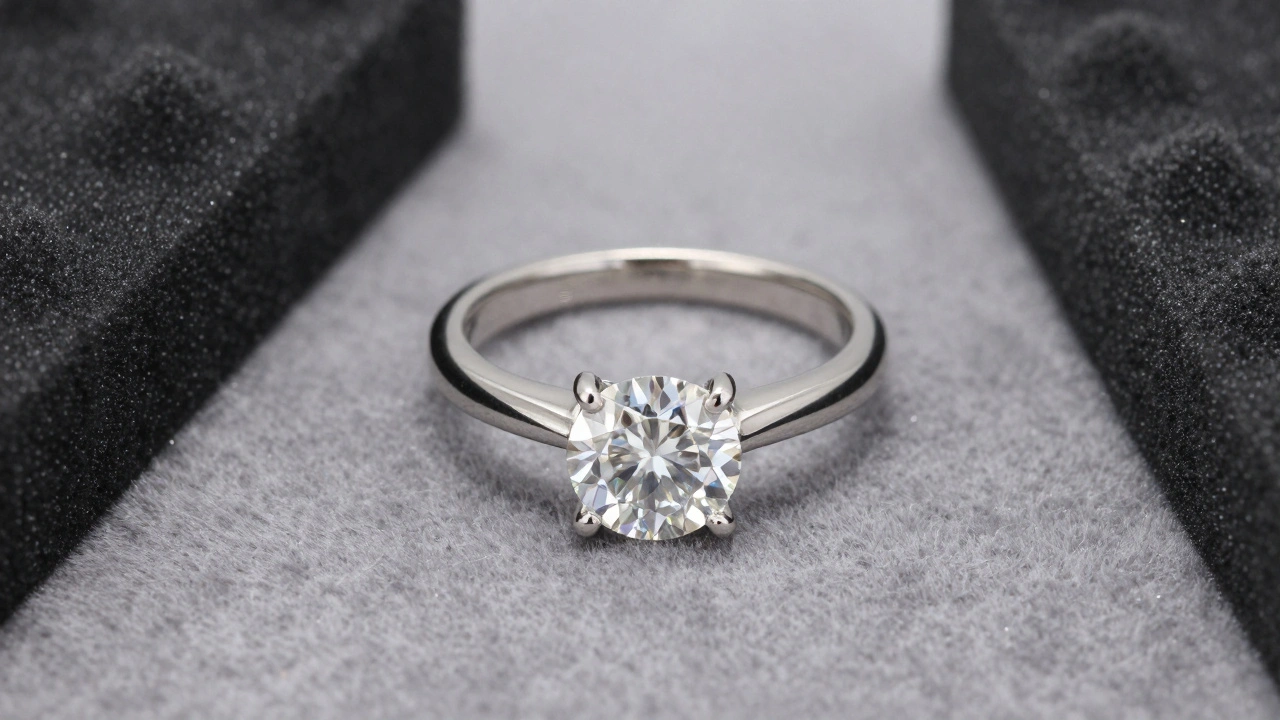
Edge lighting, also called rim lighting, is simple in concept but powerful in effect. You place a light behind the product, aimed toward the camera. The light doesn’t hit the front - it grazes the edges. What you get is a glowing outline that separates the product from its background. This isn’t just about making things look shiny. It’s about creating depth. Without it, a glass bottle might blend into a white backdrop. With it, you see every curve, every bevel, every thickness of the glass.Think about a diamond ring. The main light shows the stone. The edge light shows the metal band wrapping around it. Without that rim, the band looks like a smudge. With it, you see the precision of the setting, the way the metal catches light as it curves. That’s shape definition. That’s what makes buyers trust the product.
How to Set It Up - No Studio? No Problem
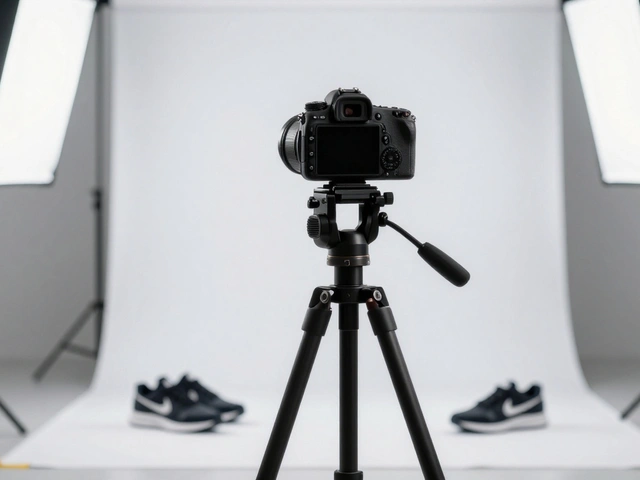
You don’t need a full studio to use edge lighting. Even a single LED panel and a white wall can work. Here’s how to start:- Place your product on a surface, ideally with a clean background (white, black, or neutral).
- Position a light behind the product, slightly higher than the object, pointing down toward the camera lens.
- Use a grid or snoot on the light to narrow the beam. You want light to kiss the edge - not flood the whole scene.
- Start with the light at 75% power. Take a test shot. If the rim is too soft, increase power or move the light closer. If it’s too harsh, add a diffusion panel between the light and the product.
For reflective products like watches or metal tumblers, use a black foam board on the side opposite the edge light. This blocks unwanted reflections and keeps the rim clean. For translucent items like glass bottles or plastic containers, edge lighting reveals internal structure - you can see the thickness of the walls, the texture of the inside, even the bubbles in the glass.
Modifiers That Make or Break the Look
The type of modifier you use changes everything:- Grids - Tighten the beam. Perfect for small items like jewelry or electronics. A 10-degree grid gives you surgical control.
- Snoots - Even tighter. Use when you only want light on the very edge - say, the rim of a wine glass or the curve of a ceramic mug.
- Softboxes - If you want a gentler glow, use a small softbox. Great for fabrics, leather, or products with fine textures.
- Umbrellas - Too broad for most edge lighting. They scatter too much. Save these for fill lights.
Don’t forget reflectors. A silver reflector placed just below the product bounces a little light back up, filling in shadow without killing the rim. A white reflector is softer. Black foam boards? Use them like shields. Block stray light from hitting the product’s front - especially if it’s shiny.
Why It Works So Well for Certain Products
Edge lighting isn’t universal. It’s a specialist tool. It shines (literally) on:- Transparent or translucent items - Bottles, glassware, acrylic displays. The light reveals thickness and clarity.
- Jewelry and metal - The rim highlights the shape of a ring band or the edge of a pendant. It makes craftsmanship visible.
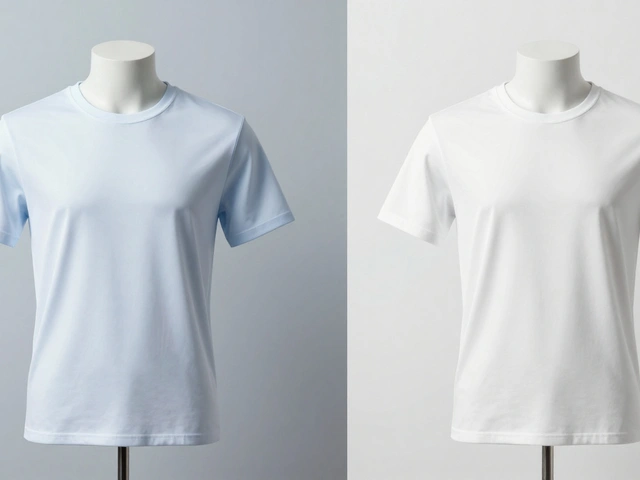
- Textured fabrics - A wool sweater? Edge lighting shows the weave. A silk scarf? It catches the drape.
- Electronics with curves - Phones, speakers, headphones. The edge defines the contour, making them look premium.
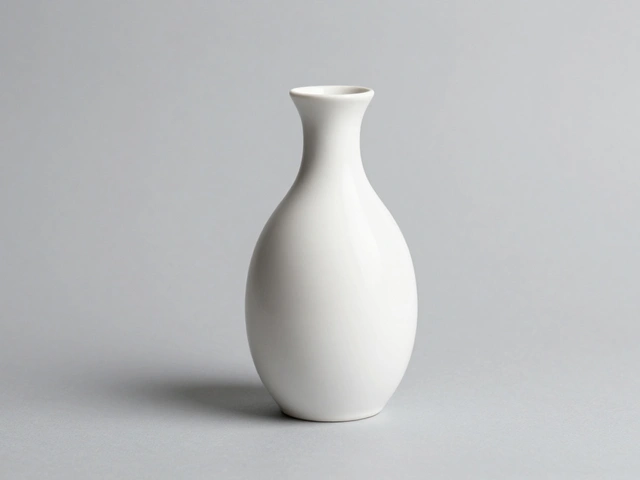
- Sculptural objects - Vases, figurines, art pieces. The rim turns form into drama.
On the flip side, avoid edge lighting for flat, matte products like paper books or cardboard boxes. It adds nothing. You’re better off with soft, even lighting there.
Controlling Glare and Reflections
Shiny products are tricky. Too much edge light? You get hot spots. Too little? The product disappears. Here’s how to fix it:- Use a polarizing filter on your lens. It cuts glare without changing exposure.
- Adjust the angle of the edge light. Move it left or right - even 5 degrees can kill a reflection.
- Shoot from a slightly higher angle. This keeps your camera out of the reflection.
- Use black foam boards like barriers. Place them on either side of the product to block light from bouncing in.
Test shots are non-negotiable. Take one. Zoom in. Look for hot spots. If you see a bright dot where the edge meets the background, you’re overdoing it. Dial back power or move the light farther away.
Consistency Is Everything
If you’re shooting 20 products for an online store, they all need to look like they belong together. That means:- Use tape to mark where lights, the camera, and the product sit. Reuse those marks every time.
- Lock your camera settings: aperture, shutter speed, ISO. Don’t tweak them between shots.
- Take a black frame before each session. Point the camera at the background with no lights on. If you see any pixels, there’s ambient light messing with your setup.
Small changes add up. One product lit 10% brighter than the others? It looks cheap. Consistency builds trust.
When to Skip Edge Lighting
Not every product needs it. If the product is:- Flat and matte (like a book cover or a poster)
- Very small and needs even, shadowless light (like a USB drive)
- Part of a lifestyle shot where you want natural, soft lighting
Then skip edge lighting. Use a ring light or a large softbox instead. Edge lighting is for drama, not uniformity.
Pro Tip: Layer It
The best product shots use multiple lights. Edge lighting doesn’t work alone. Pair it with:- A main light at 45 degrees to show detail
- A fill light or reflector to soften shadows
- A background light to separate the product from the backdrop
That’s the four-light setup professionals use. It’s not complicated. Just intentional. Each light has a job. Edge lighting? It’s the sculptor’s chisel - it defines what the others show.
Final Thought: It’s Not About Brightness - It’s About Control
Edge lighting isn’t about making things glow. It’s about controlling where the light goes. A well-placed rim tells the viewer: This is where the product ends. This is its shape. This is its quality. That’s why it’s so powerful. You’re not just photographing an object. You’re revealing its design.Can I use edge lighting with natural light?
Yes, but it’s harder. You need a window behind the product with no direct sunlight - think overcast daylight or a shaded porch. Use a white reflector on the front to bounce light back. The rim will be softer than with a studio light, but it still works for subtle, natural-looking shots.
Do I need expensive lights for edge lighting?
No. A $30 LED panel with a grid can do the job. What matters is control, not price. Look for lights with adjustable brightness and the ability to attach modifiers. Many budget LED panels have built-in grids or can fit snoots. Focus on the modifier, not the brand.
Why does my edge light create a halo around the product?
That’s normal - and good. The halo is the rim effect. But if it’s too wide or fuzzy, your light is too broad. Use a grid or snoot to tighten the beam. If you’re using a softbox, move it farther back. The farther the light, the narrower the fall-off.
Can edge lighting work on dark backgrounds?
Absolutely. In fact, it works better. A black background makes the rim stand out dramatically. It’s ideal for luxury products like watches, jewelry, or high-end electronics. Just make sure your edge light is bright enough to cut through the darkness.
What’s the difference between edge lighting and backlighting?
Backlighting shines directly at the product from behind, often creating silhouettes. Edge lighting is more precise - it only grazes the outer edges. Think of backlighting as a floodlight and edge lighting as a spotlight tracing the outline. Edge lighting preserves detail; backlighting often hides it.