When you’re shooting products for a campaign, white backgrounds and even lighting won’t cut it anymore. Consumers scroll past the same sterile shots every day. What grabs attention? Color. Not just in the product, but in the light itself. Color gels - thin, flexible sheets of colored material that slip over your lights - are one of the simplest, cheapest, and most powerful tools you can use to make product photos stop the scroll.
What Are Color Gels, Really?
Color gels are filters made from heat-resistant polyester or silicone. They don’t change the product - they change how light hits it. Place a red gel over a strobe, and suddenly your sneaker glows with deep crimson shadows. Put a teal gel on a side light, and your water bottle looks like it’s lit from an underwater scene. They’re not magic. They’re physics: gel filters out certain wavelengths of light, letting only the color you choose pass through.
Not all gels are the same. A deep blue gel can cut up to four stops of light - meaning your flash needs to be much stronger to get the same exposure. A pale yellow? It might only cut half a stop. That’s why testing your setup before the shoot matters. If you’re using a Rosco Color Effects Kit (around $40 for 15 sheets), you’ll notice some gels fade faster under high heat. That’s why silicone gels like Westcott’s Vivid FlexiGels are better for long sessions. They slide right onto flash domes and handle heat without warping.
Why Use Gels in Product Photography?
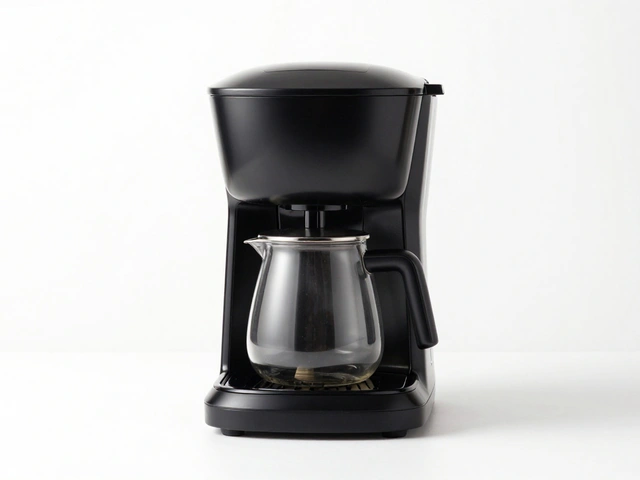
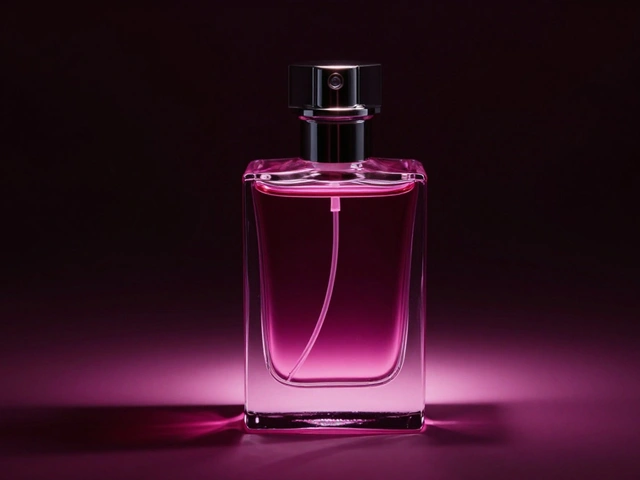
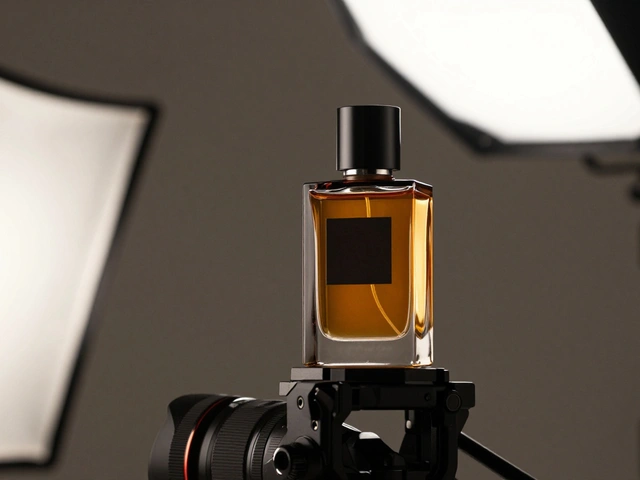
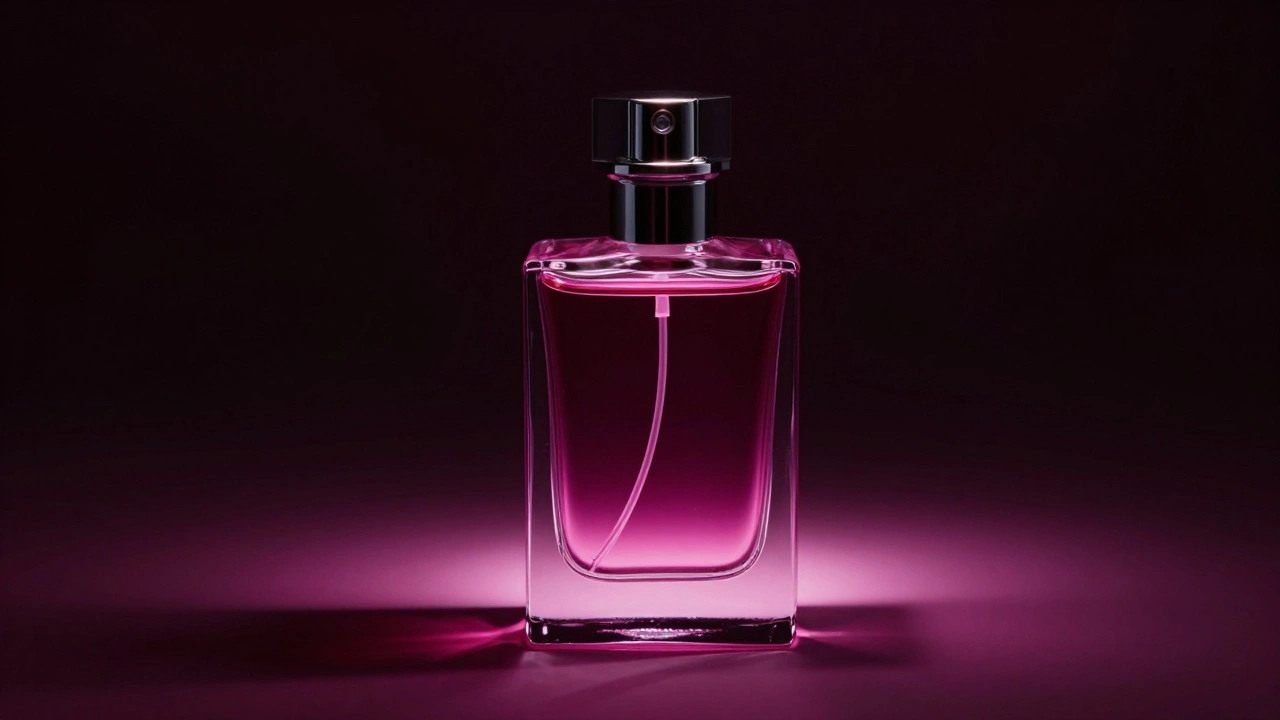
Most product shots look the same because they’re lit the same way: softbox from above, reflector below. It’s safe. It’s predictable. It’s forgettable. Color gels break that pattern. They create mood. They tell a story. A coffee mug lit with amber gel doesn’t just show the product - it screams "morning warmth." A perfume bottle with a violet gel behind it feels like midnight luxury.
Here’s the truth: campaigns don’t sell products. They sell feelings. And color light is one of the most direct ways to inject emotion into a still image. Think about Apple’s product campaigns. They don’t just show the phone. They show how it fits into your life - the glow on a night table, the reflection on a wet sidewalk. Gels help you do that without CGI.
Simple Setups That Actually Work
You don’t need five lights. You don’t need a team. Start here:
- Single Color, Single Light: Put one gel on your main light. Use a dark background. The product catches the colored light, and shadows stay deep. Try a magenta gel on a glass bottle - it makes the liquid inside look like it’s glowing from within.
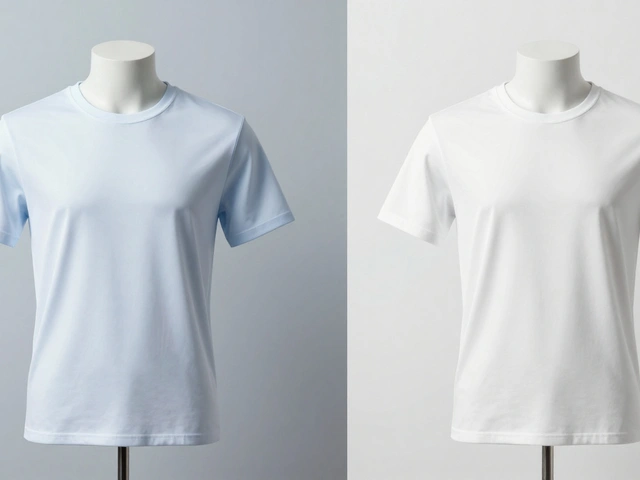
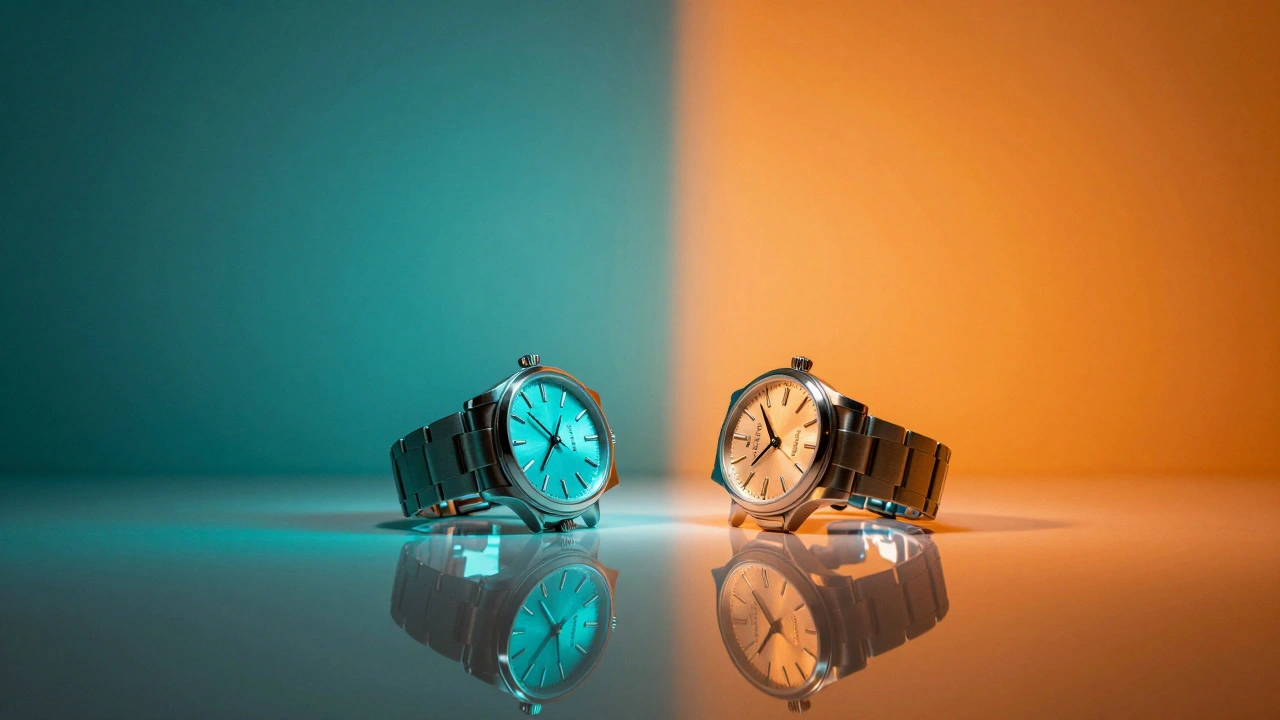
- Split Color: Two lights. One with a blue gel on the left, one with an orange gel on the right. Position them at 45 degrees. The product gets color on both sides, but the center stays neutral. It’s dramatic without being messy. Works great for electronics, watches, or cosmetics.
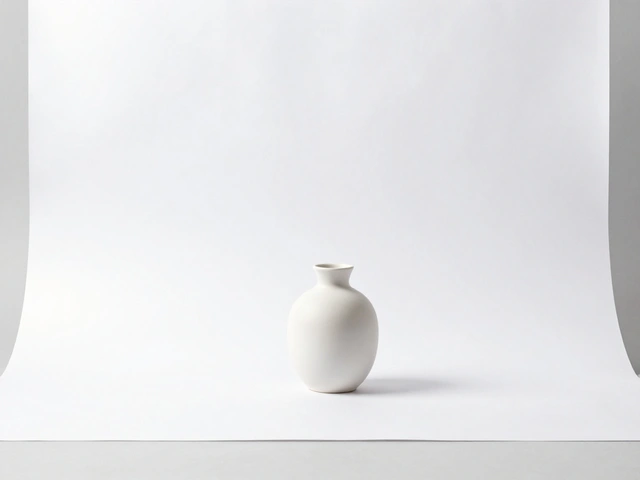
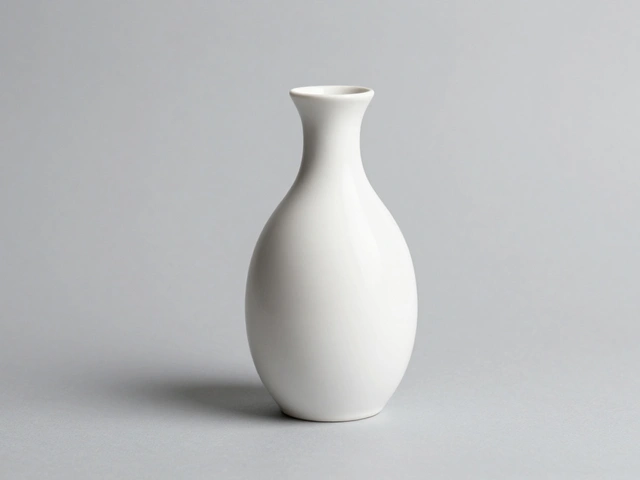
- Background Wash: Point a gelled light at the wall behind the product. No need to light the product with color - just let the background pop. A deep green gel on a white wall turns your skincare product into a spa ad. A red gel behind a wine bottle feels like a candlelit dinner.
- Rim Light Drama: Place a gelled light behind the product, angled to catch the edge. Use purple, blue, or teal. Avoid orange - it blends into white backgrounds. This makes your product look like it’s floating. Perfect for jewelry, watches, or anything with a shiny surface.

Advanced Tricks for Campaign-Level Shots
Once you’re comfortable with basics, try these:
- Two Gels, One Shadow: Use two lights with complementary colors - say, teal and coral. Aim them at the background from opposite sides. Where they overlap, you get a third color. The product stays neutral, but the wall behind it becomes a living canvas. This works best with dark backgrounds so the colors don’t wash out.
- Color + Texture: Spray a fine mist of water in front of a gelled light. The droplets catch the color and scatter it into soft rainbows across the product. Try this with glassware or metallic surfaces. It adds movement to a static shot.
- Underlighting with Gel: Instead of lighting from above, put a gelled light under the product. A red gel under a transparent perfume bottle makes the liquid look like it’s glowing from the inside. A green gel under a ceramic plate makes it look like it’s lit by moonlight.
And here’s a pro tip: always shoot in manual mode. Auto-white balance will try to "fix" your colored light. You want that color. Lock your white balance to daylight or tungsten, depending on your gel. Then tweak exposure manually. If your gel is dark, increase flash power. If it’s thin, you can keep it low.
What to Avoid
Don’t mix gelled light with un-gelled light. If you leave one side of your setup white, the color looks muddy. Pick one direction - all gelled or all neutral.
Don’t overdo it. Three colors max. More than that, and your image feels chaotic, not creative. A campaign should feel intentional, not like a rave.
Don’t forget heat. If you’re firing strobes at full power for 20 minutes, your gel might melt. Test your setup. Use silicone gels. Or switch to continuous LED lights - they run cooler and give you real-time color feedback.
Real Campaign Examples
Think about how a brand like Glossier uses color. Their product shots often have a soft pink or lavender wash. That’s not a filter. That’s a gel on a side light, maybe a 1/4 CTO or a pale pink. It’s subtle. It’s consistent. It’s recognizable.
Another example: a high-end coffee brand used a deep amber gel on a back light to make their ceramic mugs look like they were glowing in a morning sunbeam. No sunlight. Just a gel and a dark studio wall. Sales on that campaign went up 27% in three weeks.
Even a simple product like a phone case can feel premium with a single blue gel on the background. The case stays neutral. The background sings. That contrast tells buyers: "This isn’t just plastic. It’s design."
How to Start
You don’t need to buy a whole kit. Start with three gels:
- Blue (CTB): Cool, clean, modern. Great for tech, skincare, and luxury items.
- Amber (CTO 1/4): Warm, inviting. Perfect for food, coffee, candles, and home goods.
- Magenta (or Red): Bold, energetic. Use for fashion, beauty, or anything targeting Gen Z.
Get a set like Rosco’s Color Effects Kit. They’re cheap, thin, and easy to cut. Use binder clips or gaffer tape to hold them on your lights. Test one product at a time. Shoot the same item with each gel. Compare the results. Which one makes you stop and look? That’s your campaign color.
Final Thought
Color gels aren’t about being flashy. They’re about being memorable. In a world of endless product shots, the ones that stand out aren’t the ones with the best lighting - they’re the ones with the most intentional color. A single gel can turn a product from "just another item" into "I need to own this."
Start small. Test one color. One product. One campaign. Then see what happens when you stop lighting like everyone else.
Can I use color gels with LED lights instead of strobes?
Yes. LED lights run cooler than strobes, so gels won’t melt as easily. They’re actually better for testing color effects in real time because you can see the result before taking the shot. Just make sure your LEDs are color-balanced and don’t have a built-in color shift. Some budget LEDs tint blue or green - that can mess with your gel’s intended effect.
Do I need to buy expensive gels?
No. Rosco and Lee Filters make professional-grade gels, but you don’t need them to start. A $40 kit with 15 sheets lasts for years. Silicone gels like Westcott’s Vivid FlexiGels are more durable and easier to use, but they cost more. For beginners, stick with thin polyester sheets. They’re cheap, easy to cut, and work fine for most product shots.
Can I use gels on continuous lights for video product ads?
Absolutely. Many brands now shoot product videos for Instagram and TikTok using gelled continuous lights. The key is consistency. Use the same gel on the same light every time so your color stays uniform across shots. Avoid flickering LEDs - they can cause color banding in video. Stick to high-CRI LEDs rated for 90+ color accuracy.
How do I prevent my gel from melting during a long shoot?
First, don’t fire your strobe at full power for long periods. Lower the power, increase your ISO or aperture instead. Second, use silicone gels - they’re heat-resistant. Third, keep the gel at least an inch away from the light source. Use a diffuser or grid between the gel and the flash to spread heat. And always have a spare gel on hand - they can warp or burn without warning.
What’s the best way to shoot products with colored shadows?
Use two gelled lights aimed at the background from opposite sides. Place the product between them. The shadows behind the product will be colored, and where the two colored lights overlap, you’ll get a third color. Use a dark background so the shadows pop. This works best with products that have clear shapes - like bottles, boxes, or jewelry. Avoid cluttered backgrounds. Less is more.