When you see a beauty portrait in a fashion magazine, it’s easy to think it’s just perfect skin, flawless lips, and glowing eyes. But behind that image is a careful balance of light, technique, and intention. It’s not about erasing every pore or hiding every freckle. It’s about beauty portrait photography that feels real, powerful, and intentional - even when it’s highly stylized.
Lighting: The Silent Director
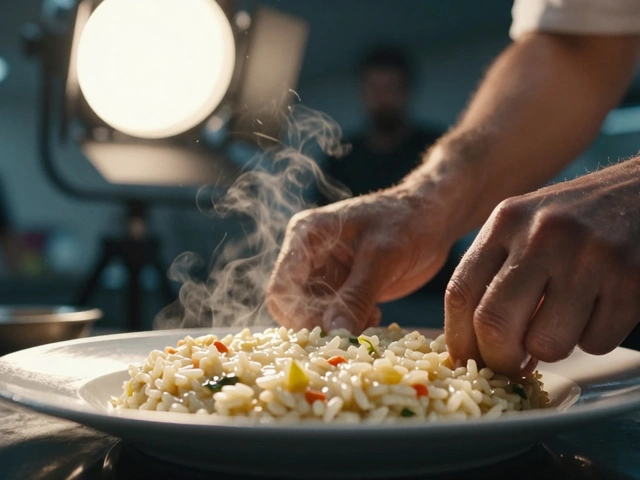
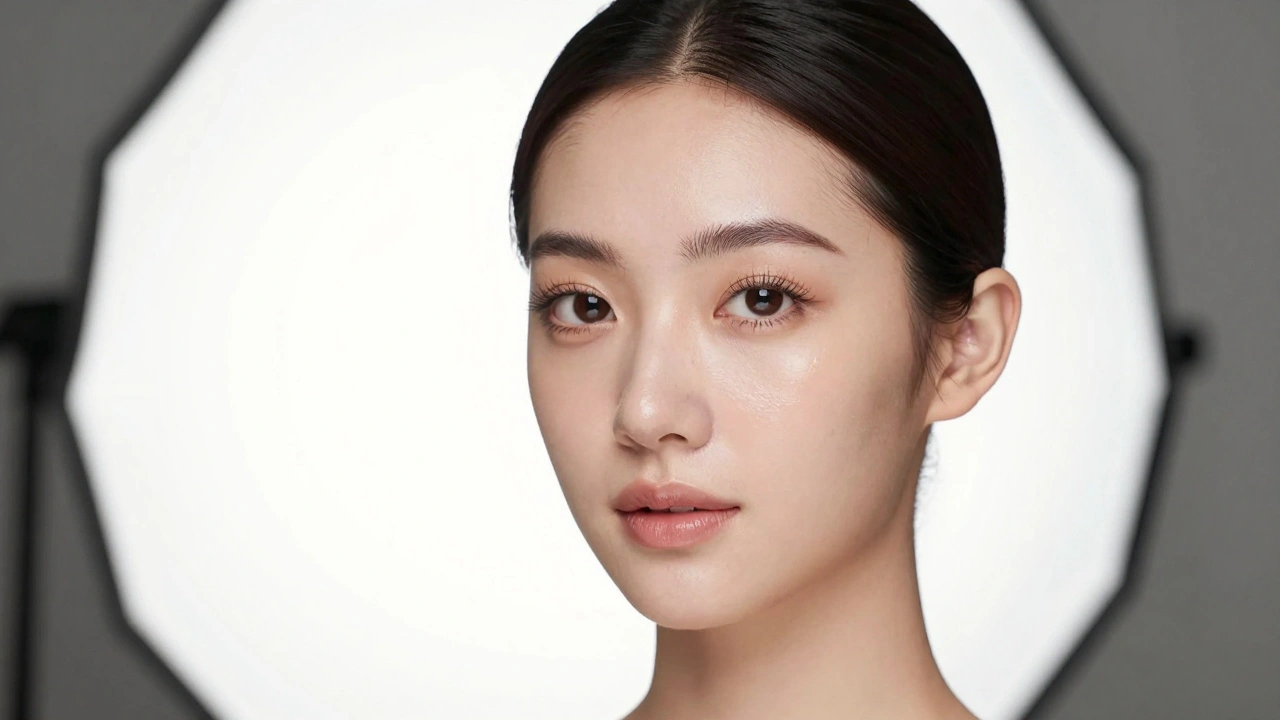
Too many photographers start with hard light because it looks dramatic. But in beauty portraits, hard light is a trap. It turns every tiny bump, line, or uneven tone into a spotlight. A single acne breakout under harsh side lighting can ruin the whole shot. That’s why professionals use large softboxes - often placed directly in front of the camera, or slightly off to one side. This creates even, wraparound light that fills shadows naturally. The goal isn’t to flatten the face. It’s to reveal it gently.
Think of it like morning sunlight through a curtain. Soft, directional, but forgiving. This kind of light doesn’t just flatter skin - it makes retouching easier. Less time fixing, more time refining. And if you’re shooting near a window? Use a white reflector on the opposite side. It’s not magic. It’s physics.
Focus: Where the Eye Goes
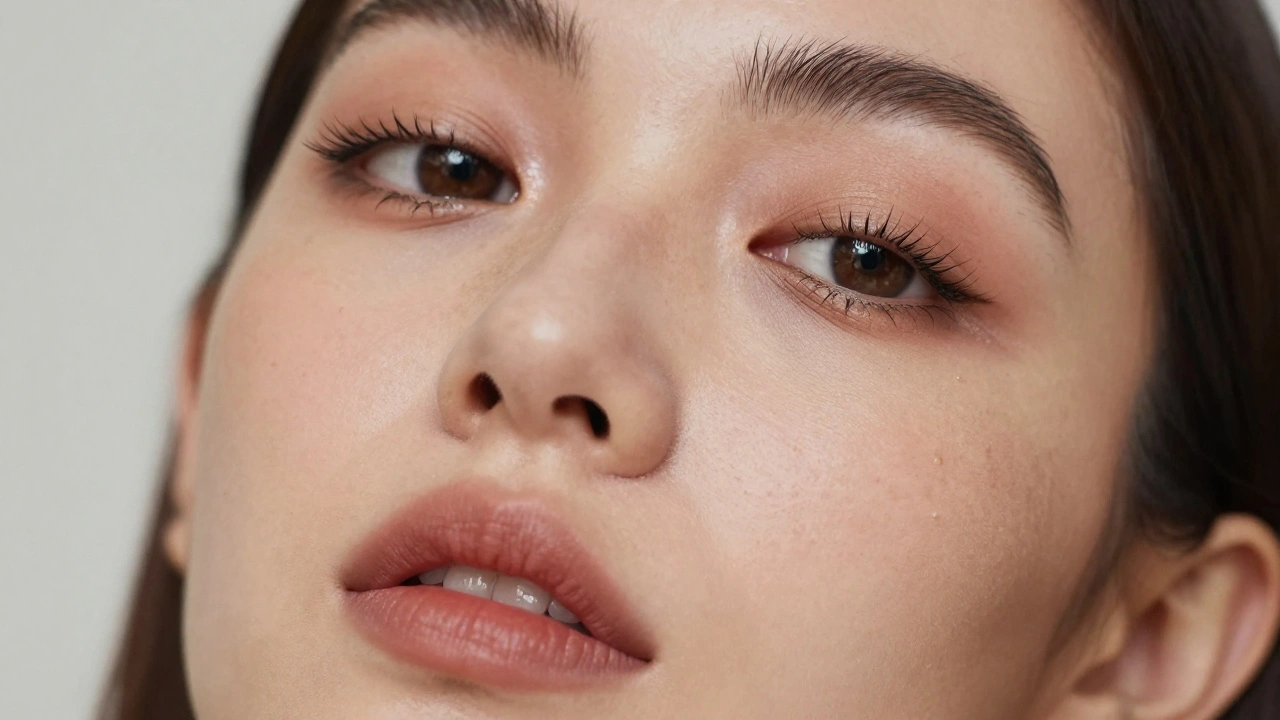
In a close-up beauty shot, the eyes aren’t just part of the face - they’re the anchor. If one eyelash is blurry while the other is sharp, your viewer’s brain will feel off. That’s why photographers use focus masking tools. In Capture One or Lightroom, this feature highlights in-focus areas with a green overlay. You’re not checking for perfect clarity everywhere. You’re looking for the tiny details: the curve of an eyelash, the edge of an eyebrow, the wet shine on lips. If those are crisp, the rest falls into place.
And don’t assume both eyes need to be in focus if the model turns their head slightly. Depth of field at f/5.6 to f/8 usually covers it. Go wider, like f/2.8, and you risk having one eye sharp while the other melts into softness. That’s fine for emotional portraits. But in beauty fashion, where symmetry and polish matter, you need control.
Composition: Framing the Face
Don’t shoot a beauty portrait like you’re shooting a full-body fashion look. That’s a common mistake. Beauty portraits zoom in - often just the head and shoulders, sometimes tighter. You’re not showing the outfit. You’re showing the art on the skin.
Try shooting from slightly below eye level. It gives the model presence - makes them feel powerful, not just pretty. A low angle lifts the chin subtly, opens the neck, and draws attention to the eyes. Higher angles? They work for soft, innocent looks - think natural makeup, dewy skin, tousled hair. But they can also make the face look wider or heavier. Use them with purpose.
Leave space above the head. Crowding the frame feels claustrophobic. Let the background breathe. A blurred gradient or soft color wash keeps the focus where it belongs: on the texture of the skin, the shimmer of the lipstick, the depth of the iris.
Makeup and Skin: The Canvas
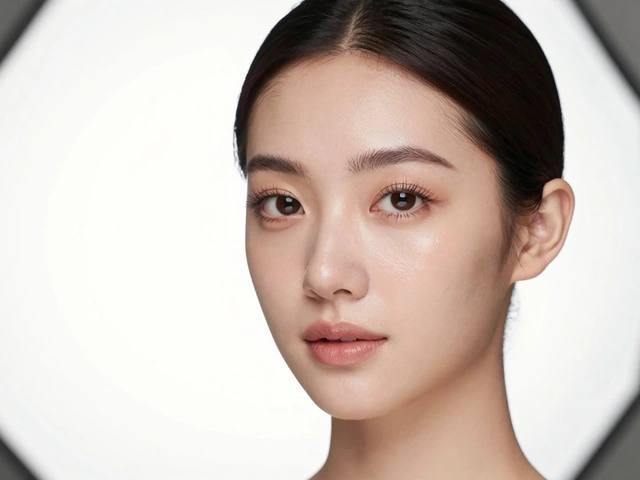
The makeup artist and photographer are partners. You can’t fix bad makeup in post. You can only enhance good makeup. For a bold editorial look - think dark lips, smoky eyes - the skin should be matte, even, and smooth. For a natural, fresh-faced look? A hint of dew, a touch of highlighter on the cheekbones, and barely-there concealer. The skin should look like skin, not plastic.
Skincare matters more than you think. A model with dehydrated skin under studio lights will look dull, ashy, or uneven. That’s why top studios use hydrating primers, oil-control sprays, and even LED light treatments before the shoot. It’s not just about looking good - it’s about how the skin reflects light. Dry skin scatters light. Hydrated skin reflects it evenly. That’s why you see that glow in high-end beauty shots. It’s not Photoshop. It’s pre-shoot prep.
Retouching: Less Is More
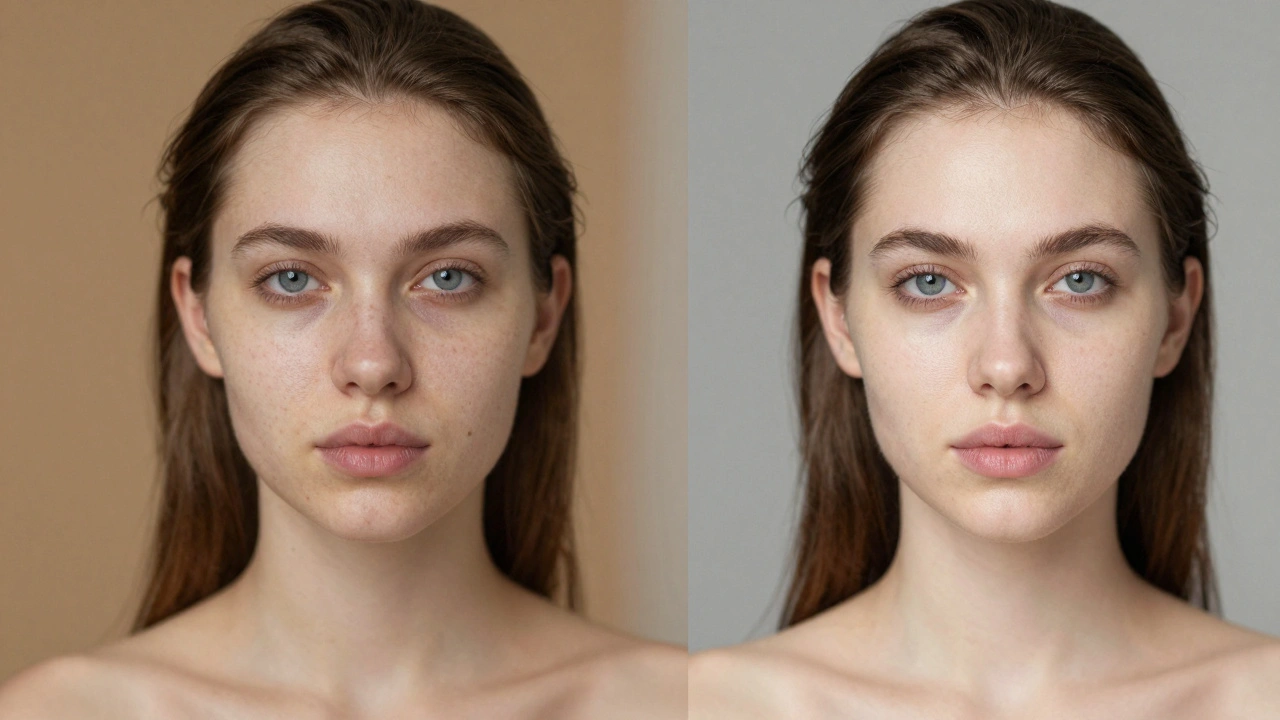
Retouching isn’t about removing flaws. It’s about removing distractions. You don’t want to erase every pore. You want to reduce the ones that draw attention away from the eyes or lips. That’s where frequency separation comes in. It splits the image into two layers: one with skin tone, one with texture. You smooth the tone layer - softening redness, evening out color - but leave the texture layer untouched. The result? Skin that looks flawless but still real.
Use the healing brush sparingly. One click to remove a stray hair. Two to fix a blemish. Three? You’ve gone too far. Over-retouched skin looks like wax. It loses dimension. It feels artificial. The best beauty portraits have a quiet imperfection - a faint line near the eye, a subtle shadow under the cheek. That’s what makes them human.
Color grading matters too. Cool tones for a crisp, clean look. Warm tones for a soft, romantic feel. But don’t go overboard. Skin tones should look natural, not orange or green. Use a gray card during shooting to lock in white balance. Then fine-tune in post with subtle shifts in hue and luminance.
Eye Details: The Secret Weapon
What makes a beauty portrait unforgettable? Often, it’s the eyes. Not just their color - their depth. A well-placed catchlight - a tiny reflection of light in the iris - adds life. That’s why photographers use reflectors or ring lights with diffusion. You want one clear highlight, not ten scattered ones. Place it at 10 o’clock or 2 o’clock on the iris. Too centered? It looks flat. Too off? It feels unnatural.
And eyelashes? Don’t over-enhance them. A single layer of mascara, slightly clumped, looks more real than a digitally thickened set. If you’re retouching lashes, use a low-opacity brush. Add volume, not cartoonish length. The goal isn’t to make them look like they’re from a mascara ad. It’s to make them look like they belong to the person.
Cosmetics: The Final Touch
Lipstick isn’t just color. It’s texture. Glossy? It reflects light differently than matte. Satin? It catches the light just enough to show dimension. That’s why photographers test makeup under the same lighting as the shoot. A red lipstick that looks bold under daylight might look flat under studio lights. A nude that looks natural on the skin might turn gray on camera.
Use a small brush to define the lip line - not to overdraw, but to sharpen the edge. That creates contrast. And don’t forget the lower lip. A subtle highlight on the center of the lower lip adds fullness. It’s a tiny trick, but it changes everything.
For eyeshadow, avoid heavy glitter unless the shoot calls for it. Instead, use metallic pigments. They catch light softly, giving depth without sparkle. A hint of bronze under the brow bone lifts the eye. A touch of taupe in the outer corner adds mystery. These aren’t just makeup choices - they’re lighting tools.
Final Workflow: From Test Shot to Final Frame
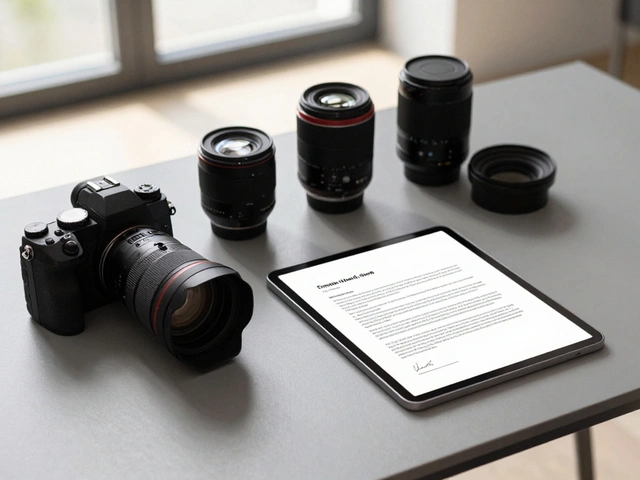
Before the model even arrives, take a test shot with a gray card and a white card. Adjust exposure, contrast, and white balance. Apply those settings as a preset to every image in the session. That way, you’re not guessing on set. You’re refining.
Shoot in RAW. Always. You need the data to recover highlights in white clothing or shadows under the eyes. Then, after the shoot, go through images in batches. First pass: delete blurry shots. Second pass: select the best 10-15. Third pass: retouch. Don’t edit all 200. Pick the strongest ones. Beauty portraits live or die on a single frame.
And remember: the best beauty portraits don’t make you think, “Wow, that’s edited.” They make you think, “I wish I looked like that.”
What lighting setup is best for beauty portrait photography?
A large softbox placed directly in front of the camera or slightly to the side is ideal. It creates even, diffused light that minimizes harsh shadows and skin texture issues like acne or fine lines. Avoid hard light or strong side lighting, as they exaggerate imperfections. Reflectors can help fill in shadows on the opposite side of the face for a balanced look.
How close should you shoot for a beauty portrait?
Beauty portraits typically frame the subject from just above the head to the shoulders, or tighter - sometimes just the eyes and lips. Unlike full-body fashion shots, the goal is to isolate the face and highlight details like skin texture, eye makeup, and lip definition. Avoid including too much background or clothing unless it’s part of the concept.
Should you blur the background in beauty portraits?
Yes - but not too much. A softly blurred background (using f/5.6 to f/8) keeps focus on the face without distracting elements. Too shallow a depth of field (like f/1.4) can make one eye blurry if the model turns slightly. A gentle bokeh enhances the subject without turning the image into a dreamy haze.
Is retouching necessary in beauty portrait photography?
Retouching is essential, but it should be subtle. The goal isn’t to erase every pore or freckle - it’s to remove distractions like temporary blemishes, stray hairs, or uneven tone. Use frequency separation to smooth skin tone while preserving texture. Over-retouching makes skin look plastic. The best beauty portraits still feel human.
How do you make eyes look more expressive in a beauty shot?
A single, well-placed catchlight in the iris - positioned at 10 or 2 o’clock - adds life. Use a reflector or diffused ring light to create it. Avoid multiple highlights. Enhance eyelashes lightly in post, but don’t artificially thicken them. Keep the iris color true to life, and use subtle dodging to brighten the whites slightly for contrast.