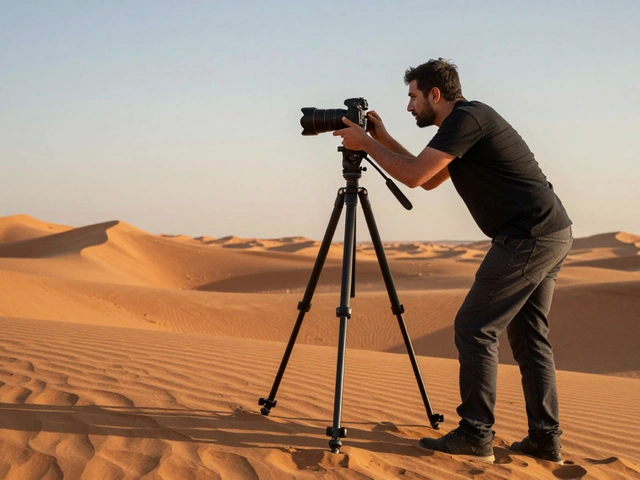
Have you ever tried to capture a sweeping mountain range or a grand interior space, only to realize your camera lens just couldn't cover it all? You pan left, then right, but no single frame does the scene justice. This is where panorama merging comes in. By combining multiple overlapping photos into one wide-angle image, you can create visuals that feel expansive, immersive, and incredibly detailed. The goal isn't just to glue pictures together; it's to achieve seamless results that look like they were taken with a specialized ultra-wide lens.
Getting those seams to disappear requires more than just luck. It involves precise shooting techniques, choosing the right software, and understanding how digital blending works. If you've struggled with ghosting artifacts, warped skies, or mismatched lighting before, this guide will walk you through the exact steps to fix those issues. We'll break down everything from the initial shoot to the final polish, ensuring your panoramas look professional every time.
The Foundation: Shooting for Success
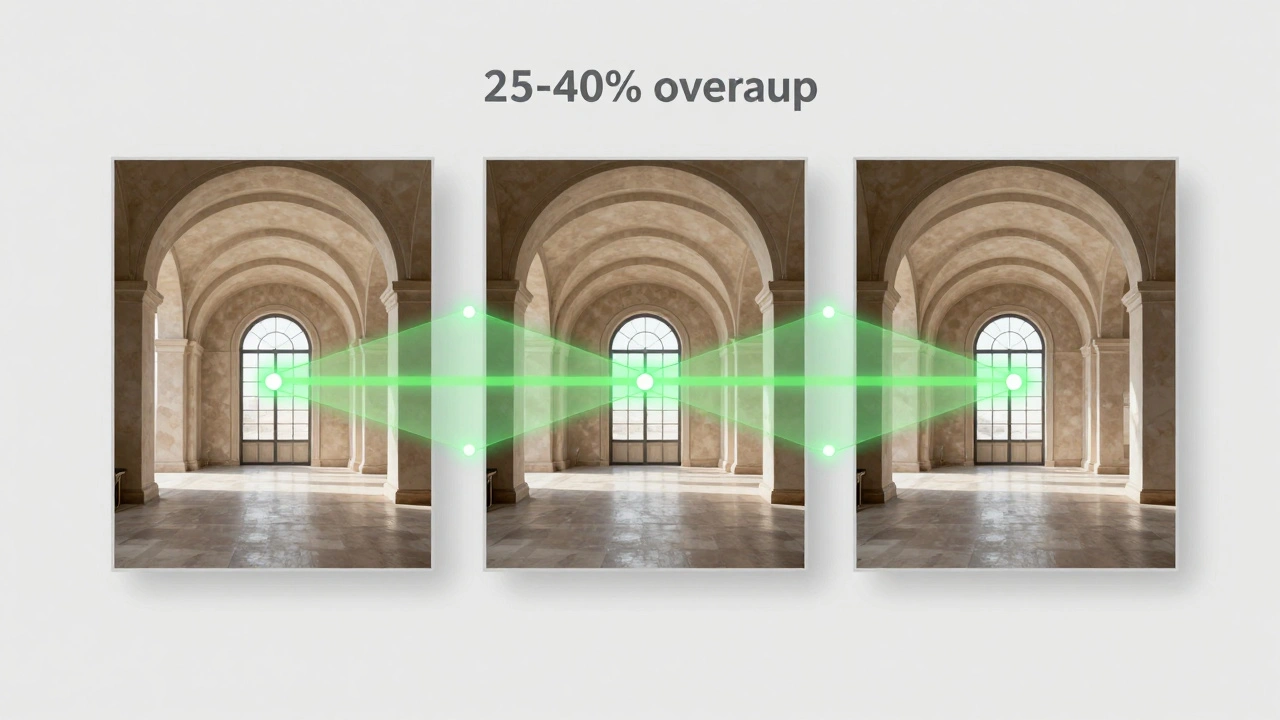
Before you even open your editing software, the quality of your panorama depends entirely on how you shot the images. Software can do miracles, but it can't invent data that wasn't captured. The most critical rule is overlap. You need enough common ground between consecutive frames for the algorithm to find matching points.
Aim for at least 25% to 40% overlap between each shot. If you're unsure, err on the side of more overlap rather than less. Why? Because extra overlap gives the software more flexibility when blending exposures and correcting perspective. Too little overlap, and you'll get gaps or obvious cut lines in the final image. When moving between frames, keep your movements slow and steady. Rushing leads to inconsistent framing, which confuses the stitching engine.
Another non-negotiable factor is file format. Always shoot in RAW, not JPEG. RAW files contain unprocessed sensor data, giving you full control over exposure, white balance, and color tones later. When stitching multiple images, slight variations in light are inevitable. With JPEGs, those adjustments are baked in and hard to reverse without losing quality. RAW files retain the highest level of detail, allowing you to match the brightness and color temperature across all frames before merging them. This step alone dramatically reduces the amount of manual retouching needed later.
If you're using a tripod, make sure it's locked down tight. Even minor vibrations can cause misalignment. For handheld shots, use a fast shutter speed to minimize motion blur. And remember to keep the camera level; tilting up or down inconsistently creates a wavy horizon that's painful to fix in post-processing.
Choosing Your Stitching Software
Not all panorama tools are created equal. The right choice depends on your workflow, budget, and specific needs. Here’s how the major players stack up:
| Software | Best For | Key Features | Limitations |
|---|---|---|---|
| Adobe Photoshop | All-around editing | Photomerge tool, layer-based editing, strong content-aware fill | Fewer projection options, struggles with complex nodal point shifts |
| Adobe Lightroom | Quick workflows | HDR Panorama merge, keeps files as DNGs, integrated catalog | Limited customization, not ideal for complex multi-row stitches |
| Capture One | High-end RAW processing | Stitches directly to DNG, three projection types (Spherical, Cylindrical, Perspective) | Newer feature set, steeper learning curve for some users |
| PTGui | Dedicated panorama work | Advanced mask editing, HDR merging, exposure blending, control points | Separate purchase, interface feels dated compared to modern suites |
| Autopano | Budget-friendly automation | Free version available, intelligent alignment, basic HDR support | Fewer advanced controls, less precise blending algorithms |
For most photographers, Adobe Photoshop offers the best balance of ease and power. Its Photomerge function (found under File > Automate) handles large object movements surprisingly well. However, if you're dealing with architectural shots where vertical lines must stay straight, or you need super-resolution capabilities, dedicated tools like PTGui or Capture One might be worth the investment. Capture One’s ability to output stitched panoramas as linear DNG files is a game-changer for editors who want to continue tweaking colors and contrast after the merge.
Understanding Projections: Keeping Lines Straight
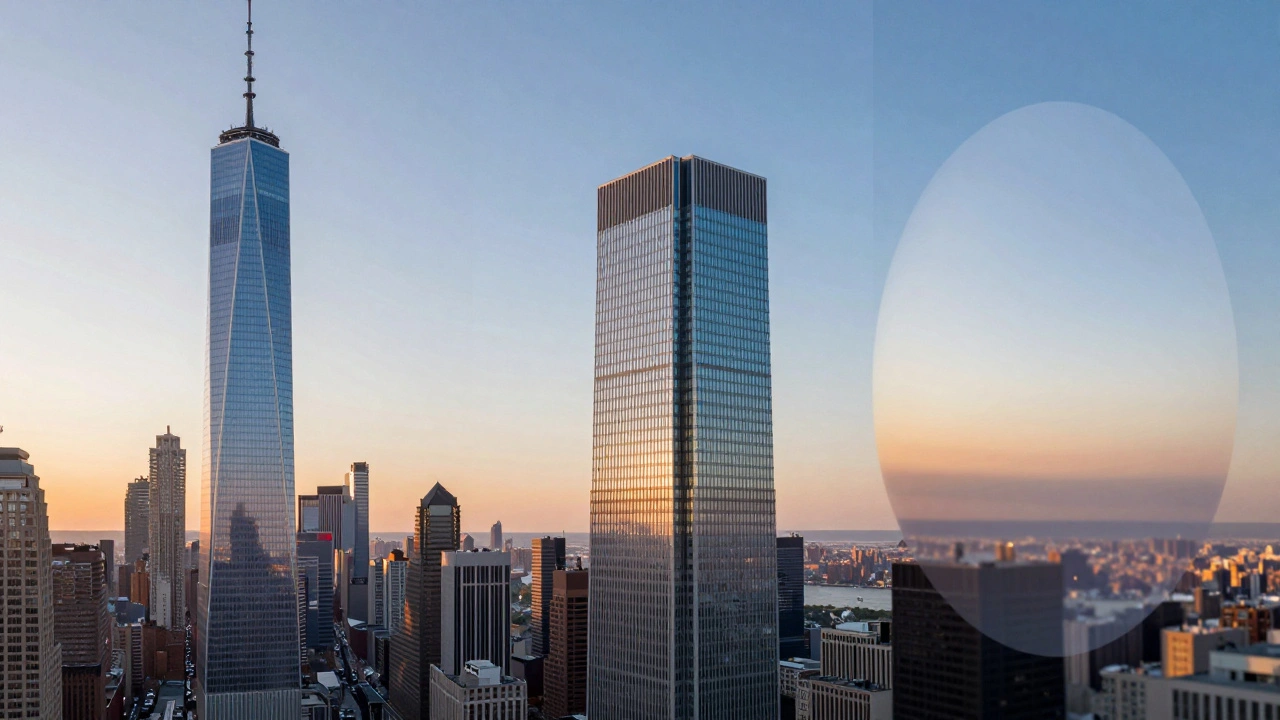
One of the biggest mistakes beginners make is ignoring projection settings. When you stitch multiple images, the software has to decide how to map them onto a flat plane. The wrong choice can turn a skyscraper into a leaning tower or distort the sky into a fisheye bubble.
Here’s when to use each projection type:
- Perspective Projection: Use this for scenes covering less than 100 degrees of field view. It simulates a standard wide-angle lens, keeping parallel lines parallel. Ideal for interiors or close-up architectural details.
- Cylindrical Projection: Best for single-row panoramas exceeding 100 degrees. It keeps vertical lines vertical while curving the horizon slightly. Perfect for cityscapes or landscapes where you want buildings to stand upright.
- Spherical Projection: Necessary for multi-row stitching or very wide fields of view (both horizontally and vertically). It maps the image onto a sphere, which can distort edges but ensures continuity across massive sweeps. Great for 360-degree virtual tours.
If your software doesn’t offer these choices automatically, check the manual. In Photoshop, you can select “Cylindrical” or “Perspective” manually in the Photomerge dialog. Getting this right early saves hours of manual correction later.
The Step-by-Step Merging Workflow
Now that you’ve chosen your tool, let’s walk through the actual process. I’ll use Adobe Photoshop as the primary example since it’s widely accessible, but the logic applies to other platforms too.
- Import and Align: Open Photoshop, go to File > Automate > Photomerge. Select your source images. Choose “Auto” for layout unless you have a specific projection need. Check “Blend Images Together” and “Vignette Removal.” Click OK. Photoshop will analyze common points and align the frames.
- Check for Ghosting: Look closely at areas with movement-people walking, leaves swaying, clouds drifting. These often appear as translucent duplicates. Photoshop sometimes handles this automatically, but not always. If you see ghosts, you’ll need to fix them manually.
- Color Correction: Before finalizing, ensure white balance and exposure are consistent across the entire panorama. Use adjustment layers (Curves, Levels, Color Balance) clipped to the merged layer. Adjust globally first, then use masks to tweak individual sections if needed.
- Detail Enhancement: Apply sharpening selectively. Over-sharpening can amplify noise and stitching errors. Use Camera Raw Filter for clarity and texture adjustments. Noise reduction is crucial, especially in shadow areas where grain becomes visible.
- Crop and Straighten: The stitched image will likely have uneven borders. Crop out the excess. Use the Transform tool to straighten horizons or vertical lines if they’re still slightly off. A crooked horizon distracts the viewer instantly.
- Final Polish: Fix any remaining anomalies. Use the Clone Stamp or Healing Brush to remove stray pixels, lens flare artifacts, or incomplete blends. Add a subtle vignette to draw focus to the center if desired.
This workflow ensures a cohesive result. Skipping steps like color correction before merging can lead to banding or harsh transitions that are nearly impossible to fix afterward.
Troubleshooting Common Issues
Even with perfect technique, things can go wrong. Here’s how to diagnose and fix the most frequent problems:
Gaps or Cut Lines: This usually means insufficient overlap or drastic lighting changes between frames. Go back to your original RAW files and adjust exposure individually before re-stitching. If that fails, try adding control points manually in PTGui or similar software to guide the alignment.
Warped Skies: Caused by incorrect projection or moving clouds. Switch to Cylindrical or Spherical projection. If clouds moved significantly, consider shooting during calmer weather or using HDR techniques to blend exposures more smoothly.
Ghosting Artifacts: Movement in the scene creates duplicates. In Photoshop, duplicate the background layer, hide the original, and use layer masks to paint over the clean parts of the second layer. Alternatively, use Content-Aware Fill to replace problematic areas.
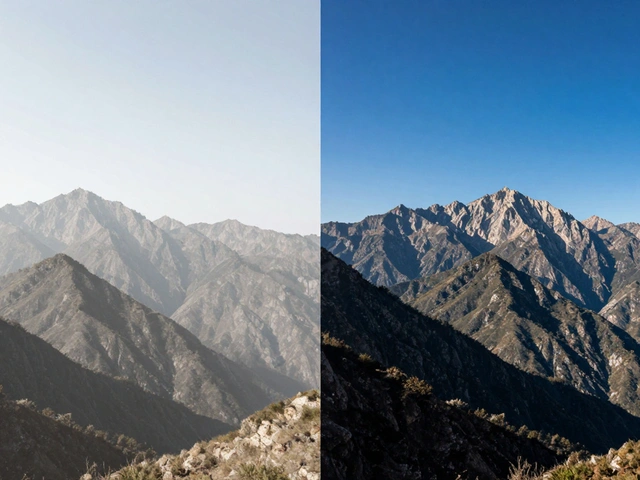
Uneven Brightness: Often due to lens fall-off or varying sunlight. Enable lens profile corrections in your software before stitching. After merging, use gradient filters or dodge/burn tools to even out hotspots and shadows.
Remember, troubleshooting is part of the craft. Don’t rush to export. Take time to inspect the image at 100% zoom. What looks fine on screen may reveal flaws when printed or viewed on high-resolution displays.
Pro Tips for Professional Results
To elevate your panoramas from good to great, keep these insights in mind:
- Use a Nodal Point Shooter: For architectural or product photography, parallax errors can ruin depth perception. A nodal point rig allows rotation around the lens’s entrance pupil, eliminating shift artifacts. Essential for high-end work.
- Shoot in Brackets: Capture multiple exposures per frame (e.g., -2, 0, +2 EV). This enables HDR panorama merging, preserving detail in both highlights and shadows. Lightroom and PTGui support this natively.
- Avoid Foreground Objects Close to Camera: Items near the lens move disproportionately between frames, causing severe ghosting. Keep foreground elements distant or static.
- Pre-Correct Lens Distortion: Apply lens profiles to individual RAW files before stitching. This reduces strain on the blending algorithm and produces cleaner edges.
- Test Small First: Experiment with new software or techniques on a small test sequence before committing hours to a large project.
These habits save time and improve consistency. They also help you understand how different variables affect the final output, making you a more intuitive editor.
Real-World Applications
Panorama stitching isn’t just for scenic landscapes. Its applications span diverse industries:
In real estate photography, panoramic views enhance virtual tours, giving potential buyers a comprehensive sense of space. Wide-angle interiors showcase room flow and natural light, making properties more appealing.
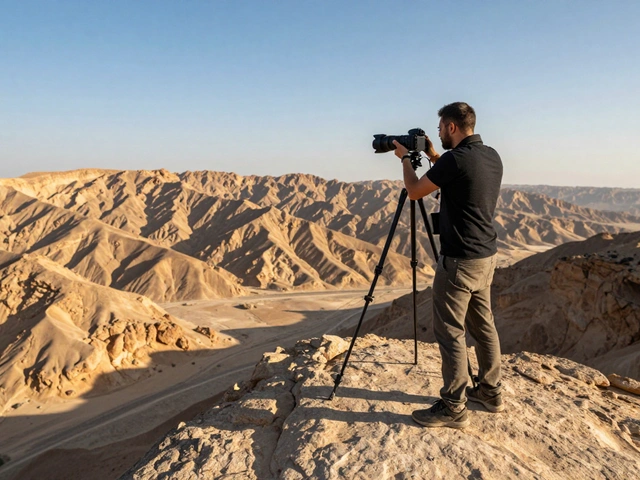
Travel photography benefits immensely. Imagine capturing an entire temple facade or a bustling market street in one frame. Panoramas convey scale and atmosphere better than single shots, immersing viewers in the location.
Architectural visualization relies on precise stitching to present building designs accurately. Multi-row techniques allow architects to simulate human eye-level perspectives, helping clients visualize spaces realistically.
Even creative artists use panoramas for experimental effects. Super-resolution stitching combines multiple frames to increase pixel density, enabling massive prints without loss of detail. Shallow depth-of-field effects achieved through multi-row stacking mimic tilt-shift photography, turning real scenes into miniature dioramas.
Regardless of your niche, mastering panorama merging expands your creative toolkit. It transforms limitations into opportunities, letting you capture what was previously beyond reach.
What is the minimum overlap required for panorama stitching?
Aim for 25% to 40% overlap between consecutive frames. More overlap provides better blending and reduces the risk of gaps or misalignment. Less than 20% often causes software to fail in finding common points.
Should I shoot panoramas in RAW or JPEG?
Always shoot in RAW. RAW files retain unprocessed data, allowing flexible adjustments to exposure, white balance, and color after stitching. JPEGs compress data and bake in settings, limiting correction options and reducing final image quality.
Which software is best for panorama stitching?
Adobe Photoshop offers a balanced approach with its Photomerge tool. For advanced control, PTGui excels with mask editing and projection options. Capture One is ideal for RAW-centric workflows, outputting stitched DNGs. Lightroom suits quick, integrated edits within its ecosystem.
How do I fix ghosting in my panorama?
Ghosting occurs from movement in the scene. Use layer masks in Photoshop to blend clean parts of overlapping frames. Alternatively, employ Content-Aware Fill or cloning tools to remove duplicates. Shooting during calm conditions minimizes this issue.
What projection should I use for architectural photos?
Use Cylindrical projection for single-row architectural shots to keep vertical lines straight. For wider views or multi-row stitches, choose Spherical projection. Perspective projection works for narrow angles under 100 degrees.