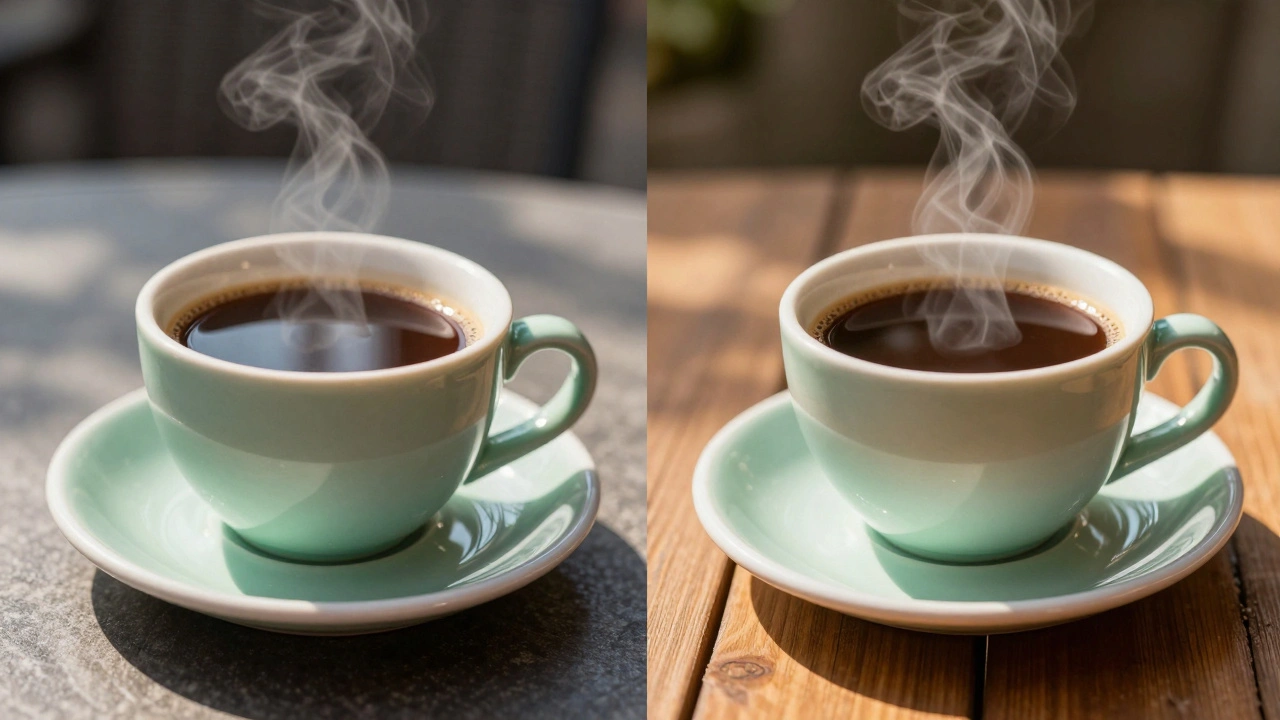
You take a picture of your coffee on the patio. It looks great through the viewfinder. You check the screen on your phone, and suddenly that rich brown liquid looks like muddy water with a sickly green tint. What happened? Your camera’s auto settings got confused by the mix of sunlight and shadow. This is where white balance correction comes in.
We often think cameras see exactly what we see. They don’t. Cameras are machines that measure light intensity, not mood or context. Without help, they struggle to decide if a white wall should look pure white, slightly blue from the sky, or yellow from indoor lamps. White balance is the process of telling the camera (or the editing software) what "neutral" actually looks like in a specific scene. Getting this right is the single most important step in making your photos look natural rather than artificial.
The Science Behind the Sliders: Understanding Color Temperature
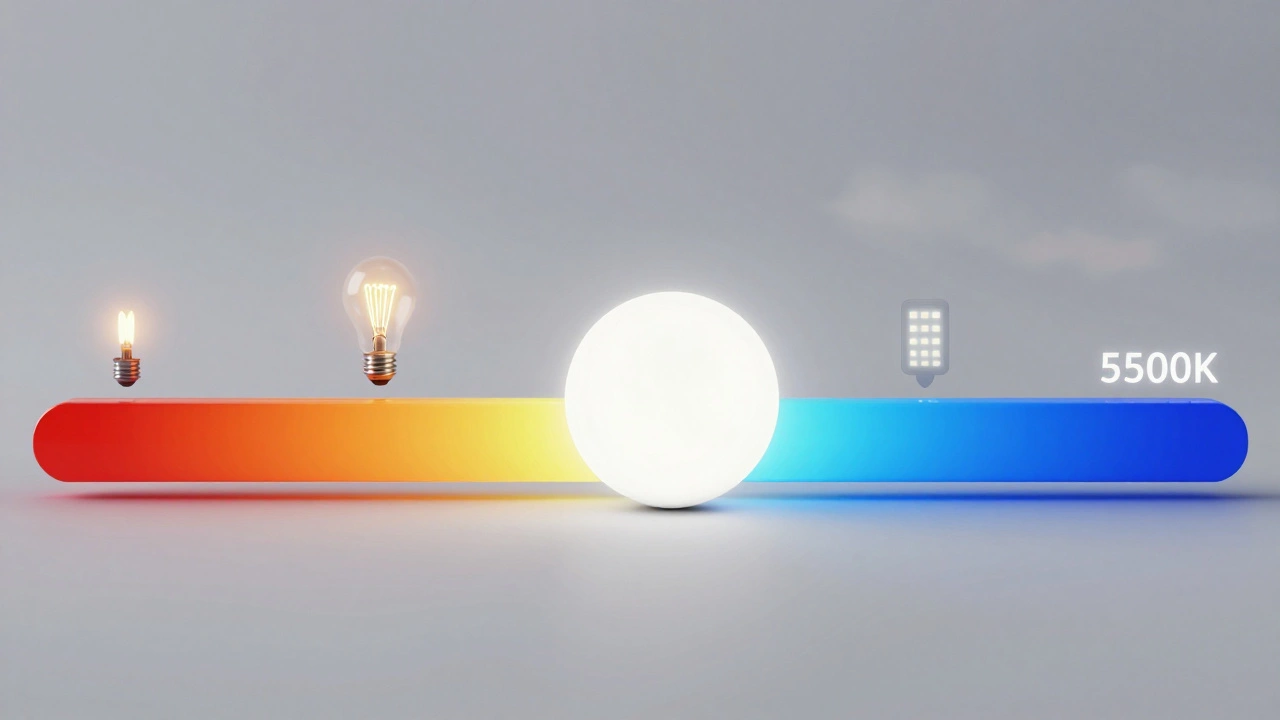
To fix color casts, you first need to understand why they happen. Light sources emit different colors of light. We measure this using the Kelvin scale, which describes the hue of a light source based on the color emitted by an ideal black-body radiator. The lower the number, the warmer (more red/orange/yellow) the light. The higher the number, the cooler (more blue) the light.
Here is how common lighting conditions translate into Kelvin values:
- Candlelight: 1800-2000 K (Very warm, deep orange)
- Tungsten bulbs: 2800-3200 K (Warm, yellow-orange)
- Warm White LEDs: 4000-4500 K (Neutral-warm)
- Midday Sun: 5000-5500 K (Neutral daylight)
- Overcast Sky: 6500 K (Cool, slightly blue)
- Heavy Shade/Night: 7000-8000+ K (Very cool, blue)
When your camera is set to 5500 K (daylight) but you are shooting under tungsten lights (3200 K), the image will look incredibly orange because the camera expects neutral light but receives warm light. Conversely, if you shoot in shade (7000 K) with a daylight setting, everything turns blue. White balance correction adjusts the Red, Green, and Blue channels so that a white object appears white, regardless of the light source.
Why Shooting RAW Changes Everything
If you want serious control over color temperature, you need to shoot in RAW format, which captures unprocessed data directly from the camera sensor without compression or baked-in adjustments. Here is the deal: when you shoot JPEG, the camera applies its white balance decision permanently. It throws away data it thinks you won’t need. If the camera gets it wrong, fixing it later can cause ugly banding, noise, and clipped colors because the original data is gone.
With RAW files, the white balance setting recorded by the camera is just metadata-a note attached to the file. It doesn’t change the actual pixel data. In post-processing, you can reinterpret that data as if you had shot it at any Kelvin value, from candlelight to open shade, with zero quality loss. This flexibility is why professionals insist on RAW for weddings, product photography, and any situation where lighting is unpredictable.
| Feature | RAW Format | JPEG Format |
|---|---|---|
| Data Processing | Unprocessed sensor data | Processed and compressed by camera |
| White Balance Flexibility | Fully adjustable in post | Limited; large shifts cause artifacts |
| Color Depth | 12-bit to 14-bit (millions of tones) | 8-bit (limited range) |
| Best For | Professional editing, mixed lighting | Social media snaps, quick sharing |
The Two-Axis Adjustment: Temperature and Tint
In most editing software, like Adobe Lightroom or Capture One, white balance isn’t just one slider. It’s two. Understanding the difference between them is key to removing those stubborn color casts.
- Temperature Slider: This controls the blue-to-yellow axis. Moving it right adds warmth (yellow/red); moving it left adds coolness (blue). Use this to fix images that look too orange (tungsten) or too blue (shade).
- Tint Slider: This controls the green-to-magenta axis. This is usually the culprit for fluorescent lighting issues. Fluorescent lights often have a spectral spike in the green spectrum, making skin tones look sickly. A slight push toward magenta fixes this.
A pro tip: Don’t guess. Use the eyedropper tool. Find something in your photo that should be neutral gray or white-like a white shirt, a concrete sidewalk, or a gray card-and click it. The software calculates the necessary RGB gains to make that pixel neutral. It’s rarely perfect, but it gets you 90% there instantly.
Advanced Trick: Exaggerate to Correct
Sometimes, especially with subtle casts, it’s hard to tell if the image is truly neutral. Try this trick used by many professional editors: temporarily crank up the Saturation and Vibrance sliders. By exaggerating the colors, any remaining green or magenta tints become glaringly obvious. Adjust your Tint slider until the cast disappears, then reset the saturation back to normal. It’s a simple visual hack that removes the guesswork.
Also, watch where you’re looking. Bright highlights can be deceptive. Sunlight hitting a white wall might look neutral, but the shadows might still hold a blue cast. Look at mid-tones in shaded areas, like grass or clothing, to judge your white balance more accurately.
Mixed Lighting: The Real-World Challenge
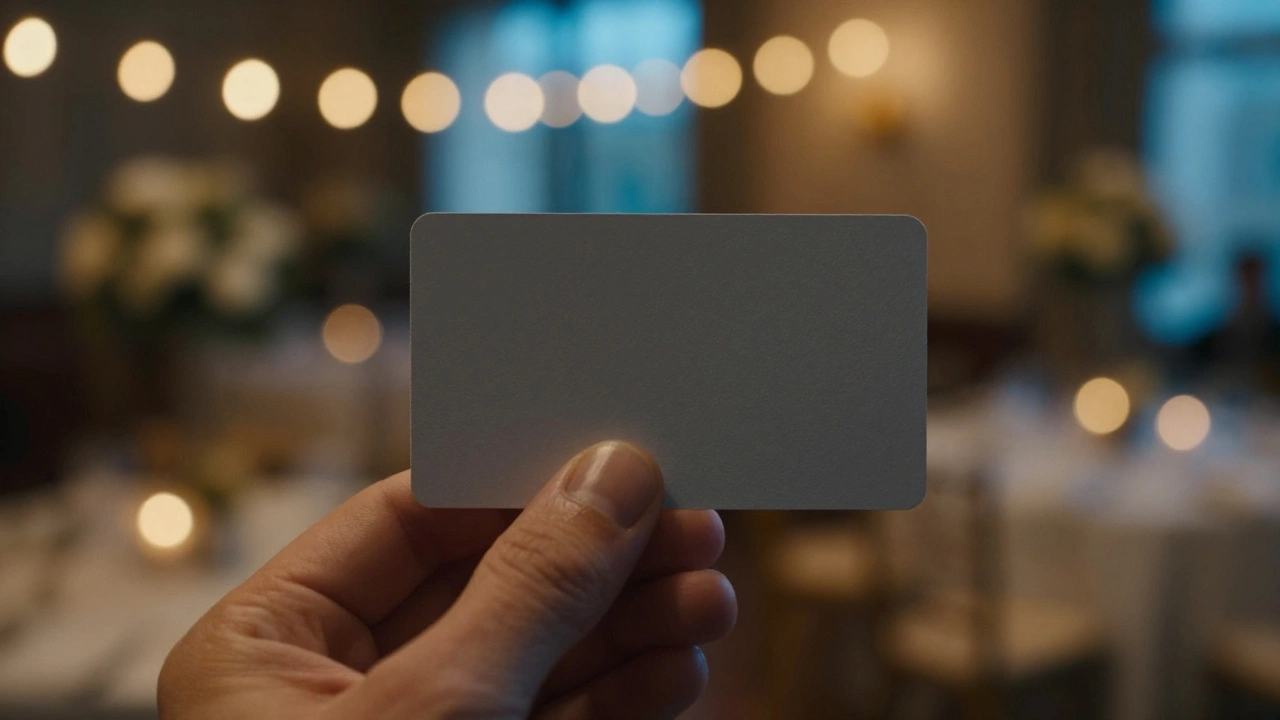
Real life rarely gives us a single light source. Imagine a wedding reception: window light coming in from the left (6500 K), tungsten string lights above (3000 K), and colored LED party lights in the background. No global white balance setting can make all three look "correct" simultaneously.
In these cases, you have to prioritize. Usually, skin tone is king. Set your global white balance so the subjects look healthy and natural. Then, accept that the background lights will retain their color character. If the background is distracting, use local adjustment brushes. In Lightroom or Capture One, you can paint over specific areas with a different temperature or tint. This allows you to keep the warm glow of the candles while ensuring the bride’s dress doesn’t look pink.
AI Automation vs. Manual Control
New tools like Autoenhance.ai and Imagen AI are changing the game for high-volume shooters. These platforms use machine learning to identify what should be white in an image and correct it automatically. For real estate photographers processing hundreds of interiors, this saves hours. The AI recognizes walls, ceilings, and fixtures, applying consistent corrections across batches.
However, AI isn’t magic. It relies on assumptions, like the "gray-world hypothesis" (assuming the average color of a scene is neutral). If you shoot a sunset, which is intentionally orange, AI might try to "fix" it to look like midday sun, killing the mood. Always review automated corrections. Use AI as a starting point, not the final word, especially for creative work.
Separating Color from Brightness
A common mistake beginners make is confusing dull whites with bad white balance. If your white flowers look gray, your first instinct might be to adjust the temperature. But often, the issue is exposure, not color. Gray whites are usually a brightness problem.
Follow this order:
- Fix Color: Use Temperature and Tint to remove unwanted hues.
- Fix Brightness: Use Exposure, Highlights, and Whites sliders to bring the brightness up.
- Refine: If residual color remains in the whites (like a purple tint on snow), use HSL tools to desaturate that specific color channel.
By separating these tasks, you avoid pushing your temperature sliders too far, which can introduce noise and unnatural tones.
What is the best white balance setting for portraits?
There is no single "best" setting, but generally, a slightly warmer temperature (around 5000K-5500K) makes skin tones look healthier and more pleasing. Strictly neutral white balance can sometimes make skin look pale or washed out. Many portrait photographers aim for a subtle warmth rather than clinical neutrality.
Can I fix white balance on a JPEG file?
Yes, but with limitations. Because JPEGs are compressed and processed, large white balance shifts can cause color banding, increased noise, and loss of detail. Small adjustments are fine, but for significant corrections, shooting RAW is highly recommended.
Why does my photo look green indoors?
This is likely due to fluorescent lighting, which often has a strong green spectral component. To fix this, move the Tint slider toward magenta. The Temperature slider alone won’t fix this issue because it only controls the blue-yellow axis.
Should I use Auto White Balance (AWB) in-camera?
If you shoot RAW, AWB is perfectly fine because you can change it later without penalty. If you shoot JPEG, AWB can be inconsistent, especially in mixed lighting. In those cases, manually selecting a preset (like Tungsten or Daylight) or setting a custom Kelvin value is safer.
How do I handle mixed lighting situations?
Prioritize the subject, usually skin tones. Set the global white balance to make the subject look natural. Then, use local adjustment brushes or masks to correct specific areas affected by different light sources, such as correcting a blue window area separately from a warm lamp area.