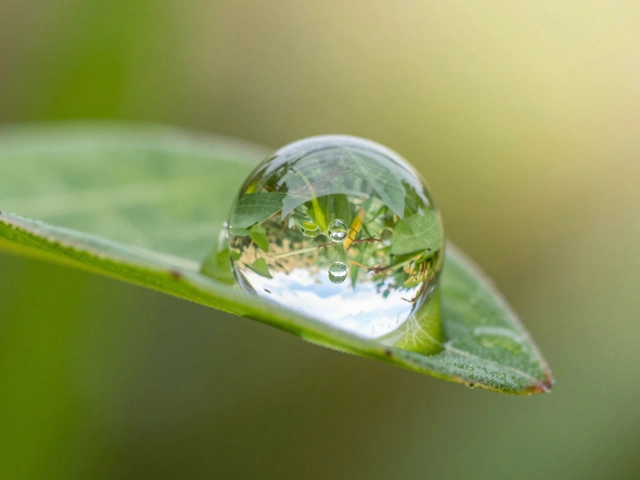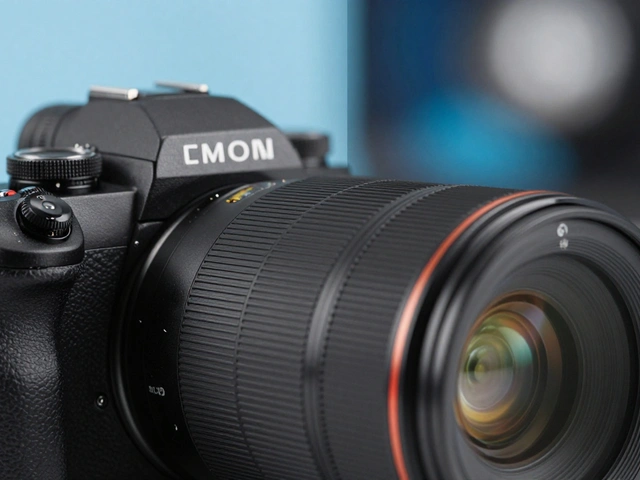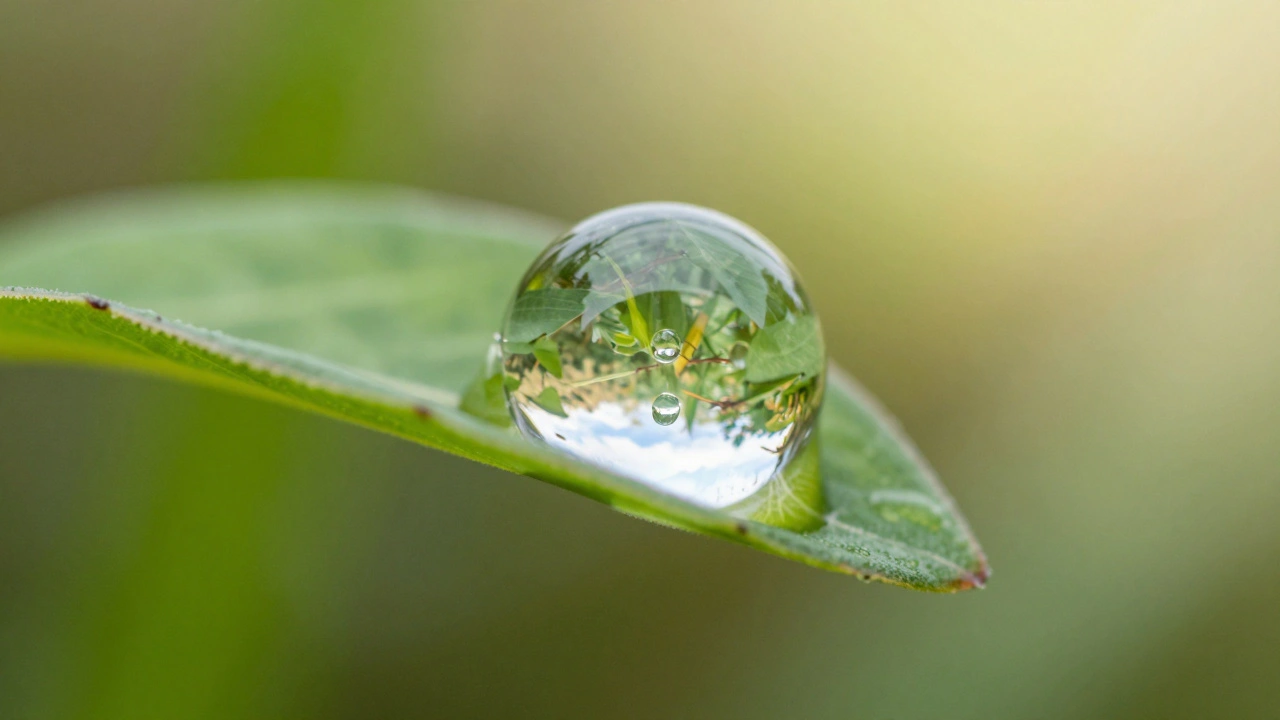
You want that razor-sharp detail of a dewdrop on a leaf or the intricate texture of a flower petal. You look at your camera bag, then you look at the price tag of a dedicated macro lens is a specialized optical device designed for high-magnification photography, often costing between $400 and $1200. It’s steep. Maybe too steep for just dipping your toes into the world of small-scale imagery. But what if I told you there’s a way to get surprisingly close-literally inches away-for less than the cost of a decent lunch?
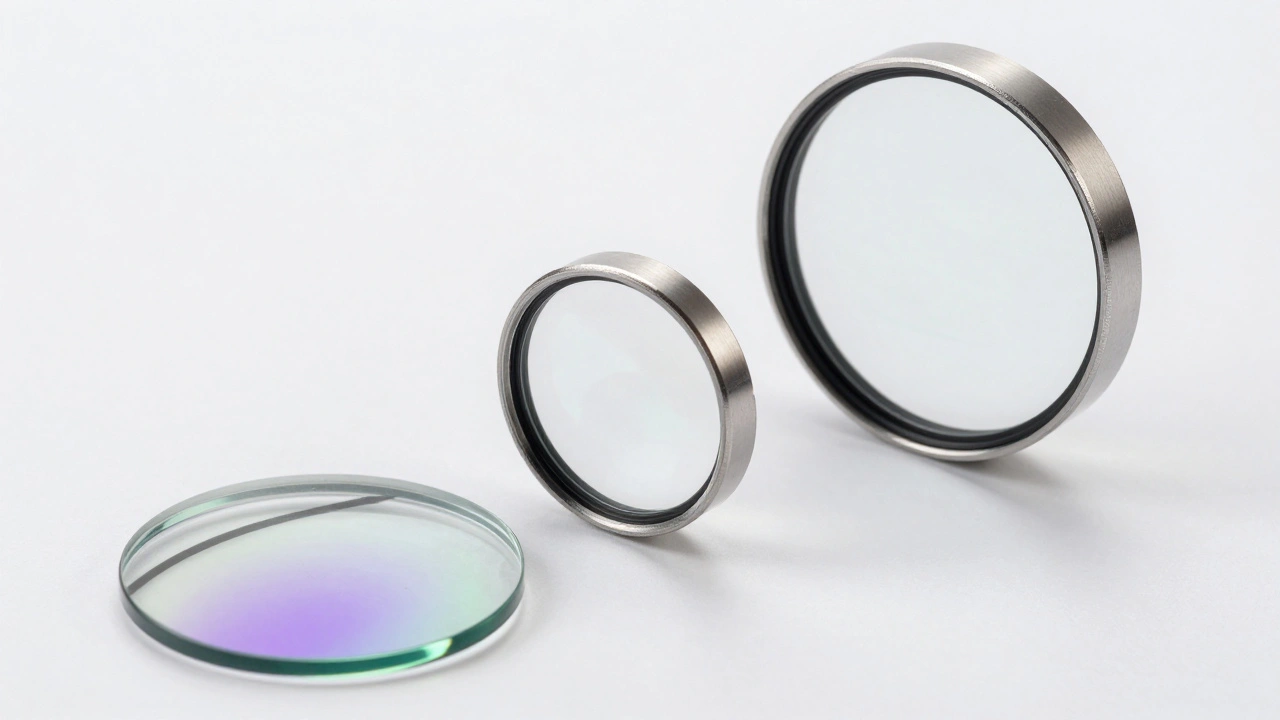
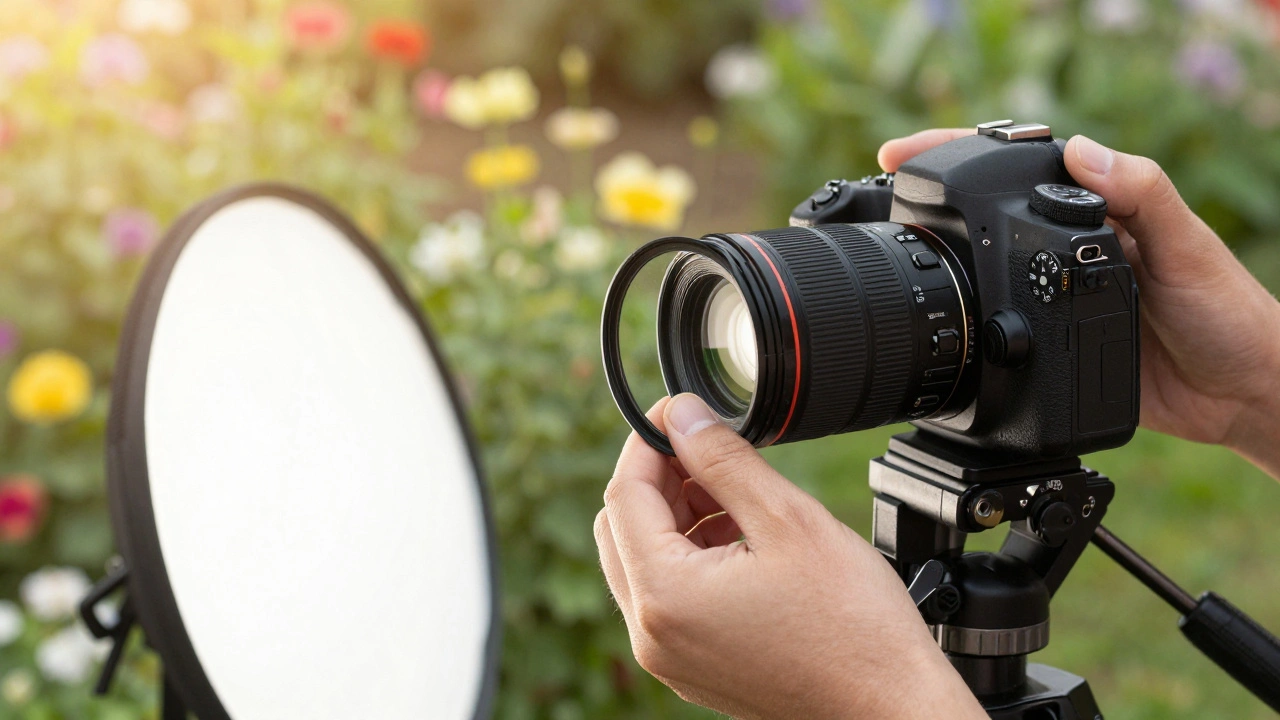
Enter the close-up filter. Also known as a supplementary lens or diopter, this simple piece of glass screws onto the front of your existing lens like a UV filter. It acts as a magnifying glass, bending light so your camera can focus much closer than it normally would. While purists might shudder at the mention of adding extra glass to their optics, modern options have improved significantly. If you are looking for a low-risk, high-reward entry into macro-style photography, this is where we start.
How Close-Up Filters Actually Work
Think of a close-up filter as a pair of reading glasses for your camera lens. Most standard lenses have a minimum focusing distance-the closest point they can focus on. A close-up filter reduces this distance. The strength of this reduction is measured in diopters is a unit of measurement for the optical power of a lens, indicating how strongly it bends light.
A +1 diopter is weak; a +10 diopter is strong. The higher the number, the closer you can get, but also the more distortion you might see. Here is the math made simple:
- +1 Diopter: Focuses at roughly 1 meter (3.3 feet). Great for subtle enlargement.
- +2 Diopter: Focuses at roughly 0.5 meters (1.6 feet). A sweet spot for many beginners.
- +4 Diopter: Focuses at roughly 0.25 meters (8 inches). This gets you into true close-up territory.
- +10 Diopter: Focuses extremely close, but working distance becomes tiny, and shadows from your lens become a major issue.
The key takeaway? You don't need the strongest filter to start. In fact, using a moderate strength like +2 or +4 often yields better results because you still have enough room to position your subject without casting a shadow over it with your camera body.
Budget vs. Quality: What You Get for Your Money
Let's talk dollars and cents. You can buy a kit of four filters (+1, +2, +4, +10) from generic brands on major e-commerce sites for under $20. Sounds like a steal, right? It is, but there is a catch. These budget sets usually use single-element glass. That means one piece of curved glass. While functional, single-element lenses often introduce chromatic aberration is an optical defect causing color fringing around high-contrast edges, often seen as purple or green halos and softness at the edges of the frame.
If you plan to post these images on social media where they will be viewed on small screens, a $15 kit is perfectly fine. However, if you want to print large or sell your work, you need to step up. Mid-range branded filters from companies like Hoya or K&F Concept typically run $30-$80 for a set. They offer better anti-reflective coatings, which reduce flare when shooting against the sun.
At the top of the close-up filter ladder are achromatic lenses is high-quality supplementary lenses made with multiple glass elements to correct color fringing and improve sharpness from brands like Canon, Nikon, or Marumi. These cost between $80 and $200 per filter. They use two different types of glass to cancel out color errors. The result? Image quality that rivals dedicated macro lenses in the center of the frame. For serious enthusiasts who refuse to drop $1,000 on a macro lens, an achromatic close-up filter is the best compromise.
| Tier | Price Range | Optical Design | Best For | Common Issues |
|---|---|---|---|---|
| Budget Generic | $10 - $20 (Kit) | Single Element | Social media, casual experimentation | Color fringing, edge softness, flare |
| Mid-Range Branded | $30 - $80 (Set) | Single Element + Coatings | Hobbyists, video creators | Moderate aberrations, good contrast |
| Premium Achromatic | $80 - $200 (Per Lens) | Multi-Element | Serious photographers, printing | High cost, heavier weight |
Choosing the Right Lens to Pair With
Not all lenses play nice with close-up filters. In fact, pairing a close-up filter with the wrong lens can ruin your image quality faster than buying a cheap filter. The golden rule is: use longer focal lengths.
Wide-angle lenses (like 18mm or 24mm) are generally terrible candidates for close-up filters. Because wide lenses already capture a broad field of view, adding a diopter creates significant distortion and makes the effective working distance uncomfortably short. You’ll end up practically touching your subject, blocking light, and scaring away any live insects.
Instead, aim for lenses in the 50mm to 200mm range. A 50mm prime lens is a fantastic starting point. It offers a natural perspective similar to the human eye. When you add a +2 or +4 diopter to a 50mm lens, you get excellent magnification with manageable distortion. Telephoto lenses (85mm, 100mm, 200mm) are even better. They allow you to maintain a comfortable working distance while achieving high magnification. This is crucial if you are photographing skittish subjects like butterflies or spiders.
Practical Tips for Shooting Close-Ups
Buying the gear is only half the battle. Using it effectively requires a shift in technique. Here is how to avoid the common pitfalls that frustrate beginners.
- Stop Down Your Aperture: Depth of field becomes razor-thin when you get close. At f/2.8, only a millimeter of your subject might be in focus. Switch to f/8, f/11, or even f/16. This ensures more of your subject is sharp and helps counteract the slight softness introduced by the filter itself.
- Use a Tripod: Handholding a camera at high magnification amplifies every tiny shake. Even breath control won't save you. A sturdy tripod is non-negotiable for sharp results, especially when stopping down reduces the amount of light hitting your sensor.
- Manage Your Light: As mentioned, your lens barrel can cast a shadow on your subject. Use a small reflector, a piece of white foam board, or an off-camera flash to fill in those shadows. Natural window light is also excellent for static subjects like flowers or food.
- Focus Manually: Autofocus systems struggle with close-up filters, often hunting back and forth unable to lock on. Switch to manual focus and use your camera’s focus peaking feature (if available) or zoom in on the LCD screen to ensure critical sharpness.
- Don’t Stack Too Many Filters: While you can screw a +2 and a +4 together to make a +6, stacking single-element filters compounds optical errors. Limit yourself to one filter at a time unless you are using high-end achromats.
Close-Up Filters vs. Other Macro Solutions
You might wonder why not just buy extension tubes or reverse rings? They are cheaper alternatives to macro lenses too. Let’s break down the trade-offs.
Extension Tubes are hollow spacers that go between your lens and camera body. They preserve optical quality better than cheap filters because no new glass is added. However, they block electronic contacts on older lenses, meaning you lose autofocus and aperture control. On modern mirrorless cameras, this is less of an issue, but tubes still limit your ability to focus beyond the close range. Once you mount a tube, you can’t take landscape photos until you remove it.
Reverse Rings allow you to mount your lens backward. This provides incredible magnification for very little money (often under $20). But it turns your lens into a fully manual tool with no exposure control, and the working distance is microscopic. It’s a fun experiment, but impractical for regular use.
Close-Up Filters win on convenience. You can keep them screwed on your lens permanently if you want. You retain full autofocus and aperture control. They are lightweight, pocketable, and versatile. While they may not match the edge-to-edge sharpness of a $1,000 macro lens, they offer the best balance of ease-of-use, cost, and flexibility for most hobbyists.
Who Should Buy Close-Up Filters?
If you are a professional product photographer requiring pixel-perfect accuracy, stick to dedicated macro lenses. But if you fall into any of these categories, a close-up filter is a smart investment:
- The Travel Photographer: You don’t want to carry heavy gear. A few filters weigh ounces and fit in a small pouch.
- The Video Creator: Macro shots add dynamic interest to videos. Close-up filters allow you to maintain autofocus (on compatible setups) and change magnification quickly by swapping filters.
- The Curious Beginner: You love photography but aren’t sure if macro is your niche. Spending $20 lets you test the waters without financial regret.
- The Hybrid Shooter: You shoot both stills and video with a single lens. Close-up filters integrate seamlessly into this workflow.
Remember, the goal isn’t perfection; it’s exploration. Close-up filters open up a visual world that exists just inches from our noses, waiting to be discovered. With a modest budget and a bit of practice, you can capture details you never knew were there.
What is the best diopter strength for beginners?
For most beginners, a +2 or +4 diopter is ideal. A +2 offers gentle magnification with minimal distortion, making it easy to learn composition. A +4 provides true close-up capability without being so strong that working distance becomes unmanageable. Avoid starting with +10 unless you are specifically interested in extreme macro of static objects.
Can I use close-up filters with my smartphone?
Yes, but not the screw-in kind used for DSLRs and mirrorless cameras. Smartphone macro lenses are clip-on or case-mounted attachments that function on the same optical principle. Look for multi-element smartphone macro lenses to avoid the color fringing common in cheap single-element versions.
Do close-up filters affect autofocus performance?
They can. Stronger diopters (+8 and above) often confuse autofocus systems, causing them to hunt or fail to lock. Moderate strengths (+1 to +4) usually work fine with modern phase-detection AF systems. If you experience issues, switch to manual focus for precise control.
Is it worth buying an achromatic close-up lens?
If you plan to do macro photography regularly and care about image quality, yes. Achromatic lenses eliminate chromatic aberration and provide sharper, higher-contrast images comparable to dedicated macro lenses in the center of the frame. For occasional use, a mid-range coated single-element filter is sufficient.
How do I choose the correct filter size?
Check the front of your lens for a symbol that looks like a circle with a line through it (Ø) followed by a number (e.g., Ø58mm). This is your filter thread diameter. Buy a filter that matches this size. Alternatively, buy the largest filter size you own and use inexpensive step-up rings to adapt it to smaller lenses, saving money in the long run.