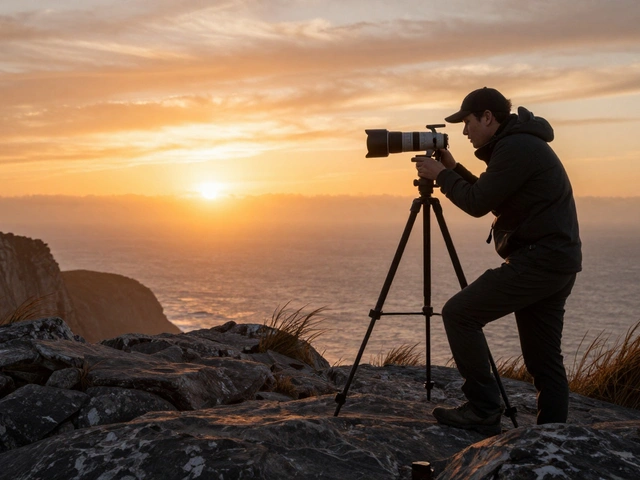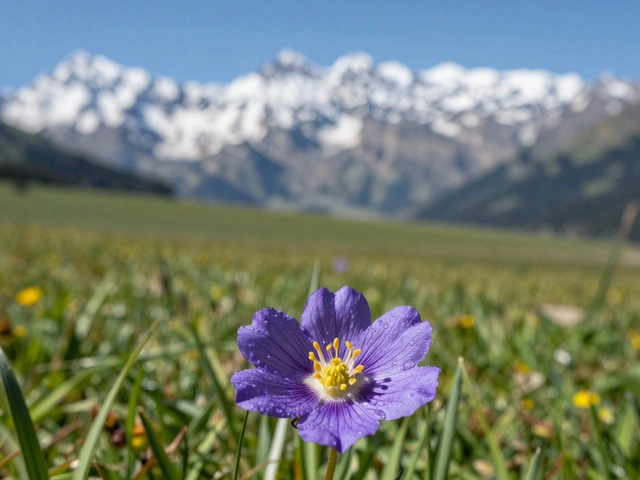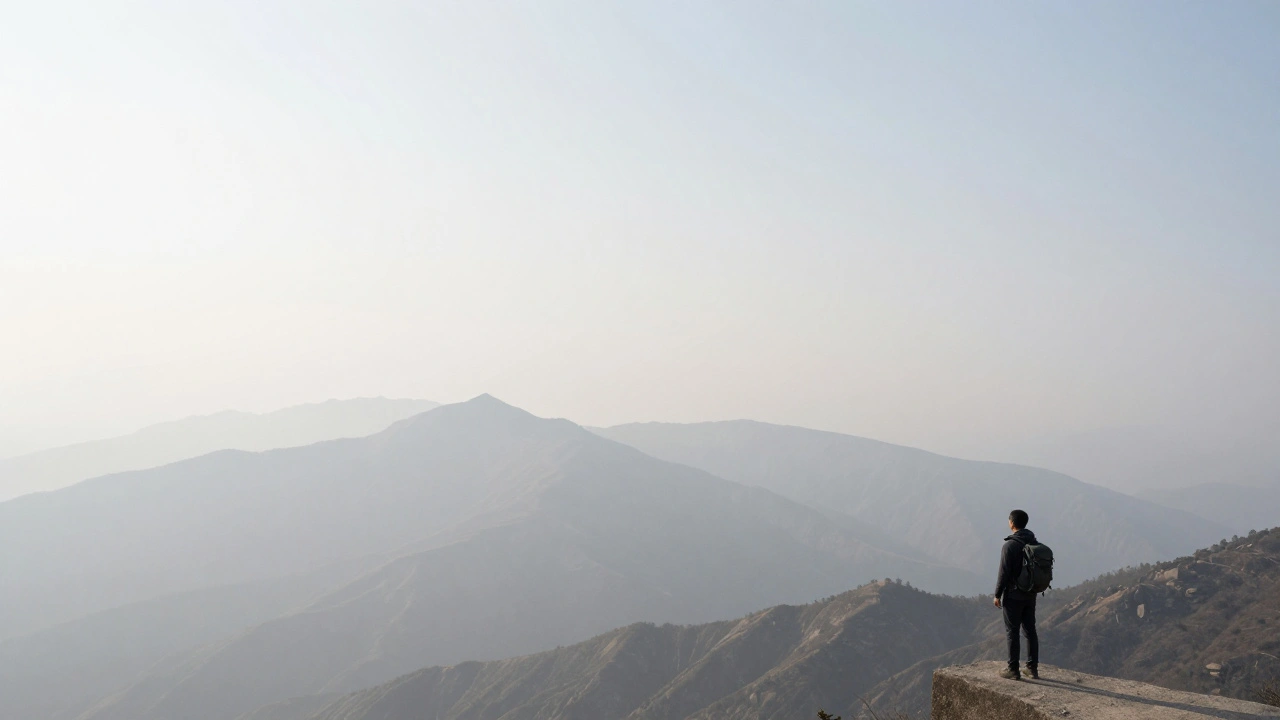
You’ve just spent three hours hiking to a mountain peak, only to find that the breathtaking vista is swallowed by a thick, milky veil of smog or morning mist. You take the shot anyway, but on your screen, the distant peaks look like flat, grey cardboard. This is the frustration of atmospheric haze. To fix it, most people just crank up the saturation, but that usually leads to a muddy, unnatural mess. The real secret to bringing back those lost details lies in understanding the relationship between local contrast is the difference in brightness between a pixel and its immediate neighbors, which defines the perceived sharpness of edges and the process of dehazing.
The Science of the "Grey Veil"
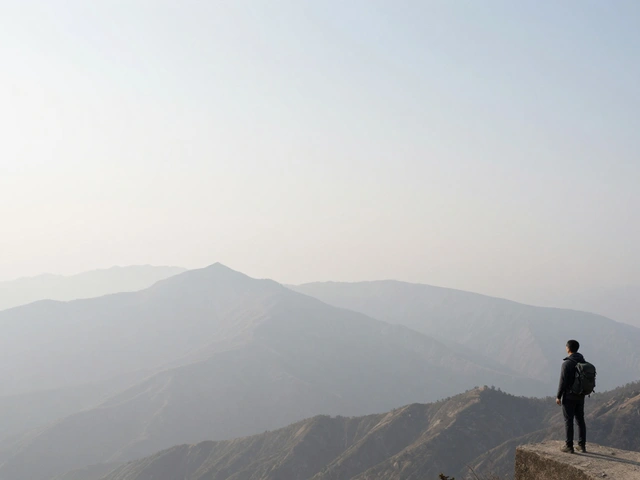
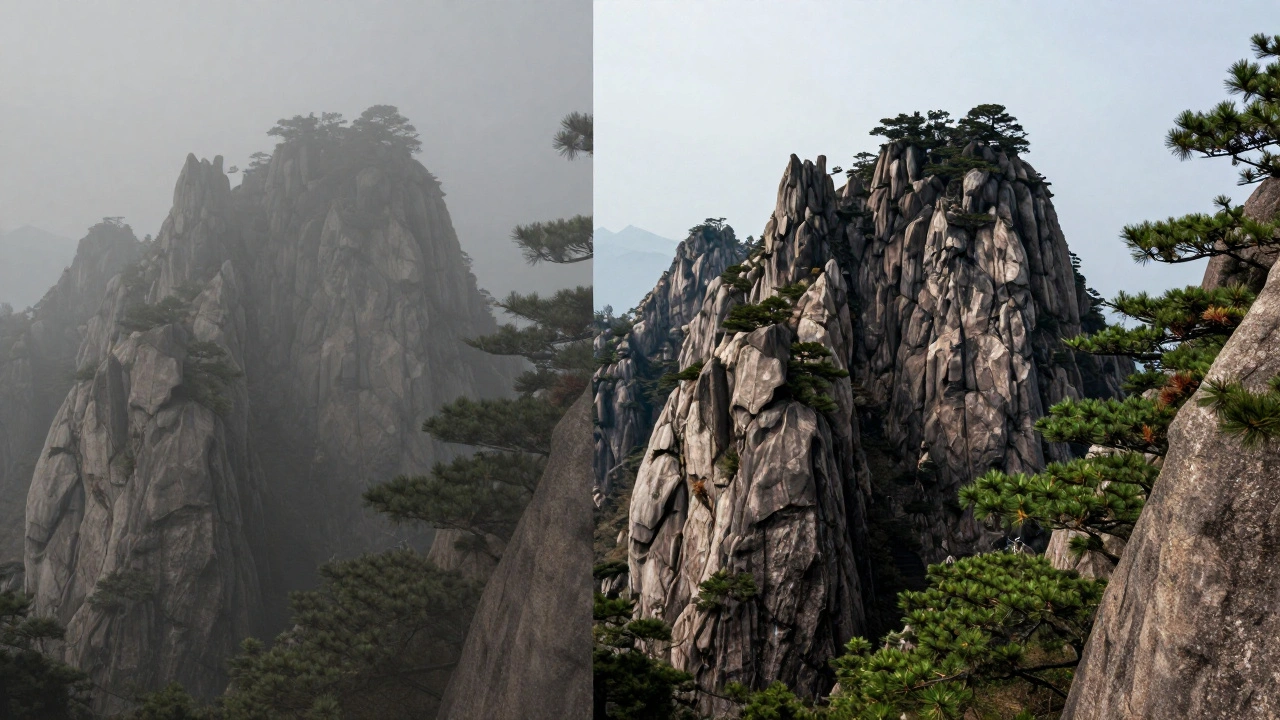
Before we slide any toggles, we need to understand what we're actually fighting. When you look at a distant landscape, you're looking through miles of air filled with water droplets, dust, and pollutants. This creates what experts call the atmospheric scattering model. Essentially, light from the scene bounces off these particles and scatters, adding a layer of "airlight" to your image. This airlight washes out the blacks and reduces the variance in tone, which is why your mountains look flat.
To recover this, we use Dehazing is a digital restoration process that estimates the thickness of atmospheric haze and removes the additive light to restore original scene contrast. Unlike a simple contrast slider that affects the whole image globally, dehazing targets the specific physics of light scattering. It looks for the "dark channel prior"-the idea that in a haze-free image, at least one color channel in a local patch usually has a very low intensity. When those darks are suddenly grey, the software knows exactly how much "veil" it needs to strip away.
Local Contrast vs. Global Contrast
Many photographers make the mistake of using the general Contrast slider to fix haze. Global contrast changes the entire image's tonal range, often blowing out the highlights in the sky while crushing the shadows in the foreground. It's a blunt instrument. To get a professional look, you need to focus on Local Contrast is the enhancement of edges and textures within small, localized areas of an image without altering the overall brightness of the scene.
Think of it as "micro-contrast." By increasing the difference between the light and dark sides of a rock edge or a tree branch, you create a sense of three-dimensionality. When you combine this with dehazing, you aren't just removing a veil; you're rebuilding the structure of the landscape. This is why a shot of the Cascades can go from looking like a painting to looking like a window into the world.
| Tool | Primary Effect | Best Use Case | Risk |
|---|---|---|---|
| Global Contrast | S-curve shift of all tones | Correcting overall exposure | Blown highlights/Crushed blacks |
| Clarity/Local Contrast | Midtone edge enhancement | Adding "punch" to textures | Halos around edges |
| Dehaze | Atmospheric light removal | Smog, fog, or distant vistas | Unnatural color saturation |
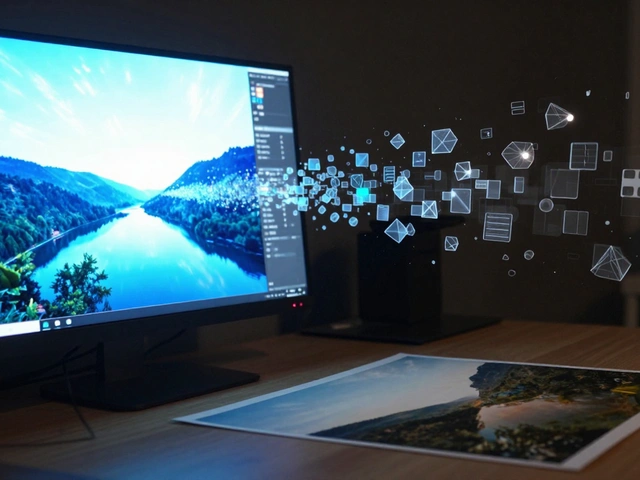
Mastering the Tools in Adobe Lightroom
If you're using Adobe Lightroom is a professional photo editing software that provides non-destructive tools for color grading and image restoration, you have three specific tools that handle this workflow. But using them in the wrong order can ruin your file.
- The Dehaze Slider: Start here. Move it to the right to strip away the fog. Be careful-if you go too far, the image starts to look "gritty" or overly dark in the shadows. It effectively restores the black point of the distant objects.
- The Clarity Slider: Now that the haze is gone, use Clarity to define the edges. This tool targets the midtones. If you're editing a shot of jagged peaks, a small boost here makes the rock faces pop.
- The Texture Slider: This is for the fine details. While Clarity can feel heavy-handed, Texture allows you to bring back the grit in the sand or the needles on a pine tree without creating those dreaded white halos around the mountains.
Avoiding the "Over-Processed" Look
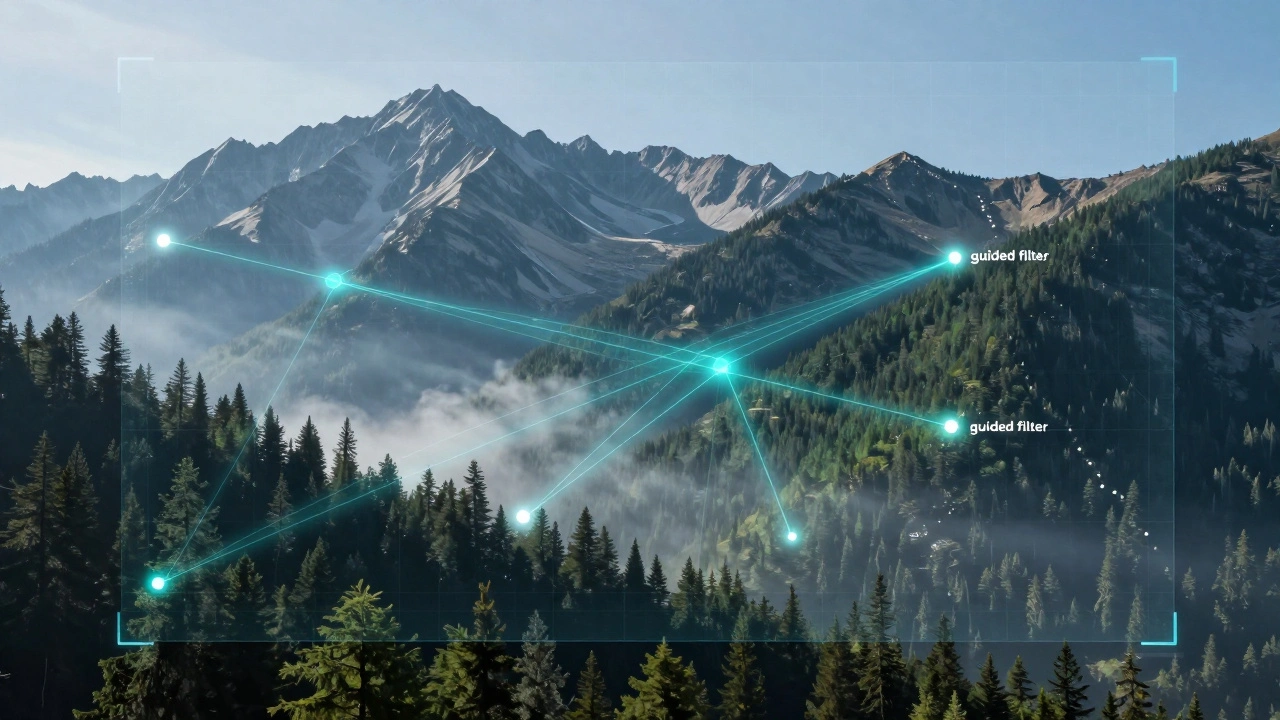
The biggest trap in landscape editing is the "HDR look," where the image looks metallic or surreal. This happens when local contrast is pushed too hard. One way to avoid this is by using a Guided Filter is an edge-preserving smoothing operator that helps maintain sharp boundaries while removing noise during dehazing approach, which is what many high-end algorithms do in the background. For the human editor, this means using masking.
Don't apply dehaze to the whole image. The haze in the distant mountains is usually much thicker than the haze in the foreground. Use a linear gradient tool to apply the dehazing and local contrast only to the background. This preserves the natural atmosphere of the foreground, keeping the image from looking like a digital painting. If you notice the colors becoming too intense after dehazing, slightly drop the saturation of the blue channel-since haze is often blue-tinted, removing it can leave the sky looking neon.
Advanced Techniques: From Deep Learning to Retinex
For those doing high-end restoration or remote sensing, simple sliders aren't enough. Modern software now uses Deep Learning is artificial intelligence architectures, such as Transformers, that analyze global scene structures to remove haze intelligently. These systems don't just guess based on a dark channel; they recognize what a mountain *should* look like and reconstruct the missing data.
Another powerful concept is Multi-scale Retinex (MSR) is an image processing technique that simulates how the human eye perceives lightness and color by fusing different scales of illumination. MSR is fantastic for complex scenes where you have both deep shadows and bright haze. It balances the illumination across the image, ensuring that the local contrast enhancement doesn't create weird blotches in the darker areas of the landscape.
Putting it All Together: The Recovery Workflow
If you're facing a particularly stubborn image, follow this sequence to get the most natural result:
- White Balance: Fix the color cast first. Haze often makes images too cool (blue). Warming it up slightly can make the dehazing process feel more natural.
- Targeted Dehaze: Apply a gradient from the horizon up, moving the Dehaze slider until the distance is visible but not "burnt."
- Local Contrast Boost: Use a brush to apply Clarity and Texture specifically to the areas with the most interesting detail (cliffs, forests).
- Saturate Carefully: Dehazing naturally increases color saturation. Instead of using the Saturation slider, use Vibrance to boost the muted tones without overdoing the already bright ones.
Does dehazing destroy image quality?
Not inherently, but it can introduce noise. Because dehazing effectively increases the contrast of very dark, flat areas, it can pull "grain" or sensor noise out of the shadows. To fix this, apply a bit of noise reduction specifically to the areas you've dehazed.
What is the difference between Clarity and Dehaze?
Clarity enhances the contrast of mid-tone edges regardless of atmospheric conditions. Dehaze specifically targets the light scattering caused by particles in the air. If your image is clear but looks "soft," use Clarity. If your image looks like there's a fog machine in the shot, use Dehaze.
Can I use these tools for portraits?
Be very careful. While local contrast (Clarity) can make eyes pop, too much of it on skin will emphasize every pore, wrinkle, and blemish. For portraits, it's usually better to use Texture or a low-pass filter rather than aggressive dehazing or clarity boosts.
Why do my images look "glowy" or have halos after adding local contrast?
This happens when the software creates a sharp transition between a very dark edge and a very bright background. To fix this, back off the Clarity slider and use the Texture slider instead, or use a masking brush to ensure the effect isn't hitting the high-contrast horizon line too hard.
Is it better to dehaze in RAW or JPEG?
Always RAW. Dehazing is a heavy operation that pushes pixels to their limits. In a JPEG, you'll see "banding" (ugly steps of color) in the sky very quickly. RAW files have the bit-depth necessary to handle these extreme tonal shifts without falling apart.