Most photographers chase background blur to isolate their subject. But what if the biggest distraction isn’t behind your subject - it’s in front of it?
Why Foreground Blur Changes Everything
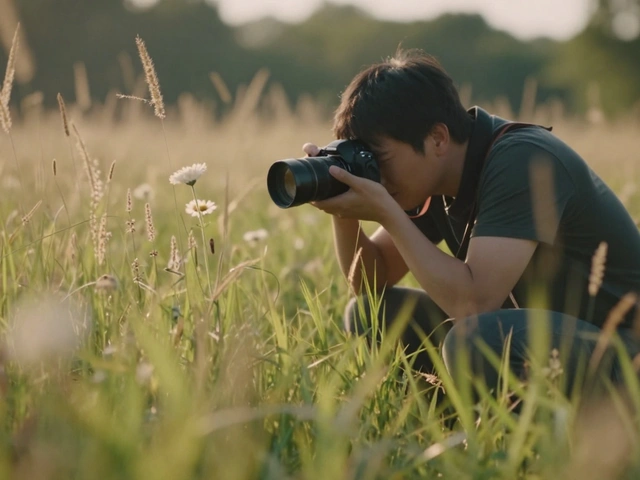
You’re shooting a bird perched on a branch. The background is clean, the light is perfect - but your image still feels flat. Why? Because there’s a clump of tall grass, a tangled vine, or even a leafy branch right in front of your lens, sharp as a tack. That element isn’t helping your composition. It’s stealing attention. It’s breaking the flow.
Foreground blur fixes this. Instead of trying to move around every obstacle, you let the camera do the work. You blur what’s close to the lens, keep your subject sharp, and suddenly your image has layers. It doesn’t just show a subject - it pulls the viewer into a space, a moment, a feeling.
This isn’t magic. It’s physics. And it’s easier to use than you think.
The Three Rules of Foreground Blur
To get strong, intentional foreground blur, you need three things working together:
- Wide aperture - f/2.8 or wider. The lower the f-number, the thinner your focus plane. That’s your tool for blurring what’s close.
- Close foreground element - something within 12 to 30 inches of your lens. The closer it is, the more it blurs. A blade of grass at 8 inches? It turns into a soft, painterly haze.
- Focus on the subject - not the blur. If you focus on the grass, the bird becomes a smudge. You want the bird sharp. The blur? That’s just decoration.
Here’s the trick: most people think you need a long lens to blur things. Not true. A 50mm lens on a full-frame camera works great if you get close enough. A 24mm? It’ll struggle - unless you’re within 6 inches of the foreground object. Distance matters more than focal length.
Where Foreground Blur Shines
It’s not just for landscapes. This technique pops up everywhere.
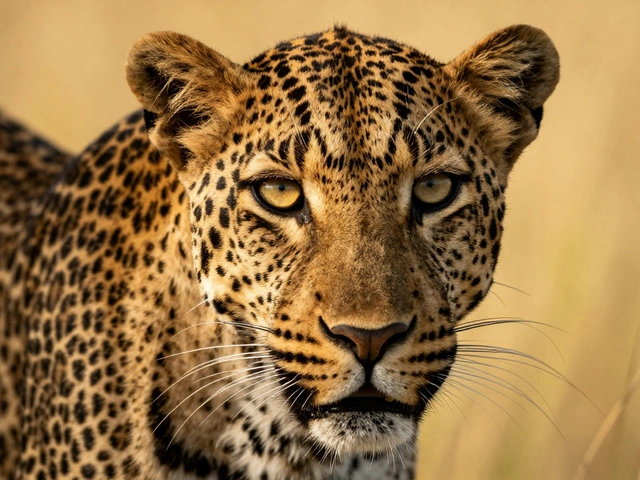
- Wildlife photography - The "look-over" method: you position the camera low, point it upward, and let a blur of leaves or reeds fill the bottom third of the frame. The animal appears to float above the blur - like it’s emerging from the environment. No need to crop out branches. Just blur them.
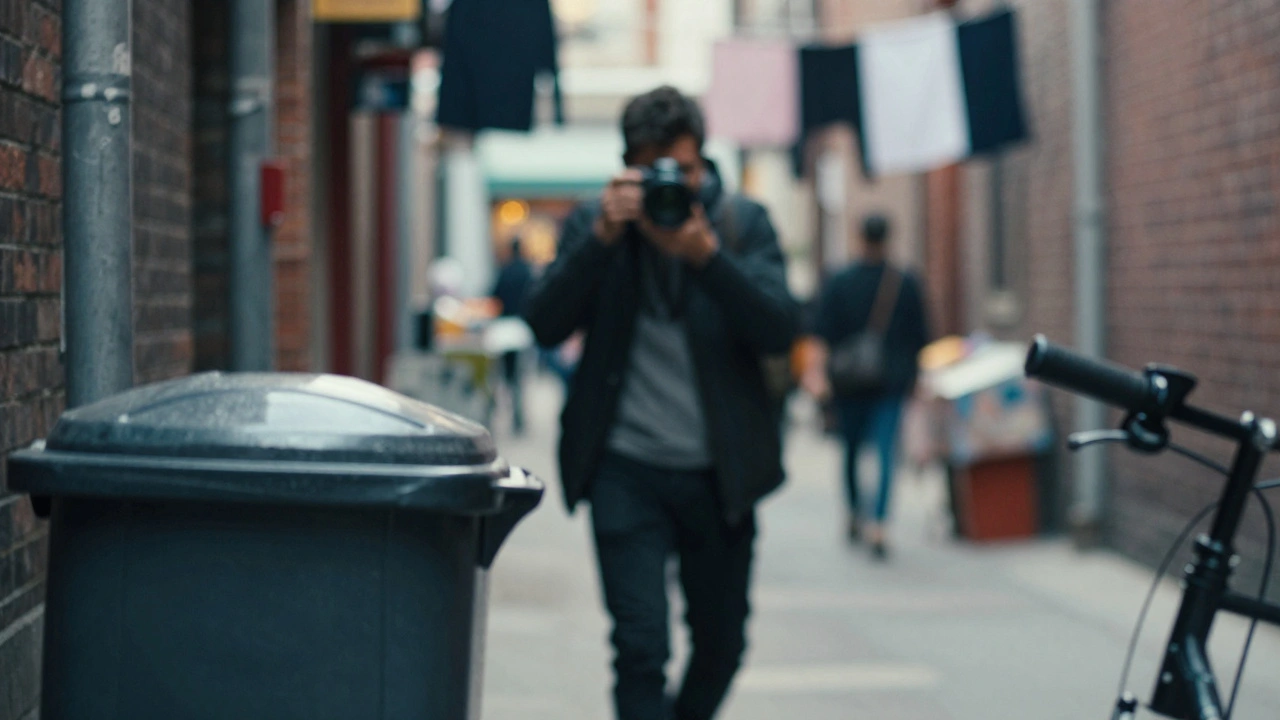
- Street photography - A busy sidewalk, a cluttered alley, people walking behind your subject. Instead of waiting for the perfect empty moment, blur the closest clutter - a trash can, a bike handlebar, a shop window reflection. Suddenly, your subject is the only thing that matters.
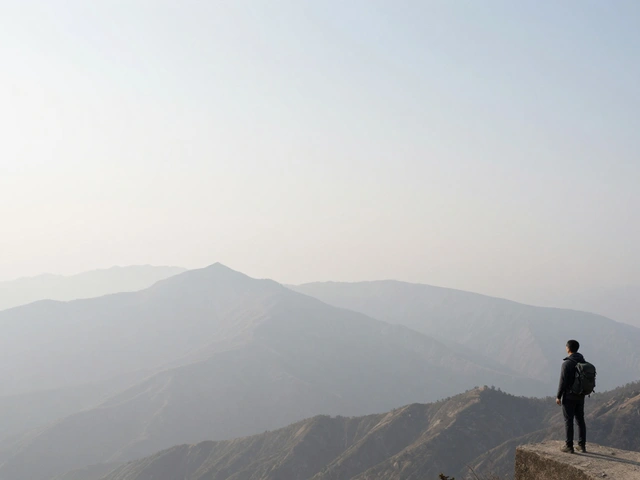
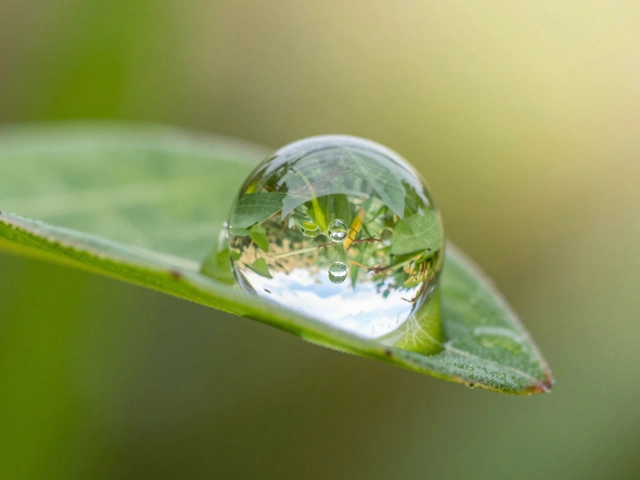
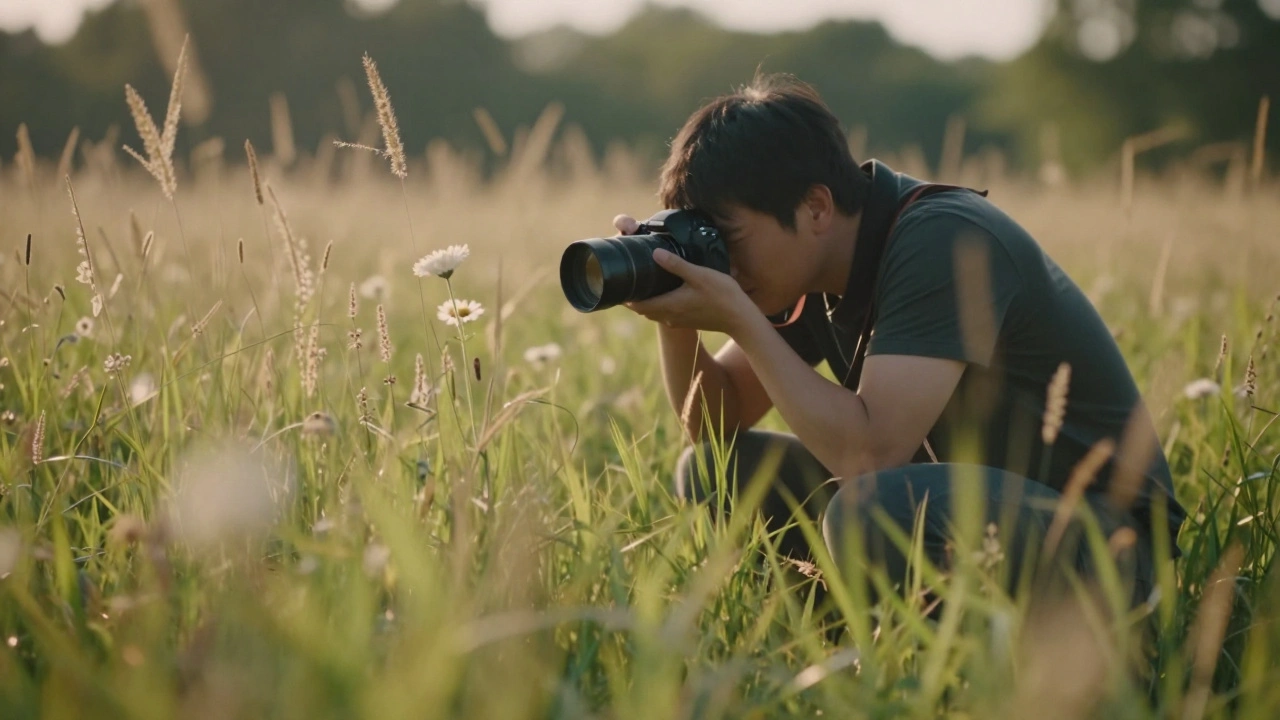
- Landscape photography - A single flower in a field? Add a soft blur of grass in front. A mountain range? Let a fallen branch or rock in the foreground melt into haze. It creates depth you can’t get with just distance.
- Studio portraits - You don’t need a huge studio. Hang a sheer curtain, drape a piece of fabric, or lean a branch against a wall. Position it between the lens and the subject. Now you’ve got soft, organic bokeh that looks expensive - and costs nothing.
How to Set It Up
Step by step, here’s how to nail it every time:
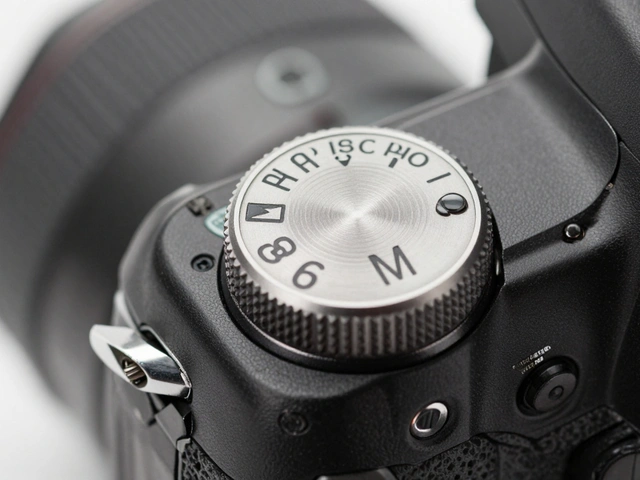
- Set your camera to aperture priority (A or Av mode). Turn the dial until you’re at f/2.8 or lower if your lens allows.
- Move closer to your subject than you normally would. Get within arm’s reach of the foreground element you want to blur.
- Switch to manual focus. Autofocus will fight you - it’ll lock onto the closest sharp thing, which is usually the foreground blur. Point your focus point on your subject’s eye, or the part that needs to be sharp.
- Frame the shot. Let the blur occupy one corner or the bottom third. Don’t center it. Let it lead the eye.
- Take the shot. If the foreground is moving (like grass in wind), use burst mode. One frame will catch the blur just right.
Pro tip: If you’re shooting in bright light and your aperture is already wide open but you still need more blur, drop your ISO and use a neutral density (ND) filter. It lets you keep the wide aperture without overexposing.
What Not to Do
Foreground blur can look sloppy if you’re not careful.
- Don’t blur too much - If the foreground is completely unrecognizable, it becomes noise. You want texture, not a blob. A hint of shape - a curve, a line, a color - helps the blur feel intentional.
- Don’t use wide-angle lenses at close range - A 14mm lens at 12 inches will keep everything sharp. You need distance between the lens and the blur element to create separation. Stick to 35mm or longer if you’re shooting from more than 18 inches away.
- Don’t ignore the shape of the blur - The shape of your aperture blades affects the bokeh. A lens with smooth, rounded blades gives you creamy blur. A lens with 5-6 straight blades? You get polygonal blobs. Test your lens. Some create beautiful swirls. Others look harsh.

Post-Processing? Yes - But Not Instead
You can fake foreground blur in Lightroom or Photoshop. But it won’t feel real. Real depth comes from how light bends through glass, how distance affects focus, how the lens renders out-of-focus areas. Software blur is flat. It doesn’t interact with light the same way.
Use post-processing to fine-tune: soften the edges a bit, darken the blur slightly to make it recede, or boost color contrast between the subject and the blur. But always start with an in-camera blur. It’s the only way to get authentic depth.
Why This Technique Stands Out
Most photographers think depth means distance. You need a far background, a wide lens, a tripod. But foreground blur flips that. You can shoot in a crowded alley, a cluttered room, a narrow trail - and still make your subject feel like it’s floating in its own space.
This isn’t about gear. It’s about seeing. It’s about noticing what’s right in front of you - not just what’s behind. The most powerful compositions often come from the smallest adjustments: moving your hand six inches closer, turning your body slightly, letting the camera do what it was designed to do.
Next time you’re shooting and something feels off - check what’s between you and your subject. Chances are, it’s not the background you need to fix. It’s the foreground you need to blur.
Can I use foreground blur with any lens?
Yes, but not all lenses work equally well. Lenses with longer focal lengths (70mm and up) and wider maximum apertures (f/2.8 or faster) make it easiest. Prime lenses like 50mm f/1.8 or 85mm f/1.4 are ideal. Wide-angle lenses (under 35mm) require you to be very close to the foreground element - within 6 to 10 inches - to blur effectively. If you’re using a zoom, try setting it to its longest end and widest aperture for the strongest effect.
Do I need a tripod for foreground blur?
Not usually. Foreground blur works best with handheld shooting because you’re often moving quickly - adjusting your angle, getting low to the ground, or reacting to a moving subject. As long as your shutter speed is at least 1/125 second (or faster if your subject is moving), you won’t need a tripod. If you’re shooting in low light and need a slower shutter, use a monopod or brace your elbows against a wall or tree.
What’s the difference between foreground blur and background blur?
Background blur (bokeh) separates your subject from what’s behind it - useful for portraits or wildlife against distant scenery. Foreground blur separates your subject from what’s in front of the lens - useful when you can’t move back, or when clutter is too close to the camera. Both create depth, but foreground blur adds a layer of intimacy. It makes the viewer feel like they’re peeking through a gap, not just looking at a subject from afar.
Can I use foreground blur in low light?
Absolutely. In fact, low light can help. With less ambient light, you can use wider apertures without overexposing. Just raise your ISO slightly and use a fast lens. The blur becomes even more dramatic because the contrast between the sharp subject and the dark, soft foreground increases. Try shooting a subject near a window with a curtain between the lens and the subject - the blur will glow softly.
Is foreground blur only for still subjects?
No. It works great with movement. A running dog, a cyclist, a child laughing - if you blur the foreground elements, the motion of your subject becomes more dynamic. The blur acts like a visual frame, anchoring the viewer’s eye while the subject moves through it. Use burst mode and manual focus to lock onto the subject’s path. You’ll get shots where the motion feels alive, not chaotic.