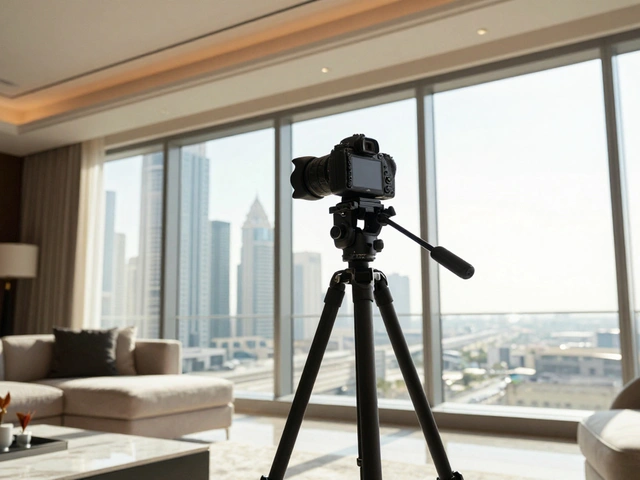
Ever take a photo of a beautiful living room only to find the windows look like glowing white rectangles? Or maybe you nailed the view outside, but the room looks like a dark cave? This is the classic struggle of dynamic range. Your camera simply cannot see the world the way your eyes do. While we can effortlessly look from a dim hallway out into a sunny backyard, a camera sensor has to pick a side. If you expose for the room, the window blows out. If you expose for the window, the room goes black.
This is where exposure blending is a technique that combines multiple images taken at different exposure levels to create a single, balanced photograph. It's the secret weapon that makes professional real estate listings look polished and lifelike. By merging different shots, you can show off the interior textures and the outdoor scenery simultaneously, which research suggests can bump listing engagement by up to 35% because the photos feel more natural to the viewer.
The Gear You Actually Need
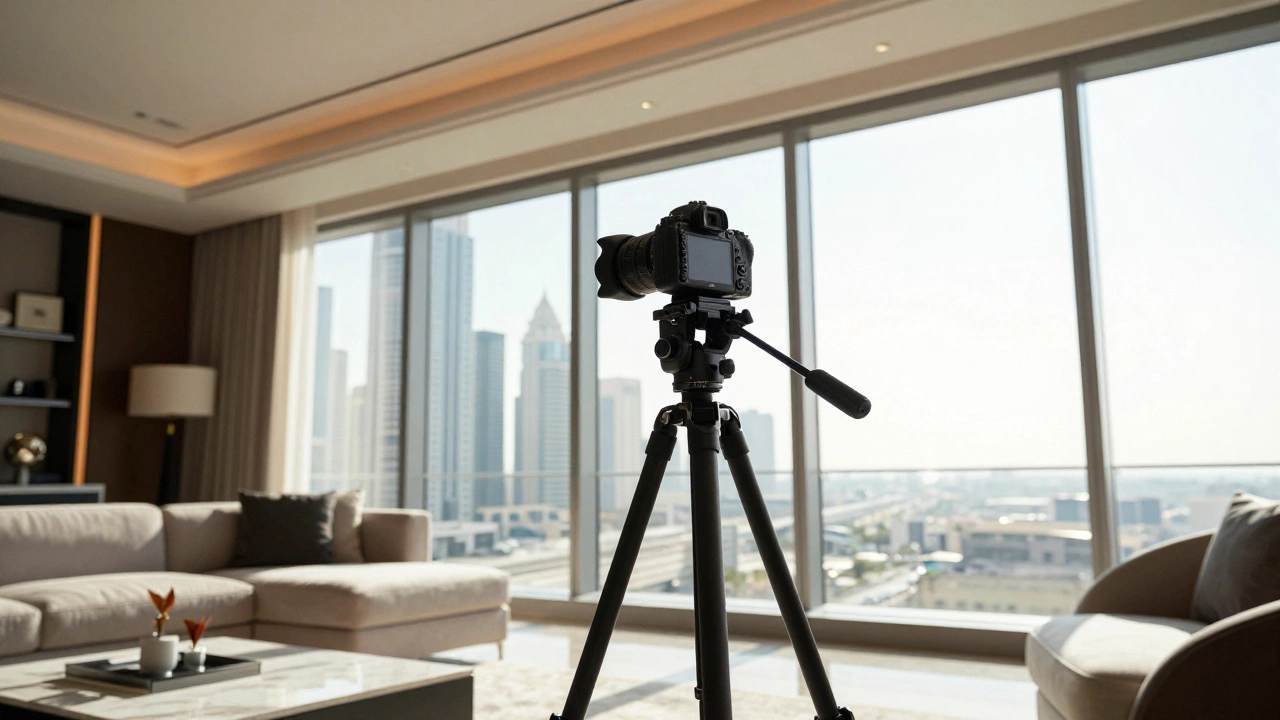
You don't need a cinematic rig, but you can't wing this with a handheld smartphone if you want professional results. Because you'll be taking multiple photos of the exact same spot, any shift in position will create "ghosting" or blurry edges when you try to merge them.
- A sturdy tripod: This is non-negotiable. Your camera must stay in the exact same coordinates for every shot in the sequence.
- Remote shutter release: Even the act of pressing the button can shake the camera. Use a remote or a 2-second timer to ensure the frame is dead still.
- High-resolution camera: While a mid-range DSLR works, a higher megapixel count gives you more room to crop and refine the edges of your blends.
Mastering the Bracketing Process
To get the right ingredients for your blend, you need to use Exposure Bracketing. Instead of one photo, you take a series of shots-usually three to five-each with a different exposure value (EV).
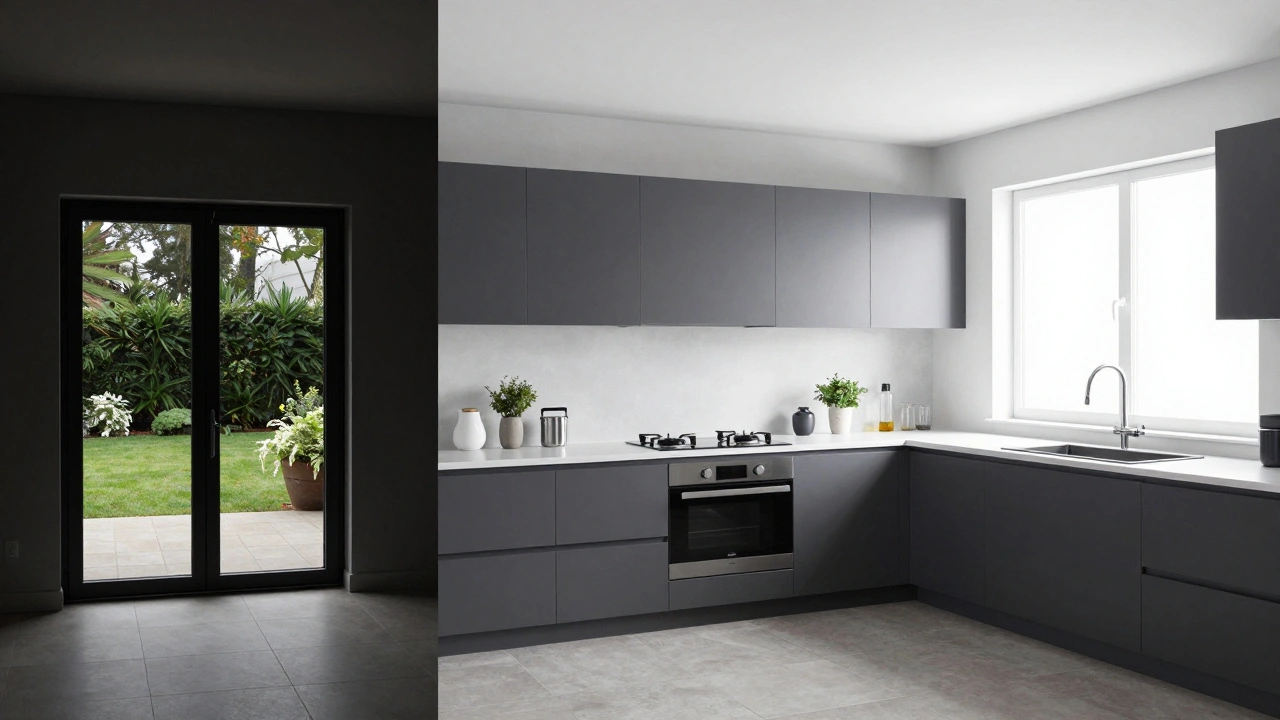
Imagine you're in a kitchen with a bright sliding glass door. Your set would look like this:
- The Underexposed Shot (-2EV): This one is dark. Its sole purpose is to capture the detail in the bright outdoors, the clouds, and the greenery without them turning white.
- The Base Exposure (0EV): This is your "middle" shot. It captures the general feel of the room.
- The Overexposed Shot (+2EV): This one is bright. It pulls the detail out of the dark corners, the underside of cabinets, and the shadows in the hallway.
Pro tip: Always shoot in RAW format. If you shoot in JPEG, the camera throws away a lot of data to save space. RAW keeps all the highlight and shadow information, which is vital when you start pushing and pulling levels in post-processing.
| Exposure Level | Visual Result | Primary Goal |
|---|---|---|
| Underexposed (-EV) | Dark interior, clear windows | Recover window views and highlights |
| Balanced (0EV) | Standard room lighting | Maintain overall color and tone |
| Overexposed (+EV) | Bright interior, blown windows | Lift shadows in dark corners |
Bringing it Together in Post-Processing
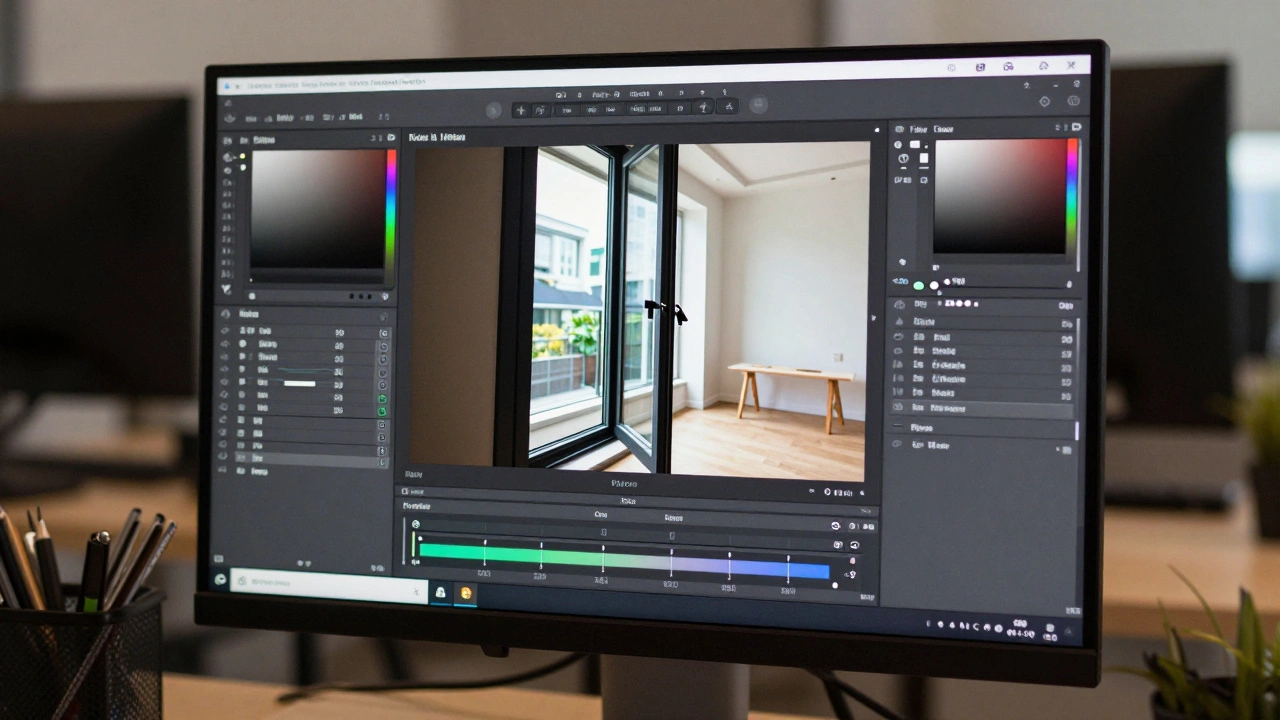
Once you have your bracketed shots, the magic happens in the software. Most pros use a combination of Adobe Lightroom for initial RAW development and Adobe Photoshop for the actual blending.
The basic workflow starts with alignment. Even on a tripod, slight shifts happen. Use the "Auto-Align Layers" feature in Photoshop to make sure every pixel matches across the different exposures. From there, you have a few ways to blend. You can use a basic HDR merge, but for high-end real estate, luminosity masking is the gold standard.
Luminosity Masking uses the brightness values of the image itself to create a mask. Instead of painting a rough edge with a brush, the software identifies the brightest parts of the image (the windows) and seamlessly blends in the underexposed shot only in those specific areas. This prevents the "halo effect" or the weird, muddy look that cheap HDR filters often produce.
Advanced Finishing Touches
A blend is a great start, but it often looks a bit flat. To make a photo pop, architectural photographers use a few extra tricks:
- Dodge and Burn: This is where you selectively brighten (dodge) or darken (burn) specific areas using the different exposures you've already captured. If a corner is still too dim, you don't just crank the brightness; you "paint in" the overexposed shot.
- Local Contrast Enhancement: Tools like Nik Color Efex help add punch to textures, like the grain of a hardwood floor or the weave of a luxury rug, without affecting the rest of the image.
- Color Correction: Windows often bring in cool blue light, while interior lamps cast warm yellow light. Use adjustment layers in Photoshop to balance these color temperatures so the room feels cohesive.
Avoiding Common Pitfalls
Blending can go wrong quickly if you overdo it. The biggest mistake is the "HDR look"-where colors become neon and the image looks like a surrealist painting. Your goal isn't to show every single detail in every single shadow; it's to mimic how a human sees the room. If a corner is naturally dark, let it be a little dark. Just make sure it's not a black hole.
Another issue is noise. If you try to "rescue" a shot that was way too underexposed by cranking the exposure in Lightroom, you'll see grain (noise). The best way to avoid this is to take a wider range of brackets. Instead of just three shots, take five. This ensures you have a clean, noise-free image for every tonal range.
Is exposure blending the same as HDR?
Essentially, yes, but the term "HDR" is often associated with automated software that can create an artificial, over-processed look. Exposure blending is the manual, more refined version of HDR. While HDR software often does the work for you, professional exposure blending (like luminosity masking) gives the photographer total control over exactly where the different exposures merge.
Can I do this without a tripod?
It is possible, but very difficult. Software like Photoshop can align images that were taken handheld, but you will likely encounter "ghosting"-where edges look blurry or duplicated-especially around high-contrast areas like window frames. For a professional real estate portfolio, a tripod is a must.
How many bracketed shots do I actually need?
Three shots (-2, 0, +2) are enough for moderate lighting. However, if you're shooting a room with massive floor-to-ceiling windows in bright midday sun, five or seven shots in 1-stop increments will give you a much smoother transition and more flexibility in post-processing.
What is the fastest way to blend for a large project?
If you have a 50-room mansion, manual luminosity masking for every photo is exhausting. Many pros use Lightroom's "Photo Merge & HDR" feature for the bulk of the work and then move only the most important "hero shots" (like the main living room and master suite) into Photoshop for detailed manual blending.
Why can't I just use a flash to brighten the room?
Flash helps, but it often creates harsh reflections on glossy floors and walls. The best approach is a hybrid: use exposure blending for the windows and ambient light, and then blend in a separate flash-exposed shot to fill in the shadows. This is known as flash and ambient blending.
Next Steps for Improving Your Workflow
If you're just starting out, try a simple three-shot bracket in a room with one window. Practice the "Auto-Align" and "Layer Masking" process in Photoshop before moving on to complex luminosity masks. If you find yourself spending hours on one photo, look into luminosity masking panels-these are third-party plugins that automate the mask creation process, saving you a massive amount of time without sacrificing quality.