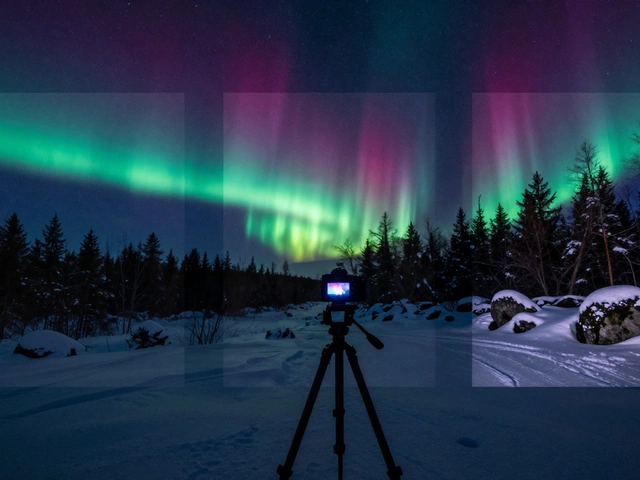
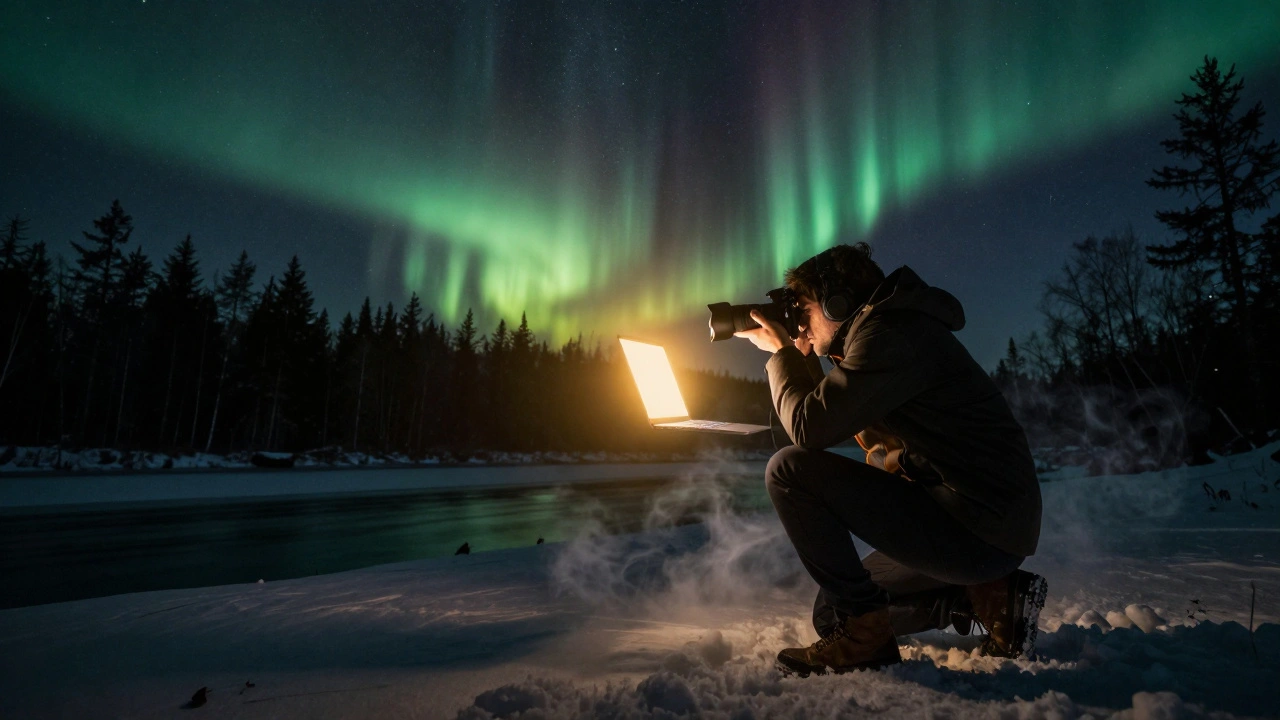
When you’re out at night with your camera, trying to capture the glow of the northern lights over a snowy forest or the shimmer of city lights reflecting on a quiet river, you’ve probably run into the same problem: no matter how you set your exposure, something always looks wrong. The sky is too bright and the foreground is black, or the foreground looks detailed but the lights in the sky are washed out. That’s not a camera flaw - it’s a sensor limitation. Digital camera sensors simply can’t capture the full range of brightness in a single shot when the difference between dark and light is too extreme. That’s where night HDR photography comes in.
Why Single Exposures Fail at Night
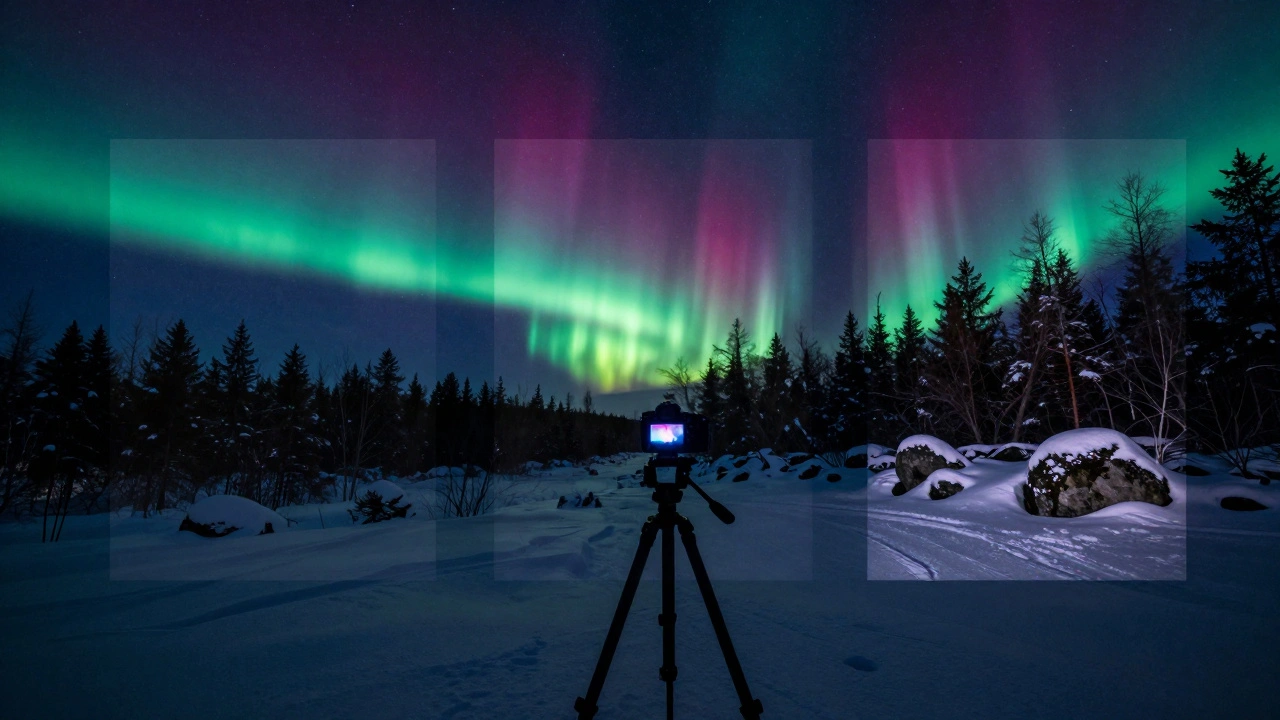
A typical night scene - say, the aurora above a rocky hillside - has two wildly different light sources. The aurora might be glowing faintly but vividly, while the rocks below are nearly pitch black. If you expose for the sky, the foreground disappears into shadow. If you expose for the rocks, the aurora turns into a blurry, colorless smear. This isn’t just a matter of brightness - it’s about preserving color, texture, and movement. A single exposure forces you to choose which part of the scene to sacrifice.That’s why professionals don’t rely on one shot. They take three, five, even seven exposures of the same scene, each with a different shutter speed. The shortest exposure captures the bright sky without blowing out the colors. The longest exposure pulls detail out of the shadows - rocks, trees, snow - without noise. The middle shots bridge the gap. When blended together, they create a final image that looks more like what your eyes saw than what your camera recorded.
How to Capture Bracketed Exposures
You don’t need fancy gear to start, but you do need three essentials: a tripod, a remote shutter release, and a camera that lets you manually adjust exposure. Here’s how to set it up:- Mount your camera on a sturdy tripod. Even a slight shift between shots ruins the blend.
- Set your camera to manual mode. Lock ISO at 100 or 200 to minimize noise. Use the lowest ISO your camera allows.
- Set your aperture to f/8 or f/11. This gives you good depth of field and sharpness across the frame.
- Start with the shortest exposure that keeps the highlights intact. For auroras, that might be 2-4 seconds.
- Take a second exposure 2 stops longer - say, 8-16 seconds.
- Take a third exposure 2 stops longer still - 30 seconds or more, depending on ambient light.
- If your scene has moving elements like water or trees, add a fourth or fifth exposure to give blending software more data.
Most modern cameras have an auto-bracketing feature. Turn it on, set it to 3 or 5 frames, and let the camera do the work. But always check your histogram after each set. You want the highlights to just barely clip - not vanish - and the shadows to hold texture, not go completely black.
Blending in Lightroom: The Simple Way
If you’re new to HDR, Adobe Lightroom’s Merge to HDR tool is your best starting point. It’s fast, reliable, and handles most night scenes without requiring you to touch a single mask.Here’s how:
- Select all your bracketed exposures in the Library module.
- Go to Photo > Photo Merge > HDR.
- Check the box for “Auto Align” - this fixes tiny shifts caused by wind or tripod flex.
- Check “Deghosting” if you had moving objects (like people, cars, or swaying grass). Lightroom will try to remove ghosting artifacts.
- Click Merge. Lightroom will generate a new DNG file with blended tonal data.
After merging, you’ll notice the image looks flat at first. That’s normal. Now adjust exposure, contrast, and clarity. Pull down the highlights to bring back color in the aurora. Lift the shadows to reveal texture in rocks. Use the tone curve to add punch to midtones. The goal isn’t to make it look “HDR” - it’s to make it look real, just more detailed than any single shot could.
Manual Blending in Photoshop: Control You Can’t Get Elsewhere
Lightroom works great for simple scenes. But if you’re blending a long exposure of flowing water with a bright sky full of stars - or trying to recover detail in ice caves where some patches glow and others are pure black - you need more precision. That’s where manual blending in Photoshop shines.Start by opening all your exposures as layers in one Photoshop document. Keep the longest exposure (the one with the most shadow detail) at the bottom. Put the shortest exposure (the one with the cleanest highlights) on top.
Now, here’s the trick: go to Image > Apply Image. Set Layer to Merged, Channel to RGB, Blending Mode to Multiply, and check Invert. Click OK. This creates a black mask that hides everything except the brightest parts of the top layer. Now, use a soft brush with low opacity (around 10-15%) and paint over the sky or glowing areas to reveal them. You’re essentially painting in the detail from the short exposure, while keeping the shadow detail from the long one.
This technique gives you direct control. You can blend just the aurora, just the foreground, or even just the edge where the sky meets the trees. No algorithm decides for you. You do.
Advanced: Luminosity Masking for Fine-Tuned Control
Once you’re comfortable with Apply Image, try luminosity masking. It sounds complicated, but it’s just a smarter way to select tones. Instead of painting manually, you create masks based on brightness levels - darks, midtones, highlights.For example, you can create a “darks” mask that only selects the shadowy parts of your long exposure. Then, you blend in the brighter exposure only where that mask is active. The result? Perfectly smooth transitions. No harsh lines. No ghosting. Just natural-looking detail.
Luminosity masks are especially powerful when you’re combining long exposure with HDR. Say you used a 30-second exposure to blur the water in a river. The water looks silky, but the rocks are too dark. You can use a luminosity mask to selectively blend in a 5-second exposure to reveal rock texture - without ruining the motion blur.
There are free Photoshop actions that generate luminosity masks automatically. Search for “Niklas Röjemo’s luminosity masks” - they’re widely used by pros and easy to install.
When to Use Neutral Density Filters
You might think ND filters are only for daytime long exposures. But at night, they’re sometimes essential. If you’re shooting a waterfall under starlight and want silky water - but your longest exposure still overexposes the sky - an ND filter lets you extend the shutter speed even further without blowing out highlights.For night use, a 3-stop or 6-stop ND filter works best. A 10-stop filter like the Lee Big Stopper is overkill unless you’re shooting in twilight or under bright moonlight. Cheap ND filters often add color casts - green or magenta - which ruin night colors. Stick to trusted brands like Formatt-Hitech or B+W.
Use your ND filter on the longest exposure only. Keep the others unfiltered. That way, you get the motion blur you want, and the other exposures still capture clean highlight detail.
Common Mistakes and How to Avoid Them
- Using a shaky tripod. Even 1mm of movement between shots ruins alignment. Use a heavy tripod, hang your camera bag from the hook for stability, and avoid touching the camera during exposure.
- Changing ISO or aperture. Keep everything locked except shutter speed. Changing aperture affects depth of field. Changing ISO adds noise. Stick to one ISO and one aperture.
- Over-processing. HDR can look fake if you crank up clarity and saturation. Keep it subtle. The goal is realism - not a neon painting.
- Ignoring the histogram. Always check it. If your highlights are clipping on the right side, shorten your exposure. If shadows are crushed, lengthen it.
- Trying to blend too many images. More isn’t better. Three exposures are usually enough. Five is the max unless you’re dealing with extreme contrast.
What You Can Achieve With This Technique
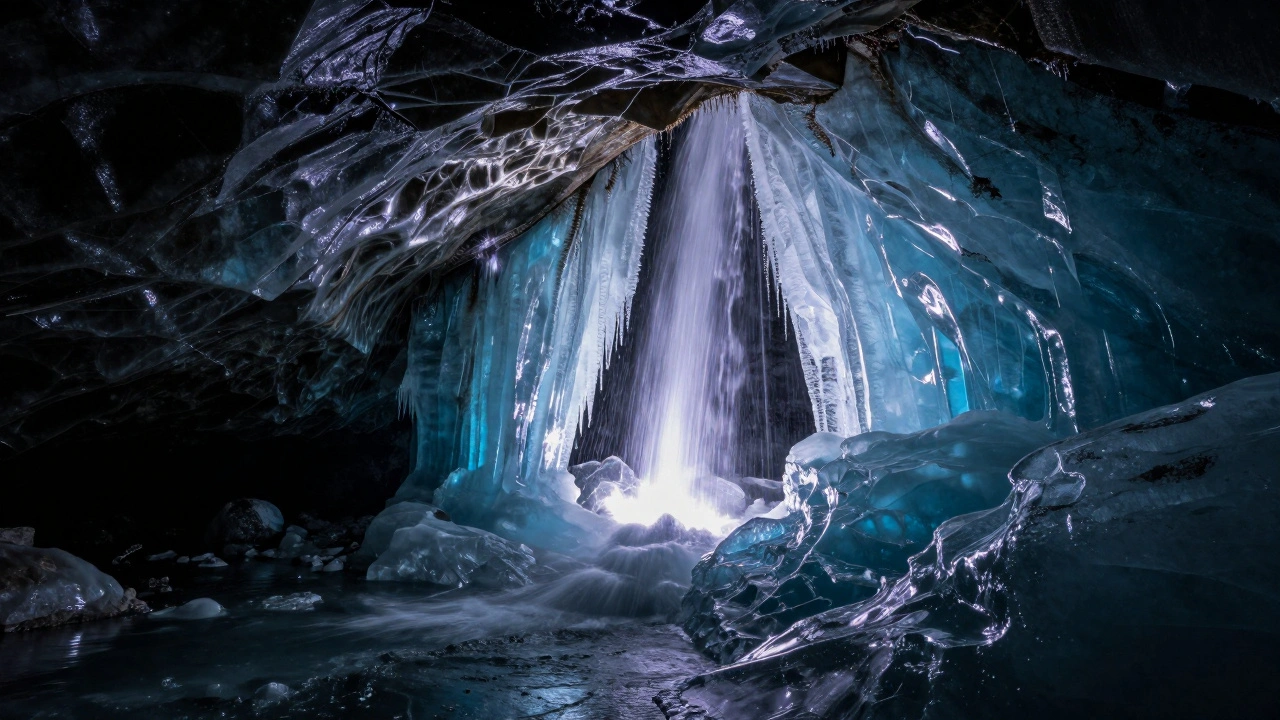
Night HDR isn’t just about fixing exposure problems - it’s about revealing what was always there. Ice caves that look like black holes in single shots become glowing, translucent tunnels. City skylines with dark alleys turn into layered stories of light and shadow. The northern lights, once just a faint streak, now dance with color and texture over grounded landscapes.Photographers who master this technique don’t just take better photos. They see the night differently. They stop seeing darkness as empty space. They start seeing it as a canvas waiting to be revealed - one exposure at a time.
Do I need a special camera for night HDR photography?
No. Any DSLR or mirrorless camera that lets you shoot in manual mode and has exposure bracketing will work. Entry-level models like the Canon EOS R50 or Sony A6100 are perfectly capable. What matters more is having a sturdy tripod and the patience to take multiple shots.
Can I do night HDR without a tripod?
It’s possible, but not recommended. Even slight movement between exposures creates misalignment that’s hard to fix. If you must shoot handheld, use the deghosting feature in Lightroom - but expect artifacts around moving objects like trees or water. A tripod is the only reliable way to get clean blends.
How many exposures should I take for night HDR?
Three is the sweet spot for most scenes: one underexposed for highlights, one correctly exposed for midtones, and one overexposed for shadows. Add a fourth or fifth only if you have extreme contrast - like auroras over a dark forest, or bright streetlights next to deep shadows.
Is manual blending better than Lightroom’s HDR merge?
It depends. Lightroom’s merge is faster and works great for 3-5 exposures with little movement. Manual blending gives you total control over which parts of each exposure get used. If you want to preserve a specific texture, blur, or color gradient - like a glowing ice formation or a star trail - manual blending is the only way to get it right.
Can I use HDR for moonlit scenes?
Absolutely. Moonlight creates high contrast just like artificial lights. The moon itself can be overexposed, while the ground stays dark. Use a short exposure for the moon, a longer one for the landscape. Blend them manually or with Lightroom. The result will look more natural than a single exposure ever could.