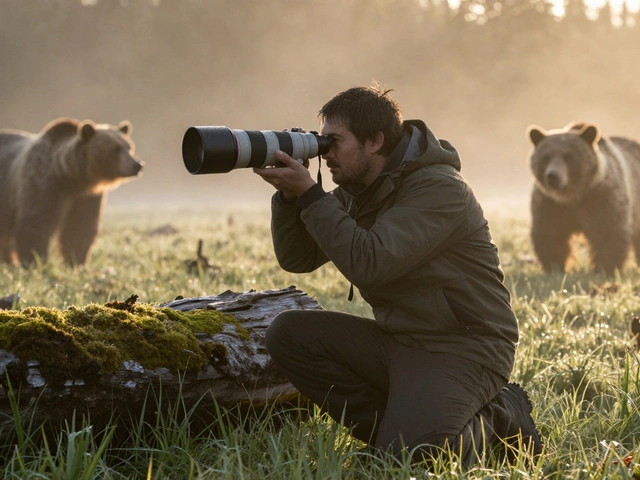
Photographing moose, elk, and bears isn’t just about pointing a camera and hoping for the best. These animals are powerful, unpredictable, and often hidden in dense forests or open meadows where light shifts in seconds. You’re not shooting a pet in your backyard. You’re working with wild creatures that can move faster than your shutter speed, vanish behind a tree, or charge if you get too close. Success comes from understanding their behavior, mastering your gear, and knowing exactly when to press the button.
Why Your Aperture Needs to Change
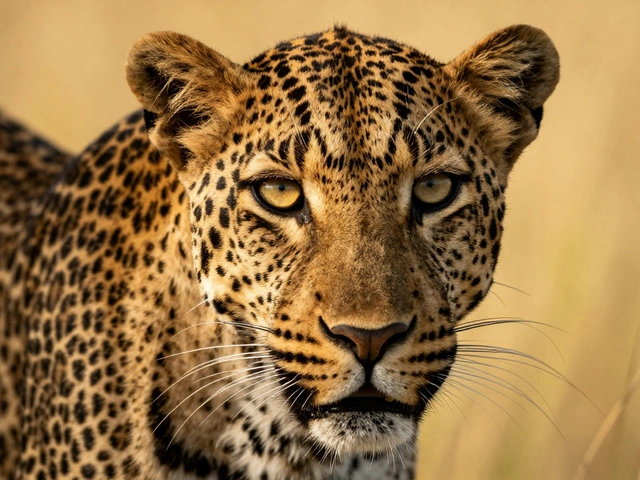
Most beginners think wide apertures like f/2.8 or f/4 are always best for wildlife. That works for a rabbit or a bird. But when you’re facing a full-grown moose or a grizzly bear, depth of field becomes a nightmare. At 500mm and 13 meters away, f/5.6 gives you only 22 centimeters of focus. That means if the moose’s nose is sharp, its eyes are blurry - or vice versa. You can’t rely on autofocus to fix that. You need to manually adjust.For head-on shots of large animals, drop your aperture to f/8 or f/11. It sacrifices some background blur, but it keeps both eyes and the snout in focus. If you’re shooting a group of elk standing at different distances, go even smaller - f/13 or f/16. Yes, you’ll need more light. Yes, your ISO might climb. But a blurry face is worse than a noisy image. Modern cameras handle high ISO far better than they did a decade ago. A clean f/11 shot at ISO 3200 is worth ten blurry f/4 shots at ISO 800.
Lenses: Long Is Better, But Not Always
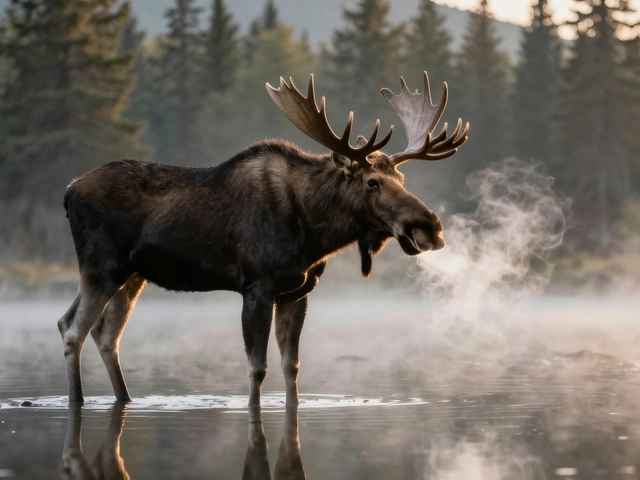
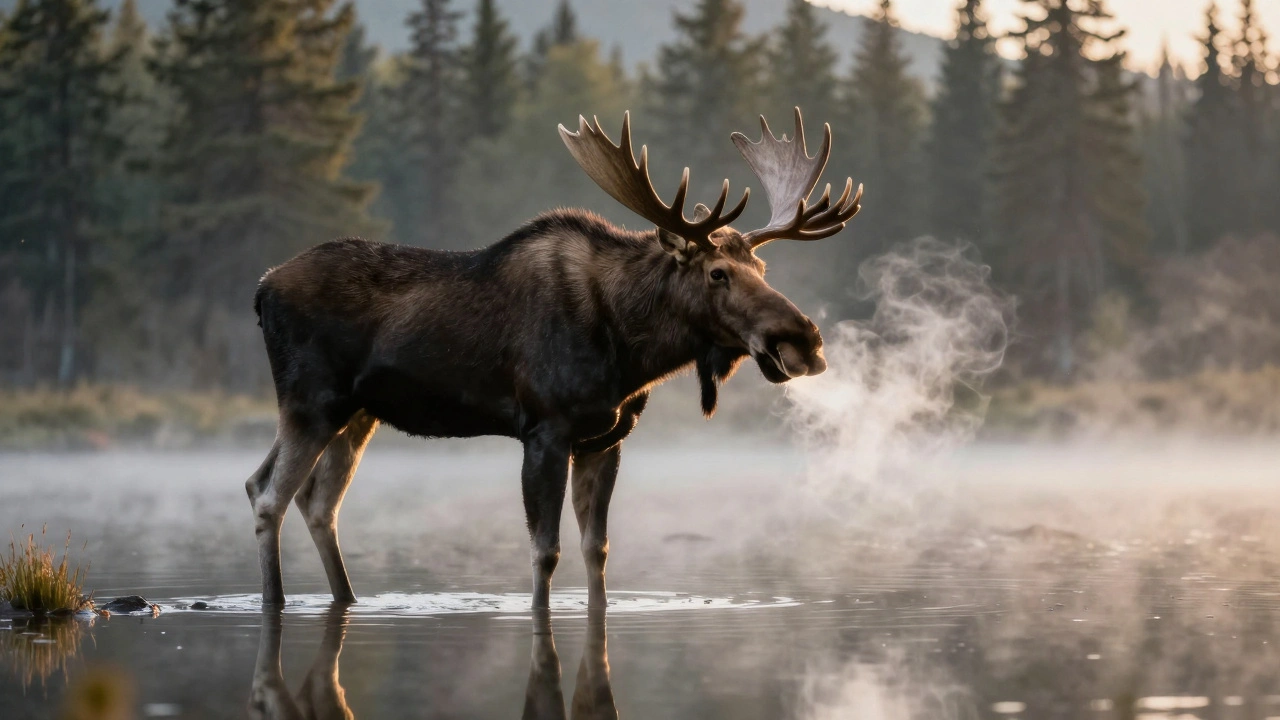
You’ll hear people say you need a 600mm lens to photograph bears. That’s true - if you’re standing on a trail 100 meters away. But what if you’re in Alaska, and the bear is walking toward you? Suddenly, 600mm is too long. You’re cutting out the environment. You lose context. The animal becomes a blob against trees.Many top wildlife photographers carry two lenses: a 500mm f/4 for distant shots, and a 100-400mm for when the animal gets closer. The 100-400mm gives you flexibility. You can step back and capture the bear standing on a ridge with mountains behind it. Or you can zoom in tight when it pauses to sniff the wind. Some even use a 24-70mm - not for the animal itself, but for environmental shots. Imagine a moose in a misty alpine lake, its reflection clear in the water. That’s a 24mm shot. It tells a story your 500mm can’t.
Don’t forget teleconverters. A 1.4x teleconverter turns your 500mm into 700mm. But it cuts light by one stop. You’ll need to raise your ISO or slow your shutter. Test it before you go. Some lenses lose autofocus speed with teleconverters. Others don’t. Know your gear.
Composition: Eye Level Is the Only Level
The most powerful wildlife images aren’t taken from above. They’re taken from below. Get low. Lie on your stomach. Crouch in the mud. Position your camera at the animal’s eye level. Suddenly, you’re not a photographer. You’re part of the scene.When you shoot a bear from above, it looks like a big animal. When you shoot it at eye level, it looks like a creature with presence. You see the fur texture, the wet nose, the slight twitch of an ear. That’s intimacy. That’s connection.
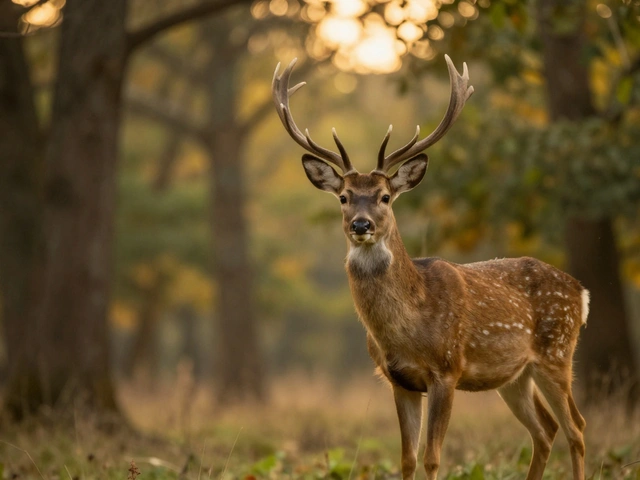
Use the Rule of Thirds. Place the animal’s eye on the top-left or top-right intersection. If it’s looking left, leave space in front of its face. Don’t chop off its antlers. Don’t cut the tail. Let the animal breathe in the frame. If you’re shooting a moose with antlers, tilt the camera slightly. Let the antlers point toward the top of the frame - it creates natural flow.
And don’t ignore the background. A cluttered forest makes your subject disappear. Look for open patches of light, misty valleys, or dark pine lines. A simple background turns a good photo into a great one.
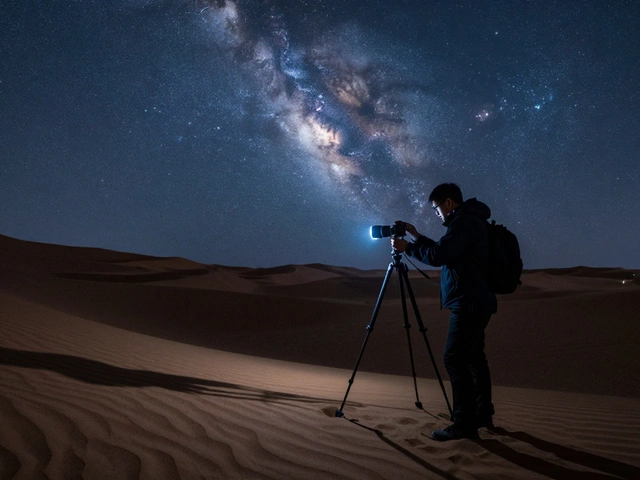
Lighting: Backlighting Turns Ordinary Into Extraordinary
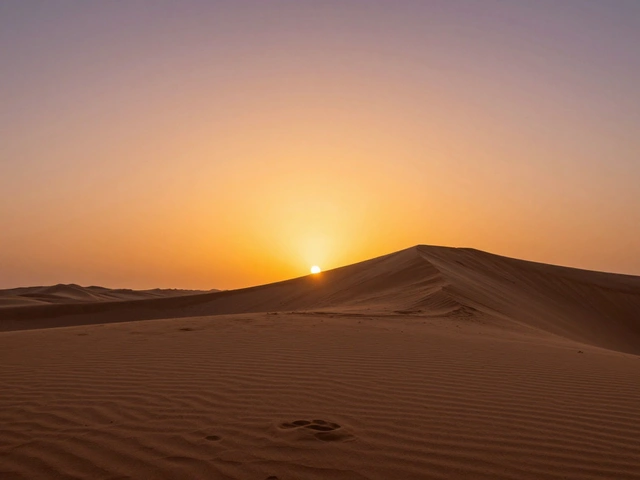
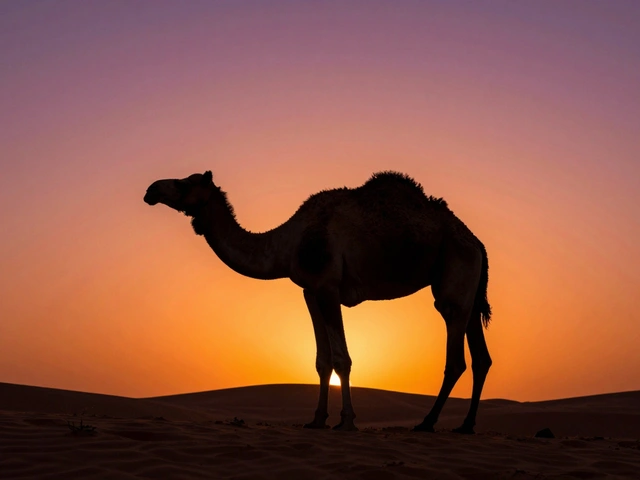
Golden hour isn’t just for sunsets. It’s for moose in mist, bears in snow, elk in tall grass. But the best light for large animals often comes when the sun is behind them.Backlighting creates a rim of gold around fur. It makes antlers glow. It turns steam from a moose’s breath into visible halos. It’s hard to expose correctly. Your camera’s meter will think the scene is too bright. You’ll end up with a dark silhouette.
Here’s how to fix it: switch to spot metering. Aim the meter at the animal’s face. Lock exposure. Then recompose. Or use exposure compensation. Dial in +1 to +1.5 stops. You’re not trying to overexpose the whole scene. You’re lifting the shadow detail on the animal’s body while keeping the background bright.
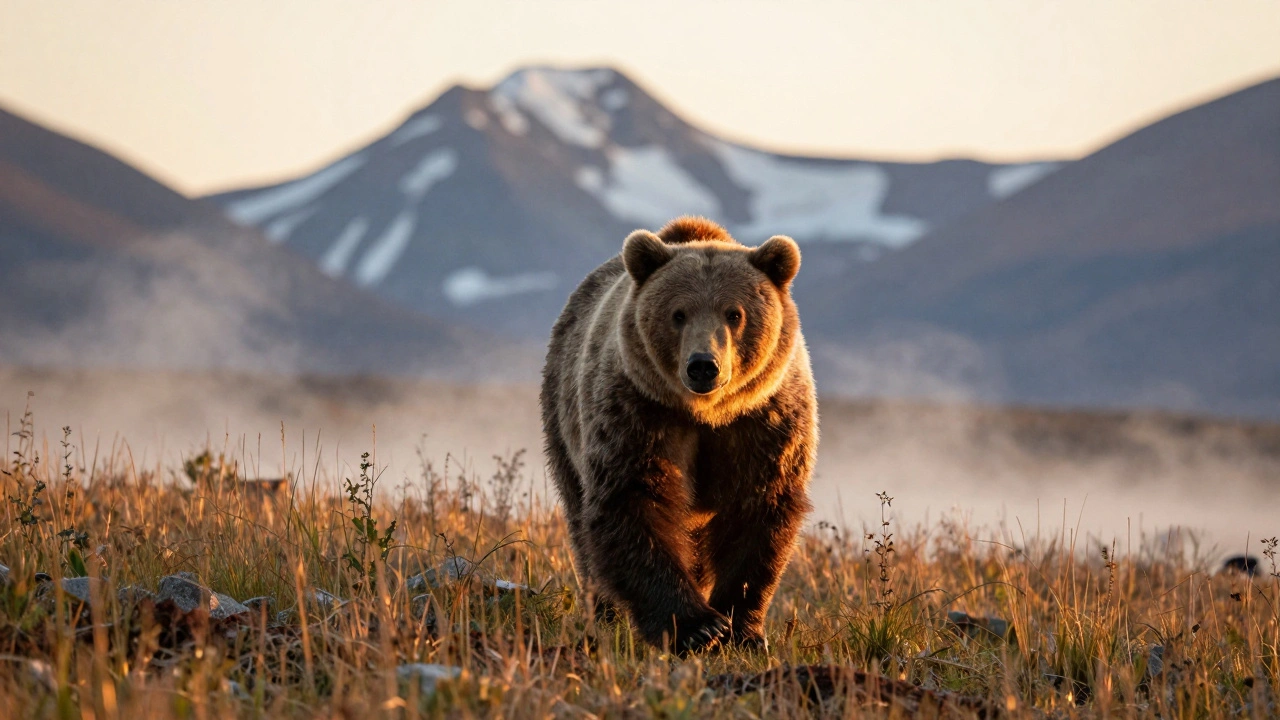
Try this: shoot just after sunrise, when the sun is low and the air is still. A bear walking through a field with mist rising behind it? That’s the shot you’ll remember.
Autofocus: Don’t Rely on Single Point
A bear doesn’t stand still. A moose charges. An elk runs through brush. You need autofocus that tracks, not just locks.Use Group AF (Nikon) or Dynamic Area AF (Canon). These modes use multiple focus points to track the subject as it moves. For a bear walking toward you, this is essential. Single-point AF will lose focus the moment the head turns. Group AF stays on the body.
For animals moving unpredictably - like a herd of elk scattering - try 3D Tracking (Nikon) or Subject Tracking (Canon). These use color and motion to follow the subject across the frame. They’re not perfect. But they’re better than manual.
Set your camera to continuous shooting. Use 5-10 frames per second. You don’t need 20. You need 10 sharp frames. One of them will be the keeper. Don’t spam 500 shots. You’ll drown in bad images.
Behavior Matters More Than Gear
You can have the best lens in the world. But if you don’t understand the animal, you’ll miss everything.Moose are most active at dawn and dusk. In fall, they’re in rut - males fight. Stay far away. They can run 35 mph. Elk are herd animals. Find a group. Wait. They’ll move naturally. Bears? They’re solitary. Look for sign: scat, tracks, overturned logs. In spring, they’re in open meadows eating grass. In fall, they’re in berry patches. In winter, they’re hibernating. You won’t find them.
Never approach. Never feed. Never use calls or bait. You’re not hunting. You’re observing. A bear that gets used to humans becomes dangerous. A moose that feels threatened becomes aggressive. Respect their space. Use your zoom. The best photos come from patience, not proximity.
Seasons Change Everything
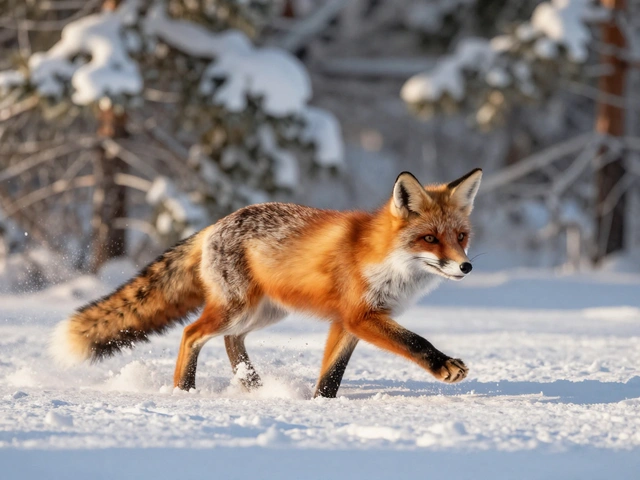
Winter: Snow makes everything easier. Tracks show where animals go. Light is soft. Colors are clean. But it’s cold. Batteries die fast. Keep spares in your pocket.Spring: Moose are in wetlands. Elk are shedding velvet. Bears are hungry. This is prime time for color and movement. But bugs are bad. Bring repellent.
Summer: Dense foliage hides animals. Light is harsh. Shoot early or late. Look for rivers - animals come to drink.
Fall: The best season. Elk bugle. Moose rut. Bears gorge on berries. Colors explode. The air is crisp. The light is golden. This is when the best images happen.
What Gear Actually Works
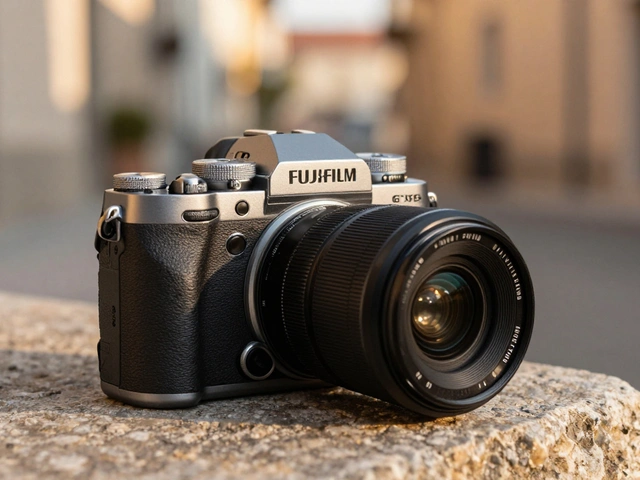
You don’t need the most expensive gear. You need reliable gear.- Camera bodies: Canon R5, Nikon Z8, Sony A9 III - all have excellent autofocus and high ISO performance.
- Lenses: 500mm f/4 (Canon, Nikon, Sony), 100-400mm f/5.6-6.3 (Tamron or Sigma), 24-70mm f/2.8 for environmental shots.
- Accessories: Tripod with ball head, lens hood, rain cover, extra batteries, memory cards (128GB minimum), polarizing filter for water and sky.
Don’t buy a 600mm f/4 just because you think you need it. Rent it first. Test it. See if you can carry it 5 miles through mud.
Final Rule: Be Quiet. Be Patient. Be Ready
The best moose photo I’ve ever seen wasn’t taken with a $10,000 lens. It was taken by a guy who sat in a blind for three days. He didn’t move. He didn’t talk. He waited. The moose came within 15 meters. The photo? Just a head, one eye looking directly at the camera, mist rising behind it. No filters. No editing. Just light, patience, and timing.That’s what large animal photography is. It’s not about gear. It’s about presence. It’s about understanding that you’re not the center of the scene. The animal is. Your job is to disappear - and let the moment happen.
What’s the safest distance to photograph bears?
Stay at least 100 yards (91 meters) away from bears. This is the minimum recommended by wildlife agencies. Use a long lens - 500mm or more - to get close without risking safety. Never approach a bear, even if it seems calm. A charging bear can cover 30 feet in under a second. Always have an escape route and carry bear spray.
Is it better to shoot in manual or aperture priority?
Aperture priority (A or Av mode) is best for most large animal photography. You control depth of field, and the camera adjusts shutter speed for exposure. This lets you focus on composition while the camera handles motion. Only switch to manual if you’re shooting in consistent light - like in a blind at sunrise - and want total control over exposure.
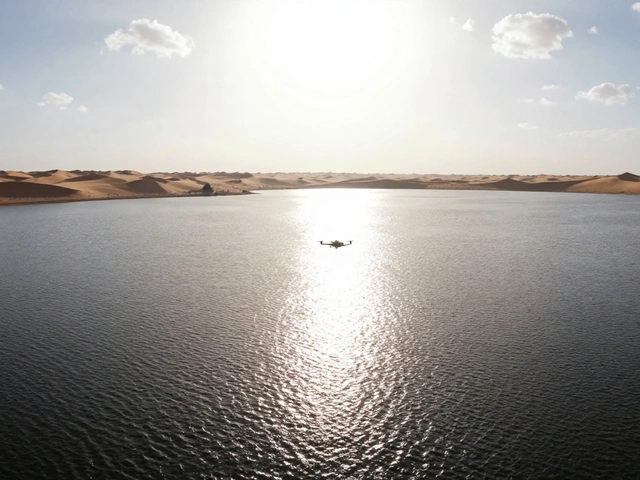
Can I use a drone to photograph moose or elk?
No. Drones stress large animals. Moose and elk have been documented to flee, panic, or even injure themselves when drones fly overhead. Many national parks and wildlife areas ban drones entirely. Even if it’s legal, it’s unethical. You’re not capturing nature - you’re disturbing it. The best shots come from patience on the ground, not from above.
What’s the best time of year to photograph elk?
Fall - specifically late September to mid-October - is peak elk season. This is when they bugle, gather in herds, and move through open valleys. The rut is active, the light is golden, and the aspen trees turn bright yellow. Morning and evening are best. Avoid midday; the animals rest in shade.
How do I protect my gear in rainy or snowy conditions?
Use a rain cover - not a plastic bag. Invest in a professional-grade lens hood and a weather-sealed camera body. Keep spare batteries warm in an inner pocket. Wipe down gear with a microfiber cloth after each shoot. Don’t change lenses in the rain. If you must, do it under a tarp. Moisture is the silent killer of electronics.