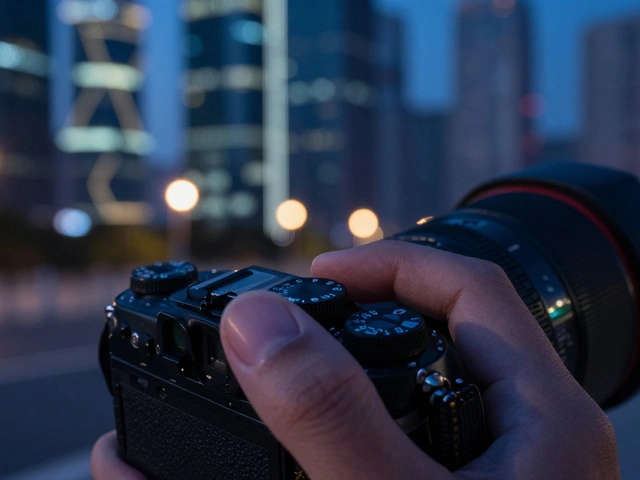
When you’re out shooting landscapes at sunrise, or trying to capture silky waterfalls in broad daylight, your camera alone won’t cut it. You need the right tools - and not all of them fit inside the camera body. Lens filters are among the most practical, underrated accessories in photography. They don’t just add effects; they solve real problems you didn’t even know you had. But not all filters are created equal. Some are essential. Others? Not so much.
Why Filters Matter More Than You Think
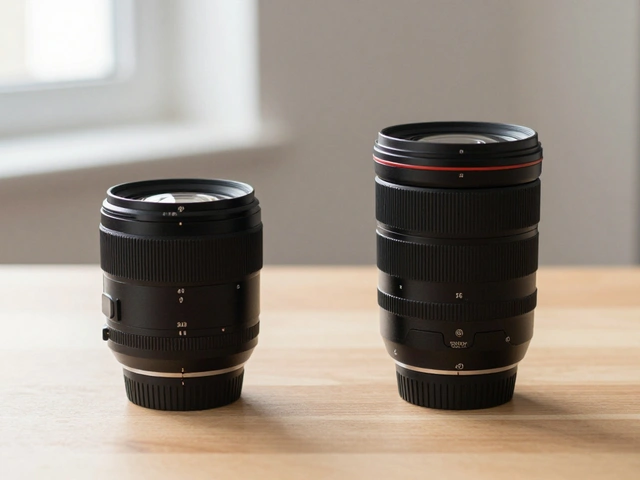
A filter screws onto the front of your lens. Sounds simple, right? But the difference between a $20 filter and a $120 one? It’s the difference between a sharp, vibrant image and one that looks like it was taken through a dirty window. Cheap filters introduce flare, reduce contrast, and even cause color shifts. High-quality filters? They’re nearly invisible - they just let light pass through cleanly while doing their job. I’ve seen photographers spend thousands on lenses, then slap on a $15 UV filter from a no-name brand. Bad move. You’re not protecting your lens - you’re degrading your image. The good news? You don’t need to buy every filter under the sun. Just three: circular polarizers, neutral density filters, and UV filters. But you need to know which ones actually help - and which ones you can skip.Circular Polarizing Filters: The Color Booster
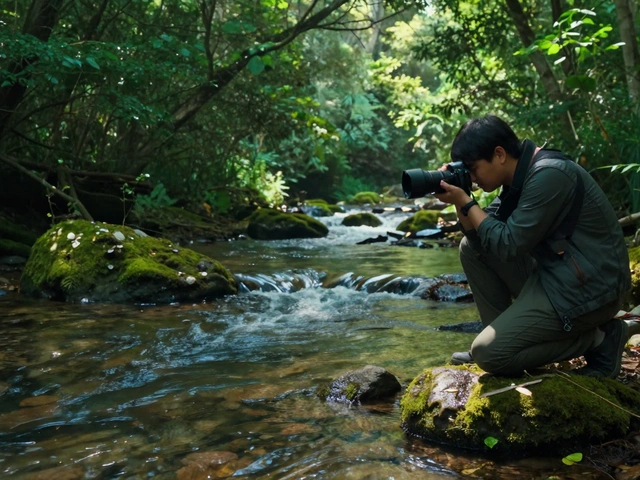
If you shoot outdoors, especially landscapes, a circular polarizing filter (CPL) is non-negotiable. It doesn’t just darken skies - it makes them look like they’re lit from within. Water becomes clearer. Leaves turn deeper green. Glass reflections vanish. It’s magic. Here’s how it works: sunlight bounces off surfaces like water, leaves, and car windows, creating glare. That glare doesn’t just wash out colors - it kills contrast. A CPL filter blocks that polarized light. You rotate the front ring until the glare disappears. The effect is immediate. You’ll see it in real time through your viewfinder. I’ve used a CPL on the Columbia River Gorge in Oregon. Without it, the water looked muddy. With it, you could see rocks 3 feet underwater. The sky went from pale blue to rich, saturated cobalt. The trees? Their greens popped like they’d been color-enhanced in post. But here’s the catch: CPL filters cut out about 1.5 to 2 stops of light. That means your shutter speed slows down. You’ll need a tripod for long exposures. And if you’re shooting indoors? Take it off. The image will be too dark. Also, avoid stacking it with other filters on ultra-wide lenses. You’ll get black corners - vignetting. Stick to thin-frame CPLs if you use 16mm or wider. Brands like B+W and Hoya make thin, multi-coated versions that don’t cause this. And yes, they cost more. But you’re not buying a filter - you’re buying image quality.Neutral Density Filters: Control the Light
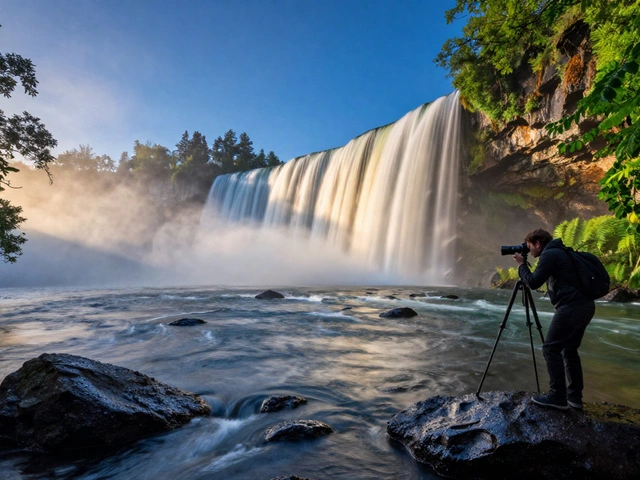
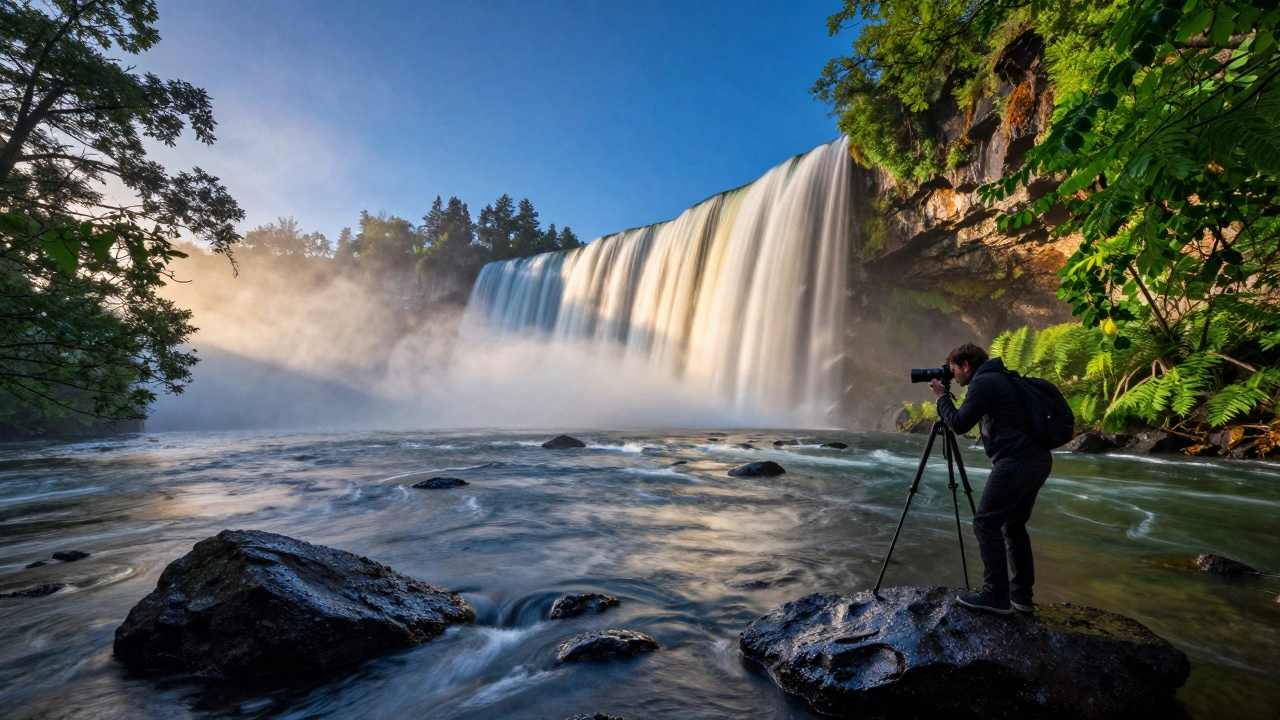
ND filters are like sunglasses for your camera. They don’t change color. They don’t reduce glare. They just make everything darker - evenly. That’s the point. Why would you want that? Because you want to control shutter speed. Say you’re shooting a waterfall at noon. Your camera’s fastest shutter speed with f/8 is 1/500th of a second. The water looks frozen. Boring. You want it silky smooth. But to get that, you need a 1-second exposure. Too bright? That’s where the ND filter comes in. A 6-stop ND filter lets you go from 1/500 to 1/2 second in daylight. A 10-stop? You can shoot 30-second exposures at noon. That’s how you get clouds streaking across the sky like paint. The most versatile ND is a 6-stop. It’s enough for most situations - waterfalls, rivers, moving crowds. A 3-stop is great for shallow depth of field in bright light. Want to shoot f/1.4 in the middle of the day? Use a 3-stop ND. You’ll get creamy bokeh without overexposing. Variable ND filters? They’re handy. You twist the ring to adjust light reduction from 2 to 8 stops. No need to swap filters. But they’re more expensive, and some introduce color casts at extreme settings. Stick with fixed NDs if you want reliability. I’ve used a 10-stop ND for sunrise shots in Portland. The river turned into mist. The sky stayed sharp. The clouds moved. No editing. Just light, time, and a good filter.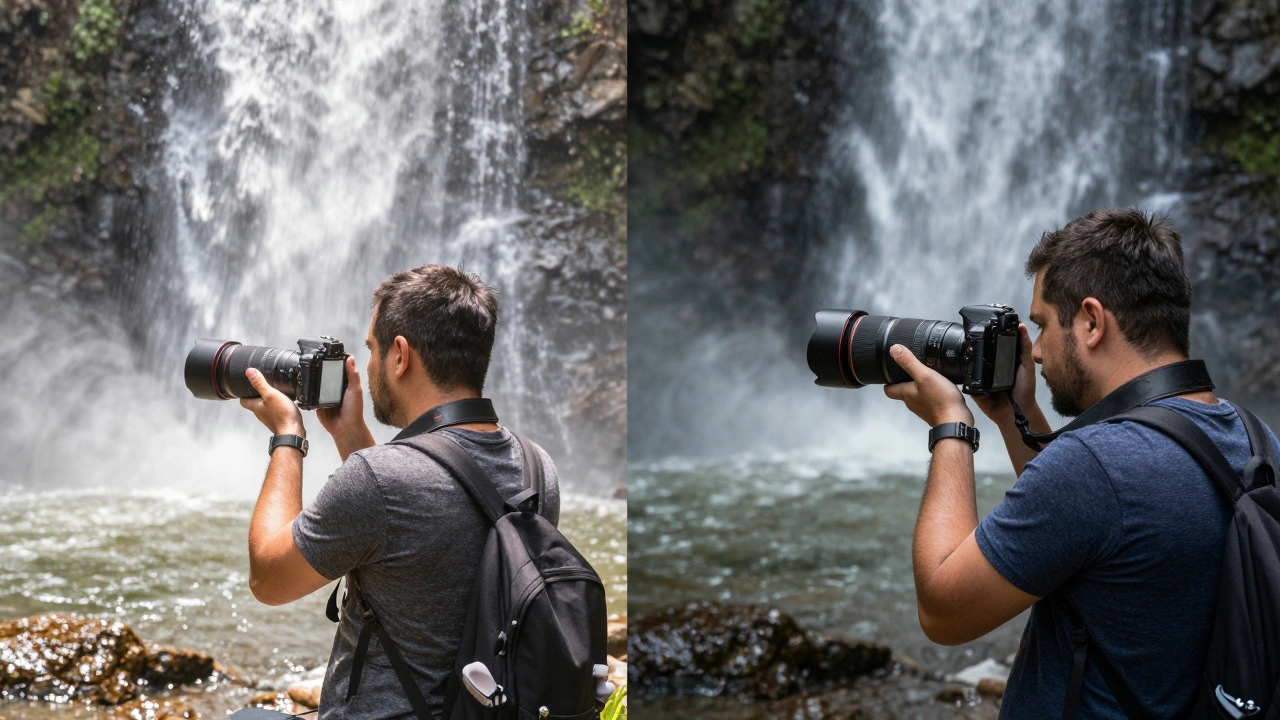
UV Filters: Do You Really Need One?
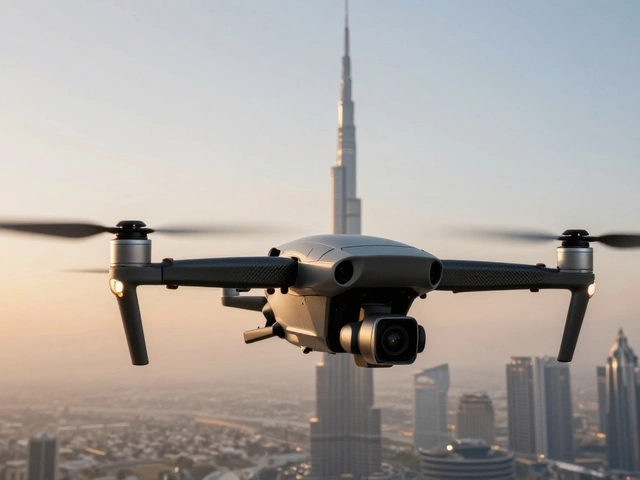
This one’s tricky. For years, UV filters were sold as lens protectors. “Keep your expensive glass safe!” But here’s the truth: modern lenses already block UV light. Your sensor doesn’t even see it. So the “UV protection” part? It’s outdated. What’s left? Physical protection. A UV filter can take a scratch or a drop. But here’s the problem: it’s one more piece of glass in front of your lens. And if it’s cheap, it degrades image quality. A $50 filter won’t save your lens if it hits concrete - it’ll shatter and possibly scratch the lens itself. I used to keep a UV filter on every lens. Then I stopped. I use lens hoods. I use caps. I carry my gear carefully. And I’ve had zero lens damage in 7 years of shooting in rain, snow, and dust. If you’re a travel photographer in a sandy desert or a drone operator in a dusty environment? Maybe a UV filter makes sense. But for most people? Skip it. Save your money. Put it toward a better CPL or ND filter.What About Stacking Filters?
Yes, you can stack a CPL and ND together. I do it sometimes - especially when shooting waterfalls with strong reflections. The CPL kills the glare. The ND lets me use a slow shutter. Perfect combo. But here’s the warning: every extra filter adds thickness. And thickness = vignetting on wide-angle lenses. If you’re using a 14mm or 16mm lens, avoid stacking. Use a thin filter set. Or better yet - use a hybrid filter. Brands like Freewell now make magnetic filter systems. One filter does both CPL and ND. You swap them in seconds. No screwing, no stacking, no vignetting. If you shoot video or want speed, this is the future.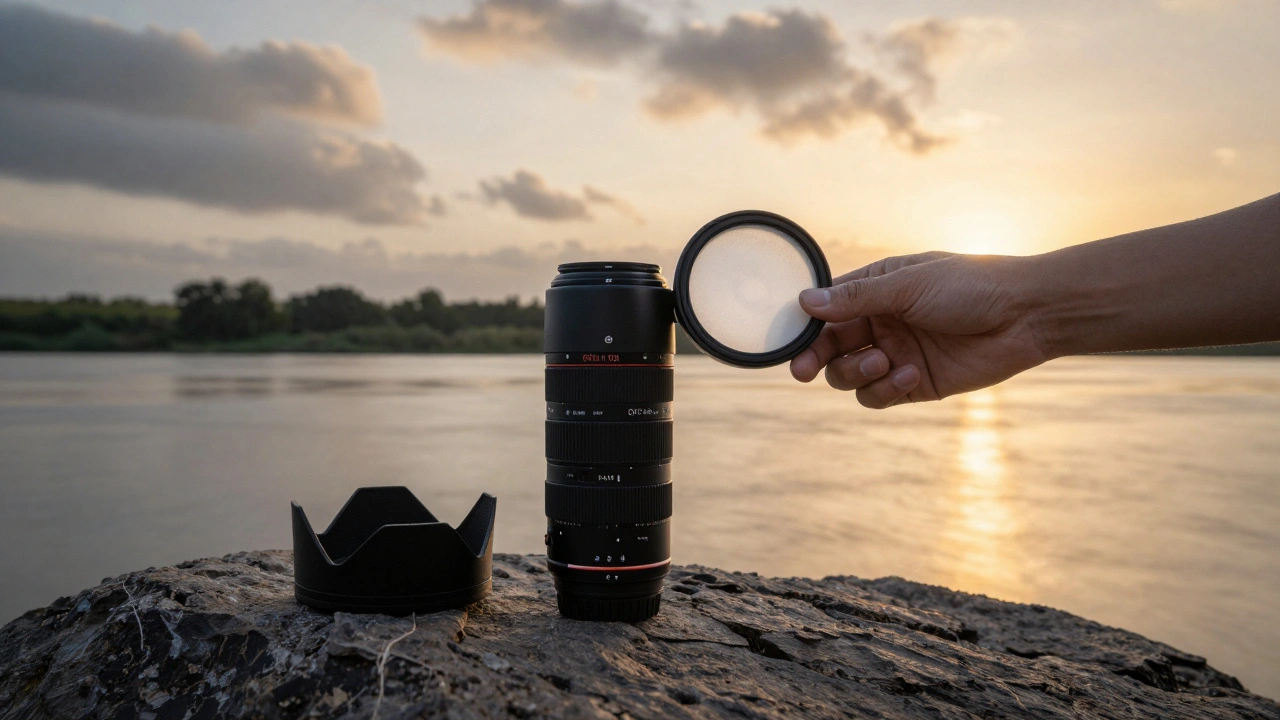
What to Buy - And What to Skip
Here’s the simple guide:- Buy a CPL filter - if you shoot outdoors, nature, water, or skies. It’s the most transformative filter you’ll ever use.
- Buy a 6-stop ND filter - if you want motion blur, long exposures, or control in bright light. Start here. Then add a 3-stop if you shoot portraits outdoors.
- Skip the UV filter - unless you’re in extreme environments. A lens hood and cap are cheaper and better.
- Avoid cheap filters - even if they’re branded. Look for multi-coated glass. Check reviews for flare and color cast. B+W, Hoya, and NiSi are reliable. Avoid Amazon Basics and no-name brands.
- Match the filter size - your lens has a filter thread size (e.g., 77mm). Buy the right size. Step-up rings work, but add bulk.