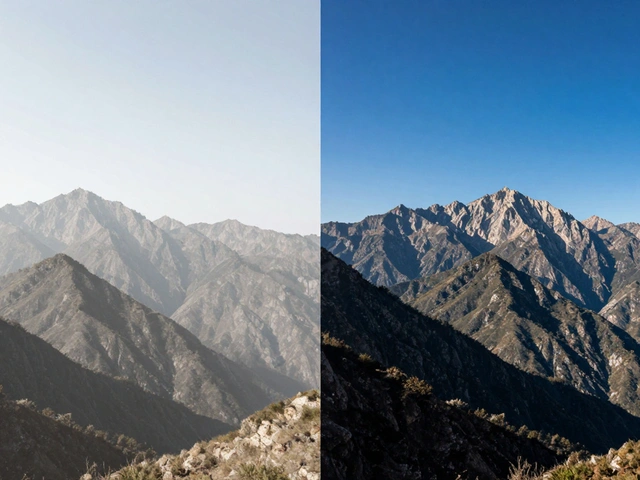
Have you ever seen a photo where only a sliver of the scene is sharp-like a train track stretching into the distance, but only the people on the edge are in focus, and everything else melts into blur? That’s not magic. It’s not a $2,000 tilt-shift lens either. It’s freelensing.
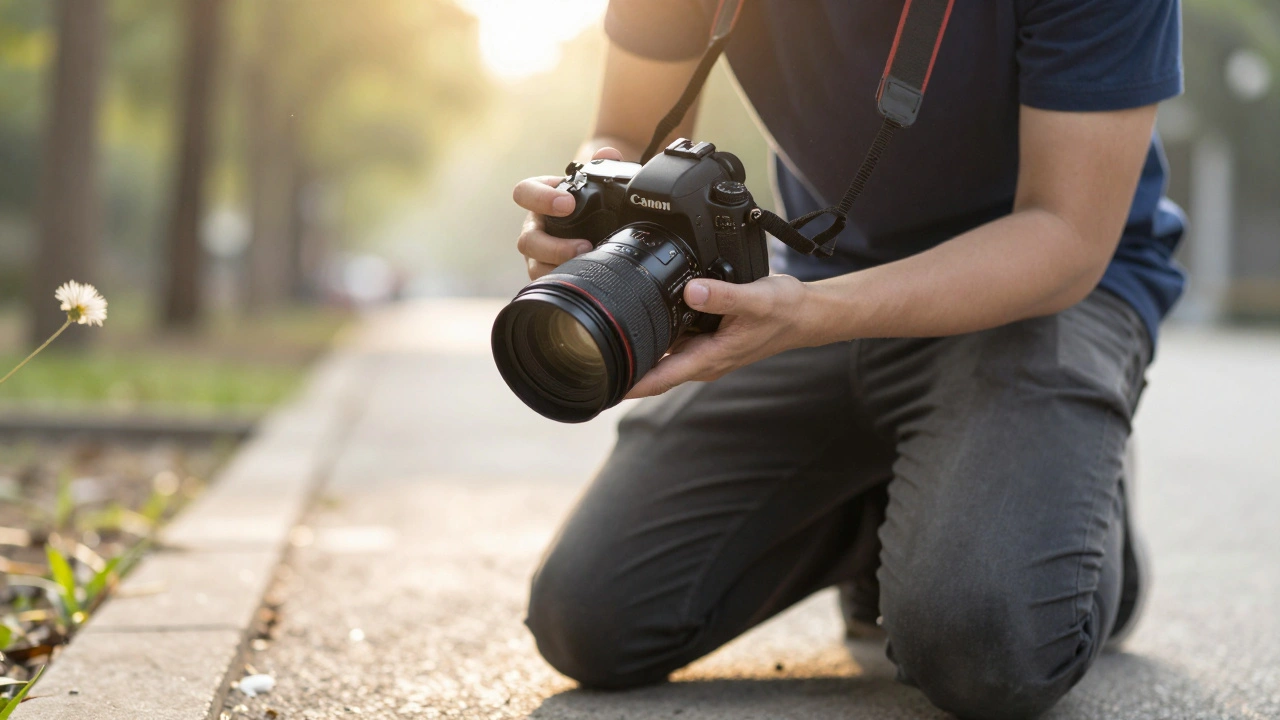
You don’t need fancy gear to pull this off. Just your camera, a standard lens, and the willingness to break a rule: never take the lens off. Because that’s exactly what freelensing does. You remove the lens from the camera, hold it in your hand, and tilt it just right to bend the rules of focus. No filters. No adapters. Just you, your hands, and the physics of light.
How Freelensing Actually Works
Normal lenses are designed to sit flush against the camera body. The lens plane (the front of the lens) and the image plane (your camera sensor) are perfectly parallel. That’s why everything at the same distance from the camera stays sharp. Tilt-shift lenses cheat this by physically tilting the lens to change that angle. Freelensing cheats it by... not attaching the lens at all.
When you hold the lens a few millimeters away from the mount and tilt it slightly-say, to the left-the plane of focus tilts too. Suddenly, objects that are far apart in distance can both be sharp. A person standing on a dock and a boat 30 feet out? Both in focus. The water between them? Blurry. The trees behind? Gone. It’s like you’re painting with focus.
This works because the distance between the lens and sensor changes when you detach it. The flange focal distance-the exact gap needed for sharp focus-is broken. That’s why you can’t focus to infinity anymore. But that’s also why you get this wild, unpredictable control. You’re not just adjusting focus. You’re reshaping the entire focus plane.
What Gear You Actually Need
You don’t need special equipment. But you do need the right lens.
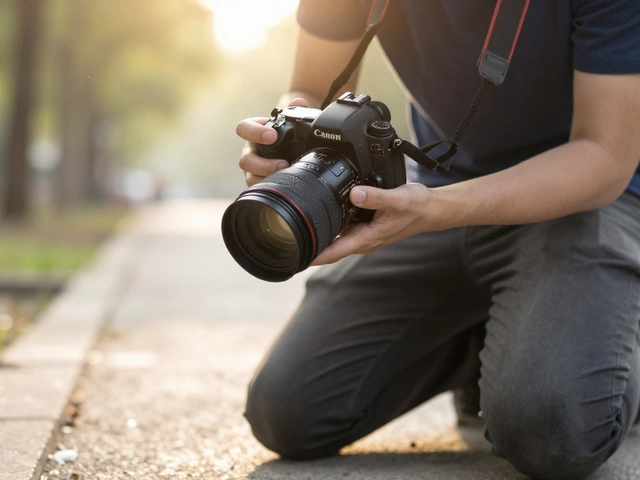
Prime lenses work best. Why? Because they have wide apertures-f/1.8, f/1.4-and no electronic contacts that interfere. The Canon 50mm f/1.8 is the go-to for beginners. It’s cheap, lightweight, and opens wide enough to make the blur pop. Nikon users should know: their autofocus lenses shut down when detached, so you’ll need a manual lens or a lens with an aperture ring. Sony, Fujifilm, and Micro Four Thirds users can try this too-just make sure the lens has manual aperture control.
Don’t use zooms. They’re heavier, have more moving parts, and their internal focus mechanisms make freelensing harder. Stick with 50mm. It’s the sweet spot. Wide enough to capture context, tight enough to isolate subjects. You can experiment later with 35mm or 85mm, but start here.
Step-by-Step: How to Do It Without Breaking Your Camera
Here’s the real deal. No fluff. Just the steps that work.
- Set your exposure before you touch the lens. Turn the camera on. Point it at your scene. Use manual mode. Meter for the brightest part you want to keep sharp. If you’re shooting a person in sunlight, aim for a middle-tone exposure. Use the histogram. Don’t trust the LCD. Then, lock your settings. ISO 100, shutter speed 1/125, f/1.8. Write it down if you have to.
- Turn the camera off. This is non-negotiable. If you leave it on, the mirror might slap, the sensor might get dusty, and you’ll lose focus instantly.
- Remove the lens. Press the release button. Don’t yank. Gently pull it straight off.
- Set the focus to infinity. Turn the focus ring all the way to the infinity symbol (∞). This gives you the most room to tweak focus by hand.
- Turn the camera back on. Power it up while holding the lens close to the mount. Don’t attach it. Just hover it, 1-5mm away. Cup the lens with your fingers. Let your thumb rest on the camera body for stability.
- Use Live View. If your camera has it, turn it on. Watch the screen. This is your only focus aid. The optical viewfinder won’t work.
- Tilt, don’t twist. Gently tilt the lens left, right, up, or down. Watch the screen. You’ll see a sliver of focus snap into place. Maybe it’s a flower on the left. Maybe it’s a window on the right. Move slowly. Tiny shifts matter. A millimeter can change everything.
- Shoot. When the focus lands where you want it, press the shutter. Don’t move. Hold your breath. One shot. No second chances.
Pro tip: Practice seated. Rest your elbows on a table. This reduces shake. You’re not shooting a sports game. You’re painting with light.
What Goes Wrong (And How to Fix It)
First time? You’ll get blurry chaos. That’s normal.
Too much light? Glowing haze? That’s a light leak. It happens when the lens is too far from the mount. Hold it tighter. If you want the glow on purpose, tilt one edge toward the sun. It’s a happy accident.
Nothing’s in focus? You’re too far away. Bring the lens closer. Try 2mm. Too close? You’ll get vignetting. The edges go black. That’s fine. It’s part of the look.
Focus keeps shifting? Your hand is shaking. Breathe. Rest your arm. Use a wall. Or better yet-use a tripod. Yes, you can use a tripod with freelensing. Just hold the lens steady. No need to hold the whole setup.
Dust on the sensor? It happens. But not as often as people think. Most sensors have self-cleaning filters. Still, avoid windy days. Shoot indoors first. Clean your sensor if you see spots. It’s easy. A rocket blower costs $15.
Why This Matters Beyond the Look
Freelensing isn’t just a trick. It’s a lesson.
When you hold a lens in your hand and watch focus shift with a tilt, you start to understand how lenses really work. You see that focus isn’t just a dial. It’s a plane. A flat slice of space. And you can tilt that slice any way you want. That’s the same thing tilt-shift lenses do-just with gears and metal.
It teaches patience. You can’t rush it. You have to wait. Watch. Feel the focus. It’s like fishing for sharpness.
And it’s cheap. A 50mm f/1.8 lens costs $100. A real tilt-shift lens? $1,200. You can buy five 50mms and still have change left over. That’s not a hack. That’s freedom.
When Not to Use Freelensing
It’s not for everything.
Don’t try it with fast-moving subjects. Kids running. Dogs chasing balls. Traffic. The focus window is too narrow. You need seconds to adjust. You’re not shooting action. You’re capturing stillness.
Don’t use it in dusty, sandy, or rainy places. Even a speck of dirt on the sensor can ruin a shot. And you can’t clean it mid-shoot.
And don’t expect perfection. Freelensing is messy. It’s imperfect. That’s why it’s beautiful. It’s human. It’s raw. It’s not clinical. It’s not sterile. It’s the opposite of auto-everything.
What You Can Do With It
Think small. Think quiet.
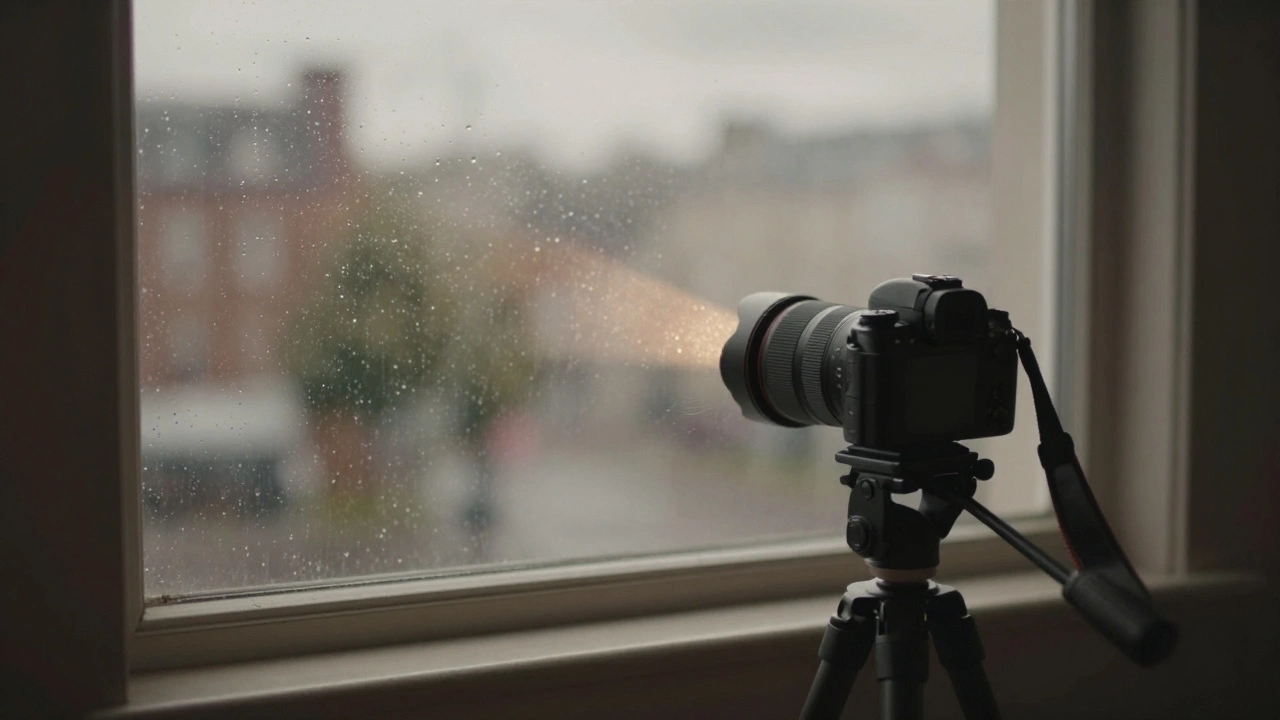
Photograph a single flower with a blurred background of leaves. Tilt the lens so the petal is sharp, but the stem fades. Shoot a window with rain outside. Make the inside of the room clear, the outside a dream.
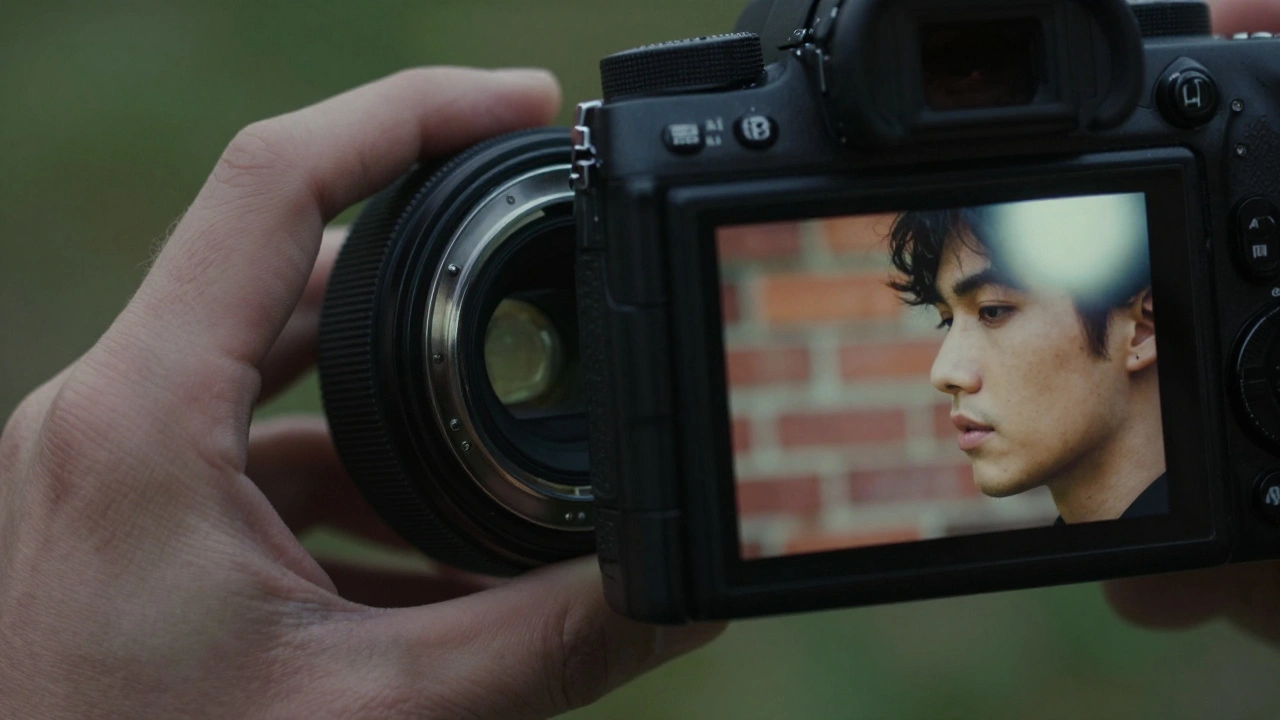
Try portraits. Have your subject sit close to a wall. Tilt the lens so their face is sharp, but the wall behind them fades into softness. No need for bokeh. Just pure, floating focus.
Architecture? Yes. But only if you’re shooting still buildings. Tilt the lens up slightly to keep the bottom of a brick wall sharp while letting the top blur. It looks like a miniature model. People will ask if you used a filter. You’ll just smile.
And if you’re feeling bold? Try reverse freelensing. Turn the lens around. Mount the back side toward the camera. You’ll get insane macro effects. A single dewdrop becomes a planet. A grain of sand turns into a crater. That’s another technique-but it starts here.
Final Thought: It’s Not About Gear. It’s About Play.
Freelensing is the photography equivalent of doodling. You’re not following a rulebook. You’re exploring. You’re touching the light. You’re learning how focus bends.
It’s not a technique you master. It’s one you learn to love. Some days, you’ll get nothing. Other days, you’ll get one shot that stops you. That’s the magic. You didn’t buy it. You didn’t rent it. You didn’t wait for a sale. You just held a lens in your hand-and made something no algorithm could predict.
Can freelensing damage my camera sensor?
It’s possible, but rare. Dust can enter the camera body when the lens is removed, and if you’re shooting in a dusty environment, that’s a risk. Most modern cameras have sensor-cleaning systems that shake off dust automatically. The bigger danger is moisture or dirt on the lens mount. Clean your gear regularly, avoid windy or sandy areas, and you’ll be fine. No one’s reported permanent damage from freelensing.
Do I need a tripod for freelensing?
Not required, but helpful. A tripod keeps the camera steady, which lets you focus more on holding the lens. You can handhold the camera, but you’ll need a stable surface-like a table or wall-to rest your elbows. The key is minimizing movement. If you’re shooting indoors or in calm light, a tripod makes freelensing much easier.
Why does my Nikon lens not work for freelensing?
Most Nikon autofocus lenses automatically close their aperture when detached from the camera. That means you lose the wide-open view you need to see focus. To fix this, use a manual lens with an aperture ring, or set the lens to manual mode before detaching. Some photographers modify lenses or use older manual lenses specifically for freelensing. Canon lenses are easier because they stay wide open when detached.
Can I use freelensing with a smartphone?
No. Smartphones have fixed lenses. You can’t remove them. Freelensing only works with cameras that have detachable lenses-DSLRs, mirrorless, or older film cameras. If you’re using a phone, you can simulate tilt-shift effects with apps, but that’s digital, not optical. Freelensing is about real light, real physics, and real hands.
Is freelensing the same as lens whacking?
Yes, it’s the same thing. "Lens whacking" is the slang term used by photographers who do this technique. It comes from the motion of swinging or "whacking" the lens near the camera body. Some people use it to describe the intentional light leaks, while others use it for the tilt effect. Both terms refer to the same method: removing the lens and holding it by hand.
Try this: next time you’re out with your camera, don’t reach for the lens. Take it off. Hold it. Tilt it. Wait. See what happens. You might not get it right. But you’ll learn something no tutorial can teach you.