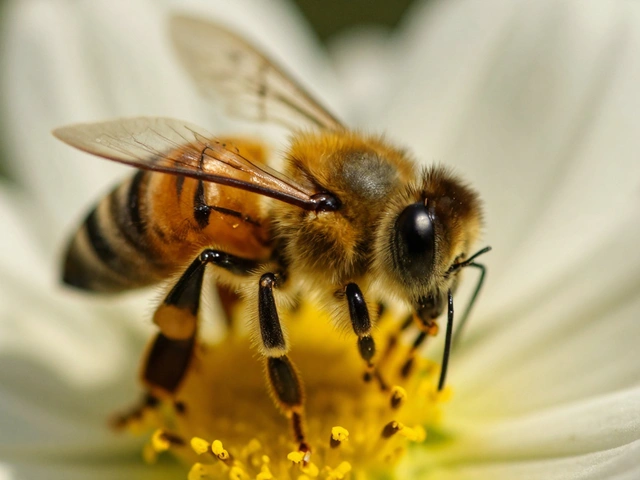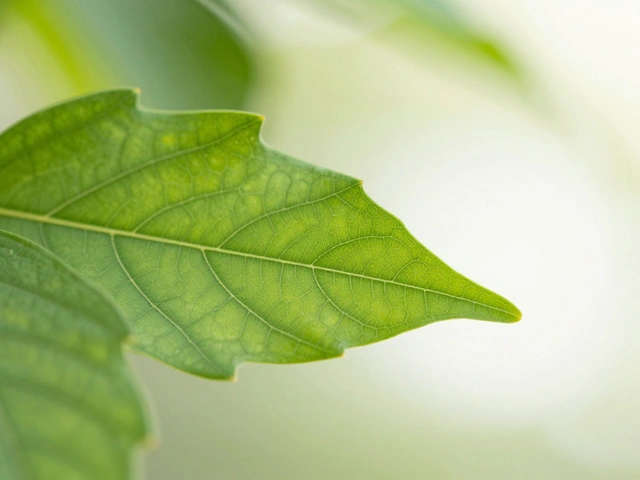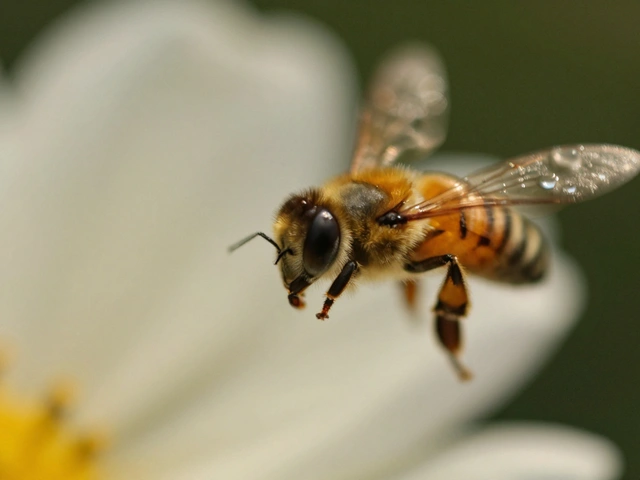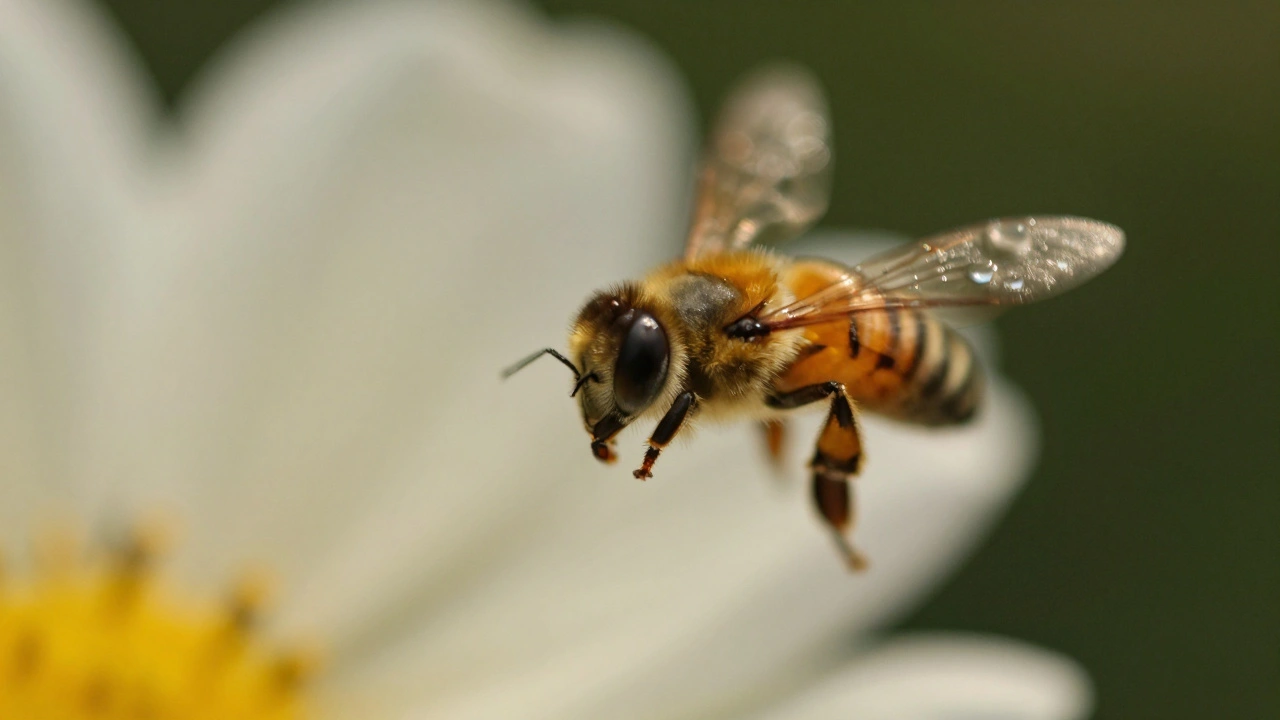
When you’re shooting a tiny bee on a flower or the delicate veins in a leaf, you expect every detail to be crisp. But instead, only the eyes of the insect are sharp-the rest is a blur. This isn’t a mistake. It’s physics. In macro photography, depth of field becomes thinner than a sheet of paper, and no amount of luck will fix it. You can’t just crank up your aperture and hope for the best. You need to understand why this happens and how to work around it.
Why Depth of Field Vanishes in Macro
Depth of field isn’t just about aperture. It’s a mix of three things: how close you are, how much you’re magnifying, and what lens you’re using. In regular photography, standing two meters from your subject at f/4 gives you about 8 centimeters of focus. Move in to just one meter, and that drops to under 2 centimeters. Now imagine getting even closer-say, 10 centimeters away at 1:1 magnification. Suddenly, your depth of field is measured in millimeters. That’s not a flaw in your camera. It’s how light behaves when you’re this close.At 2:1 magnification (twice life-size), that depth of field shrinks to less than a millimeter. So if you’re photographing a beetle, and your focus is on its head, the antenna might be completely out of focus. The legs? Blurry. Even the texture on its shell? Gone. This isn’t just annoying-it’s the biggest reason macro shots fail.
The Aperture Trap
Most beginners think the answer is simple: stop down the lens. Go from f/2.8 to f/16, and suddenly you’ll get everything in focus. But that’s where things go wrong.Yes, smaller apertures (higher f-numbers) increase depth of field. But they also trigger diffraction-a physical limit where light waves bend around the edges of the aperture blades and blur the image. This isn’t a software issue. It’s optics. Once you go past f/11, the sharpness you gain from more depth of field starts getting eaten away by softness from diffraction. And it gets worse the higher your magnification.
Many budget macro lenses struggle even at f/8. Their glass isn’t designed for extreme close-ups, so you get chromatic aberration, soft corners, and haze. Premium lenses like the Laowa 100mm f/2.8 2x Ultra Macro APO or the Laowa FFII 90mm f/2.8 CA-Dreamer are built to handle this. They use special glass, anti-reflective coatings, and optical designs that stay sharp even at f/11. But even then, f/16? You’ll lose detail. Not because you’re too close-but because the light itself is fighting you.
Focal Length Isn’t Just About Zoom
You’ve heard that longer lenses give you shallower depth of field. That’s true. But in macro, it’s more nuanced. A 100mm macro lens at 1:1 magnification gives you less depth of field than a 50mm macro at the same magnification. But here’s the catch: the 100mm lets you stand farther back.That extra distance isn’t just for comfort. It gives you more breathing room for lighting. It reduces the chance of casting shadows. And yes-it slightly increases your depth of field. Not because the lens changes physics, but because you’re not pressed up against the subject. You’re 15 centimeters away instead of 5. That small change can mean the difference between a usable shot and one where half the subject is lost in blur.
That’s why many pros use 150mm or 180mm macro lenses for insects. They’re not shooting for speed-they’re shooting for control. You trade mobility for precision. And in macro, precision wins.
Angle Matters More Than You Think
You can’t change how thin your depth of field is. But you can change how you use it.Imagine photographing a caterpillar. If you shoot from above, parallel to its body, only a sliver of its back will be in focus. But if you angle your camera so it’s perpendicular to the caterpillar’s spine, suddenly more of its body falls into the thin plane of focus. It’s not magic. It’s geometry. The plane of focus is flat. If you align your subject with that plane-even slightly-you stretch what little sharpness you have across more of the subject.
This trick works best with flat or linear subjects: petals, insect wings, watch gears, or stacked coins. It doesn’t fix everything, but it makes the most of what you’ve got. And in macro, every millimeter counts.
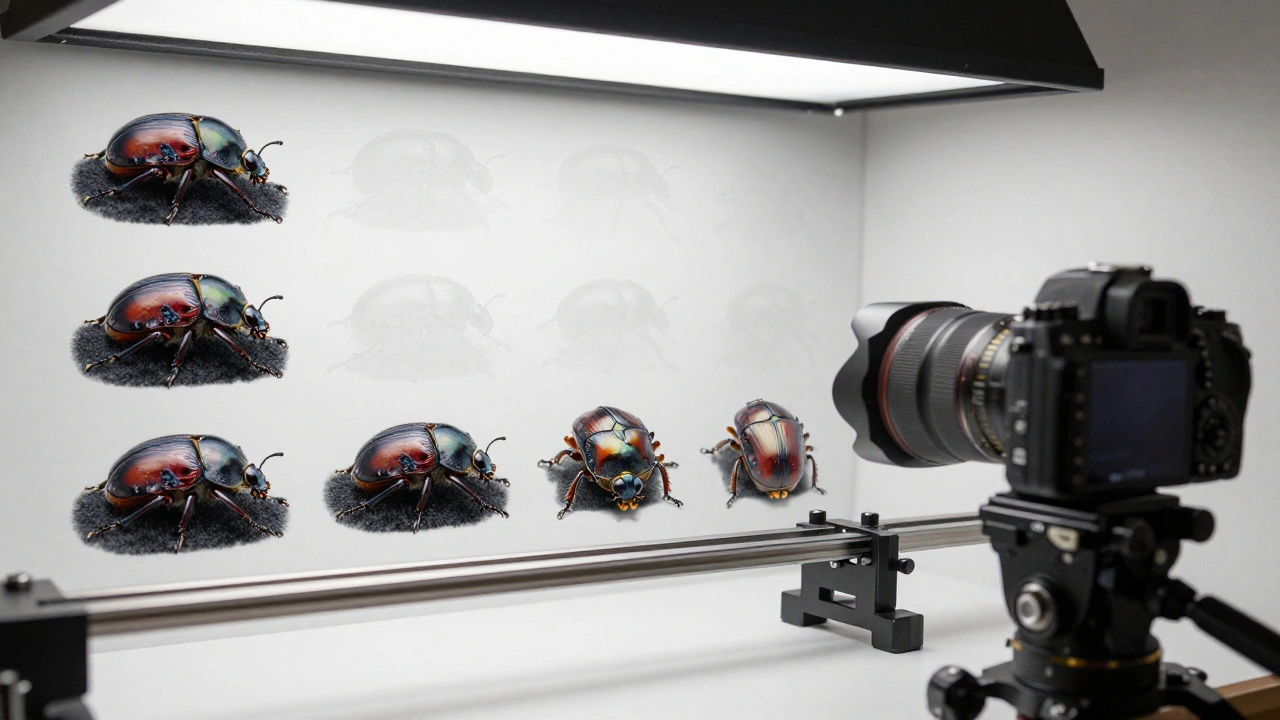
Focus Stacking: The Real Game-Changer
If you want full sharpness from front to back, there’s only one reliable method: focus stacking.This isn’t Photoshop magic. It’s science. You take a series of photos-each one focused on a slightly different part of the subject. The front of the ant. The middle. The tail. Then, software like Zerene Stacker, Helicon Focus, or even Lightroom’s built-in tool blends them together. The result? A single image where every part is razor-sharp.
It sounds complicated, but it’s becoming routine. Many modern cameras-Sony A7R V, Canon R5, Nikon Z8-have in-camera focus stacking. You set the number of shots and the step size, and the camera does the rest. You don’t need a tripod. You don’t need to move the camera. The sensor shifts focus automatically.
Some projects use over 150 frames. A single flower with layered petals? That’s not unusual. You’ll need consistent lighting, zero movement, and a stable setup. Wind? Don’t even try. But in a studio, with a static subject, this is the only way to get true macro perfection.
The High-Resolution Crop Hack
Here’s a trick most people don’t talk about: skip the macro lens entirely.If you have a camera with a high-resolution mode-like the Sony A7R V (over 200 megapixels)-you can step back. Way back. Shoot a 1:3 magnification shot from 30 centimeters away. Then crop in. You’re throwing away 180 megapixels. But you’re keeping 20. And that’s more than enough for a stunning, sharp, high-detail image.
Why does this work? Because you’re avoiding the shallow depth of field you’d get at 1:1. You’re not fighting diffraction at f/16. You’re shooting at f/5.6 with perfect light, then cropping in post. The result? More depth of field, no softness, and detail that rivals true macro.
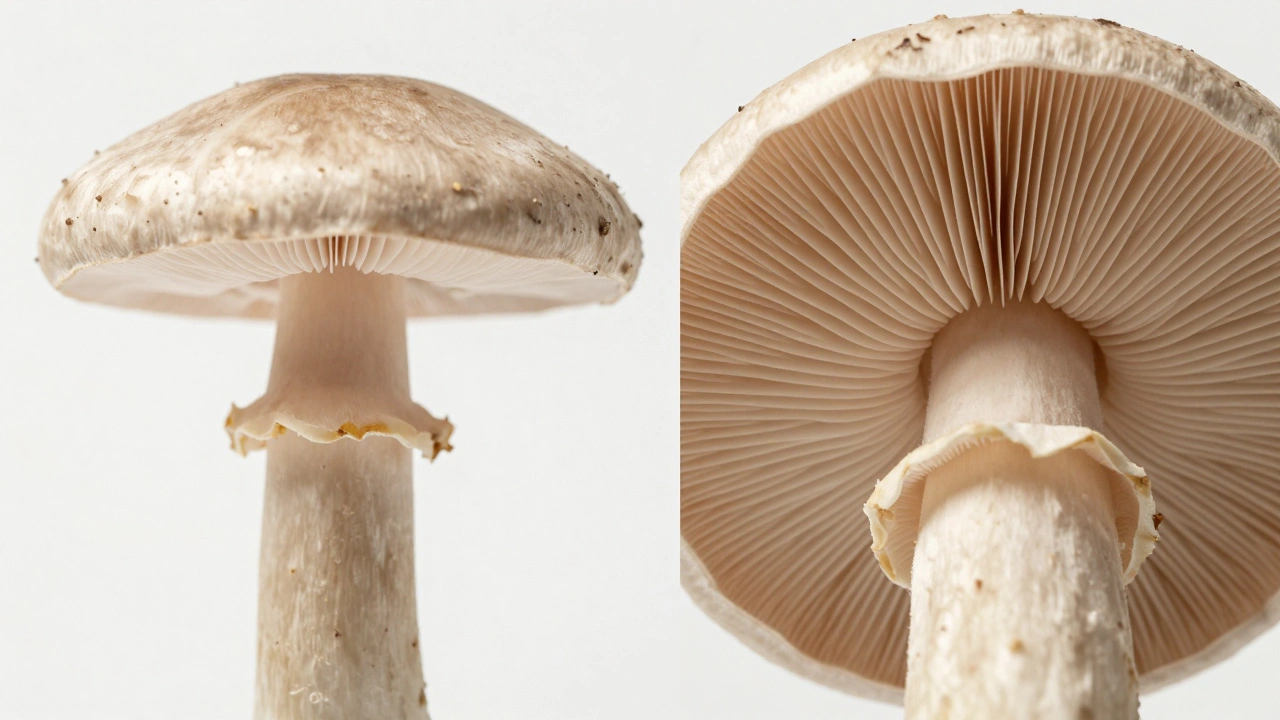
This isn’t a workaround. It’s a new approach. It works best with static subjects: mushrooms, jewelry, textured fabrics, or botanical details. It doesn’t replace macro lenses, but it gives you another tool. And in 2026, with sensors this powerful, it’s worth trying.
What to Do When You’re Stuck
Here’s a quick decision tree:- Need full sharpness? Use focus stacking. It’s the gold standard. Works in studios, with tripods, and on static subjects.
- Shooting handheld? Stick to f/5.6-f/8. Avoid f/11 and below. Use a fast shutter speed. Accept that only part of the subject will be sharp.
- Want more depth without gear? Use your angle. Align your subject with the focus plane. It’s free and instantly helps.
- Have a 200MP camera? Try the crop method. Step back, shoot wide, crop in. You’ll be surprised how much detail survives.
- Using a budget lens? Stop down past f/8 and you’re losing sharpness. Upgrade your lens. A good macro lens makes all the difference.
There’s no single answer. Macro photography is about balancing physics, gear, and creativity. You can’t beat the rules of light. But you can learn to work with them.
Why can’t I just use f/22 to get everything in focus?
Because at f/22, diffraction kicks in hard. Light bends around the aperture blades, and your image gets soft-even if more of it is technically "in focus." In macro, that softness destroys fine detail. Most pros avoid f/11 and below. The sweet spot is f/5.6 to f/8. Beyond that, you trade sharpness for depth, and it’s usually not worth it.
Do I need a special macro lens?
Yes, if you want consistent results. Regular lenses can focus close, but they’re not designed for 1:1 magnification. They often suffer from soft corners, chromatic aberration, and poor contrast at close range. Dedicated macro lenses-like those from Laowa, Canon, or Nikon-are optimized for sharpness, color accuracy, and minimal distortion at high magnification. They’re worth the investment if you shoot macro regularly.
Can I do focus stacking without a rail or tripod?
It’s possible, but risky. If your subject moves-even slightly-you’ll get ghosting or misalignment in the stack. A focusing rail gives you precise, repeatable movement. If you don’t have one, use your camera’s built-in focus stacking mode (if available). Many modern mirrorless cameras do this automatically. Just keep everything else still: lighting, wind, even your breathing.
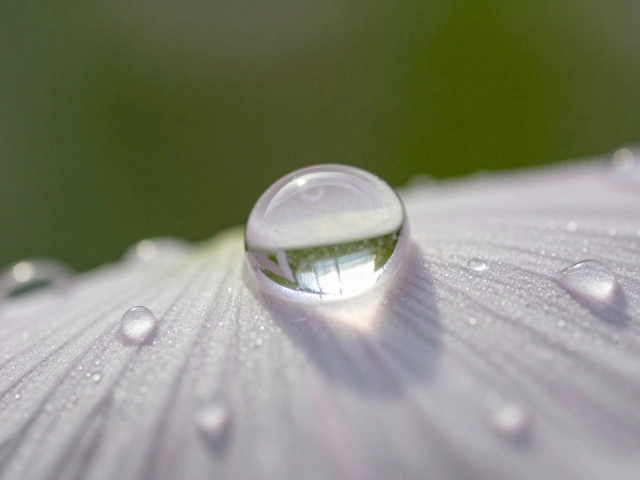
Is focus stacking only for studio work?
Not anymore. With in-camera stacking and faster processing, you can do it outdoors if your subject is still. Think of a dewdrop on a leaf in calm morning light. Or a dead insect on a rock. As long as there’s no wind and the subject doesn’t move, you can stack. But for live insects, flying bees, or moving water? Stick to single shots and accept selective focus.
What’s the best aperture for macro photography?
For most cases, f/5.6 to f/8. That’s where you get the best balance of depth of field and sharpness. f/4 gives you very little depth, and f/11+ starts to soften the image. If you’re using focus stacking, you can shoot at f/5.6 for every frame and let the software handle the rest. That’s the cleanest, sharpest approach.