Ever take a photo of a forest stream or a rain-soaked hillside, only to have the final image look washed out, like someone smeared Vaseline on the lens? You’re not alone. The problem isn’t your camera-it’s polarized light. That shiny glare on wet leaves, the ghostly reflection on the surface of a lake, the pale blue sky that looks like a flat backdrop-these aren’t just annoyances. They’re lost detail, hidden color, and missed depth. And the fix is simpler than you think: a polarizing filter.
What a Polarizer Actually Does
A polarizing filter, often called a CPL (circular polarizing filter), screws onto the front of your lens like any other filter. But unlike a UV or neutral density filter, it’s not just about blocking light. It’s about selecting it. Light bounces off surfaces like water, leaves, and rocks in a specific direction-like waves hitting a wall. This reflected light becomes polarized, meaning its waves all line up in one direction. Your camera sensor picks up all of it, including the glare that masks the real colors underneath. The polarizer has a rotating front element. Turn it, and you’re literally twisting a grid that blocks those aligned waves. The result? Glare vanishes. Colors snap back into focus. A dull green leaf turns into a deep, rich emerald. A muddy stream becomes transparent, showing rocks and pebbles beneath. You see this effect live through your viewfinder. No guesswork. No post-processing. Just turn the filter until the reflection disappears, and the scene comes alive. It’s magic you can control with your thumb.Why Water Looks Better With a Polarizer
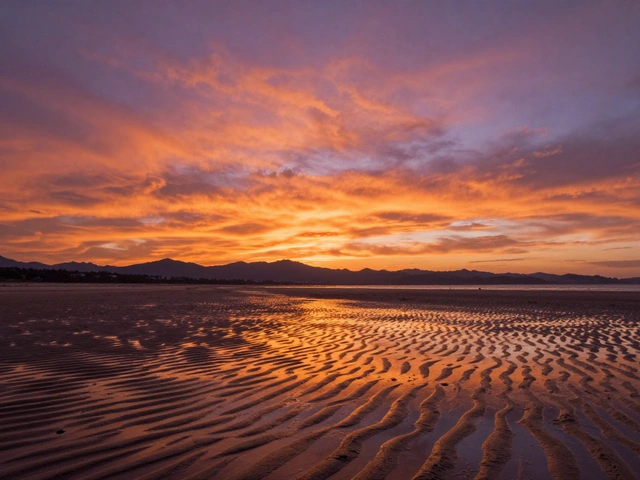
Water is one of the toughest surfaces to photograph. Even on a calm day, its surface acts like a mirror. It reflects the sky, clouds, and trees-not the water itself. That’s why lakes often look like silver paint in photos. But under that reflection lies color, texture, and life: submerged rocks, algae, fish, the flow of current. A polarizer cuts through that mirror. When you rotate it correctly-usually at a 90-degree angle to the sun-the surface reflection drops by 70% or more. Suddenly, you’re not just photographing a reflection. You’re photographing the water itself. The blues deepen. The greens from underwater plants emerge. The texture of submerged stones becomes visible. In places like the Columbia River Gorge or Oregon’s Multnomah Falls, this isn’t just helpful-it’s essential. And here’s the bonus: polarizers reduce the amount of light entering the lens by about 1.5 to 2 stops. That means you can use slower shutter speeds without overexposing. Want to turn a rushing waterfall into a silky stream? Use the polarizer. You get cleaner color and motion blur in one shot. No need to stack filters or hope for dusk.Foliage That Actually Looks Like Foliage
Think about how leaves look after rain. They’re glossy. They shimmer. In photos? They look like plastic. That’s because sunlight reflects off the waxy coating on each leaf, creating a bright, washed-out sheen that hides the true green underneath. A polarizer removes that sheen. It doesn’t make leaves darker-it makes them truer. The green comes back. The texture of moss, the variation between pine needles and broadleaf trees, the subtle yellows and browns of fallen leaves-all of it becomes visible. In the Pacific Northwest, where rain is routine and forests are dense, photographers rely on this effect to capture the depth of a woodland scene. Without a polarizer, your forest looks like a flat green wall. With it? You see layers, shadows, and life. This works on wet rocks, too. A wet stone covered in algae looks like a gray smear without a polarizer. With it, the algae turns dark green, the stone’s cracks become shadows, and the whole surface gains dimension. It’s the difference between a snapshot and a painting.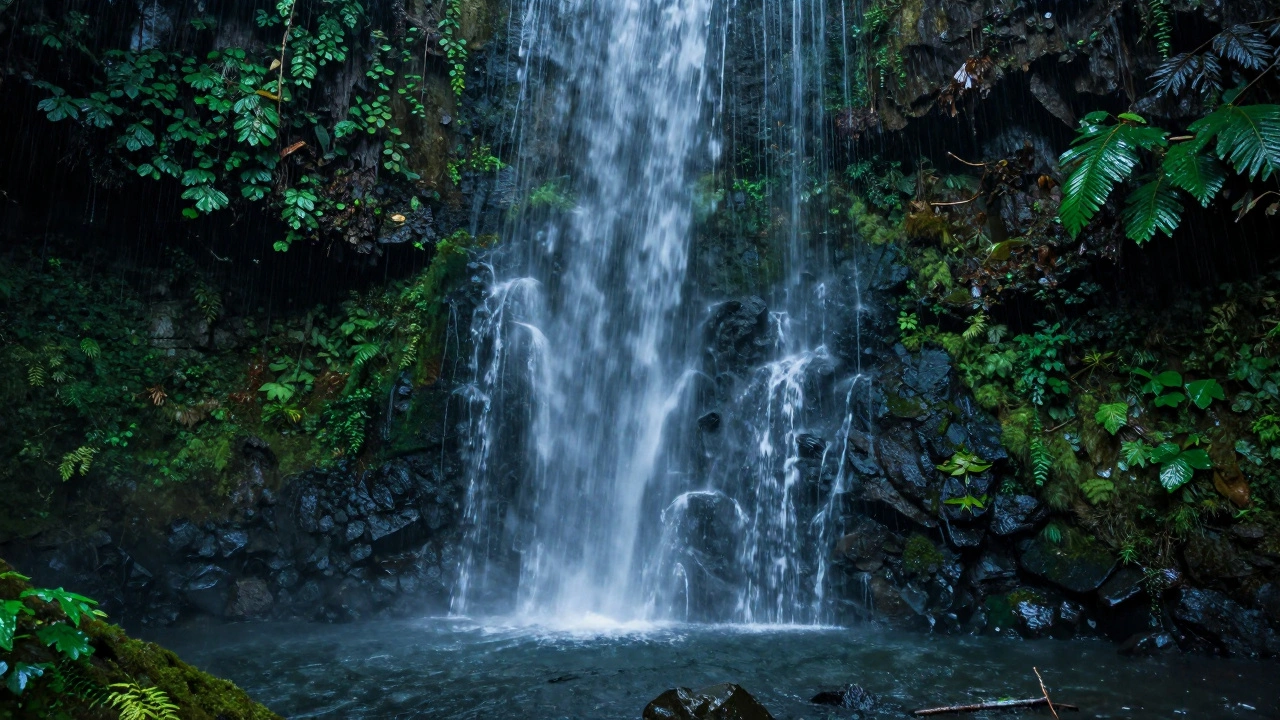
When It Doesn’t Work (And How to Work Around It)
Polarizers aren’t magic. They don’t work on metal surfaces-like a car hood or a shiny sign. They also struggle when you’re shooting straight into the sun or with ultra-wide lenses. Why? Because polarization only works at certain angles. If you’re using a 16mm lens on a landscape, the sky might look dramatically dark on one side and barely changed on the other. That unevenness can look unnatural. The fix? Don’t use ultra-wide lenses for polarized skies. Stick to 24mm or longer. Or, if you must use a wide lens, shoot at midday when the sun is overhead. The effect is more even. Also, polarizers cut light. That means you’ll need to adjust exposure. If you’re shooting handheld, you might need to bump up your ISO or open your aperture. If you’re on a tripod, just use a slower shutter speed. It’s not a problem-it’s a trade-off for better color.Real-World Results: Before and After
I’ve shot the same waterfall in Silver Falls State Park twice-once with the polarizer, once without. Without it? The water looked like frosted glass. The rocks beneath were invisible. The trees looked washed out. With it? The water turned deep blue-gray, revealing moss-covered stones and swirling currents. The leaves on the surrounding maples looked like they’d been dipped in pigment. The sky went from pale to rich cobalt. I’ve seen the same thing in Iceland, where moss-covered lava fields look like velvet under a polarizer. In the Adirondacks, where autumn leaves reflect sunlight off wet surfaces, the filter turns a dull orange into a glowing crimson. No editing software can replicate this. You can’t clone out glare in Lightroom. You can’t boost saturation without making highlights blow out. The polarizer fixes the problem at the source-before the light even hits the sensor.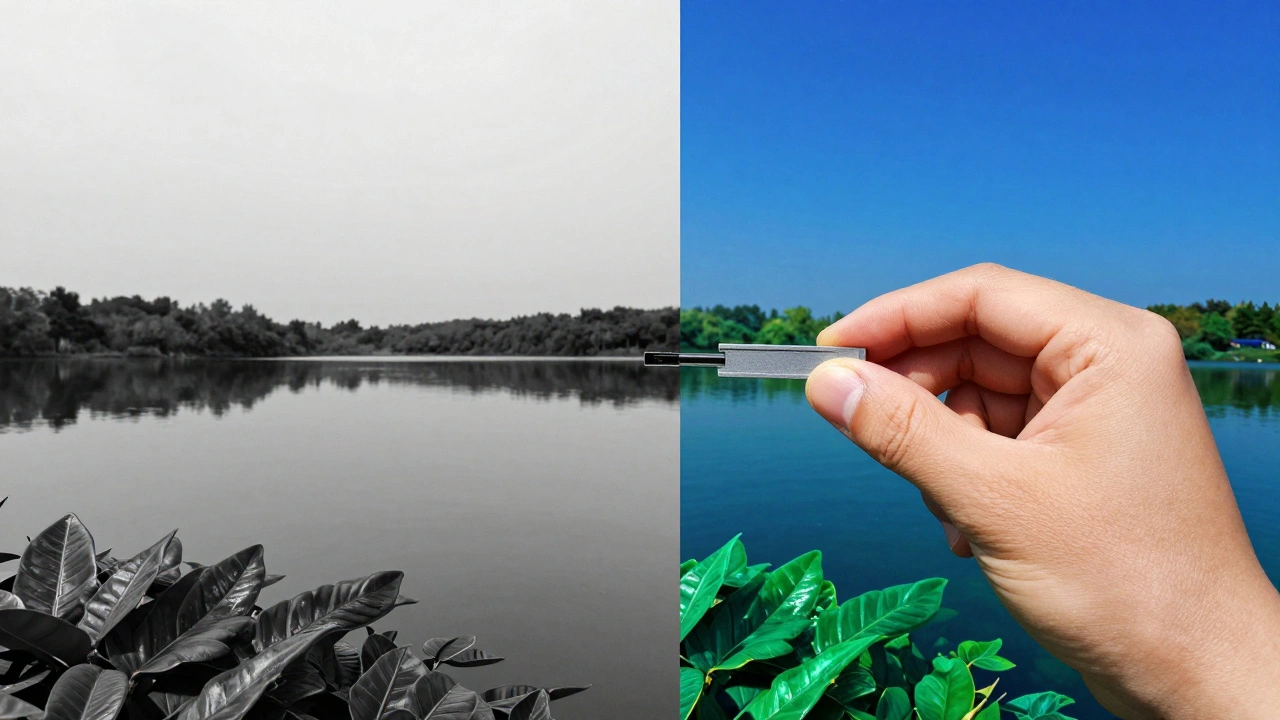
What to Look for in a Filter
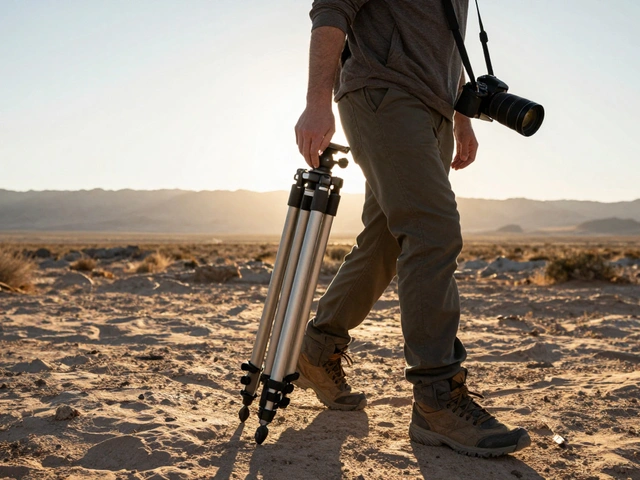
Not all polarizers are created equal. Cheap ones can introduce color casts, reduce sharpness, or cause vignetting on wide lenses. Look for multi-coated, thin-frame designs. Brands like Singh-Ray, B+W, and Hoya are known for optical quality. If you’re using a 77mm lens, don’t buy a 67mm filter and stack an adapter-that adds thickness and can cause dark corners. Also, get a circular polarizer (CPL), not a linear one. DSLRs and mirrorless cameras use beam splitters and autofocus systems that get confused by linear polarizers. CPLs work with all modern cameras.Pro Tips for Better Results
- Rotate the filter while looking through the viewfinder. Watch the reflection disappear.
- Shoot when the sun is at your side-not behind you or in front. That’s when polarization is strongest.
- Use a lens hood. It blocks stray light that can reduce the polarizer’s effect.
- Don’t overdo it. Sometimes you want a little reflection for texture. Dial it back if the scene looks too flat.
- Test it in different weather. After rain, the effect is dramatic. On dry days, it’s more subtle-but still worth it.
Final Thought: It’s Not Optional
If you shoot landscapes, especially around water or trees, you’re leaving color and detail on the table if you don’t use a polarizer. It’s not a luxury. It’s not a gimmick. It’s the difference between a photo that looks like a postcard and one that feels alive. You don’t need expensive gear. You don’t need advanced skills. Just a filter, a lens, and five minutes to rotate it. The rest? The color, the clarity, the depth-it’s already there. You just have to take the glare away.Can I achieve the same effect in post-processing like Lightroom?
No. While you can boost saturation and reduce highlights in editing, you can’t remove polarized reflections that hide details beneath water or leaves. That glare is lost data. Once it’s captured by the sensor, it’s gone forever. A polarizer works in-camera to preserve that hidden detail. No software can bring back what wasn’t recorded.
Do polarizers work on cloudy days?
Yes, but differently. On overcast days, there’s less direct sunlight, so the sky darkening effect is minimal. But reflections from wet leaves, rocks, and water still exist. The polarizer will still cut those reflections and deepen color saturation in foliage and surfaces. It’s still worth using-even when the sky is gray.
Will a polarizer make my photos darker?
Yes, by about 1.5 to 2 stops of light. That means you’ll need to adjust exposure: use a slower shutter speed, wider aperture, or higher ISO. On a tripod, this isn’t an issue. Handheld? Just be ready to increase your ISO slightly. The trade-off is worth it for the color and clarity you gain.
What’s the best angle to shoot at with a polarizer?
The strongest effect happens when your camera is at a 90-degree angle to the sun. So if the sun is to your left, point your camera left or right-not directly toward or away from it. For skies, this creates deep blue tones. For water and foliage, it eliminates the most glare. Use your viewfinder to rotate the filter and find the sweet spot.
Can I use a polarizer with other filters?
Yes, but carefully. You can stack a polarizer with a neutral density (ND) filter for long exposures, or a graduated ND for skies. But stacking too many filters can cause vignetting, especially on wide lenses. Use slim or thin-frame filters when combining. Always test your setup before heading out.