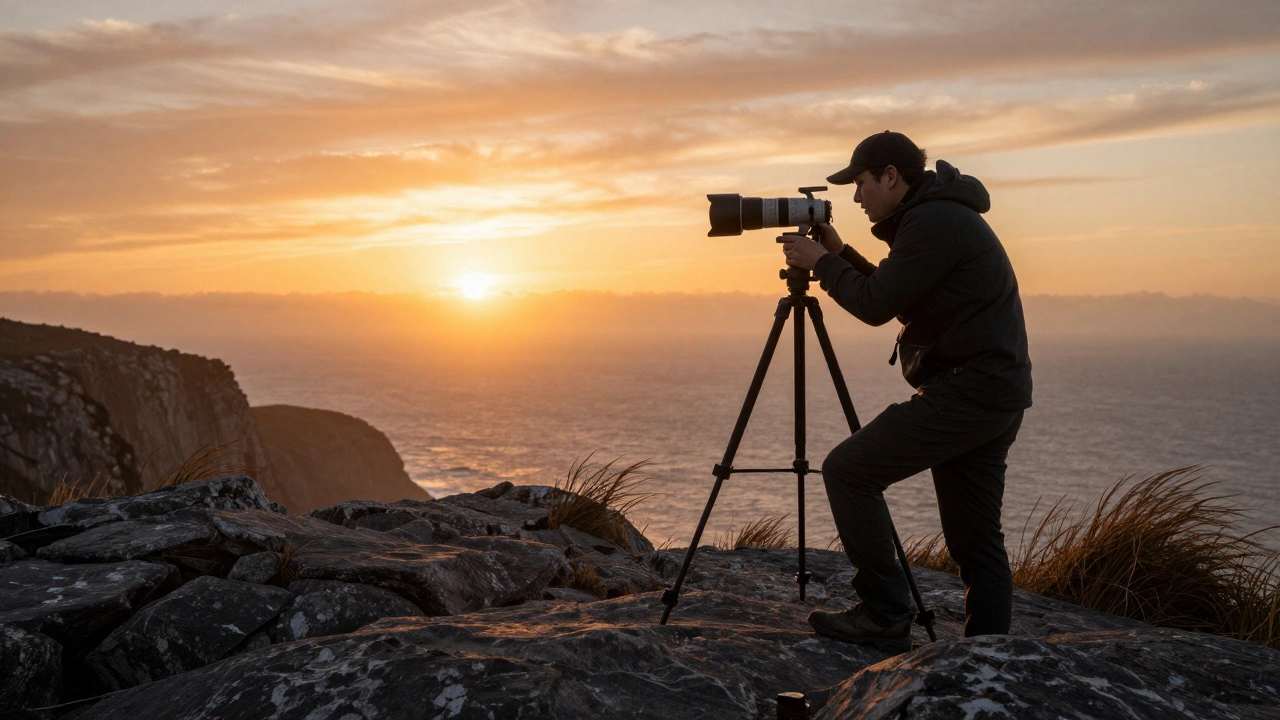
Ever taken a landscape photo only to find the sky blown out white while the ground looks like a dark shadow? You’re not alone. The problem isn’t your camera - it’s the limits of its sensor. Digital cameras can’t capture the full range of light your eyes see in a single shot. When the sky is blazing and the land is in shade, the camera has to pick: expose for the sky and lose the foreground, or expose for the ground and turn the sky into a flat, featureless blur. That’s where graduated ND filters come in. They’re not magic, but they’re close.
What Is a Graduated ND Filter?
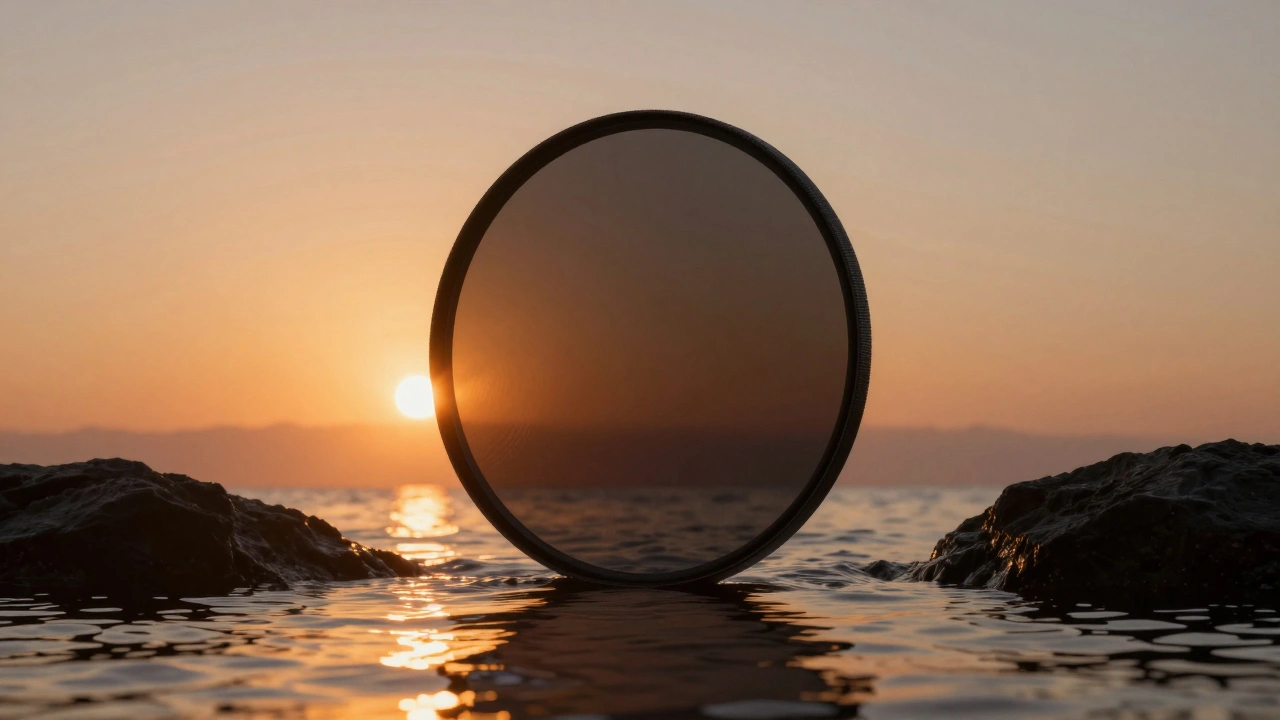
A graduated neutral density filter - or GND filter - is a piece of glass or resin that’s dark on one side and clear on the other, with a smooth transition between them. It’s not a full ND filter that darkens everything. It’s designed to darken only the top part of the frame - usually the sky - while leaving the bottom untouched. You slide it into a holder that attaches to your lens, then position it so the dark part lines up with the horizon. The goal? Bring the brightness of the sky down to match the darker ground so both show detail.Think of it like sunglasses for the sky. You’re not changing colors or adding effects. You’re just reducing light where it’s too intense. That lets your camera capture the full scene in one exposure. No blending. No HDR stacking. Just one shot that looks natural.
Why You Need It
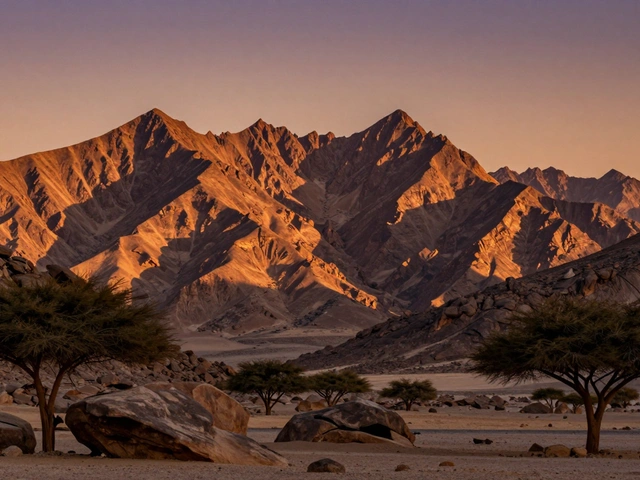
Most landscape scenes have a big gap between the brightest and darkest areas. On a sunny day, the sky can be 3 to 5 stops brighter than the land. That’s way beyond what your camera can handle. A Canon EOS R5 or Sony A7 IV might handle 14 stops of dynamic range, but in practice, when you’re shooting a mountain at sunrise with a bright sky above, you’re lucky to get 10 stops of usable range in one shot. The sky clips. The rocks go black. You lose texture in clouds. You lose color in the trees.Without a GND filter, you’re stuck choosing between:
- A bright, detailed foreground with a washed-out sky
- A beautiful sky with a muddy, dark ground
A graduated ND filter fixes that. It lets you expose for the land - where most of the detail matters - and let the filter do the heavy lifting on the sky. The result? Clouds with texture. Rich blues. Greenery with visible texture. And no fake-looking edits.
Hard-Edge vs. Soft-Edge Filters
Not all GND filters are the same. There are two main types, and picking the right one changes everything.Hard-edge GND filters have a sharp, clear line between dark and clear. They’re perfect for scenes with a flat, straight horizon - think ocean, desert, or flat farmland. The transition is so abrupt that it’s easy to line up exactly with the horizon. If you’re shooting a calm sea at sunset, a hard-edge filter is your go-to. Place the dark part right on the waterline, and you get clean, balanced exposure.
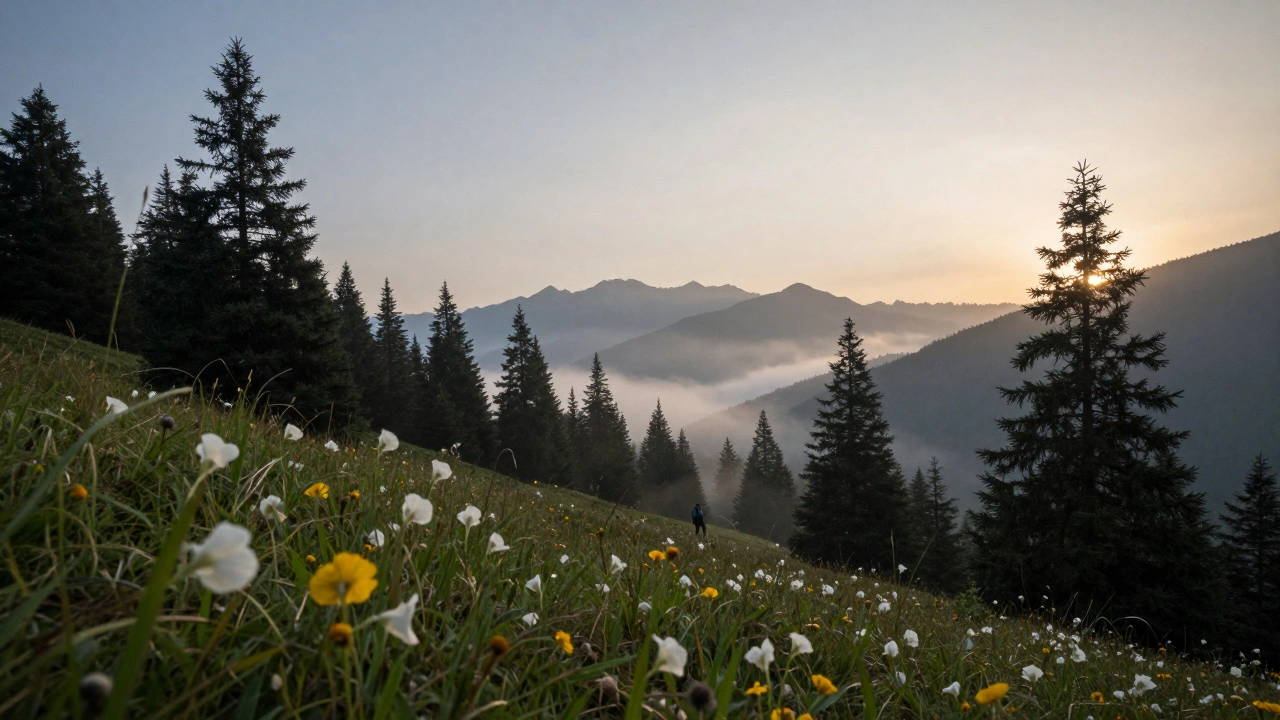
Soft-edge GND filters blend the dark and clear areas over a wider zone. They’re ideal for uneven horizons - mountains, forests, city skylines, or any scene where trees, rocks, or buildings stick up above the horizon. If you use a hard-edge filter here, you’ll get a dark line cutting through the treetops, making it look like someone photoshopped a stripe into the sky. A soft-edge filter avoids that. The gradient fades gently, so even if the filter overlaps a tree, it doesn’t create an unnatural shadow.
Most landscape photographers keep both on hand. About 80% of shots use soft-edge filters because real-world horizons are rarely perfectly flat. Hard-edge filters are reserved for the rare moments when the horizon is clean.
Filter Strength: How Many Stops?
GND filters come in different strengths, measured in stops. A 1-stop filter reduces brightness by one stop. A 3-stop filter cuts the light by three stops. The number you pick depends on how much brighter the sky is than the ground.Here’s how to choose:
- If the sky is 1 stop brighter than the ground → use a 1-stop filter
- If the sky is 2 stops brighter → use a 2-stop filter
- If the sky is 3+ stops brighter → use a 3-stop filter
But here’s the trick: you don’t need to match the exact difference. You’re not trying to make the sky and ground perfectly equal. You’re trying to bring the sky down enough so your camera can capture both. If the sky is 4 stops brighter, a 2-stop filter often works fine. You’ll still get detail in the sky and keep the foreground bright.
Pro tip: Use your camera’s histogram. Take a test shot without the filter. Look at the right side - if the histogram is pushed hard against the edge, that’s your sky overexposing. The distance from the edge tells you how much you need to reduce. If it’s 3 stops over, a 2-stop filter will leave you with a little clipping - but it’ll still look natural. A 3-stop filter might make the foreground too dark. It’s better to under-correct than over-correct.
When to Use (and When Not to Use) GND Filters
GND filters are powerful - but they’re not always the answer.Use them when:
- The sky is dramatically brighter than the ground
- You have a clear horizontal division (even if it’s uneven)
- You want to avoid heavy post-processing
- You’re shooting in daylight and want natural-looking clouds
Don’t use them when:
- The lighting is even across the scene
- The horizon is chaotic (like a dense forest with no clear line)
- You’re shooting at night or during twilight
- You’re trying to blur water or clouds - use a regular ND filter instead
One common mistake: using a GND filter on a cloudy day with no bright sky. If the sky is even and gray, the filter just makes the top of the image darker for no reason. You’ll end up with a weird shadow across the top of your photo. Always check the light before you attach the filter.
How to Use a Graduated ND Filter
Using a GND filter isn’t complicated, but it takes practice. Here’s the real-world process:- Set up your tripod and compose your shot. Use live view to frame the scene.
- Take a test exposure without the filter. Check the histogram. Is the sky clipped? How much?
- Choose your filter strength and type (hard or soft edge).
- Insert the filter into the holder and slide it up and down until the transition line lines up with the horizon. Use your camera’s zoom to fine-tune.
- Expose for the foreground. Don’t expose for the sky. Let the filter handle the sky.
- Take the shot. Check the LCD. Zoom in on the sky. Is it still blown out? If yes, switch to a stronger filter.
- Check the histogram. The sky side should not be pushed against the right edge.
Pro tip: Rotate the filter holder if the horizon isn’t level. Most holders let you twist the filter to match the angle of the horizon - useful for shooting on a slope or a beach with waves.
Physical Filters vs. Digital Editing
Some photographers say, “Just use Photoshop.” And sure - you can darken the sky in Lightroom. But here’s why physical filters still win:When you have a tree, a rock, or a person sticking up into the sky, editing can’t fix it. If you darken the sky in post, you’ll get a dark halo around the tree. The edges look fake. The transition doesn’t match how light naturally falls. A physical GND filter blends the darkening naturally because it’s happening at the lens - before the light hits the sensor. There’s no edge detection. No masking. Just real, optical blending.
Also, GND filters let you capture more detail. When you underexpose a sky in-camera and try to brighten it later, you get noise, color shifts, and loss of texture. A GND filter keeps the sky properly exposed from the start. You get cleaner shadows, richer colors, and less noise.
That said, digital editing is great for minor tweaks. Use GND filters to get 90% of the exposure right. Then tweak the rest in post. But don’t rely on editing to fix a 5-stop difference. That’s where the filter saves you.
Special Cases: Reverse GND Filters
There’s one scene where even soft-edge filters fail: sunsets where the brightest part of the sky is right on the horizon. The sun is low, and the sky is brightest where it touches the water or ground. A normal GND filter - darkest at the top - won’t help. That’s where reverse GND filters come in.A reverse GND filter is darkest in the middle and gets lighter toward the top. It’s designed for sunrises and sunsets. The darkest part sits right over the horizon, where the light is strongest. The gradient fades upward, so the sky above the sun isn’t over-darkened. These filters are rare - maybe used by 5% of photographers - but if you shoot sunsets often, they’re worth having.
What to Buy
You don’t need to spend $500 on a filter kit. Start with:- One 2-stop soft-edge GND filter
- One 3-stop soft-edge GND filter
- One 2-stop hard-edge GND filter
- A filter holder that fits your lens size (usually 77mm or 82mm)
Brands like Lee, NiSi, and Cokin are popular. You can find decent filters for under $100. Don’t buy cheap ones from Amazon - they often have color casts (green or magenta tints) that ruin your shots. Stick to brands that test for color neutrality.
And yes - you can use square filters with a holder, or screw-in versions. But square filters give you more control. You can slide them up and down. Screw-ins don’t let you adjust height. If you’re serious about landscape work, go with the holder system.
Real-World Example
Last month, I shot at Big Sur at sunrise. The sky was bright orange, and the rocks below were still in deep shadow. Without a filter, the sky was pure white. I used a 3-stop soft-edge GND. I slid it down until the transition sat just above the cliff edge. Exposed for the rocks. Shot one frame. The clouds had texture. The rocks had detail. The colors popped. No editing needed. Just one shot. That’s the power of the filter.Final Thought
Graduated ND filters aren’t about making your photos look “professional.” They’re about capturing what you saw. Your eyes saw the sky and the ground in perfect balance. Your camera didn’t. The filter bridges that gap. It’s not fancy. It’s not digital. But it works - every time, in real light, with real scenes. If you shoot landscapes, you owe it to yourself to try one. Start with a 2-stop soft-edge. Take it out on your next sunrise. See the difference.Do graduated ND filters work with wide-angle lenses?
Yes, but you need to be careful. Wide-angle lenses capture more sky, so a 2-stop filter might not be enough. A 3-stop filter often works better. Also, make sure your filter holder doesn’t cause vignetting - especially with lenses under 16mm. Use a slim filter holder if you shoot ultra-wide.
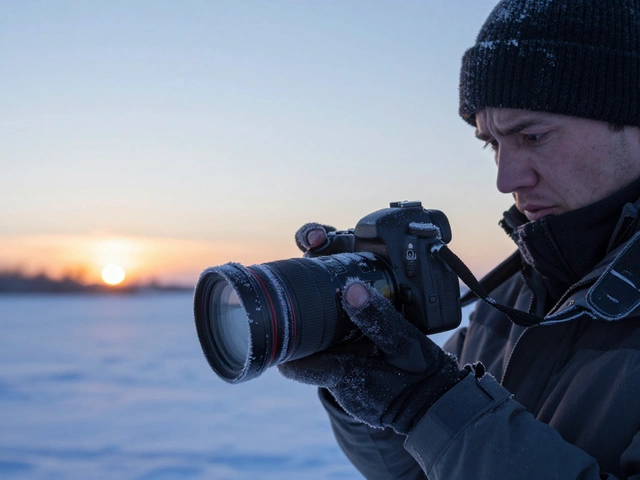
Can I use a graduated ND filter for night photography?
No. At night, there’s usually not enough light difference between sky and ground to justify a GND filter. The sky is dark. The ground is dark. You’re better off using a regular ND filter for long exposures or shooting in RAW and adjusting in post. GND filters are for daylight scenes with bright skies.
Do I need a filter holder, or can I hold the filter by hand?
Holding it by hand is possible - but not reliable. Even a tiny shake or misalignment ruins the effect. A holder keeps the filter steady and lets you adjust height and rotation precisely. If you’re serious about landscape work, invest in a holder. It’s worth the $50-$100.
Are GND filters still relevant with modern HDR and AI editing?
Yes - more than ever. HDR blending often creates halos, especially around trees and rocks. AI tools can fix some issues, but they struggle with natural transitions. A physical GND filter gives you a clean, organic exposure right from the start. It’s faster, more reliable, and produces more natural results than trying to fix it later.
Can I stack multiple graduated ND filters?
Technically yes, but it’s not recommended. Stacking filters increases the risk of vignetting, color casts, and flare. If you need more light reduction, use a stronger filter (like a 3-stop instead of two 1-stops). Or use a reverse GND for sunsets. Stacking is a last resort.