Most people think they know how to pose for a photo. They stand up straight, smile, and look at the camera. But when they see the picture, something feels off. Their face looks wider. Their neck disappears. Their arms blend into their body like they’re wearing a sausage suit. The truth? Portrait posing isn’t about looking natural-it’s about creating a version of natural that works for the camera. And that version is learned, not instinctive.
Why Your Natural Pose Doesn’t Work
Your body doesn’t know how to look good on camera. That’s not your fault. Humans weren’t designed to stand still in front of a lens. When you relax, your shoulders slump, your arms press against your sides, and your chin drops slightly. That’s fine in real life. But in a photo? It turns your neck into a double chin, your arms into blobs, and your face into a rounder version of itself. Professional portrait photographers don’t rely on subjects to “just be themselves.” They guide them into positions that feel awkward at first-but look incredible in the final image. The goal isn’t to change who you are. It’s to show the best version of you.The Three Rules of Slimming Poses
Whether you’re photographing a man, woman, or non-binary subject, three rules apply universally to make anyone look slimmer and more defined:- Distance controls size. Anything closer to the lens looks bigger. Anything farther away looks smaller. If you want to slim down a hip or shoulder, move it slightly back from the camera.
- Angle reduces width. Facing the camera head-on makes you look broader. Turning your shoulders 30 to 45 degrees to the side cuts visual width dramatically. This works for everyone, no matter the body type.
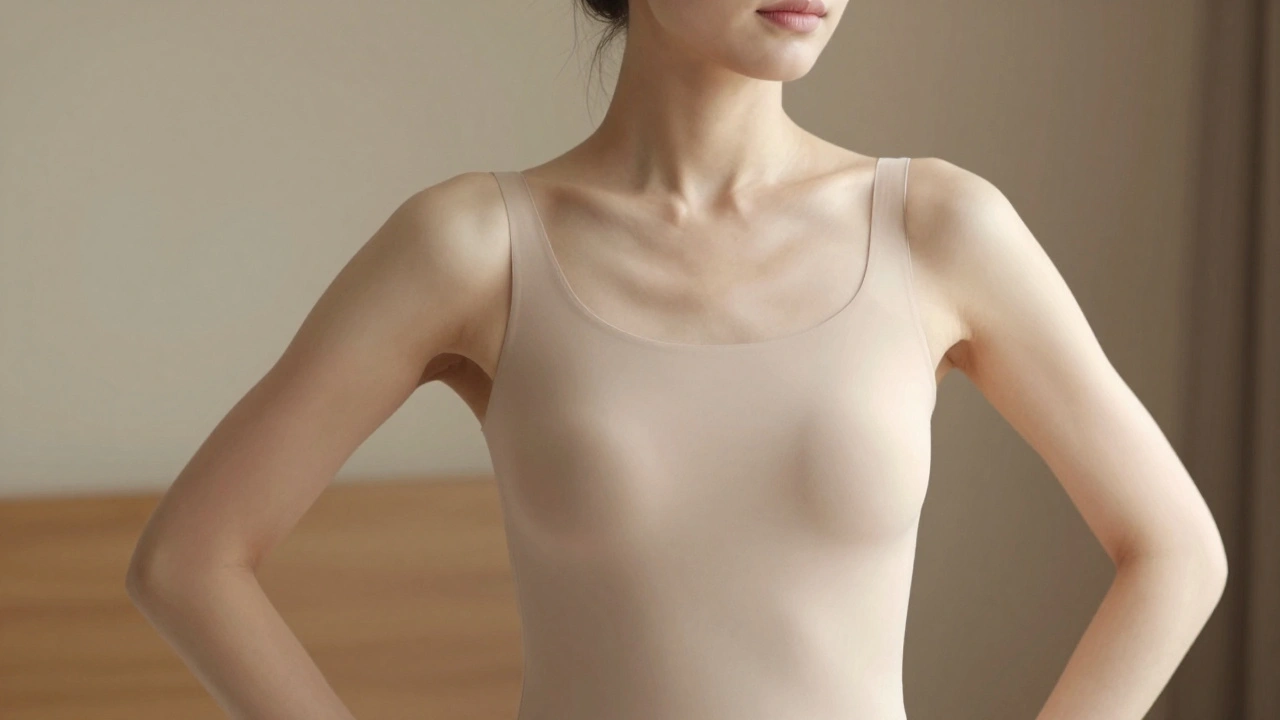
- Space creates slenderness. When your arm presses against your torso, it looks like a thick pole stuck to your side. Lift it slightly away-just an inch or two-and suddenly, your waist looks smaller, your arm looks leaner, and your posture looks more confident.
Head Tilts: The Secret to Mood and Balance
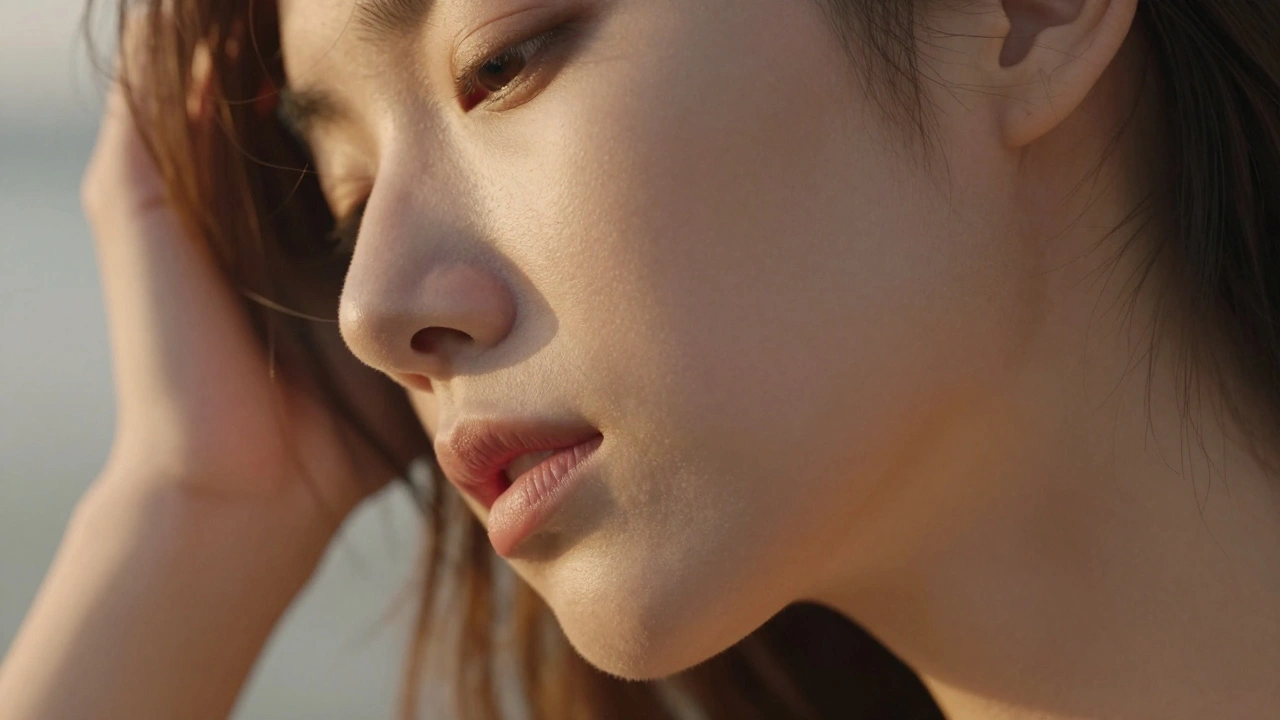
The head isn’t just a face on a stick. Its angle changes the entire tone of the portrait. When shooting someone side-on (a three-quarter view), you have two choices: tilt the chin toward the camera or away from it. Each sends a different message.- Tilting toward the camera (bringing the ear closer to the shoulder nearest the lens) softens the look. It’s more approachable, intimate, and feminine in traditional portraiture. It also elongates the neck and shows more of the jawline.
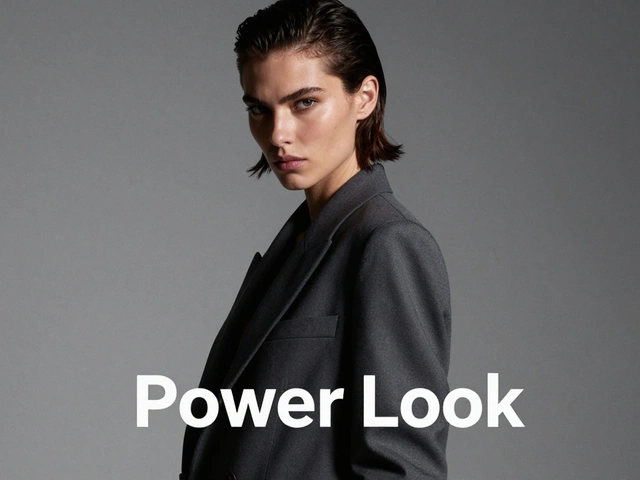
- Tilting away from the camera (pulling the ear back) creates strength and distance. It’s often used for men because it emphasizes bone structure and creates a more authoritative vibe.
The Chin Trick Nobody Tells You
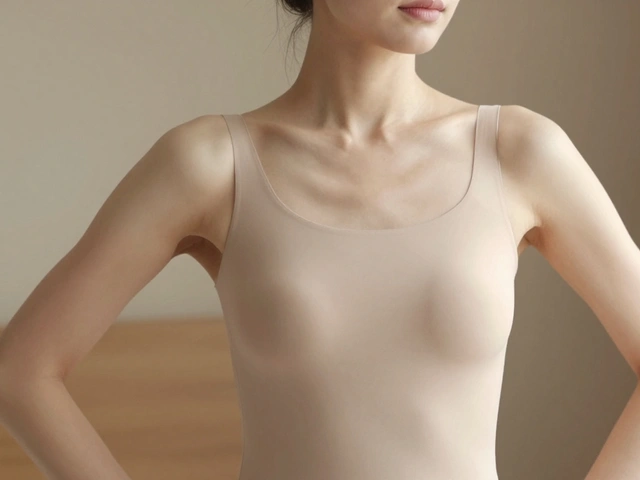
Most people think lifting their chin will make them look better. It doesn’t. It makes their face point up, which forces the camera to shoot upward-highlighting nostrils, doubling the chin, and shrinking the forehead. The real fix? Turtle your neck. Imagine a turtle slowly extending its head out of its shell. That’s what you want. Have the subject gently push their chin forward-not up-and let their ears move slightly ahead of their shoulders. It feels strange. They’ll say, “I look like a gargoyle.” But in the photo? Their jawline pops. Their neck lengthens. Their face looks sculpted. This works for every face shape. It’s not about being thin. It’s about alignment.Arm Positioning: From Blob to Beauty
Arms are the most common posing disaster. When someone stands with arms at their sides, they look stiff, awkward, and heavier. The arm presses into the torso, making the waist look bigger and the arm look thicker. The fix? Separate.- One hand in a pocket. The other hand gently resting on the hip or brushing back hair.
- One hand holding a jacket lapel. The other arm hanging loosely, elbow slightly bent, with space between arm and body.
- For men: one hand behind the neck, the other in a pocket. It’s relaxed, confident, and adds dimension.
- For women: one hand on the collarbone, the other brushing hair away from the face. It’s elegant without being stiff.
Shoulders, Hips, and the Power of Angles
Your shoulders are wider than your hips. That’s normal. But when you face the camera directly, you’re showing the full width of both. The solution? Rotate. Turn the shoulders 30 degrees toward the camera. Keep the hips slightly angled back. This creates an S-curve from head to toe. It’s the classic pose you see in fashion magazines-and it works because it breaks up straight lines. For men: focus on broadening the upper body. A slight chest-out posture with turned shoulders creates power without looking forced. For women: emphasize the curve from shoulder to hip. A gentle lean to one side, with weight on the back foot, adds movement and grace.The Nose Line Rule
In a three-quarter view, your nose shouldn’t cross an imaginary line drawn down the side of the face. If it does, the nose looks too big, the face looks unbalanced, and the photo feels off. To avoid this, have the subject turn just enough to show both eyes clearly. If you can see the bridge of the nose and the side of the face in the same frame, you’re in the sweet spot. Too much profile? Lose the connection. Too much front? Lose the slimming effect.Camera Angles: Low Is Powerful
Don’t shoot from eye level unless you’re going for a documentary look. Most portraits benefit from a slightly low angle. Kneel down. Point the camera up. Suddenly, the subject looks taller, more commanding, and more dynamic. This works especially well for full-body shots-it elongates legs and lifts the chin naturally. Avoid shooting from above unless you’re going for vulnerability or childlike innocence. For most adult portraits, low angles create confidence. High angles make people look smaller. And nobody wants to look small in their portrait.Hair, Waist, and Eye Details
Small things make big differences.- Hair: Let it fall behind one shoulder, and let a few strands drift in front of the other. This breaks symmetry and adds movement. Avoid hair covering half the face-it hides expression.
- Waist: Don’t let arms or clothing create a visual belt around the middle. Keep arms away from the torso. Avoid belts or tight waistbands unless they’re part of the style.
- Eyes: The iris should be visible above the white of the eye. If the subject’s eyes roll back or look down too far, they look tired or disengaged. Gently say, “Look just over the lens,” not “Look at the camera.” It feels more natural.
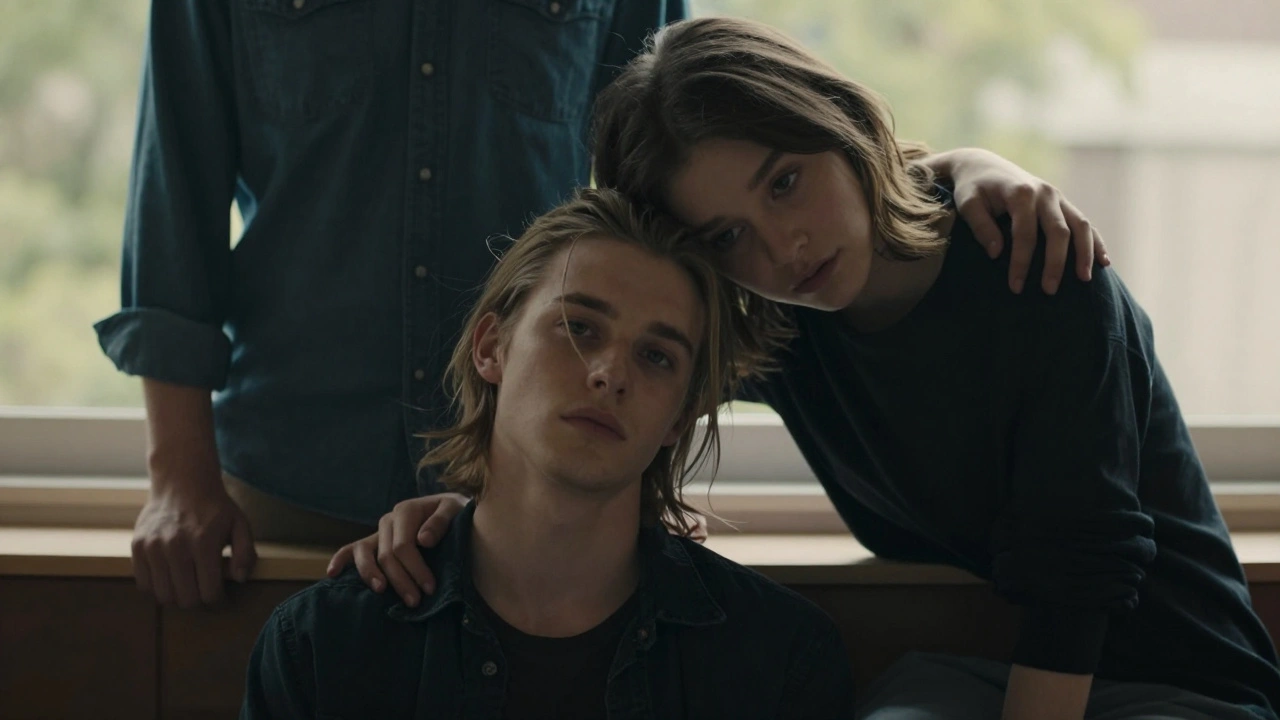
Group Portraits: Break the Line
In family photos, avoid rows. Don’t line up heads like soldiers. Don’t stack kids on top of each other. Instead, create triangles. Have one person sit, another stand behind, and a third lean in slightly. Vary head heights. Let hands touch or rest on shoulders. Show connection. A hand on a shoulder, a child tucked under an arm, a couple leaning into each other-these tiny touches make portraits feel alive.The Drop and Pop Technique
People freeze when they stare at the lens. Their smile becomes fake. Their posture stiffens. Try this: get them in position. Then say, “Laugh at something behind me.” Or “Look over your shoulder like you just heard your name.” Or “Drop your eyes to your shoe and smile.” They’ll move. They’ll relax. And in that moment-when they’re not trying to pose-you’ll get the real expression.Quick Checklist Before You Shoot
Before you press the shutter, run through this:- Is the head tilted? Toward or away? Does it match the mood?
- Is the chin forward? Not up-forward. Like a turtle.
- Are arms lifted? Is there space between arm and body?
- Are shoulders turned? At least 30 degrees.
- Is the nose inside the face line? Not crossing it.
- Is the iris visible over the white of the eye?
- Is hair asymmetrical? Behind one shoulder, in front of the other?
- Is the waist clear? No visual lines cutting across it?
Final Thought: It’s Not About Perfection
You don’t need to pose every subject like a model. Some people are stiff. Some are shy. Some just want to look like themselves-not a magazine cover. The goal isn’t to force them into a pose they hate. It’s to find the version of their natural stance that looks best on camera. A slight turn. A lifted arm. A forward chin. These tiny shifts make all the difference. Portrait posing isn’t magic. It’s geometry. It’s light. It’s understanding how the camera sees the body differently than the human eye. Once you learn the rules, you can bend them. But you have to know them first.Why does turning the body make me look thinner in photos?
When you face the camera directly, you show your full width-shoulders, hips, and chest all lined up. Turning your shoulders even 30 degrees reduces the amount of surface area the camera sees. This creates a slimmer profile. It’s the same reason you see your side in a mirror and think you look narrower than when you face forward. The camera works the same way.
Is there a difference between posing men and women?
Traditional posing leans into cultural expectations: men often get broader, stronger poses with shoulders squared and chins tilted back. Women often get curved, softer poses with one hip out and arms gently placed. But these aren’t rules-they’re starting points. Many photographers now tailor poses to the individual, not the gender. A strong woman might love a shoulder-forward pose. A gentle man might look amazing with a head tilt toward the camera. Focus on the person, not the stereotype.
How do I fix a double chin in portraits?
The double chin isn’t caused by weight-it’s caused by posture. When the head drops or the chin lifts upward, the skin under the jaw relaxes. The fix? Have the subject gently push their chin forward while keeping their head level. This tightens the neck muscles and lifts the jawline. Combine it with a slightly low camera angle, and the effect is dramatic. No filters needed.
Should I always shoot from a low angle?
Not always. Low angles work best for adding power and elongating the body. But for intimate, close-up portraits, eye-level shots feel more personal. For older subjects or those with mobility issues, a slightly higher angle might be more comfortable. The key is intention. Use the angle to support the mood-not just because it’s trendy.
Can I use these posing tips for candid photos?
Absolutely. Candid doesn’t mean random. Even in candid shots, you can guide people into positions that look natural and flattering. Ask them to lean against a wall, sit on a bench with one leg bent, or laugh while looking away. These are still poses-they’re just more relaxed. The principles of body angle, head tilt, and arm placement still apply.