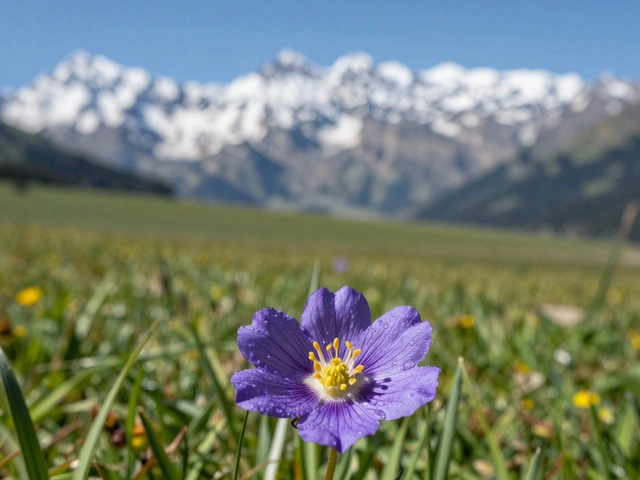
Ever take a landscape photo and wish the sky wasn’t so blown out, or the water looked more like silk than a frozen splash? It’s not magic-it’s neutral density filters. These simple pieces of glass let you do things your camera can’t do on its own: stretch time, tame bright skies, and turn rushing water into dreamy clouds. If you’re shooting landscapes in daylight and feeling limited, ND filters are the missing tool you didn’t know you needed.
What Exactly Do Neutral Density Filters Do?
At its core, a neutral density (ND) filter is just a gray piece of glass. It doesn’t change colors, boost contrast, or add filters. It simply blocks light. That’s it. But that tiny bit of light reduction opens up a whole new world of creative control.
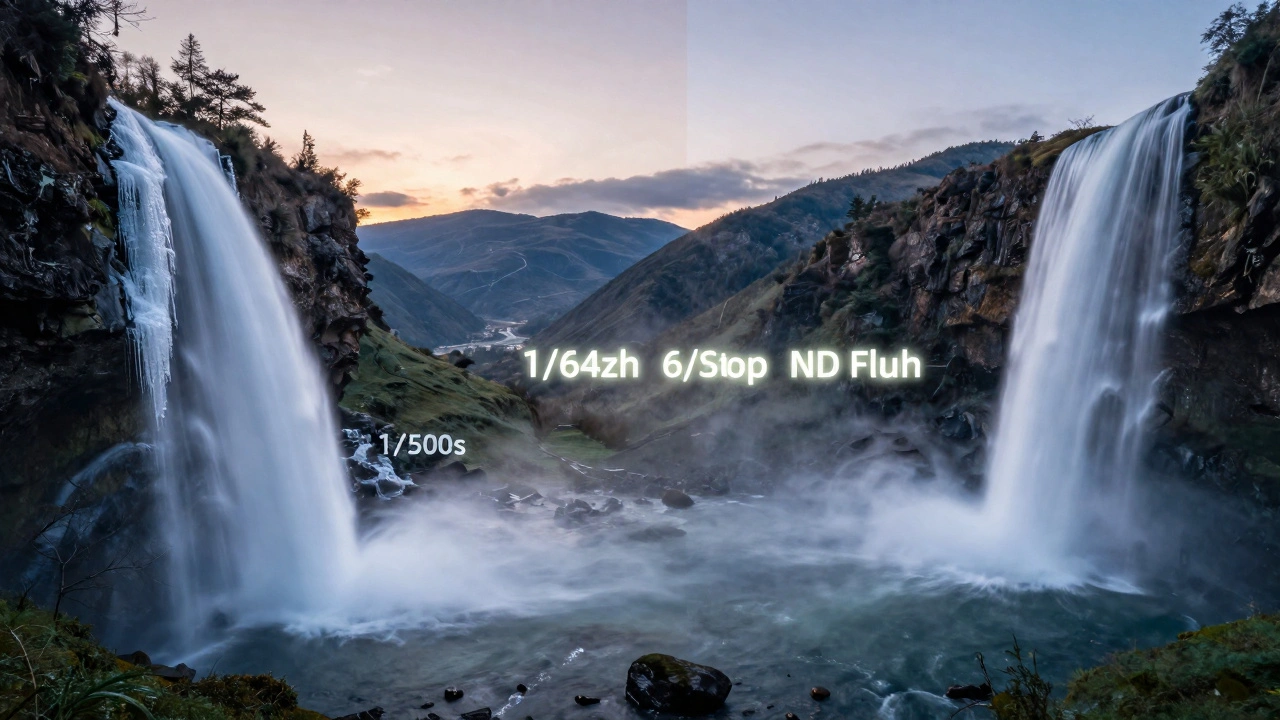
Think of your camera’s exposure triangle: aperture, shutter speed, and ISO. In bright daylight, your camera might tell you to shoot at 1/500th of a second at f/8 and ISO 100 to get a good exposure. But what if you want to blur the water in a river? You’d need a shutter speed of 2 seconds. Without an ND filter, that would overexpose the image completely-everything turns white. With a 6-stop ND filter, you can drop that shutter speed from 1/500th to 2 seconds and still get a perfectly exposed photo. That’s the power of ND: it lets you ignore the rules of daylight and shoot the way you want to.
How Stops of Light Work
ND filters are measured in stops. Each stop cuts light in half. A 1-stop ND lets through half the light. A 2-stop cuts it to a quarter. A 6-stop? That’s 1/64th of the original light. So if your camera says 1/125th is correct without a filter, adding a 6-stop ND means you now need 8 seconds to get the same exposure. That’s not guesswork-it’s math you can count on.
Here’s a quick reference:
- 1-stop ND: halves light
- 3-stop ND: reduces light to 1/8th
- 6-stop ND: reduces light to 1/64th
- 10-stop ND: reduces light to 1/1024th
These numbers matter because they let you plan your shot. Want silky water? Go 6-stop. Want soft clouds over 30 minutes? 10-stop. You don’t need to guess-you can calculate it.
The Two Main Types: Standard and Graduated
There are two kinds of ND filters most landscape shooters use: standard and graduated.
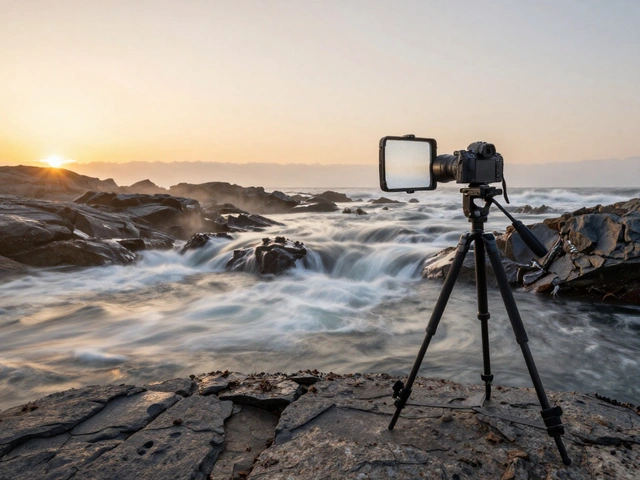
Standard ND filters are uniform. They darken the whole frame evenly. These are perfect when you want to slow down motion-waterfalls, rivers, ocean waves, or even moving clouds. If you’re shooting at sunrise and want to blur the clouds into streaks, a 6-stop ND lets you use a 30-second exposure without washing out the scene.
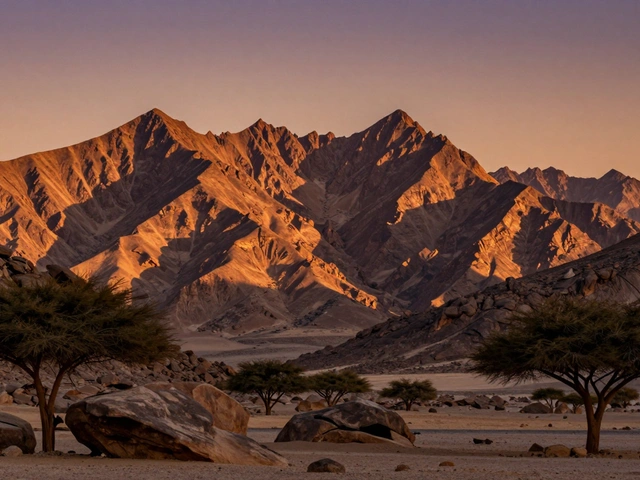
Graduated ND (GND) filters are half dark, half clear. They’re designed for one thing: balancing a bright sky with a dark foreground. Think of a sunset over a rocky beach. The sky might be 4 stops brighter than the ground. Your camera can’t capture both in one shot. A GND filter lets you darken just the sky, leaving the foreground untouched.
GND filters come in two edge styles:
- Hard-edge: Best for flat horizons-oceans, deserts, flat fields. The transition from dark to clear is sharp, so you can line it up exactly with the horizon.
- Soft-edge: Better for uneven horizons-mountains, trees, cityscapes. The gradient fades slowly, so it doesn’t create a weird line where the sky meets the land.
For example, if you’re shooting in the Columbia River Gorge, where trees stick up above the river, a soft-edge GND is your friend. A hard-edge filter would leave a dark band cutting through the treetops. That’s not subtle-it’s distracting.
How to Use Graduated ND Filters (Step by Step)
Using a GND filter isn’t guesswork. It’s a process:
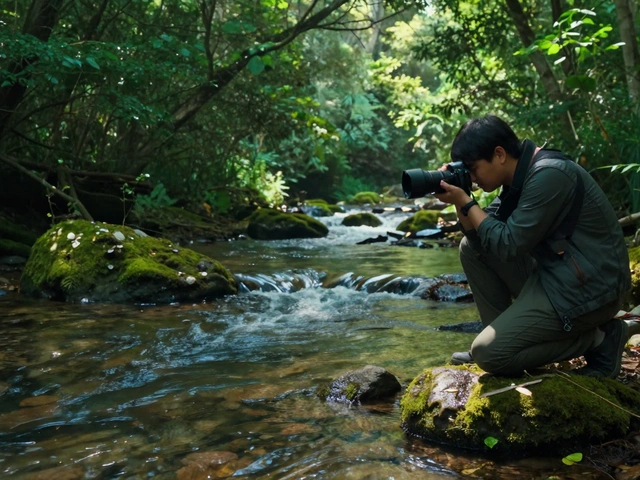
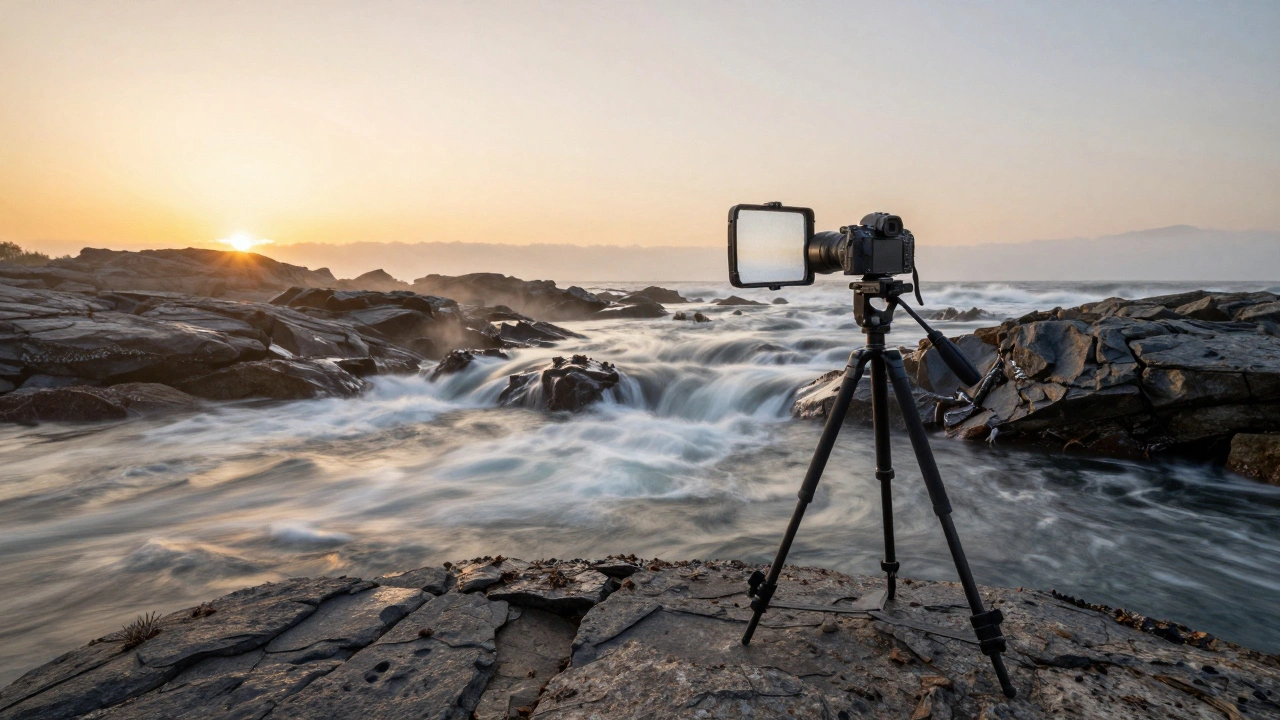
- Mount your camera on a tripod. You’re going for long exposures-you need stability.
- Set your composition. Don’t change it after this point.
- Point the camera down at the foreground. Take a meter reading. Note the shutter speed your camera suggests.
- Now point the camera at the sky. Take another reading. How many stops brighter is the sky than the ground? If the sky reading is 4 stops faster, you need a 3-stop GND filter to bring them within 1 stop of each other.
- Slide the GND filter into your holder. Position the dark part so the transition line sits right on the horizon.
- Expose for the foreground. The sky will naturally darken with the filter.
- Check your histogram. Make sure the sky isn’t clipped (no spikes on the right side). Adjust if needed.
This method works every time. No guesswork. No HDR blends. Just one clean exposure.
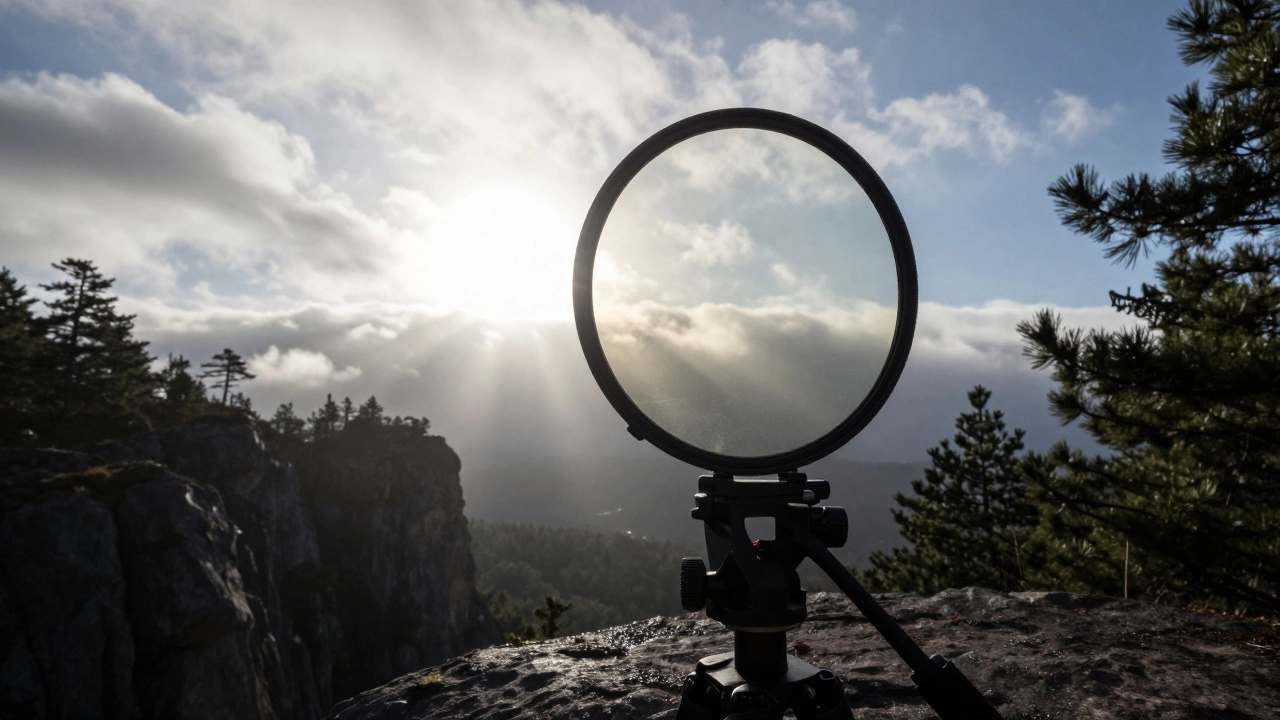
When to Use a Variable ND Filter
Variable ND filters are like a dial you twist to change how dark the filter gets. They’re convenient-you can go from 2-stop to 10-stop with one filter. Great for video shooters or if you’re moving fast between scenes.
But they have a downside: color casts and vignetting. On wide-angle lenses (especially under 24mm), you’ll often see dark corners or a weird green/purple tint. That’s because the two polarizing layers inside the filter don’t align perfectly at extreme angles. If you’re shooting landscapes with a 16mm or 14mm lens, stick with fixed NDs. They’re cleaner.
Variable NDs are fine if you’re shooting from a tripod with a 24-70mm lens and need quick adjustments. But for serious landscape work, fixed filters win.
What Filters to Start With
You don’t need every filter ever made. Here’s what works for most landscape photographers:
- 6-stop ND: The sweet spot. Lets you shoot 10-30 second exposures in daylight. Perfect for waterfalls, rivers, and clouds.
- 10-stop ND: For extreme long exposures. Think 2-minute water shots or ghosting crowds at sunrise. Use this at dawn or dusk.
- 3-stop GND (soft-edge): Handles most sky-to-land contrast. Works for forests, mountains, and uneven horizons.
- 2-stop GND (hard-edge): For seascapes, flat deserts, or when the sky is only 2-3 stops brighter.
That’s it. Four filters. That’s all you need to handle 90% of landscape scenarios.
Don’t Forget: Polarizers Are Also ND Filters
Many landscape photographers use circular polarizers to cut glare on water or rocks. But here’s the thing: a polarizer also cuts about 2 stops of light. That’s not a side effect-it’s a feature. If you’re using a polarizer and a 3-stop ND together, you’re now at 5 stops of light reduction. That’s enough to turn a 1/125th second exposure into 2 seconds. So when you’re planning your exposure, don’t ignore your polarizer. It’s part of the equation.
Post-Processing: You Still Have Options
Even with filters, you might not get the perfect balance. Maybe the sky is still too bright. Maybe the foreground is too dark. That’s okay. You can fix it in post.
In Lightroom or Photoshop, use graduated filters or radial masks to darken the sky further, boost contrast in the foreground, or tweak colors independently. You’re not stuck with what the filter gave you. Filters give you a strong base. Post-processing gives you fine control.
But here’s the rule: always shoot with filters first. Then edit. Trying to fix a blown-out sky in post? You’ll lose detail. Trying to pull shadow noise from a dark foreground? You’ll get grain. Filters give you clean data. That’s why they’re still essential.
Why This Matters in Real-World Shooting
I’ve shot in Iceland, the Oregon coast, and the High Sierra. In each place, the light changes fast. One minute it’s bright, the next it’s golden. If you’re not using ND filters, you’re missing half the story.
At Smith Rock in Oregon, I once shot a waterfall at 1/1000th of a second. The water looked like frozen shards. I swapped in a 6-stop ND and shot at 4 seconds. Suddenly, the water was flowing like silk. The rocks stayed sharp. The clouds moved. The whole scene felt alive.
That’s the difference. ND filters don’t just control exposure. They control time. And in landscape photography, time is your most powerful tool.
Final Tips: Avoid These Mistakes
- Don’t skip the tripod. Long exposures mean motion blur-even your camera can shake.
- Don’t stack too many filters. Stacking a GND and a standard ND can cause color shifts or vignetting. Stick to one at a time unless you’re experienced.
- Don’t forget to check your histogram. A bright sky might look fine on the LCD. The histogram tells the truth.
- Don’t use cheap filters. Low-quality NDs add color casts (green, magenta). You’ll spend more time fixing them in post than shooting.
Invest in good glass. Brands like NiSi, Lee, and B+W make filters that last. They’re worth the price.
Do I need ND filters if I shoot in RAW?
RAW gives you more flexibility in post, but it doesn’t fix overexposed highlights. If your sky is blown out in the RAW file, you can’t recover detail-it’s gone. ND filters prevent that problem at capture. You can’t edit back what wasn’t recorded.
Can I use ND filters at night?
Not usually. At night, there’s already very little light. Adding an ND filter makes your exposure too long-sometimes 30 minutes or more. You’ll get noise, star trails, and motion blur from wind or camera shake. Save ND filters for daylight. At night, use a tripod and low ISO instead.
What’s the difference between a 6-stop and 10-stop ND?
A 6-stop ND lets you shoot 10-30 second exposures in daylight. A 10-stop ND lets you shoot 1-5 minute exposures. Use the 6-stop for waterfalls and clouds. Use the 10-stop for smooth, glassy water or ghosting crowds at sunrise. The 10-stop is overkill for most daylight scenes unless you want extreme blur.
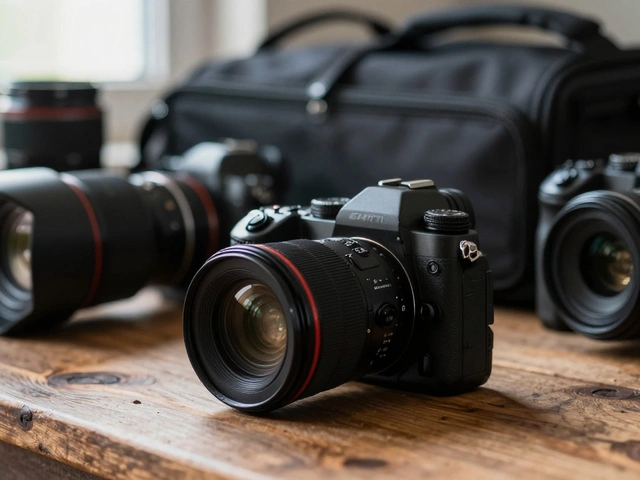
Should I buy rectangular or circular ND filters?
Rectangular filters are better for landscape photography. They let you move the gradient up and down on GND filters and stack multiple filters. Circular filters screw on and can’t be adjusted. If you’re serious about landscapes, invest in a rectangular filter system with a holder. It’s more flexible and professional.
Do I need a filter holder?
If you’re using rectangular GND or standard ND filters, yes. The holder keeps them steady and lets you slide them into position. Without it, you’ll be holding filters by hand-unreliable and risky. A good holder costs $50-$100. It’s worth it.