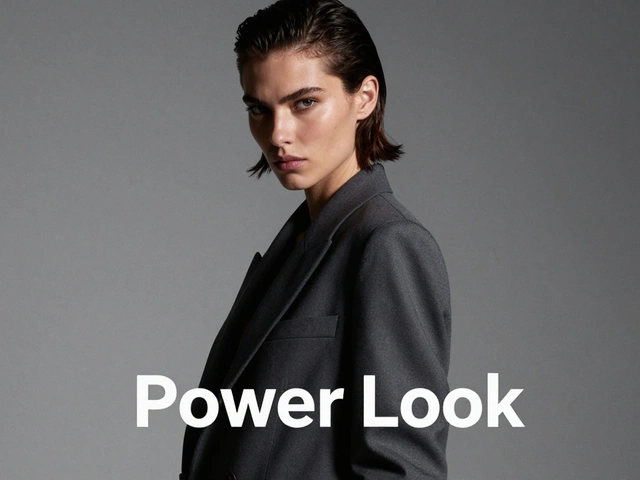
When you look at a portrait, where does your eye go first? Most of the time, it lands on the face. But how did it get there? Often, it wasn’t just luck. It was because someone used leading lines to pull your gaze in-deliberately, quietly, powerfully.
Leading lines aren’t just about roads or fences in landscape photos. In portrait photography, they’re silent guides. They whisper to your eyes: Look here. And when used right, they make the difference between a snapshot and a portrait that holds you.
What Leading Lines Actually Do in Portraits
Leading lines are visual paths. They can be real-like a winding staircase, a row of windows, or a shadow stretching across the floor-or implied-like the direction someone is looking, the angle of a shoulder, or the curve of a neck. Their job isn’t to be noticed. It’s to move your eye from one point to another, usually ending at the subject’s face.
Think about it: if you’re looking at a photo of someone standing beside a long hallway, your eyes naturally follow the walls inward. If that person is at the end of the hall, your gaze stops right on their face. That’s not accidental. That’s composition.
But here’s the catch: if the lines run through the person’s head, or if they point away from the face, they don’t help. They hurt. A line cutting across the forehead? It distracts. A path that leads off the left edge of the frame? It pulls attention away. Leading lines must serve the face-not compete with it.
The Types of Lines That Work Best
Not all lines have the same effect. Each shape creates a different feeling. And in portraiture, the feeling matters as much as the focus.
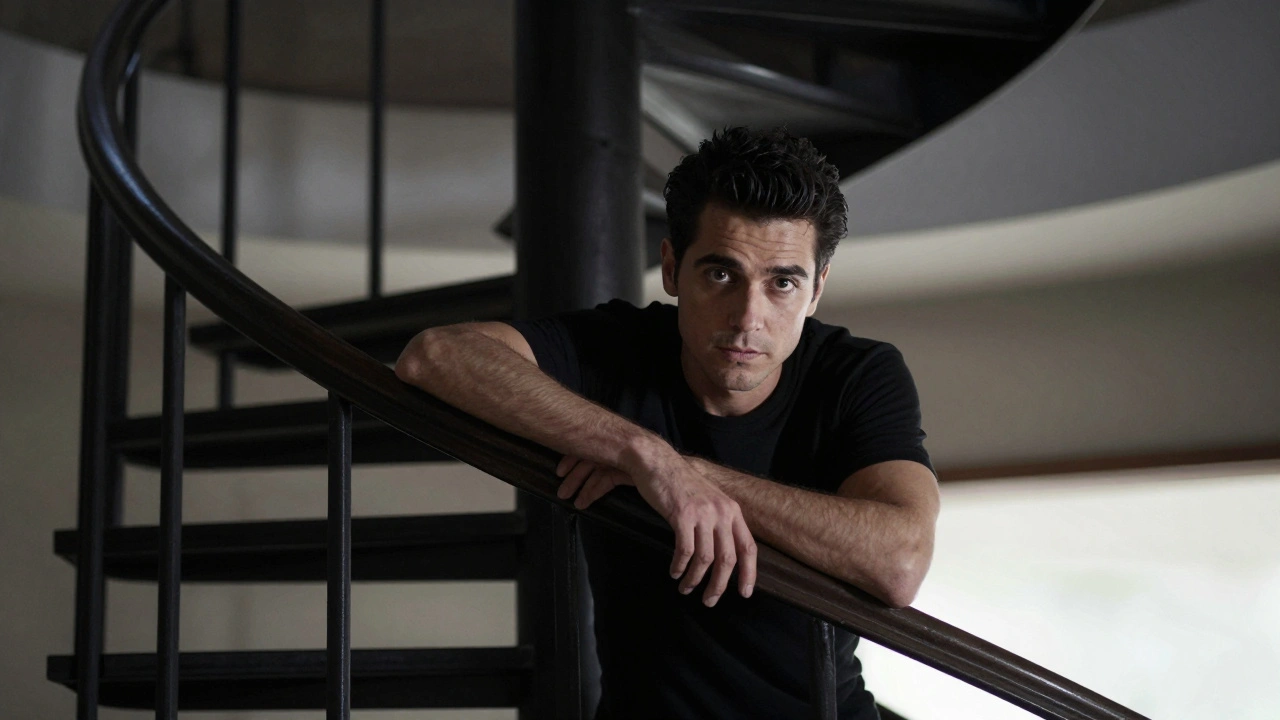
- Diagonal lines add energy. They suggest motion, tension, or depth. A subject leaning slightly into a diagonal railing or staircase creates a dynamic pose. The line doesn’t just lead to the face-it makes the whole image feel alive.
- Horizontal lines bring calm. A subject seated on a bench with a straight horizon behind them feels grounded, steady. Great for quiet, thoughtful portraits.
- Vertical lines say strength. Think of a subject standing between tall columns or beside a building’s edge. It adds formality, height, and presence. Works well for formal portraits or when you want to emphasize confidence.
- Curved lines-especially S-curves-add elegance. A winding path, a curved arm resting on a knee, even the natural bend of the spine can create a graceful flow toward the face. These lines feel organic, not forced.
- Converging lines create depth. Train tracks, alleyways, rows of chairs-all of these draw the eye to a single vanishing point. Place your subject at that point, and their face becomes the anchor of the whole scene.
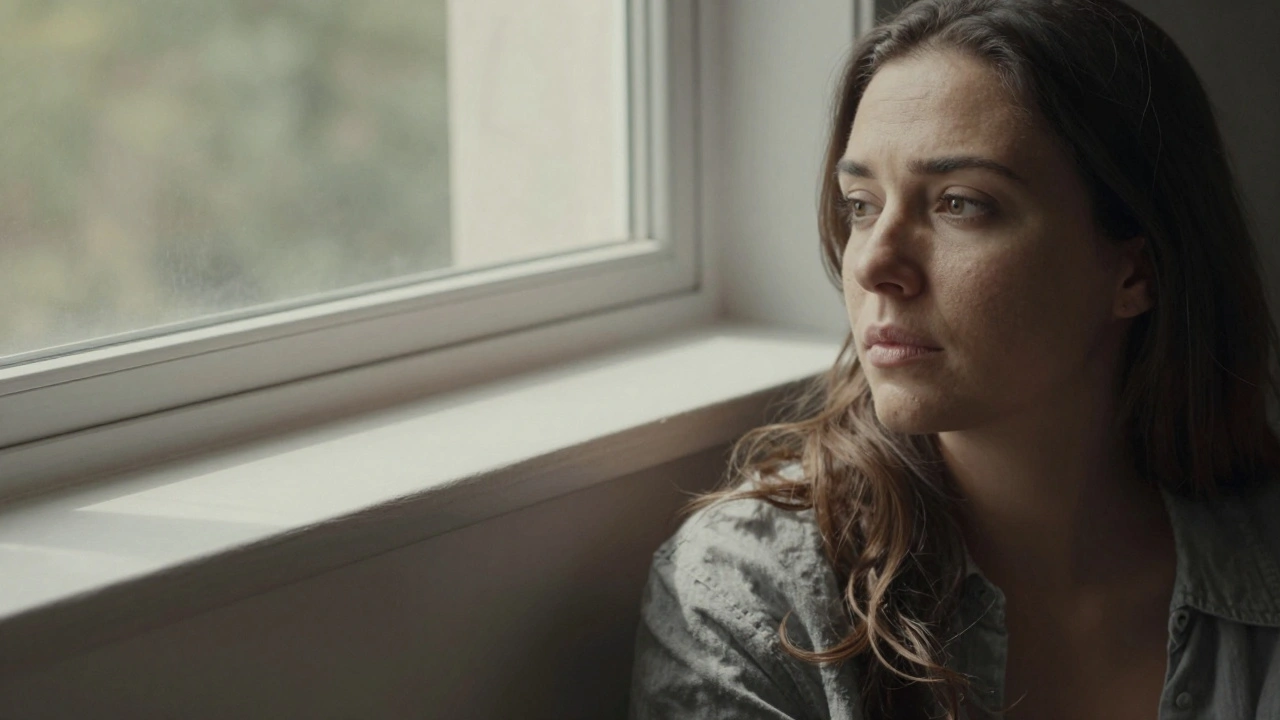
- Implied lines are subtle but powerful. A person looking off to the side? Their gaze becomes a line. A hand pointing toward the camera? That’s a line too. Even the direction of a shadow can guide the eye. These lines feel natural because they come from the subject themselves.
Where to Place the Lines (And Where Not To)
There’s one rule that separates good leading line portraits from bad ones: Never let a line start at or pass through the subject’s head.
Why? Because your brain sees the head as the most important part of the portrait. If a line cuts through it-like a fence post aligned with the forehead, or a shadow slicing across the eyes-it creates visual conflict. Your eye doesn’t know where to rest. The face gets drowned out.
Instead, let the lines approach the face from below, from the sides, or from behind. A line rising from the ground, passing under the chin, and ending at the eyes? Perfect. A line running along the shoulder and tapering into the face? Brilliant. The goal is to let the lines build up to the face, not collide with it.
Also, avoid lines that exit the frame. If a path leads out of the left side of the photo, your eye follows it out-and leaves the portrait. Always aim for lines that lead into the frame, toward the subject.
How to Find and Use Leading Lines in Real Life
You don’t need to set up a studio. Leading lines are everywhere. Walk around your neighborhood. Look at the way light falls on a sidewalk. Notice how a row of trees frames a doorway. See how a stair railing curves upward beside a person.
Here’s how to find them:
- Look for natural patterns: cracks in pavement, fence posts, window frames, shadows, reflections, even the edge of clothing.
- Change your angle. Get low. Crouch down. Shoot from above. Sometimes, the line only becomes visible when you move three steps to the left.
- Use the rule of thirds. Place your subject off-center, then use the line to point toward them. If the subject is on the right third, let the line come from the left. This creates balance.
- Look for multiple lines. Two converging lines-one from each side-are stronger than one. A pair of railings leading to a face? That’s a composition that sticks with people.
Try this: next time you’re shooting a portrait, don’t look at the face first. Look at the background. What lines are there? What paths are forming? Then, move the subject into alignment with them.
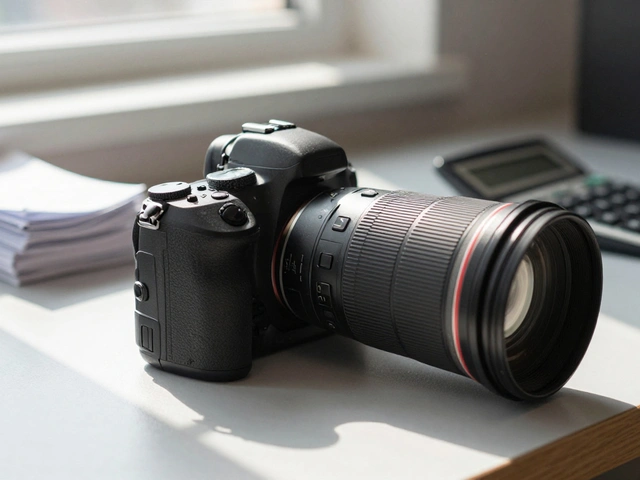
Lens Choice and Camera Settings
Wide-angle lenses-like 14mm, 18mm, or 24mm on a full-frame camera-are your best friends here. Why? Because they exaggerate perspective. A line that looks straight in real life becomes dramatic in the frame. The foreground gets bigger. The background gets farther. The lines stretch and pull with more power.
But you don’t need a wide lens. Even a 35mm or 50mm can work if you’re close enough. The key isn’t the lens-it’s how you position yourself. Get low. Get close to the line. Let it fill the lower third of the frame.
Use a narrow aperture-f/8, f/11, or f/16-to keep both the foreground line and the subject sharp. If the line is blurry, it loses its power. A tripod helps, especially in low light. You’re not just shooting a face-you’re shooting a story built from lines.
Leading Lines in Different Portrait Styles
Every type of portrait uses leading lines differently.
- Environmental portraits: The setting tells the story. A firefighter standing beside a ladder, a musician in front of a wall of instruments-lines in the background add context and depth.
- Fashion portraits: The clothing and pose are the stars, but lines in the background (like a hallway, a row of windows, or the angle of a chair) still guide the eye to the face.
- Close-up portraits: Even here, lines matter. A shoulder line pointing toward the eyes. A necklace that curves down and then up again toward the face. These subtle cues make the difference.
The common thread? The face is always the destination. The lines are the road.
Common Mistakes and How to Fix Them
- Mistake: The line cuts through the head. Fix: Move your position. Crouch lower. Step to the side. Change the angle until the line ends below the chin.
- Mistake: Too many lines. Clutter kills focus. Fix: Simplify. Find one strong line. Let it do the work.
- Mistake: The line leads out of the frame. Fix: Reposition the subject so the line ends at them. Or crop the frame tighter.
- Mistake: Ignoring the background. Fix: Before you shoot, scan the whole frame. Is there a power line, a shadow, or a crack in the wall that accidentally leads away from the face? Move it out.
One of the hardest parts? Learning to see lines you didn’t notice before. Practice by looking at photos from famous portrait photographers. Trace the lines with your finger. Where do they go? How do they lead?
Final Thought: It’s Not About the Line. It’s About the Journey.
Leading lines aren’t magic. They’re strategy. They turn a random photo into a journey. The viewer doesn’t just see a face-they follow a path to it. And when they arrive, they feel like they got there on purpose.
The best portraits don’t shout. They invite. Leading lines are the quiet hand that says, Here. Look here.
Can leading lines work in indoor portrait photography?
Absolutely. Indoor spaces are full of leading lines-doorways, window frames, floor tiles, staircases, even the edge of a couch or the pattern of wallpaper. The key is to position your subject so those lines naturally point toward their face. A subject sitting beside a long window with sunlight streaming in? The light itself becomes a line guiding the eye.
Do I need a wide-angle lens to use leading lines?
No, but wide-angle lenses (14mm-24mm) make it easier. They exaggerate perspective, making lines appear more dramatic and longer. A 50mm or 85mm lens still works fine if you get close to the line and position your subject at its end. The lens matters less than your placement.
What if my subject is looking away? Can I still use leading lines?
Yes. In fact, it’s a great opportunity. The direction of their gaze becomes an implied leading line. Combine that with a physical line-like a path or a row of chairs-and you create a double pull toward their face. Even if they’re not looking at the camera, their attention becomes part of the composition.
How do I avoid distracting lines in the background?
Before you shoot, scan the entire frame-not just the subject. Look for power lines, poles, branches, or shadows that cut across the face or point away from it. Adjust your position slightly. Sometimes, moving two feet left or right removes the distraction. Use a wider aperture (like f/2.8) to blur the background if needed, but only if the line isn’t part of your composition.
Can I use leading lines with a smartphone camera?
Definitely. Smartphones have great cameras now, and the principle is the same. Look for lines in the environment-sidewalks, railings, shadows, reflections. Get close to the line, frame your subject at the end of it, and tap to focus on their face. The rule about not letting lines cut through the head still applies. You don’t need fancy gear-you just need to see.