Why stacking is the secret behind stunning night sky photos
Ever seen a photo of the Milky Way so crisp and detailed it looks like a painting, and wondered how anyone captured that in the dark? The answer isn’t a better camera or a more expensive lens. It’s stacking. This isn’t some advanced trick reserved for pros-it’s the core technique that turns blurry, noisy night shots into clear, breathtaking images of deep space. You don’t need to shoot for hours in one go. You just need to take a bunch of shorter exposures and let software do the heavy lifting.
Here’s the simple truth: a single photo of the night sky, no matter how long the exposure, will always have noise. It looks like grainy speckles, especially in the dark areas. That’s not dirt on your lens. It’s electronic noise from your camera sensor, amplified in low light. But when you stack 10, 20, or even 50 frames of the same patch of sky, something magical happens. The noise cancels out. The stars get sharper. Faint nebulae and galaxies you couldn’t even see before suddenly appear.
How stacking works: The math behind the magic
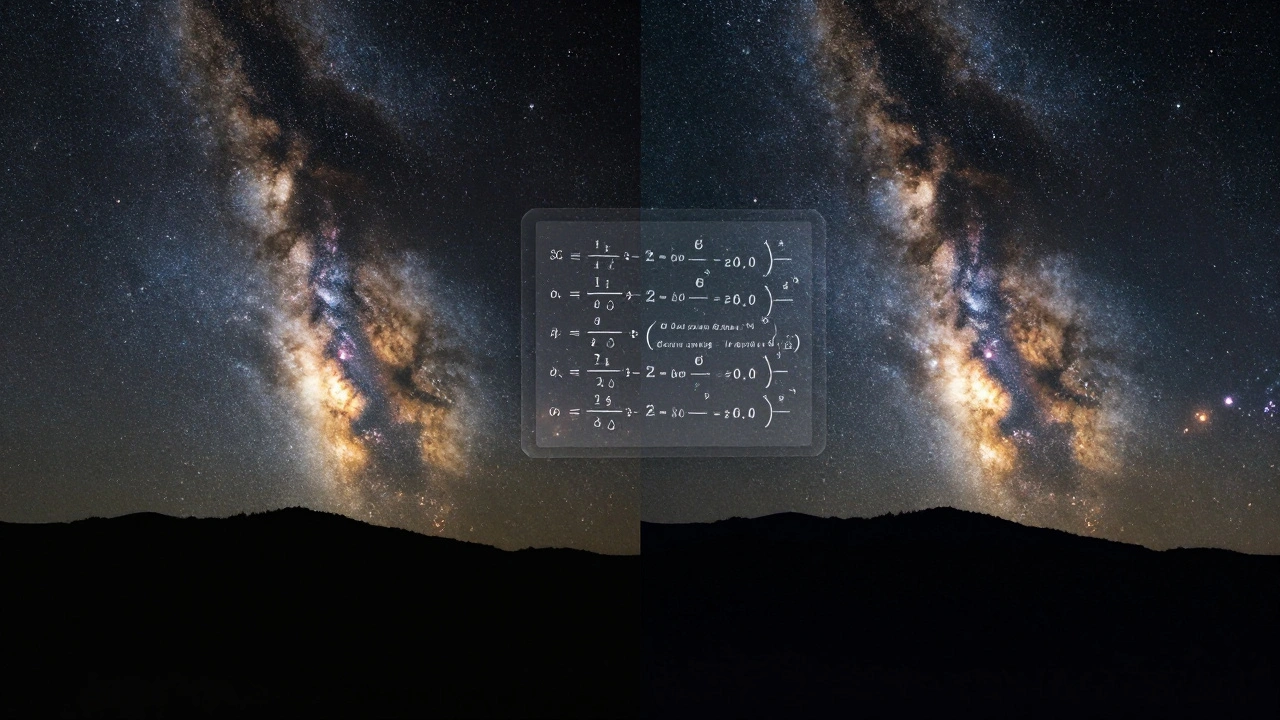
Think of it like rolling dice. One roll gives you a random number-maybe a 2, maybe a 6. But if you roll a hundred times and average the results, you’ll get very close to 3.5-the true average. Your camera sensor works the same way. Each pixel in each photo picks up random noise. But the actual light from stars and galaxies? That stays consistent across every frame. When you average all those frames together, the noise gets smoothed out, and the real signal gets stronger.
This is called improving the signal-to-noise ratio. The signal is the light from space. The noise is the random electronic interference. Noise doesn’t grow as fast as signal when you add more frames. So stacking 20 images doesn’t just make things 20 times brighter-it makes them far cleaner. You’re not just brightening the image. You’re revealing what was always there but buried under noise.
The three steps: Calibration, alignment, stacking
Stacking isn’t just slapping images on top of each other. It’s a three-step process that turns raw data into science-grade results.
- Calibration-This is where you clean up your camera’s quirks. Every sensor has its own noise pattern. Some pixels are hotter. Some are stuck. To fix this, you take dark frames-photos with the lens cap on, same exposure and ISO as your light shots. The software uses these to subtract the sensor’s fingerprint from every image. You can also use bias frames (super short exposures) and flat frames (shots of a white wall) to correct for uneven lighting and dust spots. You don’t need all three to start, but they help.
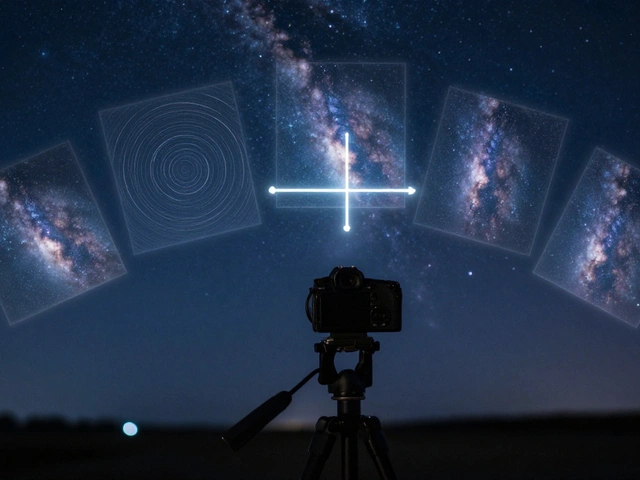
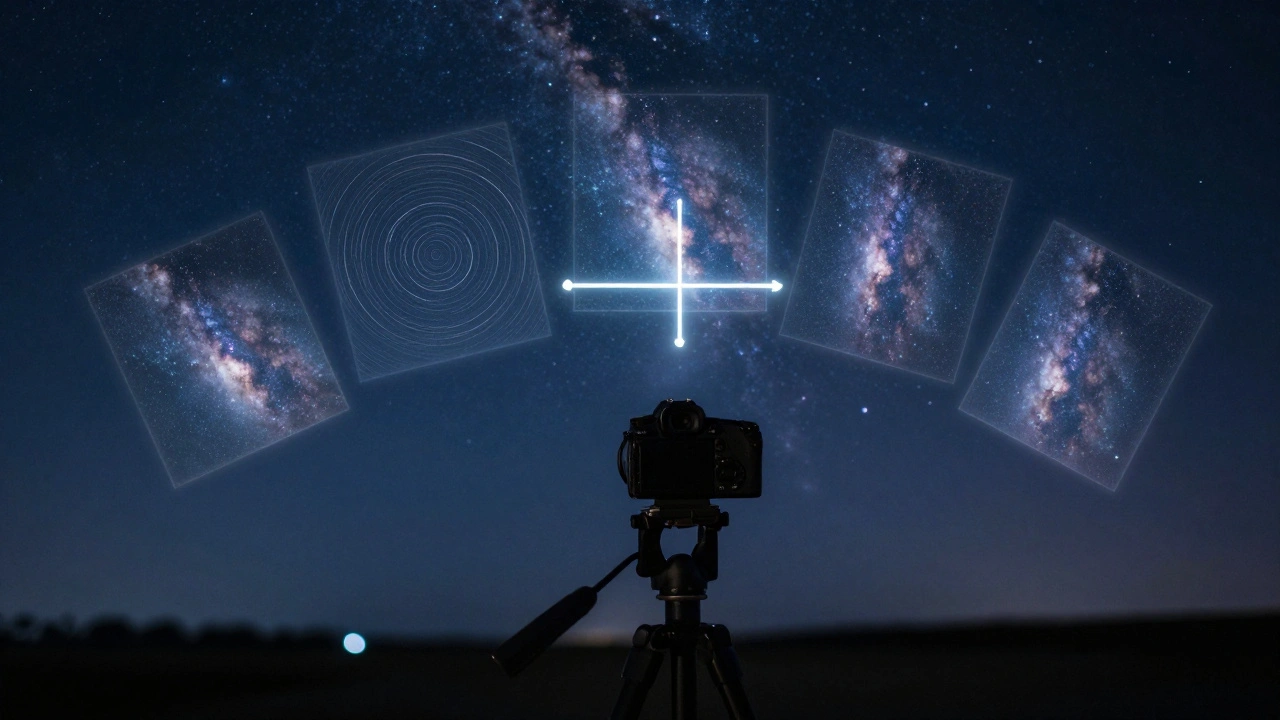
- Alignment-Stars move. Your tripod might shift. The Earth rotates. So if you stack images without lining them up, everything gets blurry. Stacking software finds stars in each frame and moves them into perfect position. It’s like puzzle-solving, but automated. This step is what makes stacking possible with a regular tripod instead of a motorized tracker.
- Stacking-Now the software averages the pixel values across all frames. Bright areas get brighter. Noise gets averaged into near-invisibility. The result? A single image with way more detail than any single frame could hold.
Software choices: What to use and why
You don’t need expensive tools to get great results. DeepSkyStacker is a free, beginner-friendly program that handles calibration, alignment, and stacking all in one place. It’s the go-to for people starting out. You load your light frames, darks, flats, and click “Register and Stack.” It figures out the rest. The default star detection threshold is 10%, and for most DSLRs, that works perfectly. Lower it if you want to pull out fainter stars-just watch how many stars it detects in the preview.
Other options include Astro Pixel Processor, PixInsight, and MaxIm DL. These are more powerful but have steeper learning curves. For most people, DeepSkyStacker is all you’ll ever need.
One big advantage? DeepSkyStacker lets you mix different exposures. You can stack 30-second shots with 60-second ones, even if they have different ISO settings. It adjusts for differences automatically. That’s huge if you’re shooting under changing light conditions or testing settings.

Wide-angle vs. deep-sky: Different challenges
Stacking isn’t just for telescopes. You can stack wide-angle shots of the Milky Way over a forest or mountain. But here’s the catch: the ground doesn’t move. The sky does. So if you shoot with a stationary tripod, the stars blur between frames, but the trees stay sharp. That confuses the alignment software. It tries to match stars to stars, but the ground gets in the way.
Solutions? You can manually mask out the landscape in each frame before stacking. Or you can use an astro tracker-a motorized base that rotates with the sky. It lets you use longer exposures without star trails, and keeps the ground sharp in every frame. That makes alignment way easier. A good tracker costs less than a new lens, and it turns a frustrating stacking session into a smooth one.
What happens after stacking
Stacking gives you a clean, detailed image. But it’s not finished yet. The result is often flat-looking-gray skies, dull stars. That’s normal. The next step is post-processing. Open the stacked image in Photoshop, GIMP, or Affinity Photo. Use the Curves tool. Drag the black point down to make the sky truly black. Lift the midtones to bring out the stars. You’re not making it brighter-you’re revealing contrast that was hidden.
Don’t overdo it. Pushing levels too far brings back noise. The goal is balance: a dark sky, bright stars, and natural color. Many people forget this step and wonder why their stacked image looks dull. It’s not the stacking that’s weak-it’s the editing.
How many frames do you really need?
You don’t need 100. You don’t even need 50. Ten good frames will show a big improvement over one. Twenty gives you a dramatic leap. After 30, gains get smaller. The sweet spot for most beginners is 15-25 frames. Each frame should be long enough to capture detail-usually 60 to 180 seconds, depending on your lens and sky conditions. Shorter exposures mean less chance of clipping bright stars. More frames mean less noise.
Rule of thumb: If your sky looks grainy in a single shot, stack. If you can see faint stars but they’re buried in noise, stack. If you want to capture a nebula you can’t see with your eyes, stack.
Common mistakes and how to avoid them
- Not using dark frames-This leaves sensor noise patterns in your image. Always take a few darks.
- Shooting with autofocus on-Your focus can drift between frames. Use manual focus and tape the ring.
- Changing settings mid-session-Keep ISO, exposure, and aperture the same for all frames. Mixing settings confuses stacking.
- Ignoring alignment-If your stars look blurry after stacking, your alignment failed. Check that enough stars were detected.
- Skipping post-processing-Stacking cleans up noise. Editing brings out beauty. Don’t skip this.
What stacking can’t fix
Stacking won’t rescue a blurry image. If your focus is off, stacking won’t sharpen it. It won’t fix light pollution-you still need to shoot from a dark sky. It won’t make your cheap lens look like a telescope. But it will make the best of what you have. It turns good data into great results.
And here’s the best part: you don’t need to be perfect. Even if you forget a dark frame, or your tripod wobbles a little, stacking still helps. The technique is forgiving. That’s why it’s the foundation of modern astrophotography. It’s not about having the best gear. It’s about being consistent.
Do I need a telescope to do stacking?
No. You can stack images taken with a regular camera and lens. Many people stack wide-angle shots of the Milky Way using just a DSLR or mirrorless camera on a tripod. Telescopes help with distant galaxies, but stacking works the same way regardless of your optics.
Can I stack photos taken on different nights?
Yes, but with caveats. If your camera settings, lens, and target are identical, stacking across nights works fine. But if the moon’s phase changed, the sky brightness changed, or your focus drifted, the results may look uneven. Try to keep conditions as consistent as possible.
What’s the difference between stacking and exposure blending?
Stacking combines multiple frames of the same exposure to reduce noise and enhance detail. Exposure blending merges different exposures (e.g., one for stars, one for the foreground) to balance brightness. They’re different tools. You often use both: stack for noise, blend for lighting.
Does stacking work for the Moon and planets?
Yes, but differently. For the Moon and planets, you capture hundreds or thousands of very short video frames. Software like AutoStakkert! or RegiStax picks the sharpest frames and stacks them. It’s faster and more automated than deep-sky stacking because the objects are bright and move quickly.
How long does stacking take?
It depends on your computer and how many frames you’re stacking. For 20 images, it might take 5-15 minutes. For 100, it could be an hour. The alignment step is usually the slowest. Leave it running overnight if you have a lot of data.
Final thought: It’s not magic. It’s math.
Stacking works because light behaves predictably. Noise doesn’t. That’s why averaging frames beats a single long exposure every time. You don’t need to understand Fourier transforms or statistical variance. You just need to take more photos than you think you need, use free software, and let the numbers do the work. The night sky is still there. You’re just finally seeing it clearly.