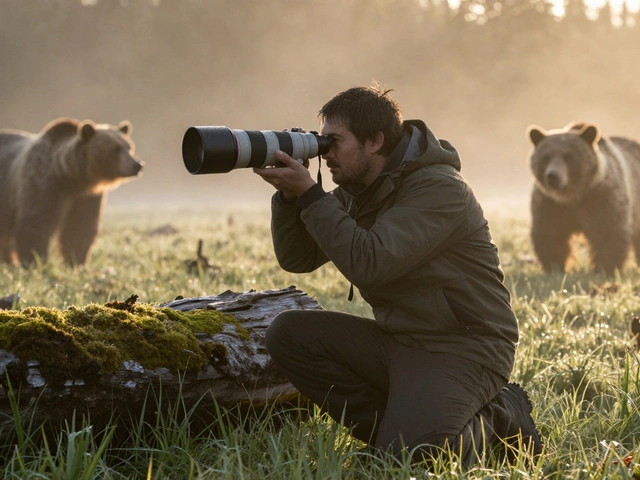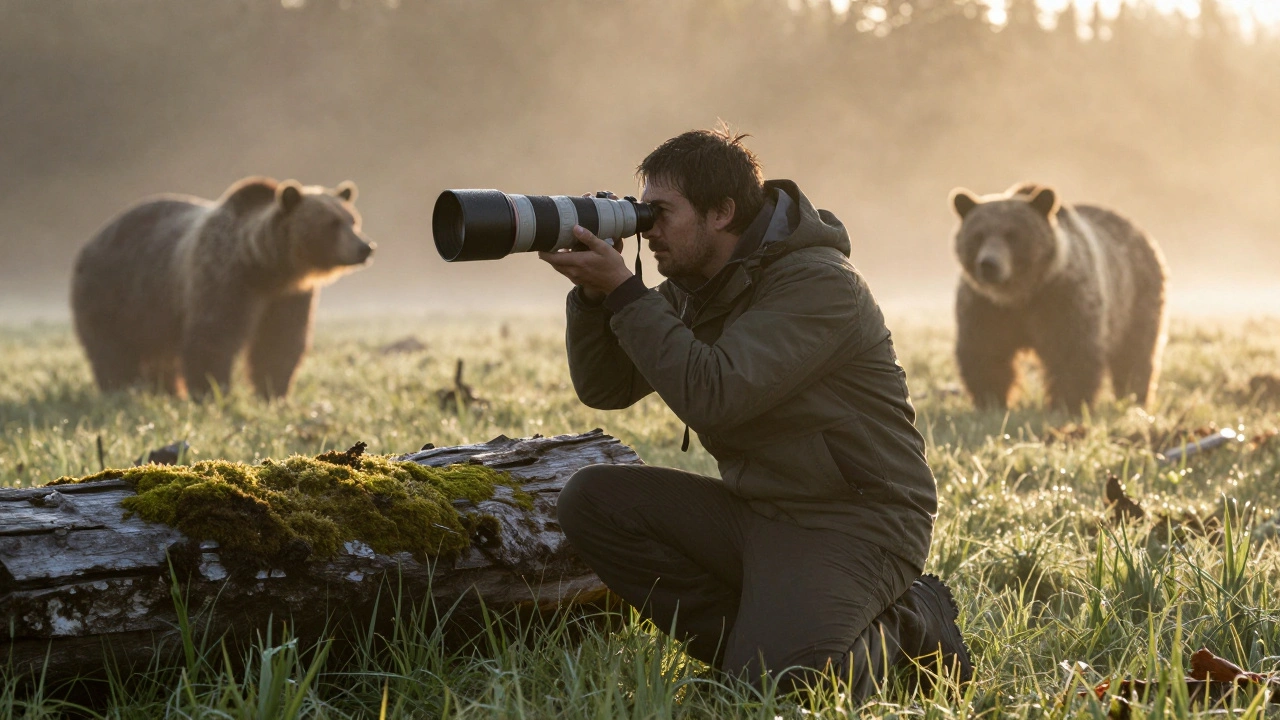
When you're crouched in the mud at dawn, 700mm lens heaving on your shoulder, and a grizzly walks into frame - your heartbeat is louder than your shutter. That moment doesn’t care how expensive your gear is. What matters is whether your hands can hold still long enough to catch it. Handholding a long lens for wildlife isn’t about luck. It’s about physics, body mechanics, and discipline. And if you’re still blaming your lens for blurry shots, you’re missing the real culprit: your own movement.
Why Long Lenses Are So Unforgiving
A 400mm lens doesn’t just zoom in - it magnifies every tiny tremor. The rule of thumb? Your shutter speed should be at least 1 over your focal length. So for 600mm, you need 1/600s or faster. But even that’s not enough if your body is swaying. A 1mm shift at the lens translates to a 5mm blur on your sensor. That’s why a shaky hand with a 50mm lens gives you a soft photo. With a 800mm? You get a blurry mess where the eagle’s eye should be.Image stabilization helps - but it’s not magic. It can give you 4 to 5 stops of leeway. That means if you normally need 1/1000s, you might get away with 1/125s. But if your subject is moving? Stabilization won’t freeze that. Only fast shutter speed can. One photographer captured a falcon mid-dive at 1/4000s with IS turned off. The IS didn’t help. The shutter speed did.
Body Bracing: Your First Line of Defense
You don’t need a tripod to hold a 10-pound lens steady. You need to turn your body into a tripod.- Stand with feet shoulder-width apart. Not locked. Not rigid. Slightly bent knees let your legs absorb motion instead of passing it to the camera.
- Lean into something. A tree, a rock, even a fence. Any contact reduces sway. If you’re alone? Press your forehead into the viewfinder eyecup. It sounds odd, but your skull is heavier than your arms. That contact locks the camera to your body’s mass, cutting vibration by half.
- For low shots, drop to one knee. Rest your elbow on it. Your knee becomes a pivot point. Your upper body stops rocking. You’ll notice the difference the first time you try it.
- Go prone. Lie flat. Prop the lens on your elbows. This is the most stable position for long sessions. It’s not glamorous, but it’s how you get the shot when the animal doesn’t move for 20 minutes.
One wildlife photographer in Alaska uses a fallen log as a rest. He doesn’t carry a monopod. He carries a mindset: use what’s there. Nature gives you supports. Learn to use them.
Monopods: The Middle Ground
A monopod isn’t a tripod. It’s a tool for reducing fatigue, not eliminating shake. But used right, it’s a game-changer.- Don’t just plant it and walk away. Put your toe inside the foot of the monopod. Press down with your foot. That anchors it.
- Hold the camera at the grip. Place your other hand on the lens barrel - not the tripod collar. Push gently forward. This creates tension, like a spring, and stops the lens from flopping.
- Lean your body into the monopod. Don’t let it dangle. Your weight + the monopod’s resistance = stability.
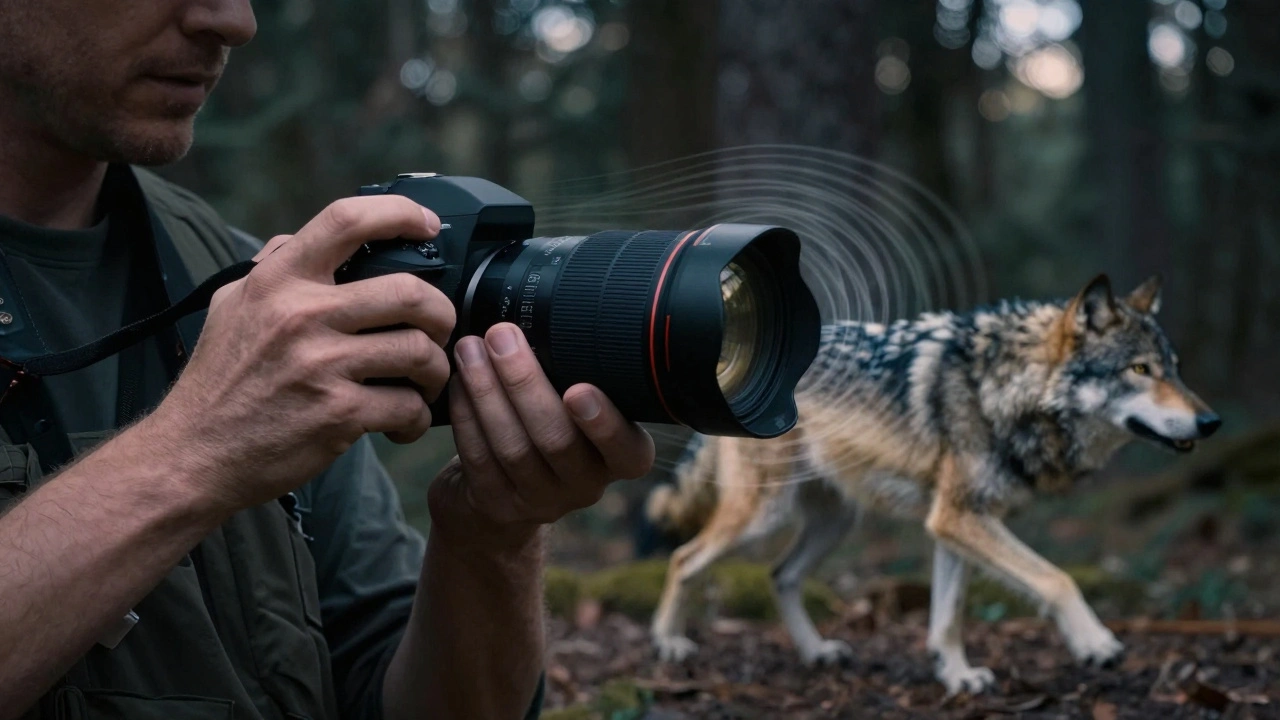
Many photographers think monopods are for sports. Wrong. They’re for wildlife when you need to move fast - tracking a bird in flight, following a running wolf. A tripod would slow you down. A monopod lets you stay sharp and mobile.
When to Turn Off Image Stabilization
Most people leave IS on all the time. That’s a mistake.- If you’re on a tripod? Turn it off. The system tries to correct for tiny movements that don’t exist - and ends up creating blur.
- If your shutter speed is faster than 1/1000s? Turn it off. The stabilizer’s motors can’t react fast enough. You’ll get double images - two ghosts of the same subject.
- If you’re shooting at 1/500s or slower? Leave it on. That’s where it helps most.
Optical stabilization (in the lens) works better than sensor-based for long lenses. Why? It moves the glass at the optical center - where the light bends. Sensor-shift moves the whole sensor. That’s fine for 50mm, but at 800mm, the angular correction needs to be more precise. Lens-based IS wins here.

Breathing and the 3-Shot Burst Trick
Your breath moves your chest. Your chest moves your arms. Your arms move the camera.- Take a breath. Hold it. Shoot. Exhale. Repeat. This works best with a 700mm+ lens. You’re not holding your breath for 10 seconds - just the 0.5 seconds before and after the shot.
- Use a 3-shot burst. Press the shutter once. The mirror slaps up. The camera shifts. The first frame is shaky. The second? Still moving. The third? The system settles. That third frame is often the sharpest. It’s not a myth. It’s physics. High frame rate cameras (10fps+) make this even more reliable.
Some photographers swear by this. Others call it overkill. But if you’re shooting at 1/250s with a 600mm lens? You need every edge you can get.
Manual Focus? Yes, Really.
Autofocus is great. Until it locks onto the wrong eye. Or the grass. Or the shadow.- Switch to manual focus. Use the lens’s distance scale. Pre-focus on a spot where the animal usually appears.
- Use focus peaking if your camera has it. It highlights sharp edges in real time.
- One pro used a manual 500mm f/4 Nikon for 15 years. He didn’t miss a shot. Why? It was lighter. He could hold it longer. And he controlled focus exactly where he wanted it.
Don’t assume autofocus is better. Sometimes, knowing where to focus - and having the patience to set it - beats a system guessing.
Beanbags and Other Secret Weapons
A beanbag is the cheapest, most effective support you’ve never tried.- Fill a canvas bag with dried beans, rice, or even plastic pellets.
- Place it on a rock, a stump, a car roof. Rest the lens on it. The beans mold around the barrel. They absorb vibration. They let you tilt, pan, and adjust without repositioning.
- It’s silent. No metal clinks. No tripod legs scraping dirt. Perfect for skittish animals.
Some photographers carry two: one for high shots, one for low. Others just use a folded jacket. The point? Anything soft, dense, and moldable works. You don’t need a $300 gimbal. You need a bag of rice.
What Not to Do
- Don’t use a lightweight travel tripod. They wobble under a 5kg lens. Test them in-store. Extend the legs. Raise the center column. Shake them. If they move, don’t buy them.
- Don’t rely on IS at 1/125s with a 600mm lens. You’ll get motion blur. The math doesn’t lie.
- Don’t lock your elbows. Keep them slightly bent. Tension is better than rigidity.
- Don’t hold the lens by the tripod collar. Hold it by the barrel. That’s where the balance is.
Aperture, Shutter, and the Real Trade-Off
You can’t have it all. Fast shutter? High ISO. Low ISO? Slow shutter. You need to choose.Most wildlife shooters use f/8 to f/11. Why? That’s where lenses are sharpest. At f/4, you get bokeh - but soft edges. At f/16, diffraction kicks in. Stick to f/8-f/11. Then crank the shutter. ISO 1600? 3200? Fine. Noise can be fixed. Blur can’t.
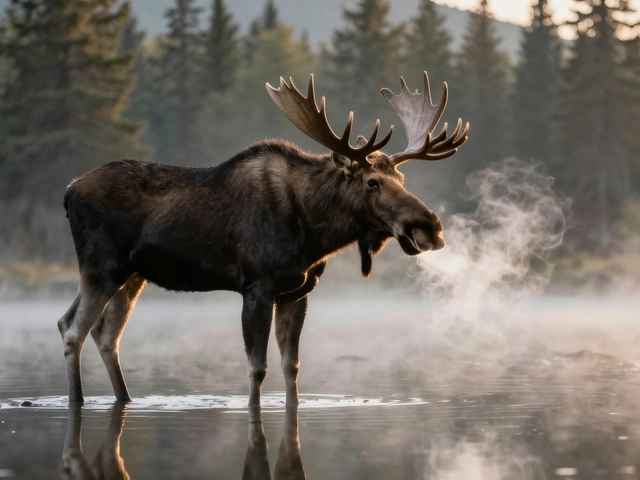
One photographer in Montana shot a moose at f/11, 1/2000s, ISO 3200. The image was grainy. But every hair on its antlers was crisp. He didn’t care about noise. He cared about the shot.
Final Rule: Practice Like You Shoot
You don’t learn this in theory. You learn it in the field.- Go out. No tripod. Just you and your lens.
- Find a bird feeder. Practice holding still. Breathe. Shoot 10 frames. Review them. Which ones are sharp?
- Try the 3-shot burst. Compare frame 1, 2, and 3.
- Test the forehead brace. Does it feel weird? Good. That means it’s working.
Wildlife photography isn’t about gear. It’s about control. Control of your body. Control of your breath. Control of your timing. The lens is just the tool. You’re the instrument.
Can I handhold a 600mm lens without a monopod?
Yes, but only if you use proper body bracing. Stand with feet shoulder-width apart, bend your knees, lean against a tree or rock, and press your forehead into the viewfinder. Use a 3-shot burst and shoot at 1/1000s or faster. With practice, you can get sharp results - even without support. But a monopod will make it easier and more consistent.
Should I turn off image stabilization on a tripod?
Yes. When the camera is locked down, the stabilization system tries to correct for tiny vibrations that aren’t there. This can cause a slight blur or wobble in the image. Always turn off IS when using a tripod - unless you’re on a shaky surface like a boat or a vehicle.
Is manual focus better than autofocus for long lenses?
It depends. Autofocus works well for predictable subjects. But for animals that move suddenly or when there’s clutter (like branches or grass), manual focus gives you more control. Pre-focus on a spot where the animal will appear. Use focus peaking if your camera has it. Many pros still use manual focus lenses because they’re lighter and more reliable in the field.
What’s the best shutter speed for handholding a 500mm lens?
Start with 1/500s - the rule of thumb. But if the subject is moving (a bird in flight, a running deer), use 1/1000s or faster. Image stabilization can help you go slower - maybe down to 1/125s - but only if the subject is still. Motion blur from the animal won’t be fixed by stabilization.
Do beanbags really work better than tripods for wildlife?
For certain situations, yes. Beanbags are silent, adaptable, and let you shoot from almost any angle - low to the ground, on a car roof, or over a rock. They’re ideal for stationary subjects or when you need to move quickly. Tripods are better for long exposures or when you need perfect precision. But for most wildlife work, especially in uneven terrain, a beanbag is faster and more practical.