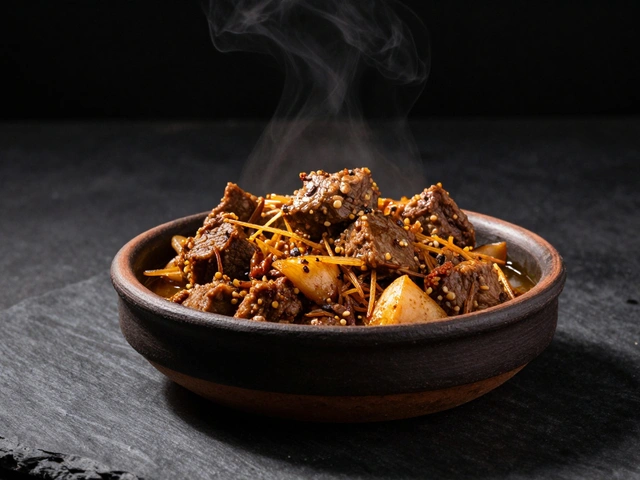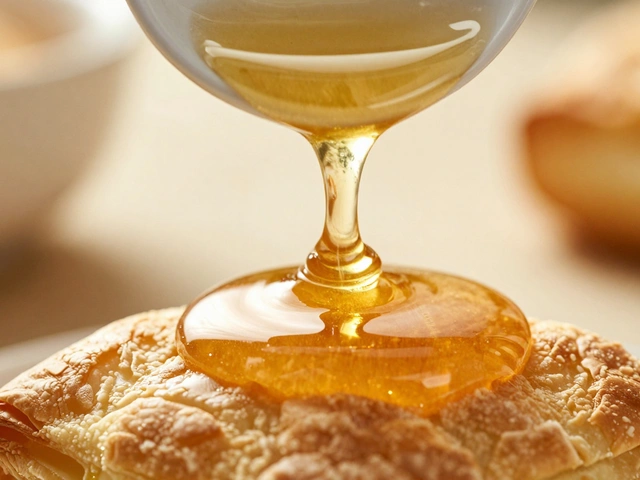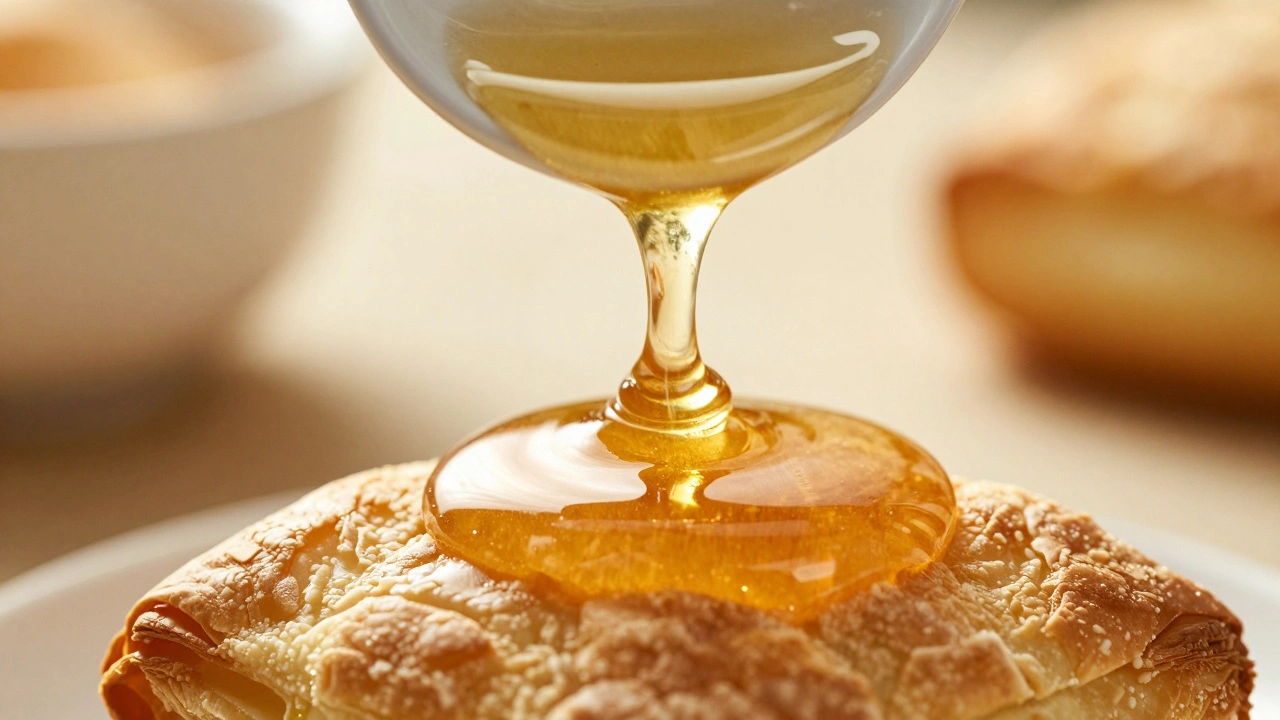
Static food photos look delicious, but they feel like paintings. They sit on the page, waiting for you to look. Action shots, on the other hand, pull you in. You see the honey dripping, the sugar falling, the steam rising, and suddenly you can almost taste the meal. Capturing movement in Food Photography is the art of freezing dynamic moments to convey energy and narrative within culinary imagery requires more than just a good camera. It demands a specific setup, precise timing, and a willingness to experiment.
Many photographers avoid motion shots because they seem complicated. They assume you need a studio full of expensive gear or a team of assistants. The reality is much simpler. You can create stunning dynamic images with a standard camera kit if you understand how light interacts with moving objects. The goal is to make the viewer feel like they are part of the cooking process, not just looking at the finished plate.
Camera Settings for Freezing Motion
The most critical setting you will adjust is your shutter speed. When you photograph a still dish, you can use slower speeds like 1/60 or 1/125 of a second without issue. Once you introduce movement, those speeds will blur the action. To freeze a liquid pour or falling sugar, you need to move much faster.
Start with a shutter speed of 1/1000 second. This is the baseline for most standard motion, like pouring cream or syrup. If you are trying to capture individual grains of sugar or salt in mid-air, you will likely need 1/1600 second or higher. For extreme splashes where you want every droplet sharp, you might push your camera to its limit at 1/8000 of a second. Shutter Speed is the camera setting that controls the duration of time the sensor is exposed to light, directly affecting motion blur becomes your primary tool for controlling how the action looks.
Aperture and ISO follow the shutter speed. When you increase shutter speed, you let in less light. You will need to open your aperture wider (lower f-stop number) to compensate, which reduces your depth of field. You might also need to raise your ISO. This is where lighting becomes essential. Without enough light, you cannot use a fast enough shutter speed to freeze the action cleanly.
Do not rely on autofocus for these shots. By the time the camera locks focus, the pour is already over. Switch to manual focus. Pre-focus on the exact spot where the liquid will hit the plate or where the sprinkles will land. This ensures that the critical moment of impact is sharp, even if the hand holding the bottle is slightly soft.
Lighting Strategies for Dynamic Shots
Lighting changes everything when motion is involved. Front lighting, which works well for static food, often flattens movement. It washes out the texture of falling particles and makes liquid streams look like solid blocks. You need to highlight the edges and the volume of the moving elements.
Side lighting and backlighting are your best friends here. Positioning a light source behind the subject illuminates the liquid from within. This is particularly effective for translucent liquids like honey, oil, or tea. The light passes through the stream, showing its color and clarity. For dry ingredients like powdered sugar or spices, side lighting creates shadows that define the shape of each particle.
Flash Photography is the use of artificial light bursts to freeze motion and illuminate subjects in low-light conditions offers a significant advantage over continuous light. The duration of a flash burst is often much faster than your camera's mechanical shutter. A standard flash might fire for 1/1000th of a second, but at lower power settings, it can reach 1/20000th of a second. This effectively freezes motion even if your camera shutter is set slower.
Consider using rear curtain sync for your flash settings. This fires the flash at the end of the exposure rather than the beginning. If you are shooting with a slightly slower shutter to allow for some ambient light, the flash will freeze the droplet at the front of its travel, while the ambient light creates a motion blur tail behind it. This adds a sense of speed and direction to the image.
| Light Position | Best For | Effect |
|---|---|---|
| Backlighting | Translucent liquids, splashes | Illuminates internal detail, creates glow |
| Side Lighting | Sprinkles, dry spices, steam | Highlights texture and particle edges |
| Front Lighting | Avoid for action | Flattens motion, reduces depth |
Essential Equipment for Motion Control
You cannot shoot action shots handheld with any hope of consistency. A Tripod is a three-legged stand used to stabilize the camera for consistent framing and long exposures is mandatory. You need to frame the shot perfectly once, then lock it down. This allows you to focus entirely on triggering the action without worrying about camera shake or composition drift.
If you are working alone, you need a way to trigger the camera without touching it. A remote shutter release is standard, but a timer function works just as well. Set your camera to a 2-second or 10-second timer. This gives you time to pour the liquid or sprinkle the sugar and step back before the shutter fires. Alternatively, use a second person to trigger the camera while you control the action.
Burst mode is another non-negotiable feature. Even with perfect settings, timing the exact split second of a splash is difficult. Set your camera to continuous high-speed shooting. When you trigger the action, hold down the shutter button. You will capture dozens of frames in a fraction of a second. Reviewing these later allows you to pick the single frame where the droplet shape is most appealing.

Techniques for Liquid Pours
Pouring shots rely heavily on the consistency of the liquid. If you try to pour thick chocolate gravy at serving temperature, it will likely blob rather than stream. You may need to adjust the temperature or add a small amount of liquid to thin it out slightly for the camera. The goal is to balance visual appeal with flowability. It should look thick and lush but pour smoothly.
Choose your vessel carefully. A full bottle is heavy and hard to control. A small spouted pitcher or a ladle gives you much more precision over where the stream lands. For overhead shots, gravity works in your favor. The stream falls straight down. For side angles, you want to capture the curve of the liquid as it leaves the vessel and connects to the target.
Pre-focus is critical here. Place a marker on the plate where the liquid will land. Focus on that spot. When you pour, the liquid will fall into that focus plane. If you focus on the bottle, the impact point will be blurry. Remember, the viewer cares most about where the food lands, not the hand holding the container.
Mastering Sprinkle and Particle Shots
Capturing dry ingredients like sugar, salt, or spices requires a different approach than liquids. The particles are small and light, so they move slower in the air but are harder to see. You need high contrast. A dark background makes white sugar pop. A light background might make it disappear.
Position your camera at a 90-degree angle to the action. This makes the falling stream the hero of the shot. If you shoot from a 45-degree angle, it looks like the sprinkles are falling from the corner of the frame, which can distract the eye. Use a sifter for fine powders to create a fluffy cloud effect. For chunky items like pearl sugar, use a handful to maintain a steady stream.
Adding movement to your hand enhances the shot. Instead of dropping the sugar from a stationary point, move your hand back and forth slightly. This spreads the particles across the frame, creating a sense of volume and abundance. Just be careful not to move so fast that the particles blur. Your shutter speed must be fast enough to counteract your hand movement.
Include a hand in the frame when possible. A hand sprinkling sugar feels human and relatable. It tells a story of preparation. Without the hand, it looks like magic or a product shot. With the hand, it feels like a moment you are witnessing in a kitchen.
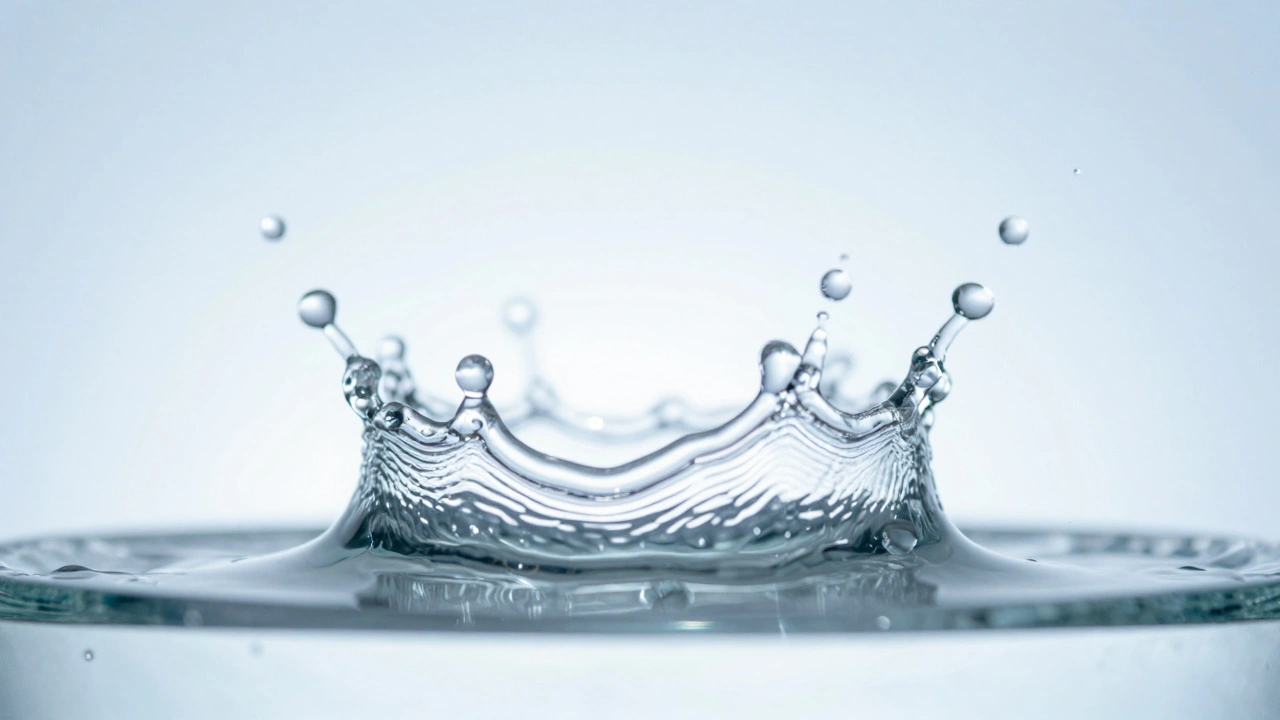
The Art of the Splash
Splash photography is the most technically demanding of the three. It often requires compositing multiple shots in post-production to get the perfect crown of water droplets. However, you can capture single splashes with the right setup. Backlighting is essential here. You need a light source behind the subject to illuminate the droplets as they fly through the air.
Use a clear backdrop or a sheet of acrylic. Place your light behind this backdrop. The light diffuses through the material and hits the water from behind. This creates a glowing effect on the droplets. If you use a solid opaque background, the splash will look dark and undefined.
Flash power matters for splashes. Lower power settings on your strobe provide faster recycle times and shorter flash durations. This helps freeze the water more effectively. You might need to experiment with the height of the object dropping into the liquid. A higher drop creates a bigger splash but requires faster shutter speeds to freeze the larger droplets flying further.
Capturing Steam and Atmosphere
Steam adds a sense of temperature and freshness to food photos. It implies the food is hot and ready to eat. However, steam is elusive. It moves fast and disappears quickly. You need to shoot seconds after plating a hot dish. Wait too long, and the steam will be gone.
If you need steam for a longer shoot, you can create it artificially. A damp cloth microwaved for 30 seconds can generate a burst of steam when placed near the dish. Alternatively, hide a small steamer behind the plate. This allows you to control when the steam appears. Use a tripod and manual focus to keep the food sharp while the steam blurs slightly around it.
Lighting for steam is similar to sprinkles. Side lighting catches the wisps of vapor. Backlighting can make the steam glow. Avoid direct flash on the steam, as it can wash out the texture. You want to see the curls and swirls, not just a white cloud.
Practice and Styling Tips
Do not waste expensive ingredients when learning these techniques. Practice with water and cornstarch. Water creates splashes without staining your kitchen. Cornstarch mimics the fall of powdered sugar but costs pennies. Dial in your shutter speed and lighting with these substitutes before you bring out the expensive honey or saffron.
Keep your styling simple. Action shots are busy enough with the movement. If you clutter the background with too many props, the eye won't know where to look. Use neutral tones and simple textures. Clear glassware works well for pours because it doesn't block the light. Matte surfaces prevent distracting reflections that compete with the action.
Patience is the most important tool you have. You will miss the shot many times before you get it right. Review your images on the camera screen immediately. Check the focus. Check the exposure. Adjust and try again. The difference between a good shot and a great shot is often just one frame out of a hundred.
What shutter speed is best for freezing liquid splashes?
For standard liquid splashes, start with 1/1000 second. For fine droplets or extreme splashes, you may need 1/4000 second or faster to freeze the motion completely.
Can I use autofocus for action food photography?
Manual focus is highly recommended. Pre-focus on the point of impact. Autofocus often hunts during fast motion and may miss the critical moment of the pour or splash.
Do I need a flash for food action shots?
Flash is not strictly required but highly beneficial. It provides the short burst duration needed to freeze fast motion and allows you to use faster shutter speeds in lower light.
How do I make steam appear in food photos?
Steam appears naturally from hot food. To prolong it, use a microwaved damp cloth or a hidden steamer behind the dish to generate fresh vapor during the shoot.
What is the best background for sprinkle shots?
A dark background provides high contrast for light-colored sprinkles like sugar or flour. Matte surfaces are preferred to avoid reflections that distract from the falling particles.
Mastering action in food photography transforms your images from simple documentation into storytelling experiences. By controlling your shutter speed, lighting, and composition, you can capture the energy of cooking and make your audience hungry for more. Start with the basics, practice with safe substitutes, and gradually build your skills to create dynamic, engaging food imagery.