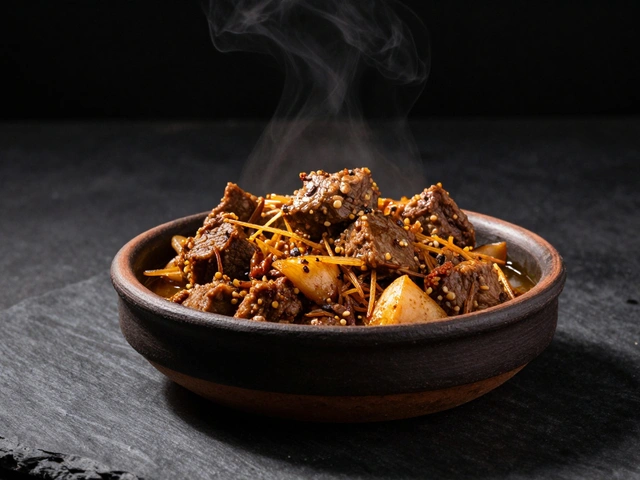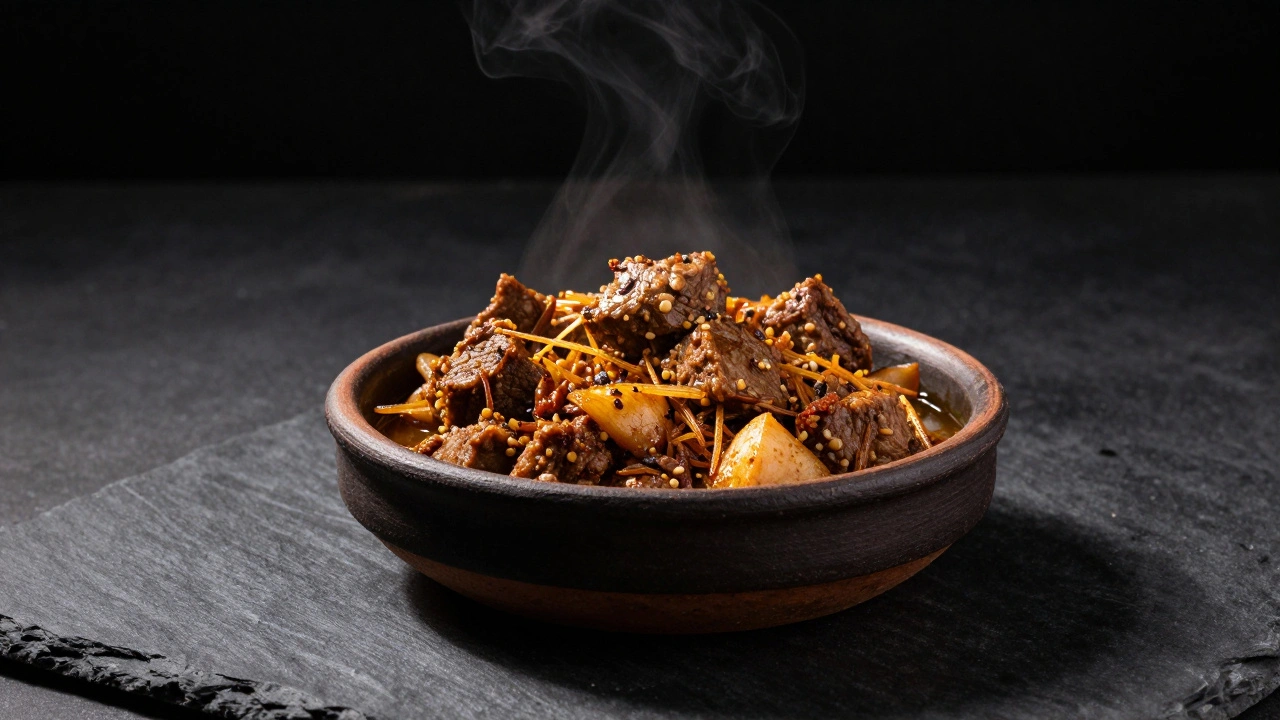
There is a distinct difference between a photo that looks broken and one that looks mysterious. Many beginners think dark and moody food photography means underexposing their image until everything turns black. It is actually the opposite. True low-key lighting requires bright, intentional light that you aggressively shape and block to let shadows dominate the frame. This technique borrows from an old painting method called Chiaroscuro is a painting technique emphasizing strong contrasts between light and dark.Chiaroscuro, used by Renaissance masters to create depth. When applied to food, it makes a simple bowl of soup look like a treasure waiting to be discovered.
You do not need a studio the size of a warehouse to achieve this look. In fact, simplicity is your best friend here. The goal is to stop light from bouncing everywhere. You want to tell the light exactly where to go, and strictly forbid it from going anywhere else. If you rely on a generic overhead kitchen light, you will get flat, dull results because that light bounces off every surface and washes out the drama. To get the deep blacks and rich tones that define this style, you need a primary source that you can control and tools to fight the light back.
The Science Behind the Shadow
The most common mistake in this genre is assuming that darkness comes from turning the power down. If you turn down your flash or wait for clouds to block the sun, you lose energy and detail. A successful low-key image relies on high energy that gets stopped before it hits the background. Think of the light as water flowing through a pipe. You aren't closing the tap; you are building walls around the pipe so the water only hits the flower, not the floor.
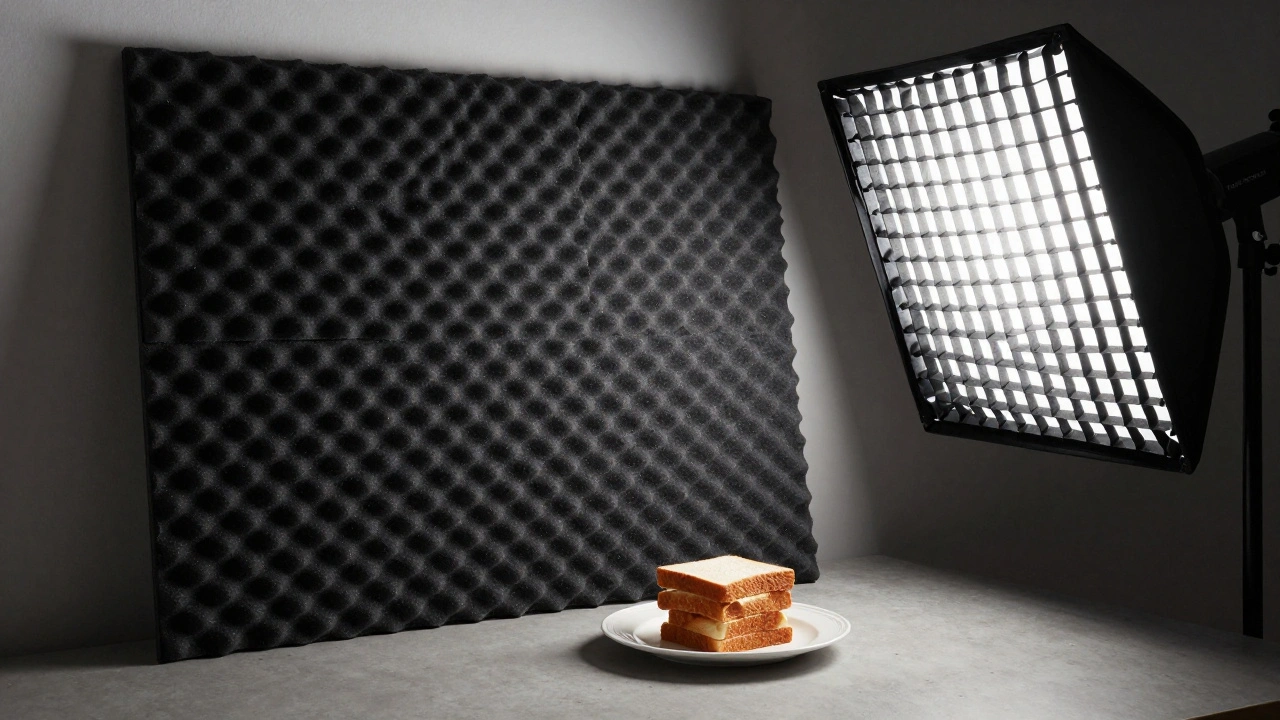
This concept brings us to the equipment choice. While photographers love natural light, it can be tricky when you want total control over shadow placement. Sunlight fills every corner of a room unless you block windows completely. Artificial light gives you command. A single large light source is often enough. By using a Softbox with a diffused front, you soften the transition between light and shadow. However, to get that edge, you might add a honeycomb grid. The grid concentrates the beam, creating a pool of light that falls off quickly rather than spreading broadly across the whole scene.
If you prefer working near a window, you can still achieve this. Just remember to darken the room. Close other curtains, turn off lamps, and use black cards to keep the sun from flooding the darker sides of your dish. The principle remains the same: you are sculpting the environment to force the subject to stand out against a void.
Shaping the Light with Black Foam Core
Light shaping is the absolute core skill of this aesthetic. You cannot rely on reflectors to fill in the shadows; if you do, you destroy the mood. Instead, you need absorbers. Enter the foam core board. These are cheap, lightweight pieces of cardboard painted black, and they act as the silent partners in your shot.
Place a piece of black foam core directly behind your food on the side opposite the light source. Because it is black, it absorbs any stray photons trying to bounce off the wall behind it. This ensures that the shadow side of your plate stays truly dark instead of picking up a gray wash from the surroundings. Some photographers clip bi-fold foam cores to light stands, allowing them to curve the light blocker to fit the angle of the camera perfectly. This method creates a sharp division where the light fades into nothingness, making the food appear to glow.
- Side Flagging: Place the black board next to the light to prevent spill onto the lens or unwanted areas.
- Rear Absorption: Position boards behind the set to kill ambient reflections.
- Depth Control: Adjust the distance of the blocker to change how far the shadow extends across the table.
This is why the term "sculpting" fits so well. You are cutting away the light you don't need. Without these blockers, even a focused grid light will spill enough energy into the corners to kill the contrast you are working for.
Styling for the Dark Side
Once the lighting is handled, the physical arrangement dictates how the photo reads. The background should be dark. Bright white tables are usually enemies in this workflow unless you are deliberately using a stark split-tone effect. Instead, reach for materials like charcoal slate, aged wood, or deep green ceramic. Surfaces known as Slate Backdrops are favorites because they absorb light and provide a textured base that feels organic yet refined.
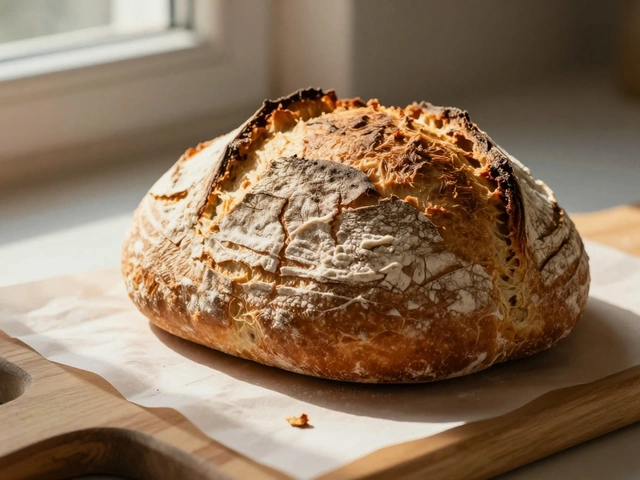
Your props need to recede. If you use silverware, avoid the shiny chrome kind that reflects the entire room. Choose cutlery with patina or matte finishes. Even fabric napkins should be dark-colored to blend into the negative space. The rule of thumb is simple: if a prop draws attention away from the food, remove it. The food itself must be the brightest thing in the picture. If you have a golden-brown crust on a loaf of bread, that highlight becomes a beacon guiding the viewer's eye. All other elements should support this journey without distracting.
| Item Type | Finish Preference | Why It Works |
|---|---|---|
| Backdrops | Matte Dark Stone/Wood | Absorbs light, prevents glare |
| Cutlery | Patinated or Black Oxide | No harsh reflections |
| Glassware | Dark Tinted or Thick Crystal | Catches refraction, hides contents slightly |
Camera and Post-Processing Strategy
Capturing the scene is only half the battle. Your meter is designed to average everything to a neutral gray, which fights against what you are trying to do. You need to override the camera's instinct. Underexpose slightly in-camera to protect your highlights. You want the edges of the light rim to pop without blowing out to pure white. A tripod is essential here. Working in low light with narrow apertures often demands longer shutter speeds to maintain focus and depth of field, but you still need that steady hand to move your light modifiers.
Post-processing is where the magic gets locked in. Most professionals use software like Adobe Lightroom to finish the job. In the editor, you might push the blacks down deeper in the tonal range to recover density lost in the capture phase. Be careful not to crush detail entirely. There should be a faint trace of texture in the shadows, even if it is barely visible. Adjusting the clarity slider can enhance the grit of the food, while dropping the vibrance of non-food elements helps them sink back into the background.
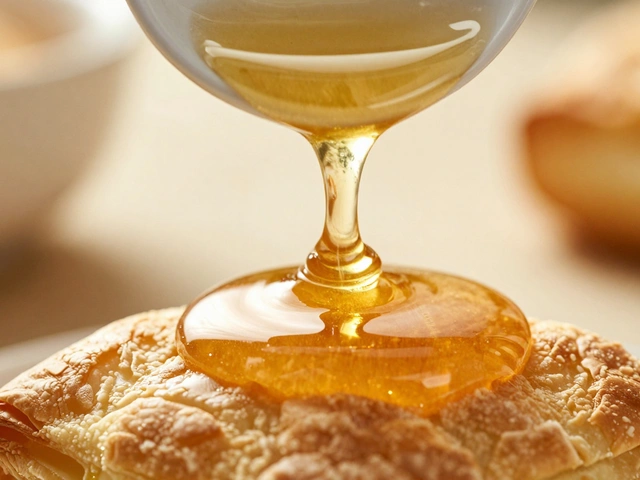
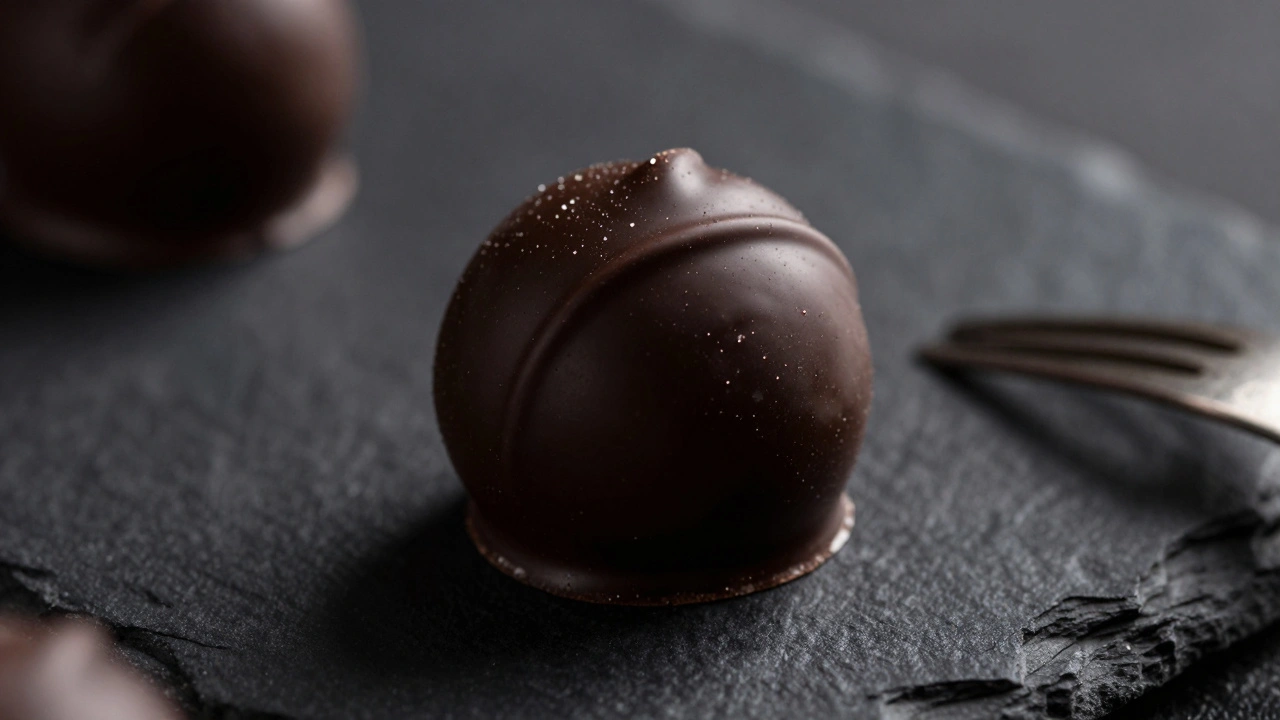
Finally, consider adding Specular Highlights. These are the tiny points of concentrated reflection on the surface of glossy food, like the sheen on a glazed doughnut or a drop of sauce on a steak. While the overall vibe is dark, these small flashes of light suggest freshness and moisture. Without them, the food can look dry or old. Use a brush tool to gently enhance these spots, acting like a spotlight within a spotlight.
Natural Light Challenges
Shooting this style with daylight adds a layer of complexity. Windows often throw too much broad light into the scene, washing out the intended contrast. To combat this, you become a gatekeeper. Cover the window partially with muslin sheets or blinds to filter the intensity. Then, use the black foam core boards aggressively. You may find yourself blocking the direct line of sight from the window to certain angles of the plate.
If you are photographing a dish in a restaurant setting, pay attention to the existing interior design. Many modern dining rooms lean towards dimmer atmospheres naturally. Match your flash output to the ambient light level rather than overpowering it. If the restaurant has warm tungsten bulbs, match the color temperature of your strobe or gel your light to blend. Consistency sells the image; mixing cold artificial strobes with warm room tones can look amateurish.
Do I need expensive studio strobes for this style?
No. You can achieve great results with a single continuous LED light or even a powerful flash head with a diffuser. The most critical factor is not the power of the bulb, but your ability to shape and block the light using foam core and modifiers.
What aperture should I use for low-key food shots?
A moderate aperture like f/5.6 or f/8 works best. Wide apertures can leave parts of the food blurry, while extremely deep focus might require so much light that you struggle to control shadows.
Is the background supposed to be pitch black?
Not necessarily. Pitch black loses all texture. Aim for deep grays where you can barely see the material of the table or props, providing subtle context without competing with the food.
Can I use natural light effectively for dark tones?
Yes, but it requires more work. You must block indirect light entering the scene and perhaps shoot during times of day when the sun is lower or filtered through heavy clouds to reduce intensity.
How do I fix the noise caused by low light?
Keep your ISO low (100-400) and increase your light output or open your aperture instead of raising the sensitivity. Shooting in RAW gives you more flexibility to manage grain in post-processing software later.