Ever spent hours editing a photo only to print it and realize the colors look completely wrong? Maybe the blues are too dull, or the shadows are crushed into black. It is frustrating, expensive, and wastes paper. The problem usually isn't your eye for color; it is a gap in your color-managed printing workflow. Without a system to translate digital pixels to physical ink, you are guessing.
Soft proofing and ICC profiles are the tools that stop the guessing game. They bridge the gap between what you see on your screen and what comes out of the printer. This guide cuts through the technical jargon to show you exactly how to set up a reliable workflow so your prints match your vision every time.
What Are ICC Profiles and Why Do You Need Them?
Think of an ICC profile as a digital passport for color data. Every device-your camera, your monitor, your printer-speaks a different language of color. Your camera captures light in one way, your monitor displays it using RGB lights, and your printer mixes CMYK (or more) inks on paper. An ICC profile tells each device how to translate its specific color values into a universal reference space called CIE Lab.
The International Color Consortium (ICC) created this standard in 1993 so devices from different manufacturers could talk to each other. When you use an ICC profile, you are ensuring that the red on your screen is mathematically equivalent to the red on the page, adjusted for the limitations of both devices. Without it, your software has no idea how your specific printer handles ink absorption on glossy versus matte paper.
Understanding Soft Proofing
Soft proofing is the process of simulating a print on your calibrated monitor before you actually hit the print button. It uses the printer's ICC profile to show you exactly how colors will shift when they move from the wide gamut of your screen to the narrower gamut of ink and paper.
Why bother? Because screens emit light, while prints reflect it. Screens can display bright, glowing whites and deep, luminous blacks that paper simply cannot replicate. Soft proofing simulates the "paper white" and the "ink black" limits. If you soft proof correctly, you will see muted colors and reduced contrast on screen before you waste money on a large print. It allows you to adjust saturation and brightness proactively, rather than reacting to a bad print afterward.
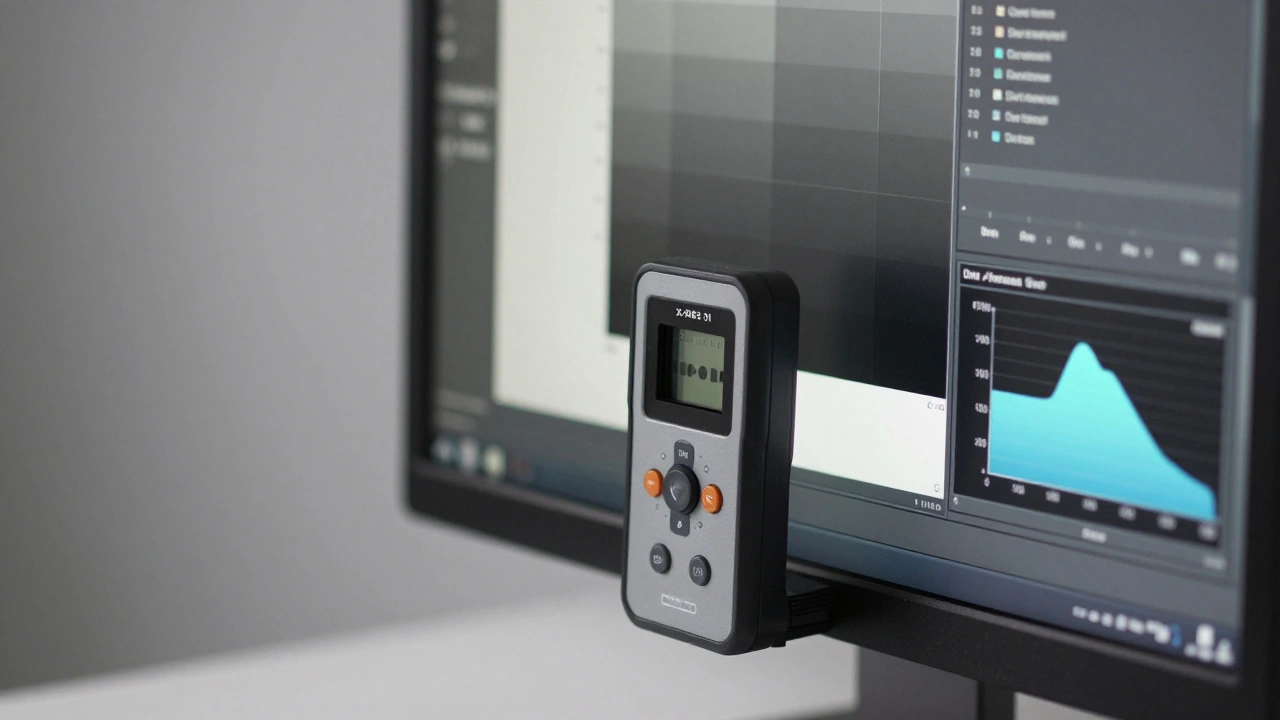
The Critical Role of Monitor Calibration
You cannot trust a soft proof if your monitor is lying to you. Most factory-calibrated monitors are far too bright and have skewed color temperatures. For accurate print simulation, your monitor needs to be calibrated with a hardware device like an X-Rite i1Display or Datacolor Spyder.
- Luminance: Aim for 80-120 cd/m². Most monitors ship at 250+ cd/m², which makes prints look dark by comparison. Lowering brightness mimics the reflection of light off paper.
- White Point: Set to D65 (6500 K) for general work or D50 (5000 K) if you are working in a professional prepress environment with standardized viewing booths.
- Gamma: Stick to 2.2 for Windows and most Mac workflows.
Once calibrated, install the generated ICC profile for your monitor. Ensure your operating system and applications are using this profile. If Photoshop or Lightroom is using a generic sRGB profile instead of your custom monitor profile, your soft proofs will be inaccurate.
Setting Up Soft Proofing in Photoshop
Adobe Photoshop is the industry standard for this workflow. Here is the step-by-step setup for accurate results:
- Open your image: Make sure you keep the embedded profile when prompted. Do not let Photoshop convert it automatically unless you know the source is correct.
- Go to View > Proof Setup > Custom.
- Select the Device: Choose the specific ICC profile for your printer and paper combination (e.g., Epson P957 on Hahnemühle Photo Rag).
- Set Rendering Intent: Select Relative Colorimetric. This maps in-gamut colors precisely and clips out-of-gamut colors to the nearest reproducible shade. For photographic images, some prefer Perceptual, but Relative is often sharper for fine art.
- Enable Black Point Compensation: This is crucial. It scales the darkest tones in your image to match the darkest tone the printer can produce, preventing muddy shadows.
- Check Simulate Paper Color: This dims the whites on your screen to match the brightness of the actual paper stock. Matte papers will look darker than glossy ones here.
- Click OK.
Now, press Ctrl+Y (Windows) or Cmd+Y (Mac) to toggle the soft proof view. Notice how the image changes. Use this view to make final adjustments to exposure and saturation. Remember: edit the image in its normal view, but check your progress in the soft proof view.
Soft Proofing in Lightroom Classic
Lightroom Classic handles soft proofing differently. It does not change the underlying pixel data until you export or print. Instead, it overlays a simulation.
- In the Develop module, click the Soft Proofing icon (a small square with a circle inside) below the main image window.
- In the top-right panel, select your printer/paper ICC profile from the dropdown.
- Choose your rendering intent (Perceptual or Relative).
- Check Simulate Paper & Ink.
Look at the histogram. Red spikes indicate colors outside the printer's gamut. Blue spikes indicate colors outside your monitor's gamut. Adjust your sliders until the red warnings disappear or are minimized. When you are ready to print, ensure "Print Management" is enabled in the Print module so Lightroom applies the profile during output.
Generic vs. Custom ICC Profiles
You can download generic ICC profiles from printer manufacturers like Epson or Canon, or from paper vendors like Ilford or Canson. These are good starting points. However, every printer is slightly different due to nozzle alignment, ink viscosity, and age. Every batch of paper varies slightly in texture and coating.
For critical work, such as fine art sales or commercial packaging, consider creating a custom ICC profile. This requires a spectrophotometer (like the X-Rite i1Pro) and profiling software. You print a target chart, measure the patches, and generate a profile specific to your exact machine and media. This eliminates variables and ensures repeatable accuracy. For most hobbyists, high-quality vendor profiles are sufficient, but professionals should invest in custom profiling.
Lab Workflows: To Embed or Not to Embed?
If you send files to a professional lab like WhiteWall or FinerWorks, read their instructions carefully. Many labs provide ICC profiles for soft proofing but require you to remove the profile before uploading. They want the file in a standard space like Adobe RGB or sRGB, and they apply their own printer profile internally.
If you embed the lab's printer profile in your file AND they apply it again, you get "double profiling." This results in washed-out, desaturated images. Always confirm whether the lab expects "User Managed" (you convert to their profile) or "Lab Managed" (you send unconverted RGB) color handling.
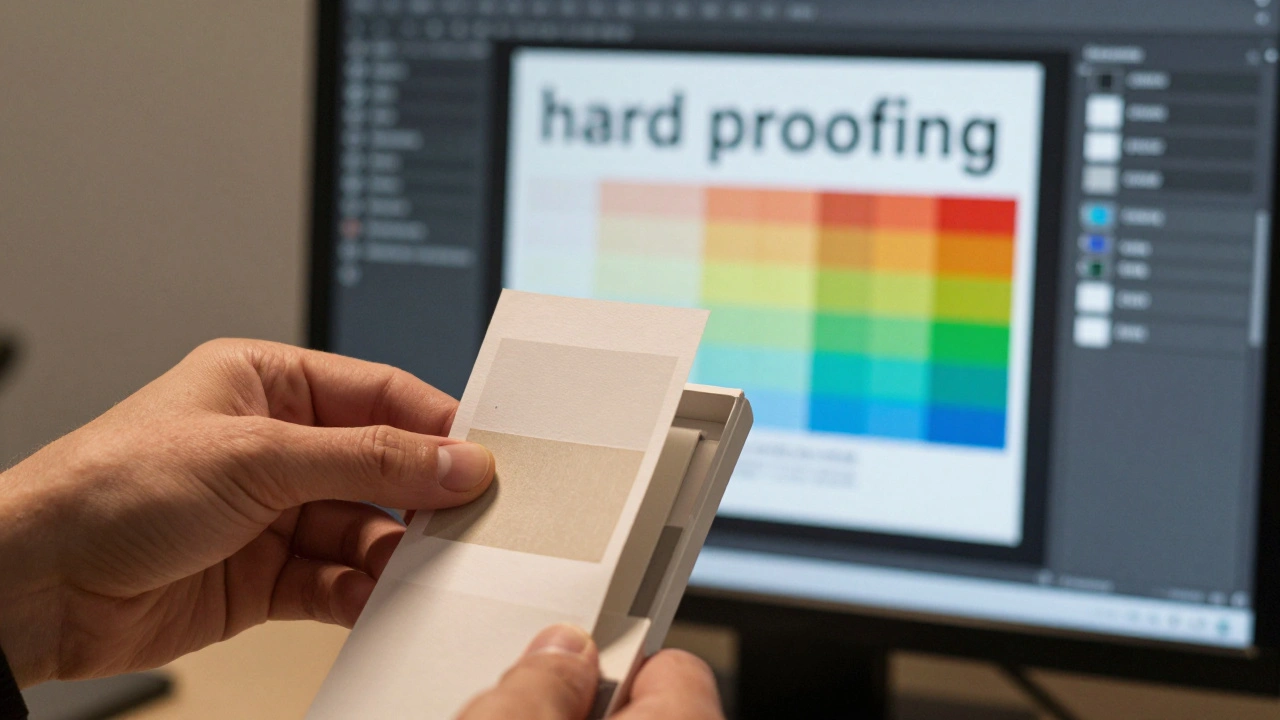
When Soft Proofing Fails: The Need for Hard Proofs
Soft proofing is powerful, but it has limits. It cannot simulate:
- Paper Texture: Glossy vs. matte affects perceived contrast and sharpness.
- Ambient Light: A print viewed in warm tungsten light looks different than one in cool daylight.
- Metamerism: Colors that match under one light source may shift under another.
- Ink Density Limits: Some printers can lay down denser blacks or brighter cyans than your monitor can display.
Always do a hard proof for important jobs. Print a small test strip or a full-size proof on the actual paper. Evaluate it in neutral lighting. If the soft proof looked good but the hard proof is too dark, adjust your monitor calibration or your editing technique accordingly. Hard proofing validates your soft proofing setup.
What is the difference between Relative Colorimetric and Perceptual rendering intents?
Relative Colorimetric keeps in-gamut colors exact and clips out-of-gamut colors to the nearest edge, preserving detail but potentially causing abrupt shifts. Perceptual compresses the entire color range to fit within the printer's gamut, maintaining visual relationships but altering all colors slightly. For fine art, Relative is often preferred; for photographs with many saturated skies, Perceptual may look smoother.
Why do my prints always look darker than my screen?
Your monitor is likely too bright. Screens emit light, while prints reflect it. Calibrate your monitor to 80-120 cd/m² and enable "Simulate Paper Color" in your soft proof settings. This lowers the screen's white point to match the brightness of paper, giving you a realistic preview of print contrast.
Do I need a wide-gamut monitor for color-managed printing?
It helps, but it is not strictly necessary if you soft proof correctly. A standard sRGB monitor cannot display all colors in Adobe RGB, but soft proofing simulates how those missing colors would appear on paper. However, a wide-gamut monitor (covering ~99% Adobe RGB) allows you to see more detail in saturated areas before they are clipped, giving you better control over edits.
Should I embed the ICC profile in my file when sending to a lab?
It depends on the lab. Many modern labs prefer you to send files in a standard RGB space (like Adobe RGB) without embedding their specific printer profile. They apply the profile themselves. Check the lab's FAQ. If they say "User Managed," you convert and embed. If they say "Lab Managed," you send unconverted RGB. Double-checking prevents double-profiling errors.
How often should I recalibrate my monitor?
Every two weeks is ideal for professional work. Monitors drift over time due to backlight aging and temperature changes. For casual use, once a month may suffice. Always calibrate before starting a new project that involves critical color matching or printing.