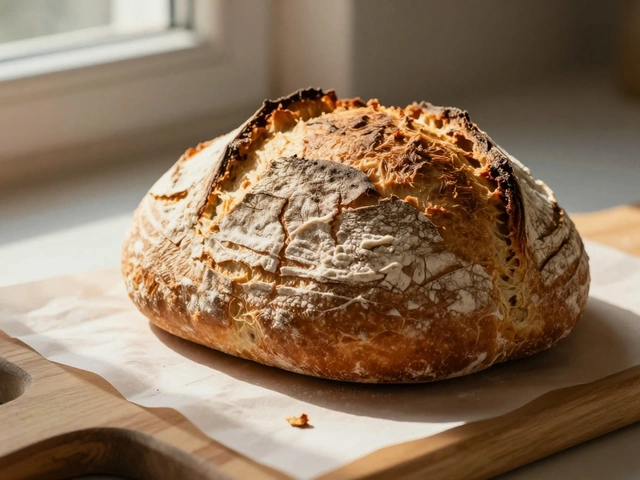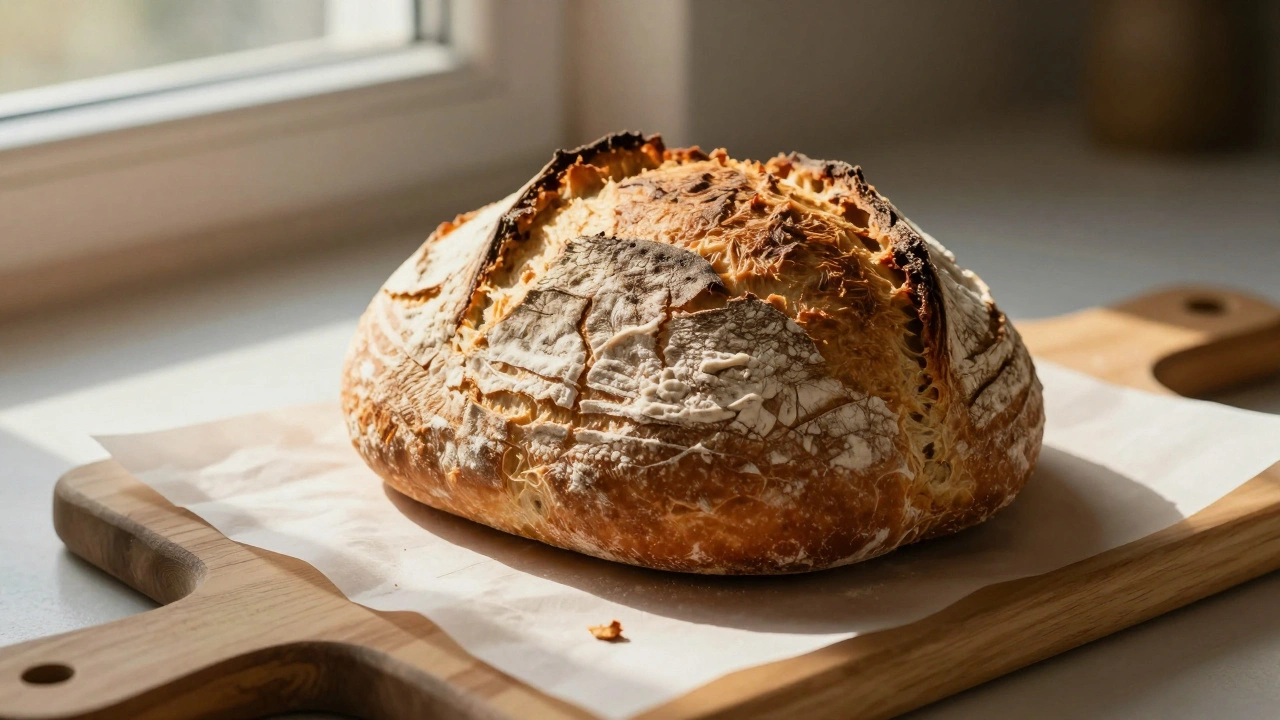
When you look at a photo of a fresh loaf of sourdough, what catches your eye? Is it the golden crust? The way the crumbs look just beneath the surface? Or maybe the tiny cracks that spiderweb across the top? These details don’t show up well under flat, overhead light. But turn the light to the side, and suddenly everything comes alive. That’s the power of side lighting in food photography.
Why Side Light Works for Texture
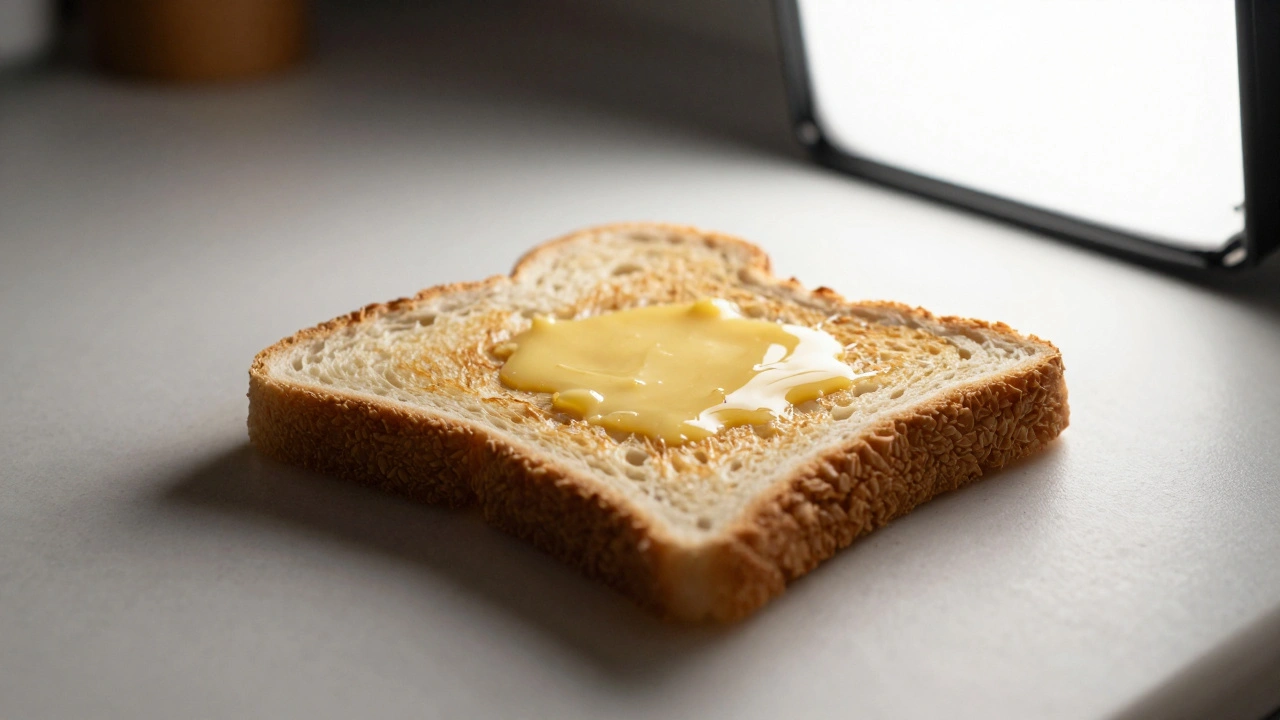
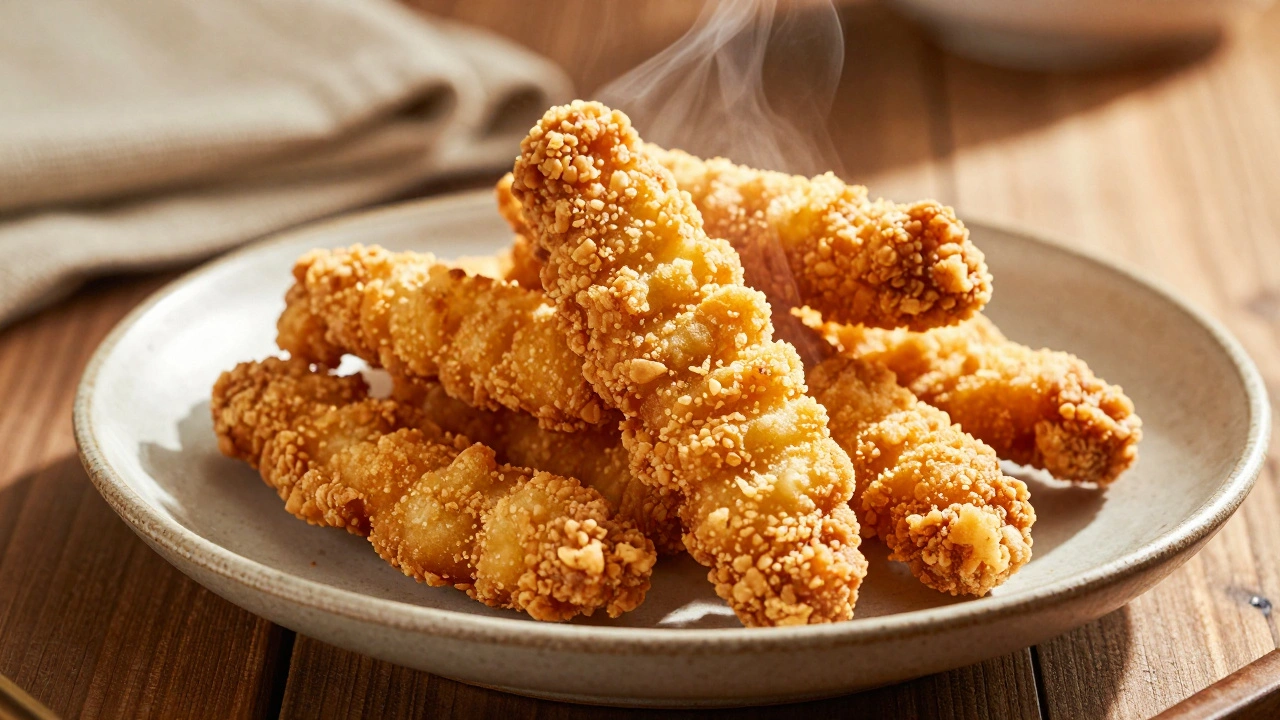
Side lighting means the light comes from the left or right of your food-not from above, not from behind, but from the side. At about a 45-degree angle, it casts soft shadows along the surface. Those shadows aren’t dark pits; they’re gentle valleys that trace every ridge, crack, and crumb. Think of it like sunlight hitting a cobblestone street in the late afternoon. You don’t just see the stones-you feel their texture. This works because light doesn’t just illuminate-it reveals. When light hits a surface head-on, it bounces evenly back to the camera. Everything looks smooth, even if it’s not. But side light? It doesn’t just light the high points. It lets the low points hide in shadow. That contrast is what your brain reads as texture. Crispy fried chicken? Side light shows the crunch of the breading. A slice of toast with butter melting into the cracks? Side light makes those tiny holes look deep and inviting. A layer cake with sugared edges? Side light turns those sugar crystals into tiny jewels. Without it, they just look like a flat, white surface.How to Set It Up (Even With No Gear)
You don’t need a studio to use side lighting. Most kitchens have a window. That’s your best friend. For natural light: Place your food table perpendicular to a window. The light will stream in from the side. If the shadows are too harsh, put a white sheet or parchment paper between the window and your food. It diffuses the light, turning harsh sun into soft, even glow. No need for fancy modifiers-just a bedsheet works. For artificial light: If you’re using a lamp or studio strobe, position it to the side of your food, not directly across. Raise it slightly above eye level and angle it down toward the food. The goal isn’t to blind the subject-it’s to kiss it with light. A softbox helps, but even a bare bulb with a white card nearby can work. The key is distance: keep the light far enough away that it doesn’t flare or overexpose. Reflectors are your secret weapon: Place a white card, foam board, or even a sheet of aluminum foil on the opposite side of the light. It bounces a little light back into the shadows, keeping them soft instead of black. Silver reflectors? They brighten. Gold? They warm up the scene. White? They’re neutral. Use what fits your mood.What to Shoot With Side Light
Not all food needs side lighting. But these do:- Bread: Crusty loaves, baguettes, rolls-side light shows the split crust, the crumb structure, the flour dust.
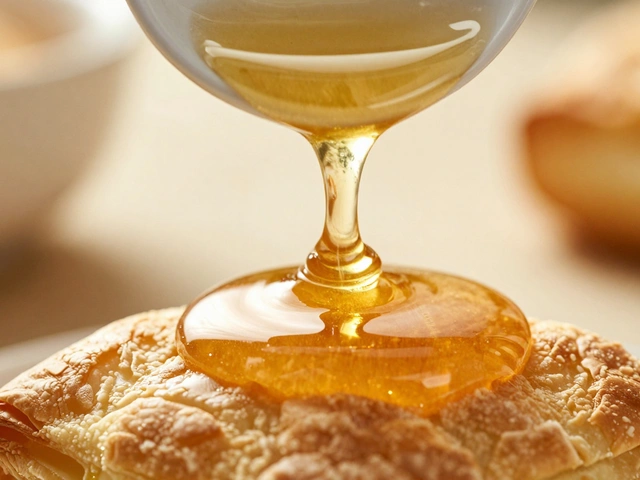
- Pastries: Croissants, danishes, muffins-the flaky layers, the sugar crystals, the glaze drips all pop.
- Fried foods: Chicken tenders, tempura, fried cheese-each crisp edge catches the light.
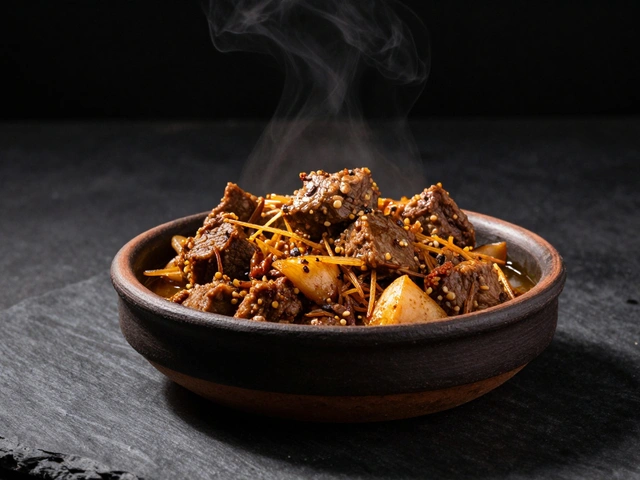
- Grilled or charred items: Steak, vegetables, burgers-the sear marks, the charred bits, the oil sheen.
- Textured toppings: Poppy seeds on a bagel, sesame on a bun, granola on yogurt.
Even simple things like a bowl of oatmeal with a spoonful of honey drizzled on top benefit. Side light turns that sticky trail into a golden river.
When to Avoid Side Light
Side light isn’t magic. It has limits. Don’t use it on glassware: Wine glasses, water pitchers, or ceramic dishes with shiny glaze? Side light creates ugly reflections-bright spots that distract from the food. Use backlight or ring light instead. Don’t use it for flat lays: If you’re shooting from directly above, side light doesn’t work the same way. The shadows fall behind the food, not beside it. In overhead shots, light should come from one end of the table, not the side. Don’t use it on reflective liquids: A glass of milk or syrup? Side light will bounce off the surface like a mirror. You’ll see your camera, your hand, your lamp. Use diffused overhead light instead. Don’t overdo the shadows: If your shadows are too deep, you lose detail. That’s why reflectors matter. A little bounce light keeps the dark areas readable.Side Light vs. Other Lighting Types
There are three main lighting directions in food photography:
| Lighting Type | Where It Comes From | Best For | Drawbacks |
|---|---|---|---|
| Side Light | Left or right side | Texture: crumbs, crusts, breading, char | Can create harsh shadows if not balanced |
| Backlight | Behind the food | Outlines, steam, glow (e.g., ramen, citrus, melted cheese) | Can overexpose food; hard to control |
| Front Light | Same side as camera | Color accuracy, even tones | Flattens texture; looks dull |
Side light wins when you want to feel the food-not just see it. Backlight gives drama. Front light gives truth. Side light gives depth.
Pro Tips From the Field
- Shoot in RAW. It gives you room to recover shadow detail later.
- Use manual focus. Side light creates contrast that can confuse autofocus.
- Test shadows. Take a test shot, zoom in, and check if the texture is clear. If shadows are too soft, move the light closer. If they’re too hard, add a reflector.
- Shoot at different times of day. Morning light is cool and crisp. Late afternoon is warm and golden. Both work-just know what mood you’re going for.
- Don’t forget the crumbs. A few stray crumbs on the table? Leave them. They’re part of the story.
Common Mistakes
- Placing the light too close. This creates a harsh spotlight. Keep it at least 3-4 feet away.
- Forgetting to adjust white balance. Side light from a window changes color through the day. Set your camera’s white balance to “cloudy” or “shade” for warmer tones.
- Using too many light sources. One main side light + one reflector is enough. More light = less texture.
- Ignoring the background. A cluttered or busy background steals focus. Keep it simple-wood, marble, or plain fabric.
Final Thought: Texture Tells the Story
Food photography isn’t about making things look perfect. It’s about making them look real. And real food has texture. Crusts crack. Crumbs fall. Breading shatters. Side lighting doesn’t just show those details-it celebrates them. It turns a photograph into a sensory experience.You don’t need expensive gear. You don’t need a studio. You just need to turn the light sideways and watch what happens. Try it with your next meal. A simple slice of toast. A croissant. A bowl of cereal. See how the light changes the way you see it.
Can I use side lighting with natural light from a window?
Yes, side lighting works beautifully with natural window light. Position your food table perpendicular to the window so the light hits from the side. Use a white sheet or parchment paper to diffuse harsh sunlight. This setup is used by most professional food photographers who work with natural light.
What’s the best angle for side lighting?
The ideal angle is about 45 degrees from the food, either from the left or right. This creates enough shadow to define texture without making the image look too dark. Raise the light slightly above the food level to control where the shadows fall.
Do I need a reflector for side lighting?
Not always, but it helps. A reflector on the opposite side of the light fills in shadows and keeps texture visible without losing depth. A white card works for neutral fill. Silver gives more punch. Gold adds warmth-great for toast, pancakes, or roasted vegetables.
Why does side lighting make food look more appetizing?
Because it reveals dimension. Our brains associate texture with freshness and craftsmanship. A crusty bread, a crispy chicken skin, or a sugared pastry all feel more real when you can see the cracks and ridges. Side lighting makes those details visible, which triggers our natural desire for food that looks handmade and fresh.
Can I use side lighting for overhead shots?
Not in the traditional sense. In overhead (flat lay) shots, side light comes from one end of the table, not the side. True side lighting requires the subject to be between the camera and the light source. For overhead shots, place your light at one end of the table to create directional shadow that enhances texture.