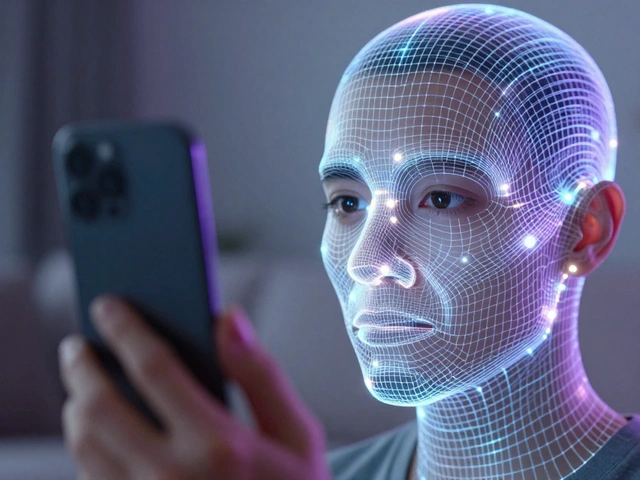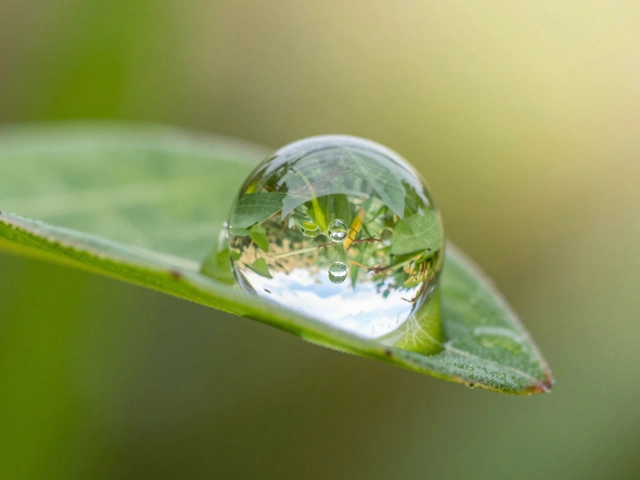
Have you ever tried to fix a bright red nose on a portrait shot outdoors in winter, only to realize your edit turned the subject's lips unnatural? Or perhaps you struggled to deepen a dull sky without making the entire image look oversaturated? These issues stem from treating color like a broad brush rather than a precise scalpel.
The standard white balance or exposure sliders affect the whole image uniformly. When you tweak those, everything shifts together. That global approach leaves photographers stuck when they need to isolate specific tones without affecting others. This is where HSL adjustmentsrepresent a targeted color correction system utilized across major photo editing platforms to control individual colors independently change the game.
Breaking Down the HSL Trifecta
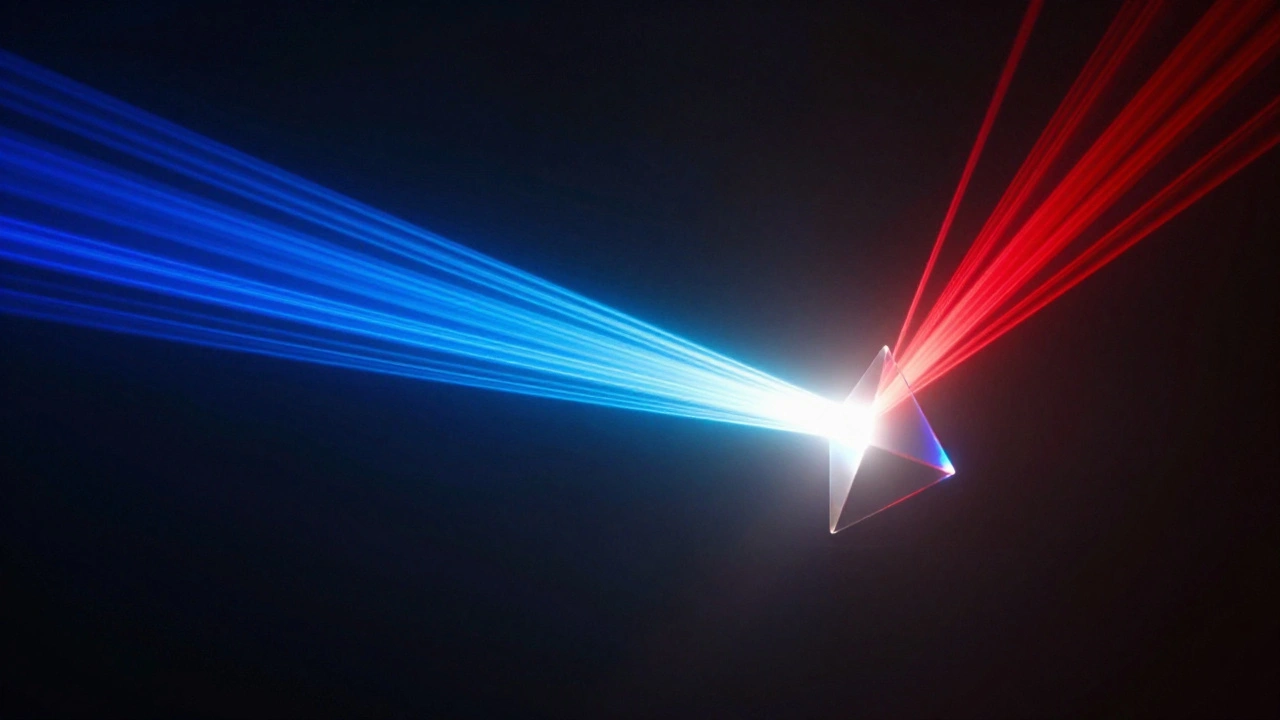
To use these controls effectively, you need to understand what each letter actually represents. Unlike the RGB model which focuses on Red, Green, and Blue channels, HSL organizes color by how humans perceive it naturally. It splits into three distinct components that work independently.
- Hue: This defines the color itself. Think of it as moving along the color wheel. If you have green grass, sliding the hue changes that green toward yellow or cyan. In Adobe Lightroom Classica leading photo editing application that provides dedicated HSL panels for fine-tuning image colors, you can shift the hue of orange tones to warm up a sunset or cool down a brick wall.
- Saturation: This controls the intensity of the color. High saturation makes colors vivid; low saturation drains them toward gray. Increasing saturation selectively allows you to pop a subject’s dress without washing out the background foliage.
- Luminance: This adjusts the lightness or darkness of a specific color channel alone. You can brighten the blues in a sky without blowing out the white clouds or affecting the red bricks in a building.
Mastery comes from understanding that these sliders don’t just change brightness or vibrancy globally; they interact with specific color ranges present in your photograph. Most software divides the spectrum into eight regions: red, orange, yellow, green, aqua, blue, purple, and magenta.
How to Use the Target Adjustment Tool
Finding the right slider among eight options can feel tedious if you guess which range a specific shade falls under. Is that particular blue in the water actually aqua? Guessing wastes time and often produces odd artifacts.
The most efficient method involves using the Target Adjustment Toolan interactive feature in editing software allowing users to click and drag directly on the image to adjust specific colors. Here is how to leverage it effectively in Lightroom Classic:
- Navigate to the Develop module and open the HSL panel.
- Click the small icon at the top left of the panel to activate the Target Adjustment cursor.
- Select whether you want to target Hue, Saturation, or Luminance.
- Move your mouse over the area in the photo you wish to correct.
- Click and drag left or right; the software automatically moves the corresponding sliders for the underlying color data.
This functionality bridges the gap between technical settings and visual results. Instead of hunting through numbers, you point at the problem area. The software interprets the pixel data and applies the curve adjustment accordingly. It’s particularly useful when you aren’t sure if a shadow is blue or cyan, as the tool samples both until you release the mouse.
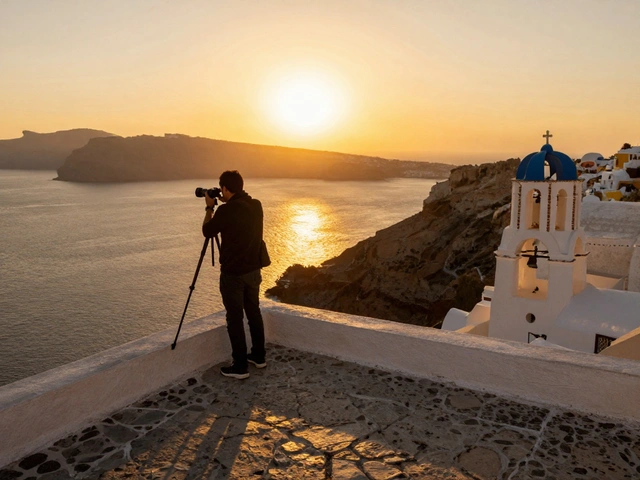
Practical Applications Across Genres
While the theory covers the basics, real-world scenarios reveal the true power of HSL control. Let’s look at how different genres utilize these tools differently.
| Genre | Common Adjustment | Goal |
|---|---|---|
| Portrait | Hue + Luminance | Fix red noses, smooth skin tones |
| Landscape | Saturation + Luminance | Deepen skies, enhance grass without noise |
| Product | Hue | Change clothing or product packaging colors |
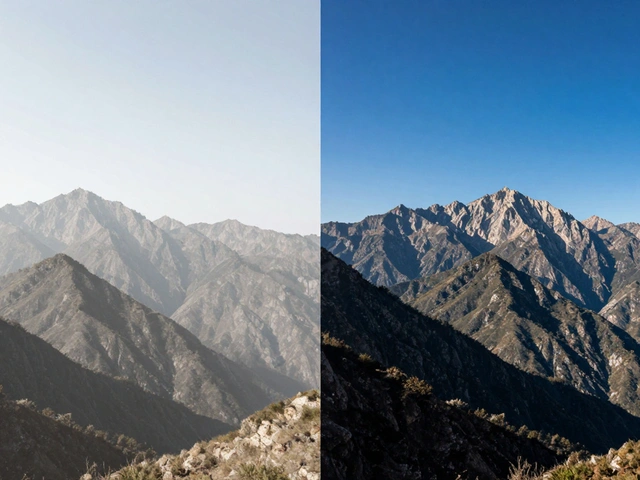
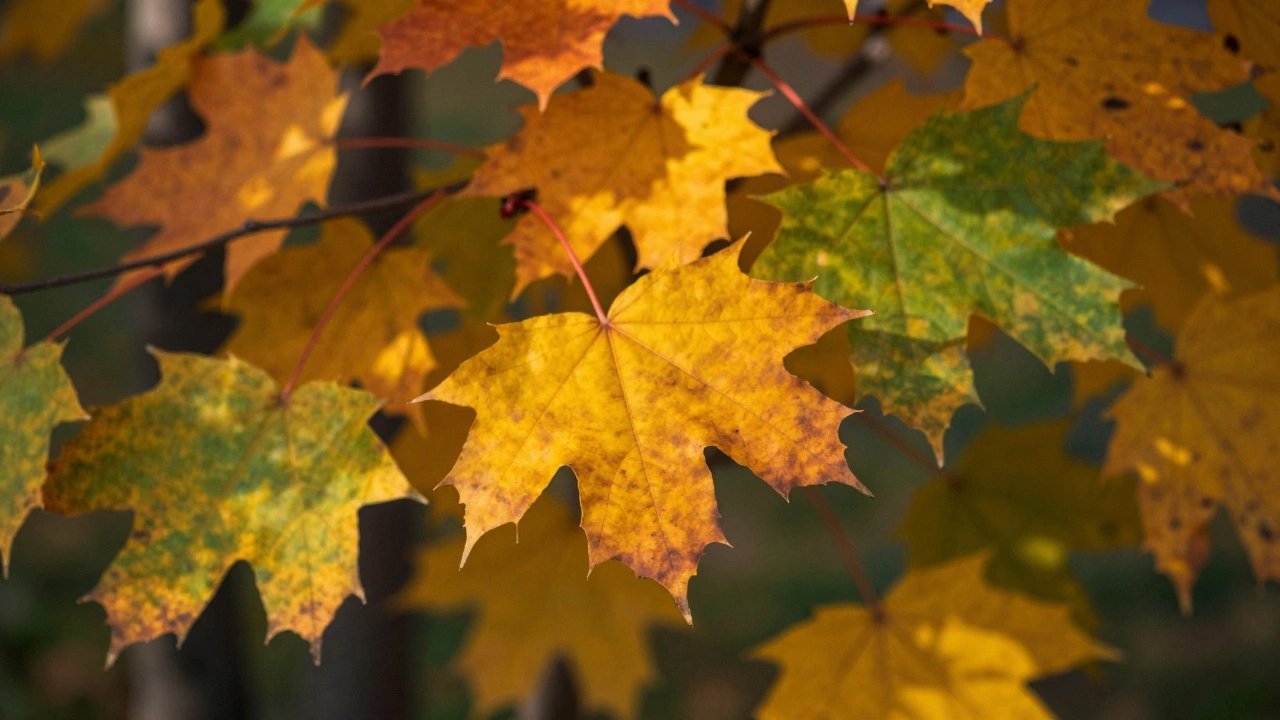
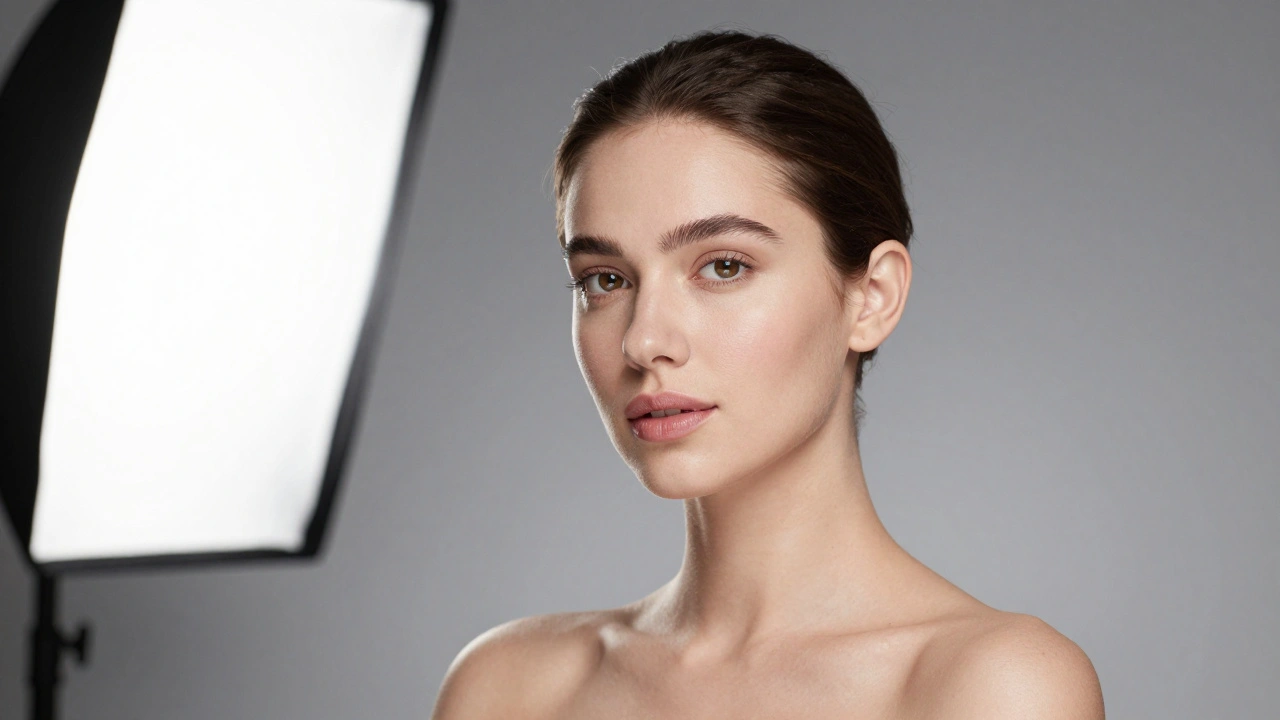
In portraiture, skin tone consistency is paramount. Often, fluorescent lighting or cold wind introduces a reddish cast. A quick shift of the Orange Hue slider by a few points can neutralize that redness, making skin look natural again. Similarly, luminance adjustments help dodge shadows on cheeks without affecting hair. Landscape photographers use this to recover detail. Increasing the Luminance of Greens brings out texture in deep foliage, while dropping the Luminance of Blues helps create more drama in stormy skies.
Understanding the Global Nature of HSL
There is one critical limitation many beginners overlook. HSL adjustments are selective by color, but they are global by scope. If you decide to brighten the blue channel in your photo, every instance of that specific blue value changes. This includes the sky, yes, but also that blue shirt your subject is wearing, blue license plates, and even reflections in windows.
Unlike local masking tools (like Brush or Radial Gradient), which paint over specific pixels, HSL acts on a spectral range. This creates a workflow necessity: you must consider collateral damage. If your subject is wearing a blue jacket, adjusting the blue Luminance to clear up the sky might make the jacket glow unnaturally.
For complex images with conflicting colors, HSL serves as a middle ground. You start with the Basics panel for global exposure, move to HSL for color separation, and finish with local masking for spot fixes. Rushing straight to HSL for exposure problems leads to noisy images or unnatural color shifts.
Workflow Integration and Best Practices
Integrating Camera RAWfile format offering significant editing headroom compatible with HSL adjustments files into your routine requires discipline. Small tweaks go further than massive sweeps. A shift of +10 on Saturation often creates a posterized, digital look. Try keeping adjustments under +15 unless going for a specific stylistic effect.
Order matters in your development stack. Adjust White Balance and Tone first. Once the base exposure is set, use HSL to refine the palette. Finally, use Localized Masking to protect areas where the global color shift causes unwanted side effects. For example, if you darken blues in the sky and it ruins a person’s eye iris, mask that area with a separate brush. Relying solely on HSL to fix bad color casts ignores the root cause of the exposure error.
Platform Variations in Implementation
While Adobe Lightroom sets the standard for interface design, other applications handle this differently. In Adobe Photoshopraster graphics editor utilizing adjustment layers for non-destructive color editing, you create a Hue/Saturation Adjustment Layer. This layer sits above your image. To limit effects, you invert the layer mask to black and paint with white only on the objects you want to change. PT Photo Editor offers a similar panel layout where color curves behave differently depending on the engine used.
Regardless of the software, the mathematical principle remains consistent: mapping the input histogram of a specific color range to a desired output. Understanding this consistency helps you migrate between apps smoothly. If you know how to target Orange Hue in Lightroom to fix skin tones, the logic applies to Capture One or Affinity Photo, even if the menu location differs.
Troubleshooting Common Issues
Some photos resist HSL manipulation due to noise or compression. JPEGs have limited data, so aggressive shifts in Hue can cause banding in gradients like skies. Always work on RAW files when possible. If the sliders seem unresponsive, it means that specific color doesn’t exist in the image data yet. For instance, trying to boost Yellow Lumiance in a night scene will do nothing because there is no luminous yellow data to reference.
Does HSL affect the entire photo?
Yes, technically. While it targets a specific color range (like blue), it affects every instance of that blue across the whole image, including backgrounds and subjects. You cannot restrict it to just one corner without additional masking.
Can I change the color of an object completely?
Absolutely. By manipulating the Hue slider extensively, you can turn a red object green. However, drastic shifts often result in unrealistic textures or loss of detail, so subtle tweaks are preferred for realistic edits.
Why does my image look grainy after HSL changes?
Graininess often appears when you increase Saturation aggressively, especially on dark colors like Blue or Purple. Raising luminance helps hide this noise. Working with RAW files minimizes this compared to JPEGs.
Which slider should I use for skin tone?
Skin primarily falls into the Orange range, sometimes touching Red or Yellow. Use the Target Tool to sample the cheek or neck to confirm which sliders influence the skin before making permanent changes.
Can I undo HSL adjustments easily?
Yes, non-destructive editing software keeps a record of all changes. You can simply reset sliders to zero or use the history panel to step back to previous states without losing original quality.