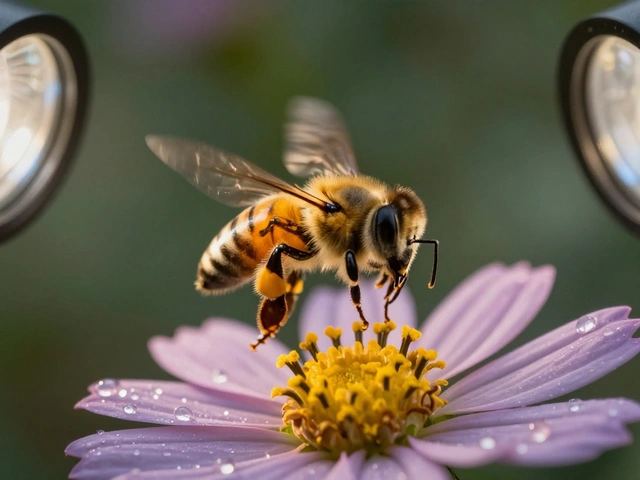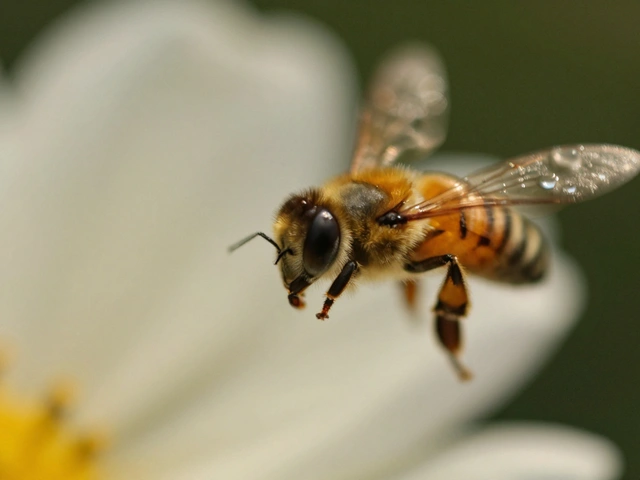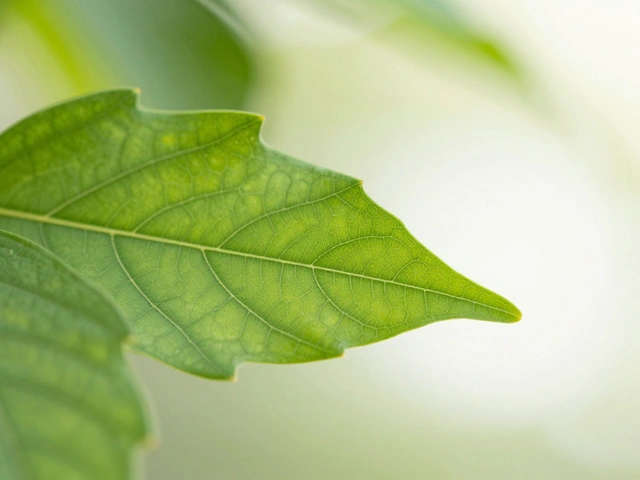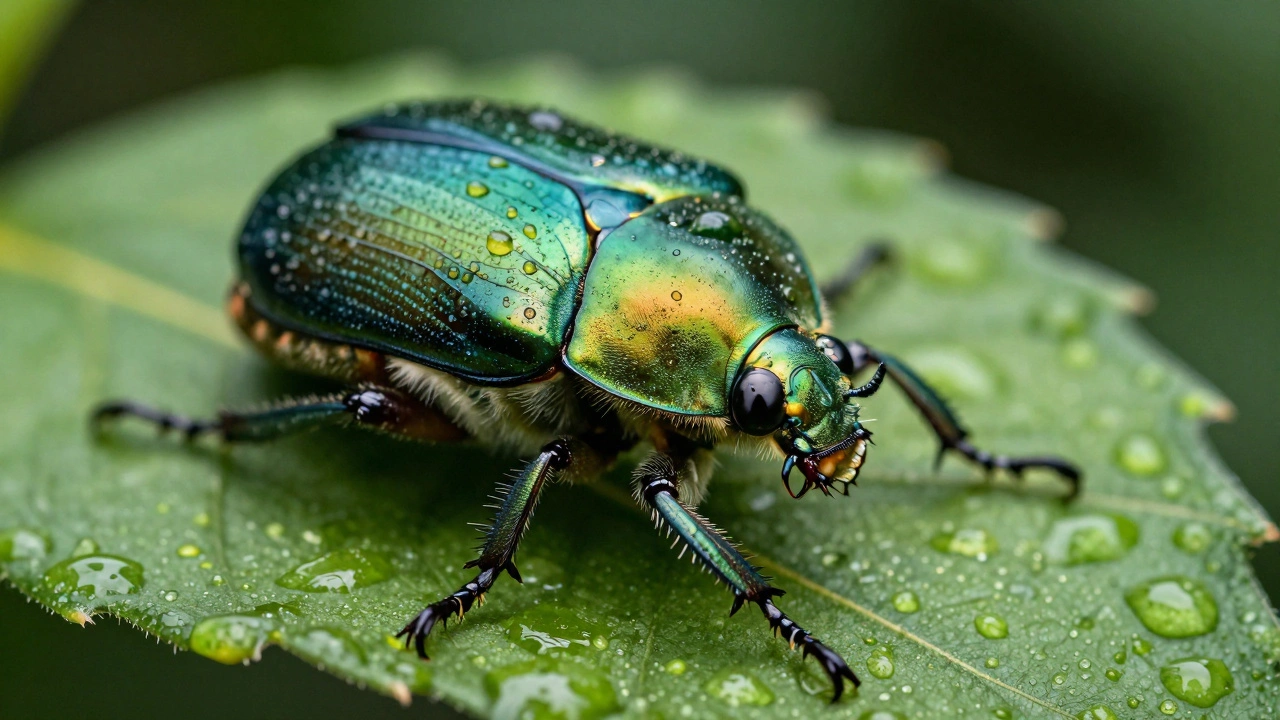
Imagine you are photographing a small insect. You want the eye sharp, but also the wing, and the leg touching the leaf behind it. In the real world, optics don't work that way at close range. If you focus on the eye, the wing blurs. If you stop down your aperture to f/16 to get more depth, diffraction softens the whole image. The result is often a photo where only a sliver of the subject is truly crisp.
This is where focus stacking comes in. It is not a magic trick; it is a computational technique that combines multiple photos taken at different focus distances into one final image with front-to-back sharpness. By merging these frames, you bypass the physical limits of your lens. You get an image that looks like it was shot with a tiny aperture, but retains the crisp detail of a wide-open lens.
The Science Behind the Sharpness
To understand why this works, we have to look at how lenses handle light. Every lens has a "depth of field" (DOF)-the zone in front of and behind your focus point that appears acceptably sharp. As you get closer to a subject, this zone shrinks dramatically. At 1:1 magnification (life-size), even at f/11, your DOF might be just a millimeter or two.
Focus stacking solves this by breaking the subject into thin slices. Instead of trying to capture the entire 30mm length of a beetle in one shot, you take ten photos. In the first photo, you focus on the nose. In the second, you move the focus back slightly so the head is sharp. In the third, the thorax. Each frame captures a narrow band of perfect clarity.
Software then analyzes these layers. It looks for areas of high contrast-edges and textures-which indicate sharpness. It creates a mask that keeps the sharp pixels from each frame and discards the blurry ones. The result is a composite image where every part of the subject is in focus, creating an illusion of infinite depth.
Why can't I just use a smaller aperture like f/22?
At very small apertures, light waves bend around the edges of the diaphragm blades, causing diffraction. This optical phenomenon reduces overall image sharpness, making everything look slightly soft. Focus stacking lets you shoot at your lens's "sweet spot" (usually f/5.6 to f/8) for maximum sharpness, then computationally extends the depth.
Gathering Your Frames: The Capture Workflow
You cannot stack what you haven't captured correctly. The success of your final image depends entirely on the quality of your source frames. Here is how to set up for a clean stack.
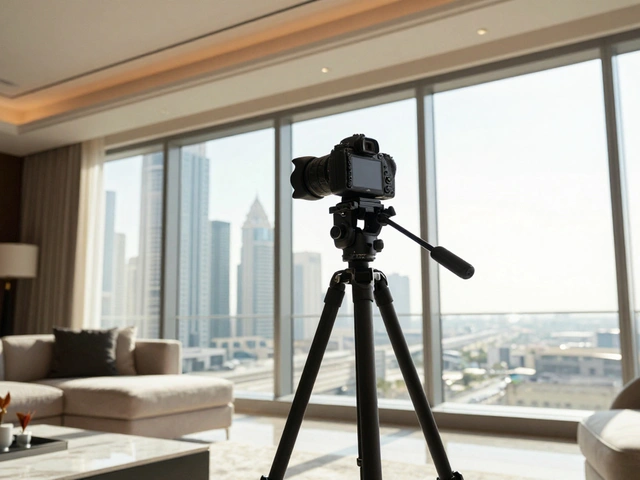
Stability is non-negotiable. You need a sturdy tripod. Any camera movement between shots will confuse the alignment software, leading to ghosting artifacts. Disable any image stabilization (IS or VR) on your lens when mounted on a tripod, as it can introduce micro-jitters.
Lock your exposure. Switch your camera to Manual mode. Set your ISO, shutter speed, and aperture, and do not change them. If the lighting changes during the shoot, your stacks will fail because the brightness values won't match. Use a remote shutter release or the camera's self-timer to avoid shaking the rig when pressing the button.
Plan your focus range. Start by focusing on the nearest part of your subject. Take a shot. Then, turn the focus ring slightly further away and take another. Continue this process until you reach the farthest point of interest. The key is overlap. Each frame's sharp area should overlap with the previous one. If you skip too much distance, you'll leave gaps where nothing is in focus.
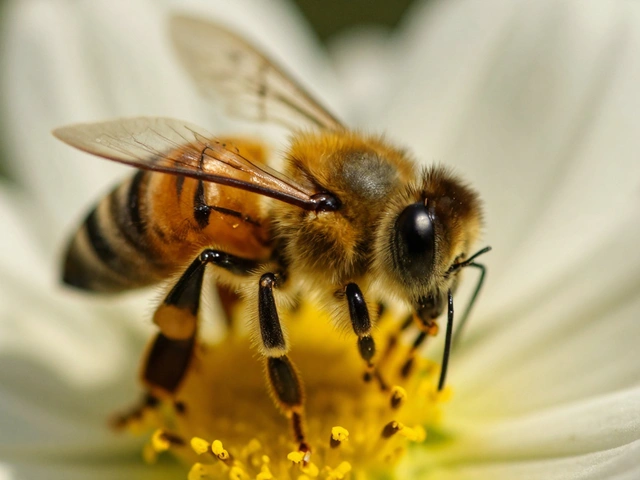
For simple product shots, you might only need 5 to 10 frames. For extreme macro work, like a bee's compound eyes, you could easily shoot 50 to 100 frames. It is always better to take too many than too few. Extra frames give the software more data to work with and make blending smoother.
Choosing the Right Software
Once you have your raw files, you need to merge them. There are three main tiers of software for this job, each with its own strengths.
| Software | Best For | Pricing Model | Key Feature |
|---|---|---|---|
| Adobe Photoshop | Landscape & Product | Subscription | Auto-Blend Layers integration |
| Helicon Focus | Macro & Speed | One-time purchase | Advanced rendering methods (A, B, C) |
| Zerene Stacker | High-end Macro | One-time purchase | PMax algorithm for fine details |
Adobe Photoshop is the standard general-purpose editor that includes built-in focus stacking tools via Auto-Align and Auto-Blend Layers. It is convenient if you already have Creative Cloud. Load your images as layers, select them all, and go to Edit > Auto-Blend Layers. Check the "Stack Images" box. Photoshop handles alignment and masking automatically. It works well for landscape shots with 3-6 frames, but can struggle with large macro stacks due to memory limits and occasional halo artifacts.
Helicon Focus is a dedicated standalone application designed specifically for focus stacking, offering faster processing and specialized algorithms. It offers three rendering methods: Method A (weighted average) is fast and good for landscapes; Method B (depth map) is great for subjects with smooth transitions; Method C (pyramid) is the most complex and best for high-contrast macro subjects. It is widely used by product photographers for its speed and ease of use.
Zerene Stacker is a professional-grade tool favored by serious macro photographers for its superior handling of fine textures. Its PMax (Pyramid Maximum) algorithm excels at preserving delicate details like insect hairs or plant fibers without creating halos. It is slower than Helicon and has a steeper learning curve, but many experts consider it the gold standard for critical macro work.
In-Camera Solutions vs. Post-Processing
Modern mirrorless cameras from brands like Olympus (OM System), Canon, and Nikon now include in-camera focus bracketing. You can set the number of shots and the focus step size in the menu, press the shutter once, and the camera fires off a sequence while shifting focus automatically.
This is incredibly convenient for quick shots. However, there is a trade-off. In-camera stacks often produce JPEGs immediately. While useful for social media, these compressed files lack the dynamic range and flexibility of RAW files. If you need to adjust exposure or white balance later, you are stuck with what the camera gave you.
For professional results, it is still better to shoot RAW sequences manually or via tethered software, then process them in dedicated desktop applications. This gives you full control over the blending masks and allows for retouching specific areas if the software makes a mistake.
Common Pitfalls and How to Avoid Them
Even with the best gear, focus stacking can go wrong. Here are the most common issues and how to fix them.
- Motion Artifacts: If your subject moves-even slightly-between frames, the software will create ghosts. This happens with wind-blown leaves, moving water, or live insects. Solution: Shoot in calm conditions, use a fan to blow away dust (not air currents), or limit the number of frames to reduce the time window.
- Focus Gaps: If you see blurry patches in the final image, you didn't take enough frames or your steps were too large. Solution: Increase the number of shots and decrease the focus increment. Always err on the side of redundancy.
- Halos: Bright edges around dark objects can appear as glowing rings. This is usually caused by misalignment or aggressive blending. Solution: Ensure your tripod is rock solid. In software like Zerene Stacker, use the "DMap" or "PMax" modes which are better at suppressing halos than simple averaging.
- Parallax Shift: When you change focus, some lenses physically extend, changing the perspective slightly. This causes stretching at the edges of the frame. Solution: Use a lens with internal focusing, or keep your subject centered and crop the final image tightly.
Practical Applications Beyond Macro
While macro photography is the most obvious use case, focus stacking is powerful in other genres too.
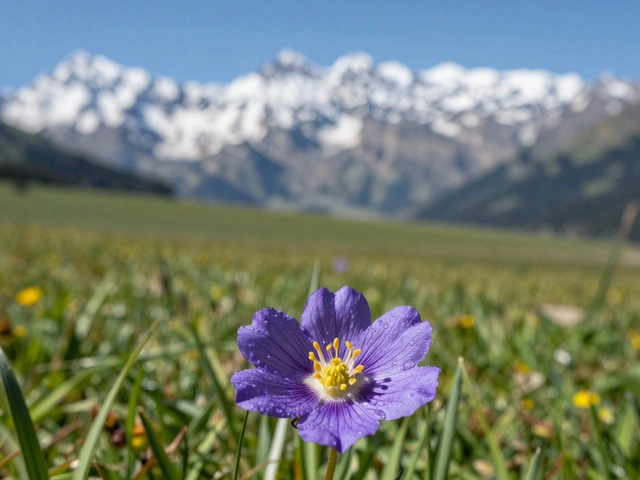
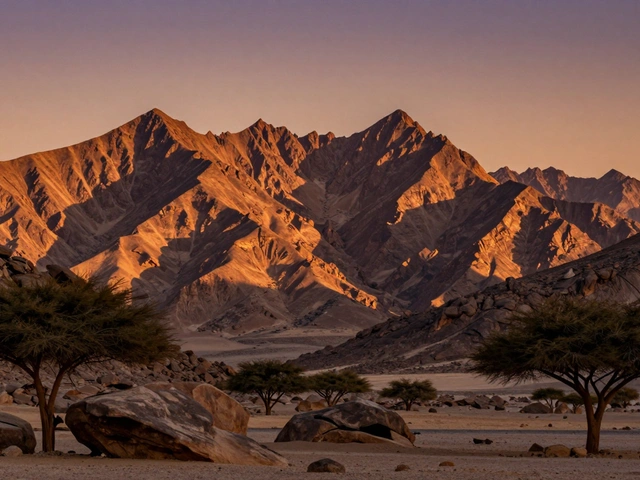
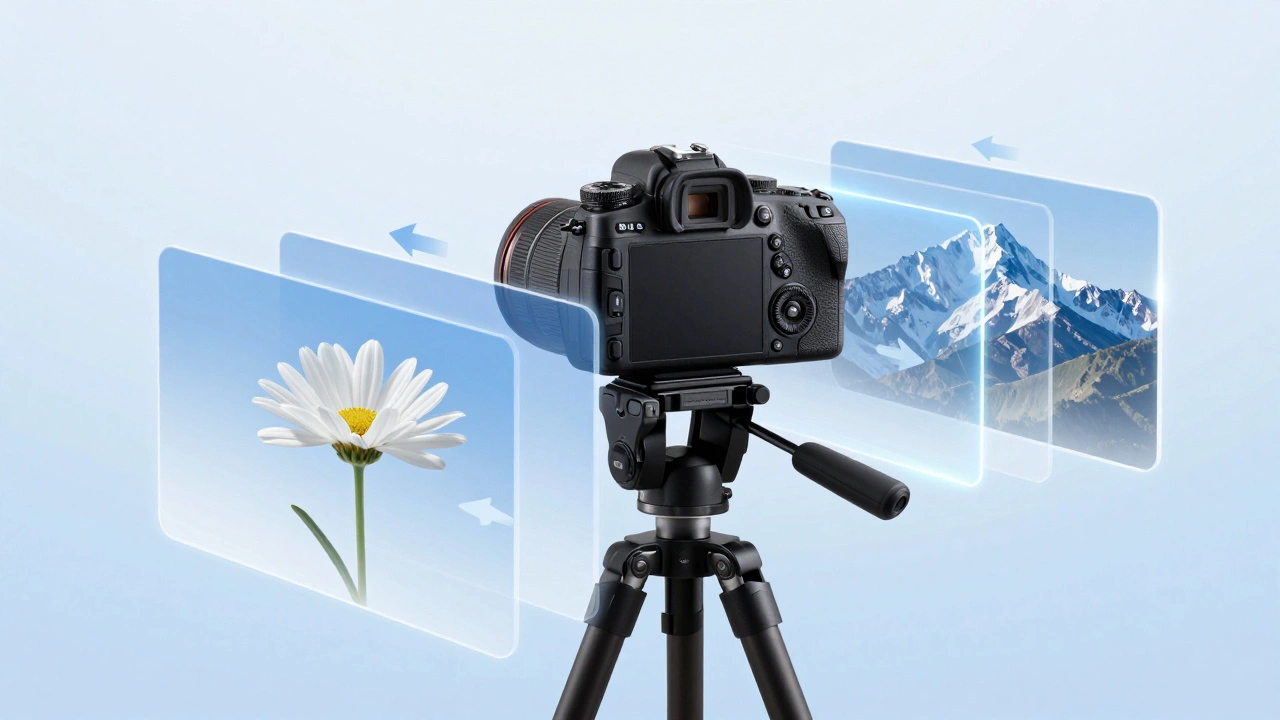
Landscape Photography: Imagine a scene with a flower in the immediate foreground and mountains in the distance. Even using hyperfocal distance techniques, the flower might still be soft. By taking one shot focused on the flower and another on the mountains, then stacking them, you get a razor-sharp image from inches to infinity. Just watch out for moving clouds or water.
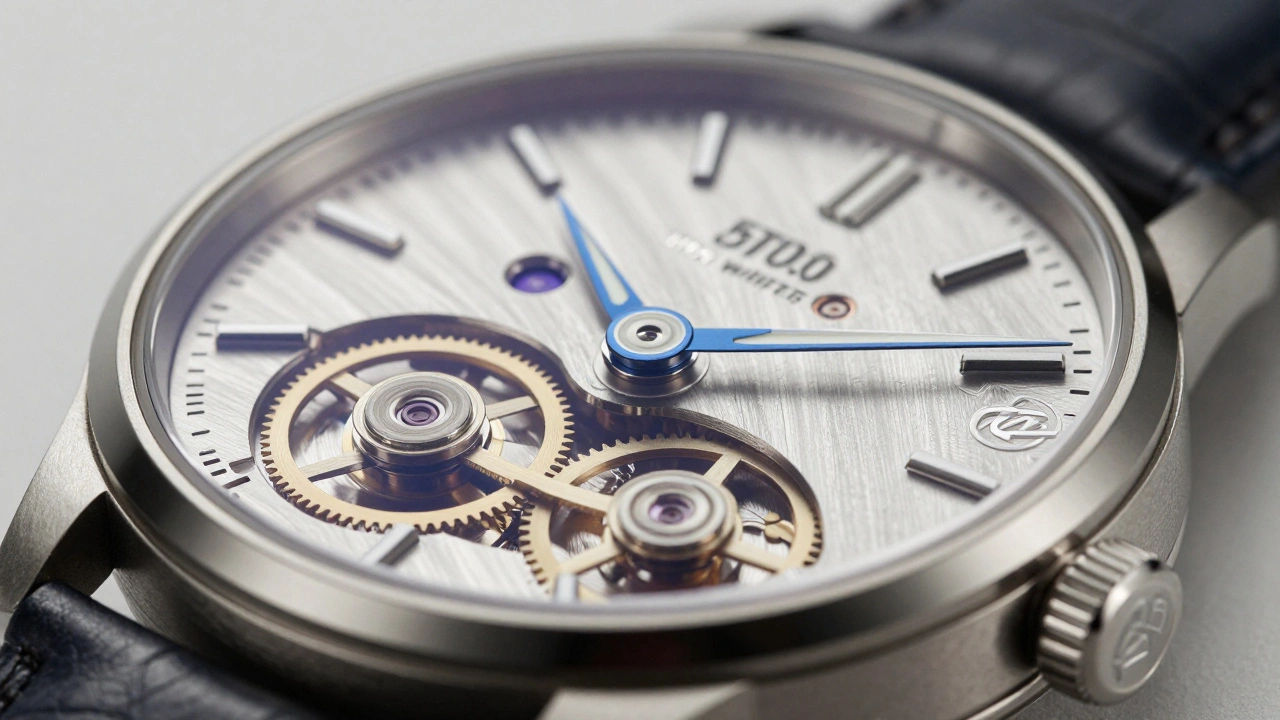
Product Photography: E-commerce sites demand clarity. A watch face, jewelry setting, or electronic connector needs to be sharp everywhere. Focus stacking ensures that every screw and logo is visible, increasing the perceived value of the product. It is a standard practice in commercial studios.
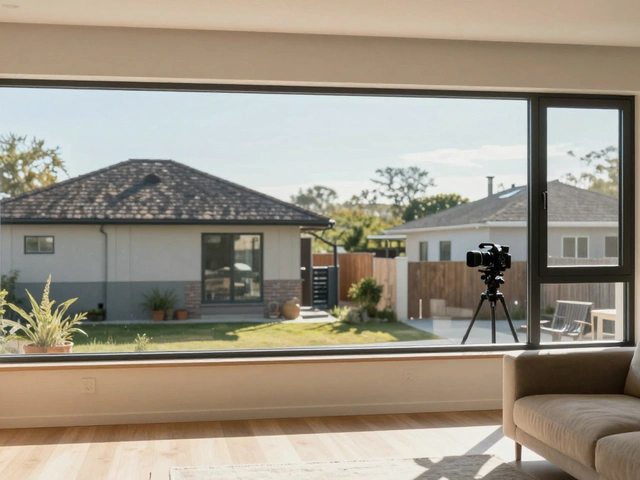
Architecture and Interiors: When shooting tight interior spaces with foreground elements, stacking can help maintain detail throughout the room without closing the aperture so much that noise increases.
Next Steps for Your Workflow
If you are new to this, start small. Pick a static object on your desk-a coffee mug or a toy car. Mount your camera on a tripod. Take five shots, focusing progressively from the front rim to the back base. Import them into Photoshop and try the Auto-Blend function. See how it feels.
Once you are comfortable, experiment with different software. Download the trial versions of Helicon Focus or Zerene Stacker. Compare the results. Notice how they handle edges and textures differently.
Finally, embrace the patience required. Focus stacking is not a quick snapshot technique. It demands setup, precision, and post-processing time. But the reward is an image that defies optical limitations, delivering a level of detail that grabs the viewer's attention and holds it.
How many photos do I need for a focus stack?
It depends on the depth of your subject and the aperture. For landscape shots with a small foreground element, 2-4 frames may suffice. For product photography, 10-30 frames are typical. For extreme macro (like insects), you may need 50-100+ frames. The rule of thumb is to ensure overlapping depth of field between each shot.
Can I do focus stacking with a smartphone?
Yes, many modern smartphones have computational photography features that perform automatic focus stacking, especially in portrait mode or macro mode. However, manual control is limited. Dedicated apps like Camera+ allow for more manual bracketing, but for professional results, a DSLR or mirrorless camera with dedicated software is preferred.
What is the best aperture for focus stacking?
Use your lens's "sweet spot," typically between f/5.6 and f/8. This provides optimal sharpness with minimal diffraction. Since you are extending depth of field computationally, you do not need to stop down to f/16 or f/22, which would degrade image quality.
Why does my focus stack look blurry in spots?
This usually indicates "focus gaps." You likely moved the focus too far between shots, leaving areas that were never in sharp focus in any frame. To fix this, increase the number of frames and decrease the focus increment (step size) during capture.