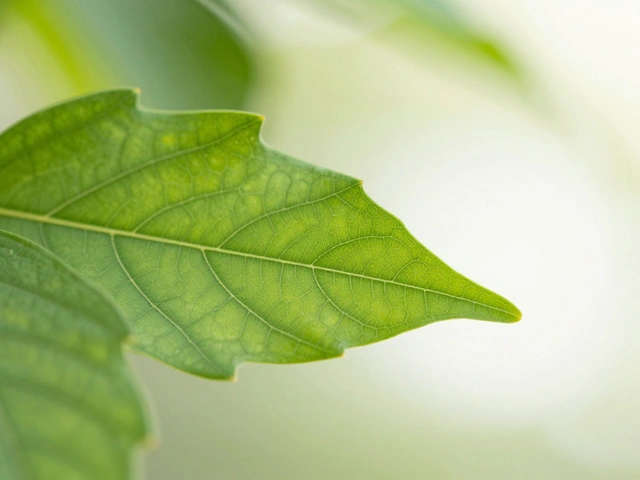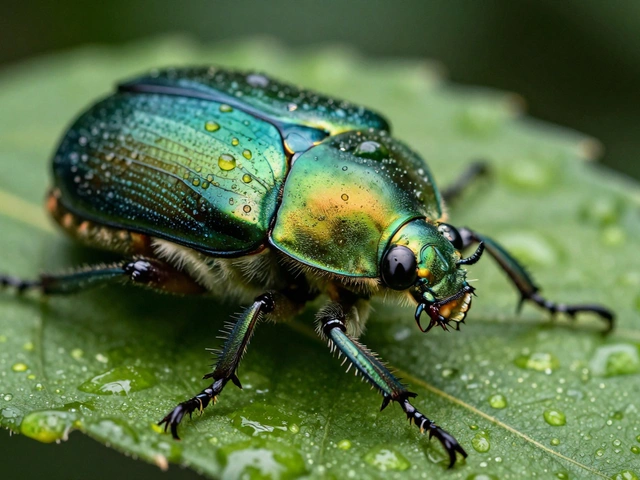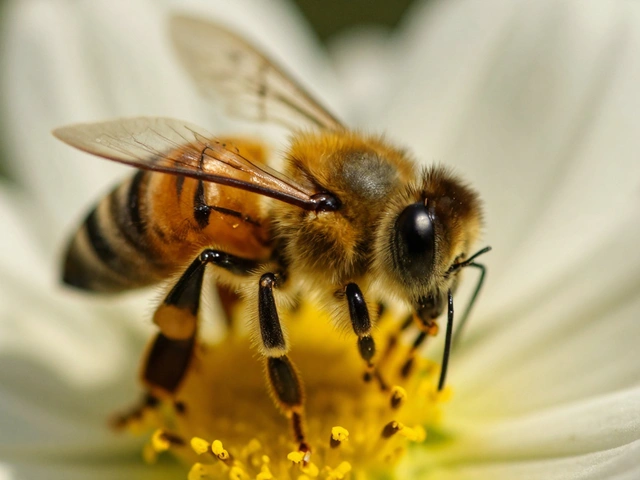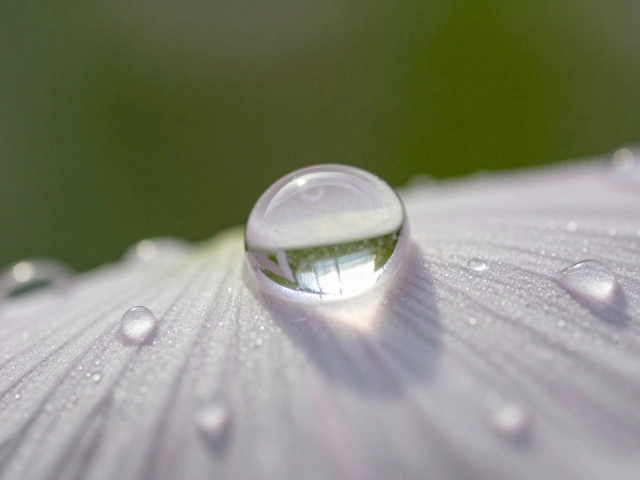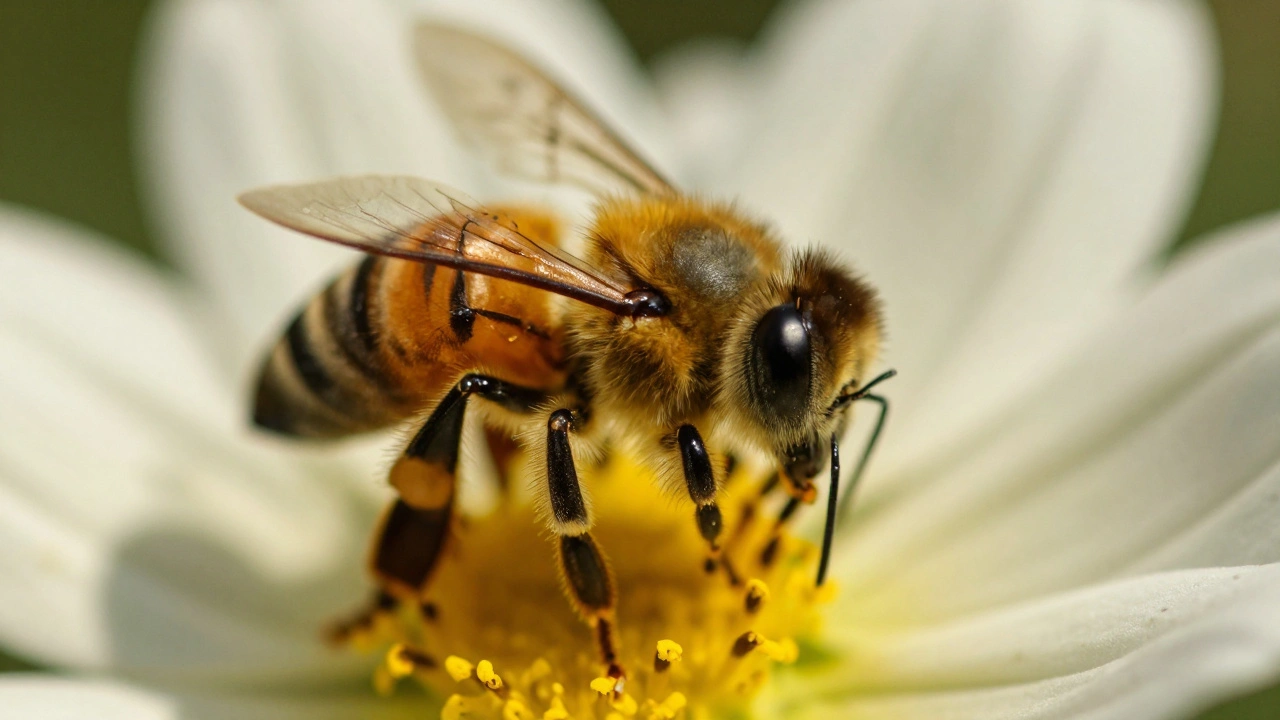
If you've ever tried to take a close-up of a honeybee or a dewdrop, you know the frustration: you look at the screen, and the subject is a blurry mess. You might have the most expensive lens in the world, but in the world of macro focusing techniques, autofocus often becomes your worst enemy. When you're zoomed in that far, the area in focus-called the depth of field-is often thinner than a piece of paper. A tiny breath or a slight breeze can push your subject out of the focus zone entirely.
Quick Guide to Macro Focus
- Manual Focus: Best for total control and precision; essential for high magnification.
- Focus Peaking: A visual aid that highlights sharp edges in color.
- Focus Stacking: A method of merging multiple images to get a deep area of sharpness.
- Focusing Rails: Hardware used to move the camera in tiny, precise increments.
Why Your Autofocus Fails in Macro
Most cameras are designed to find a subject and lock on instantly. But when you're working at 1:1 magnification or higher, the camera's brain gets confused. This leads to "hunting," where the lens moves back and forth repeatedly, unable to decide exactly where the sharp point is. Because the focal plane is so narrow, the autofocus often misses the eye of an insect by a fraction of a millimeter, leaving you with a photo that looks soft.
In poor lighting-which is common when you're blocking the sun with your own body to get a shot-autofocus struggles even more. It pumps and lags, making it nearly impossible to capture a moving subject. This is why switching to a manual approach isn't just a preference; for serious close-up work, it's a necessity.
The Art of Manual Focus
To get started, you need to flip the AF/MF switch on your lens or in your camera settings to Manual Focus is the process of physically rotating the lens focus ring to determine the sharpest point of the image. Once you've disabled the computer, you are the one in control.
The secret to nailing manual focus isn't just twisting the ring; it's using the tools your camera provides. One of the best tricks is using Live View is a feature that allows photographers to compose and focus using the LCD screen instead of the viewfinder. By turning on the digital zoom (magnification) on your screen, you can see exactly where the focus is landing, almost like using a microscope. If your camera supports it, enable Focus Peaking is a digital overlay that highlights the edges of objects in the focal plane with a bright color. This removes the guesswork and shows you exactly which part of your subject is sharp.
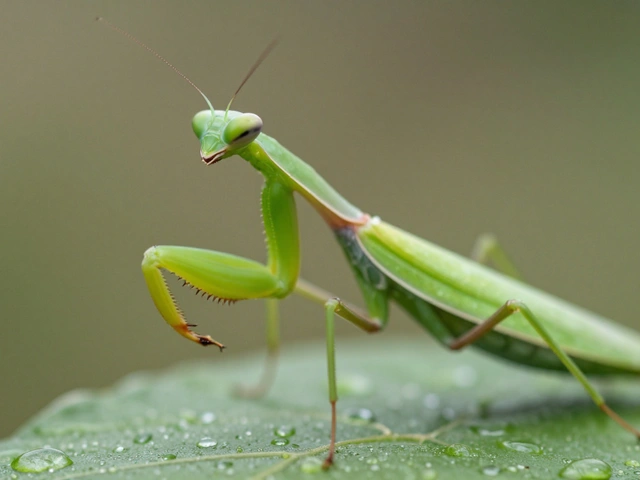
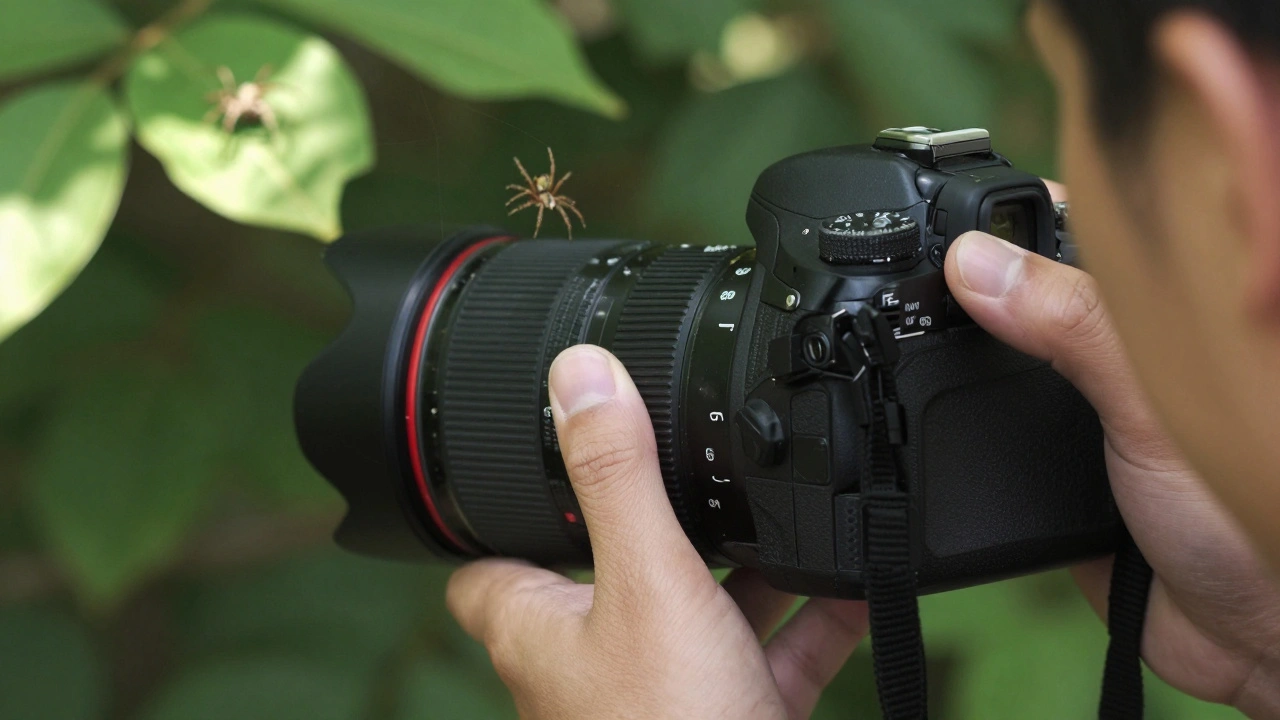
When shooting living things, like a spider on a leaf, don't just stand still and turn the ring. Instead, set your focus and then slowly rock your entire body or camera forward and backward. This "scanning" motion allows you to hit the perfect focal point and snap the photo the moment the subject pops into clarity. It's all about building muscle memory and anticipating the subject's movement.
| Feature | Manual Focus | Autofocus |
|---|---|---|
| Precision | Extreme (User-controlled) | Variable (Often hunts) |
| Speed (Still Subjects) | Slower setup, consistent result | Fast, but prone to error |
| Reliability in Low Light | High | Low |
| Depth of Field Control | Total | Limited by algorithm |
Expanding Your Depth of Field with Focus Stacking
Even with a small aperture (like f/11 or f/16), you might find that only the front of your subject is sharp while the back fades into a blur. To fix this, pro photographers use Focus Stacking is a technique where multiple images are taken at different focus points and merged into one image with a deep area of sharpness.
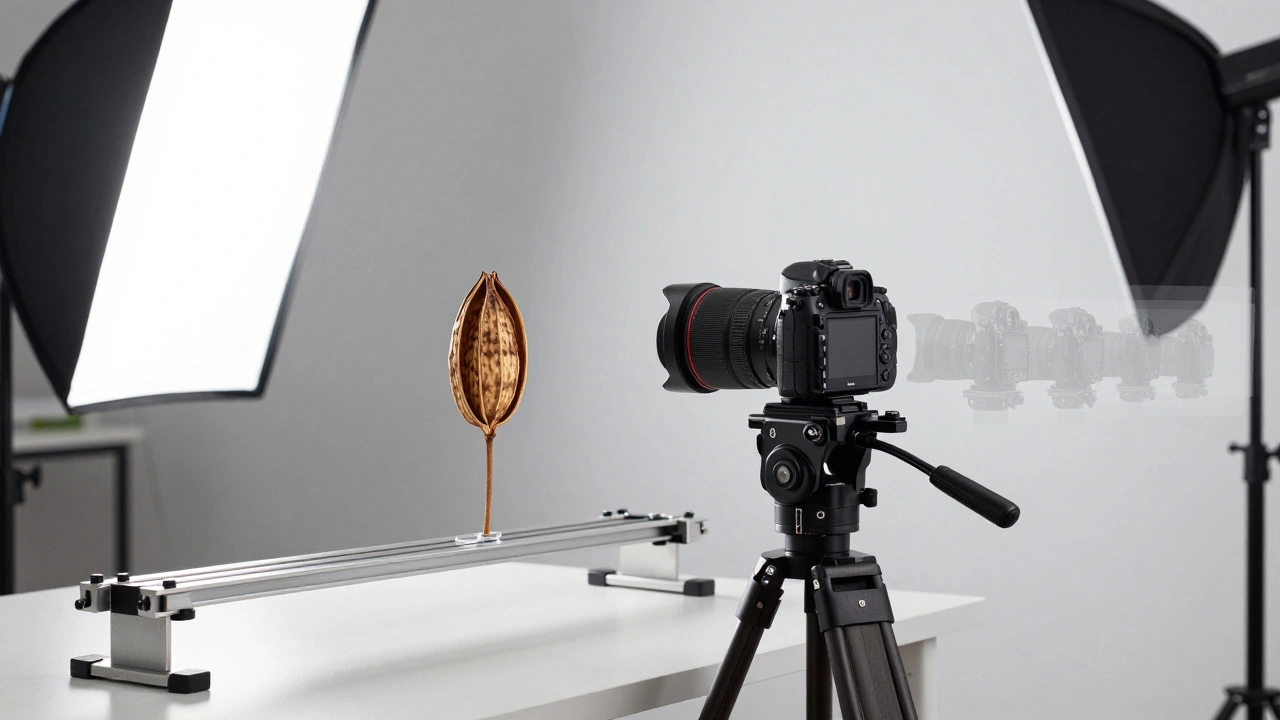
This process starts with a steady setup. If you're in a studio, a tripod is mandatory. To make this work, you'll want to use Focusing Rails is precision gear that allows the camera to move forward or backward in tiny, measurable increments. Instead of turning the focus ring-which can slightly change the magnification of the image-you keep the focus ring locked and move the entire camera toward the subject in tiny steps.
The workflow looks like this: you take one photo of the very front of the subject, move the camera a fraction of a millimeter, take another, and repeat until the entire subject is covered. Later, you use software to blend these "slices" together. This allows you to get a shot that is sharp from front to back, something that is physically impossible to achieve in a single exposure at high magnification.
Field Work vs. Studio Control
The approach you take depends heavily on where you are. In the field, you're fighting wind, moving bugs, and unstable ground. Here, manual focus combined with a fast shutter speed is your best bet. You have to be okay with a lower "hit rate"-meaning you might take 50 photos just to get one that's perfectly sharp.
In a studio, the game changes. Since the specimen doesn't move and the lighting is controlled, you can spend an hour perfecting a single focus stack. There's no wind to shake the camera, and you can use an automated rail to ensure every slice is perfectly spaced. This environment transforms macro photography from a game of chance into a precise science.
Common Pitfalls and Pro Tips
One of the biggest mistakes beginners make is over-tightening their aperture to get more depth of field. While f/22 might seem like a good idea, it often leads to diffraction, which actually makes the whole image look softer. Instead, stick to the "sweet spot" of your lens (usually around f/8 to f/11) and rely on focus stacking if you need more depth.
Another tip is to watch your breathing. When you're zoomed in, a deep breath can shift the camera enough to move the focal plane. Try to exhale and hold your breath for a second just before you press the shutter. If you're handholding, lean against a tree or a rock to create a human tripod.
Can I use autofocus for any macro shots?
Yes, but it's usually better for "near-macro" (lower magnification) or subjects that are moving quickly where you can't possibly keep up manually. For extreme close-ups, autofocus is generally too slow and imprecise.
Do I need a special lens for focus stacking?
You don't need a special lens, but a dedicated macro lens is highly recommended because it's designed to focus at very short distances. The most important gear for stacking is actually a tripod and a focusing rail.
What is the best aperture for macro photography?
Most macro lenses peak in sharpness between f/8 and f/11. Going higher than f/16 often causes diffraction, which makes the image blurrier. If you need more depth than f/11 provides, use focus stacking.
How does focus peaking help?
Focus peaking puts a bright color (usually red, green, or white) on the edges of whatever is currently in focus. This lets you see the "slice" of sharpness moving across your subject in real-time on the LCD screen.
Why is my macro photo blurry even though I focused?
It's likely due to the razor-thin depth of field. Even if you focused on the eye, the rest of the head might be out of focus. Either use a smaller aperture or try focus stacking to increase the area of sharpness.
Next Steps for Improvement
If you're just starting, spend a weekend practicing on still objects-like a coin or a flower in a vase. This removes the stress of a moving subject and lets you feel how the focus ring behaves. Once you're comfortable with the "rocking" motion to find focus, move on to live insects.
For those looking to level up, invest in a basic manual focusing rail. Learning how to take consistent slices for a stack will change your results from "lucky shots" to professional-grade imagery. Experiment with different lighting, as a ring light or a small diffuser can help you keep your aperture in that sweet spot without needing an impossibly high ISO.