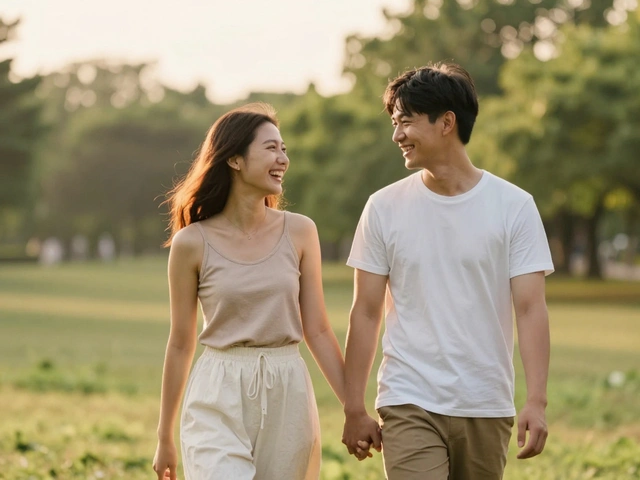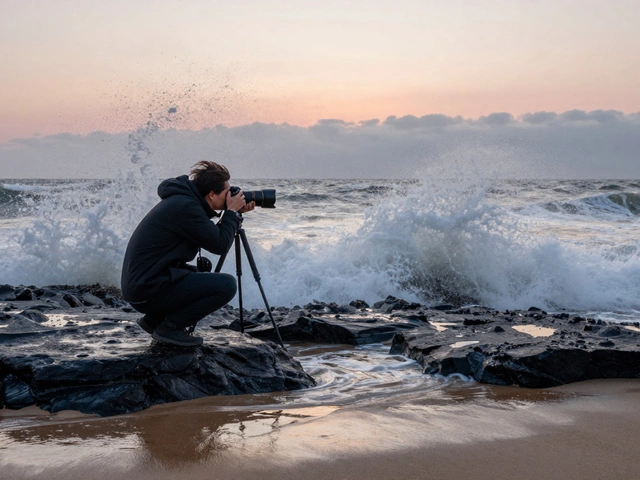
The core problem with traditional portraits is that they strip away the context. By isolating the subject against a plain wall or a blurred park, you lose the 'why' behind the person. Environmental portraits fix this by treating the background as a second character in the story. When you include the subject's home, office, or favorite haunt, you're giving the viewer clues about their personality, passions, and daily struggles. If you want your photos to feel more like a story and less like an ID badge, this is the technique to master.
| Feature | Studio Portrait | Environmental Portrait | Candid Portrait |
|---|---|---|---|
| Background | Neutral/Controlled | Meaningful/Contextual | Incidental/Random |
| Posing | Highly Directed | Thoughtfully Placed | None (Unaware) |
| Goal | Aesthetic Beauty | Narrative Storytelling | Authentic Moment |
| Lighting | Full Control | Mixed/Natural | Available Light |
Finding the Narrative in the Location
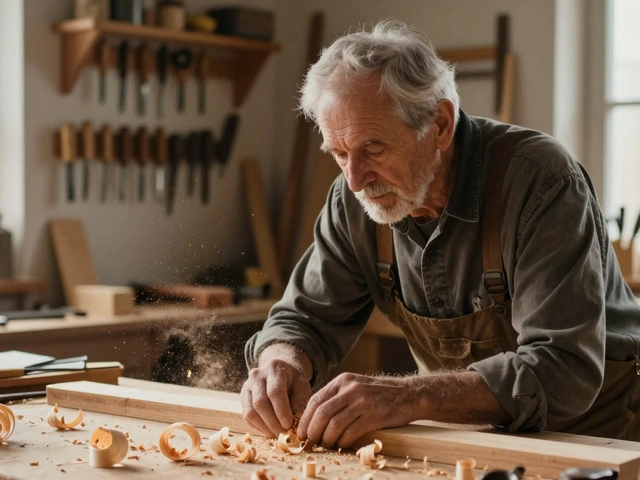
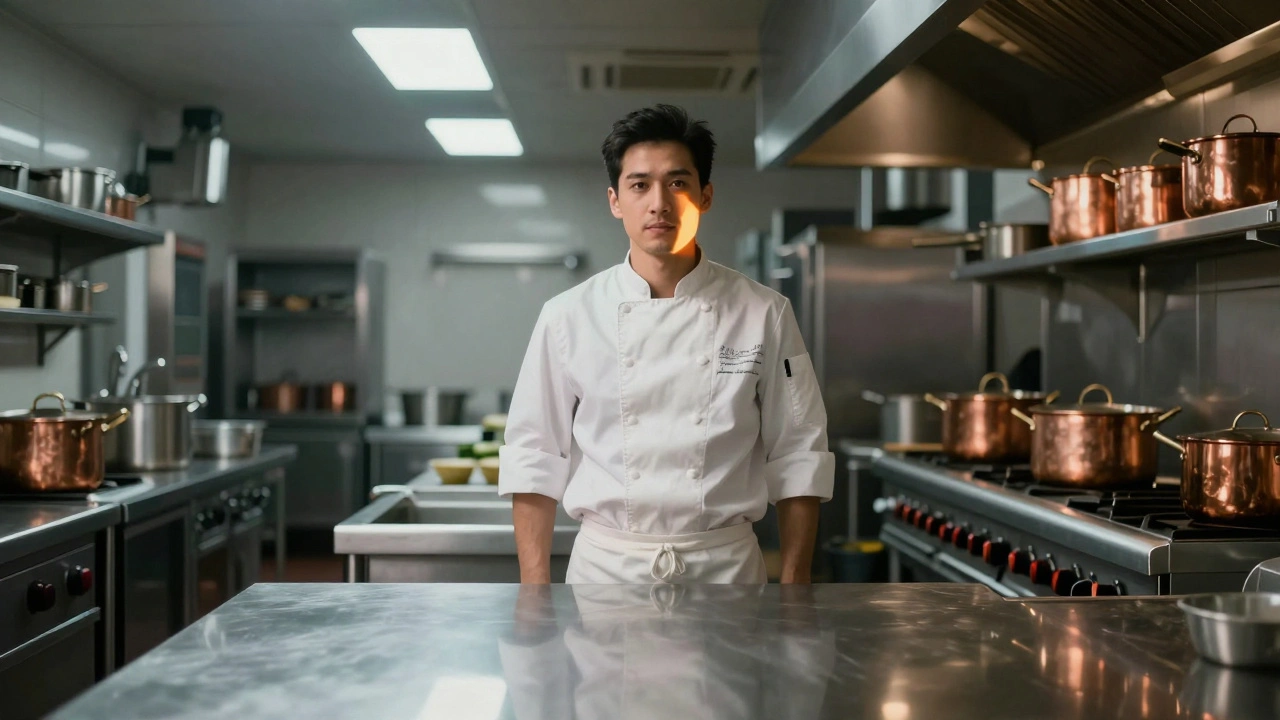
Before you even take the lens cap off, you need to ask: what is the story here? A location isn't just a place; it's a collection of symbols. If you're photographing a chef, the stainless steel of a commercial kitchen speaks to discipline and heat. If you're in a bookstore, the towering shelves suggest curiosity and solitude.
Environmental Portraiture is
a specialized genre of photography where the subject is captured in their natural surroundings to illuminate their life and identity.
Unlike lifestyle photography, which often looks like a staged advertisement for a "perfect life," environmental portraits aim for a deeper, more honest connection. You aren't just looking for a "pretty" spot; you're looking for a spot that proves who the person is.
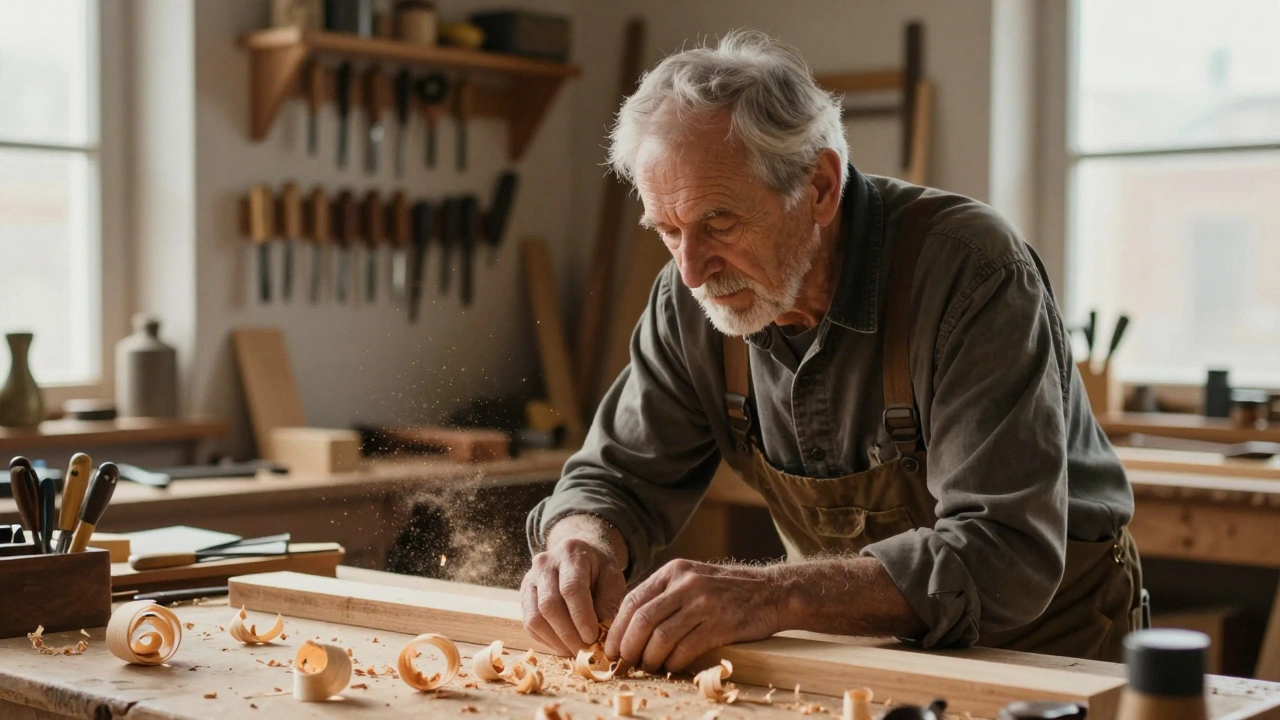
When choosing a location, look for "visual anchors." These are objects-a worn-out ledger, a specific tool, a family heirloom-that act as shorthand for the subject's history. A doctor in a sterile hallway is a professional; a doctor in their home library with old medical texts is a scholar. That's the power of context.
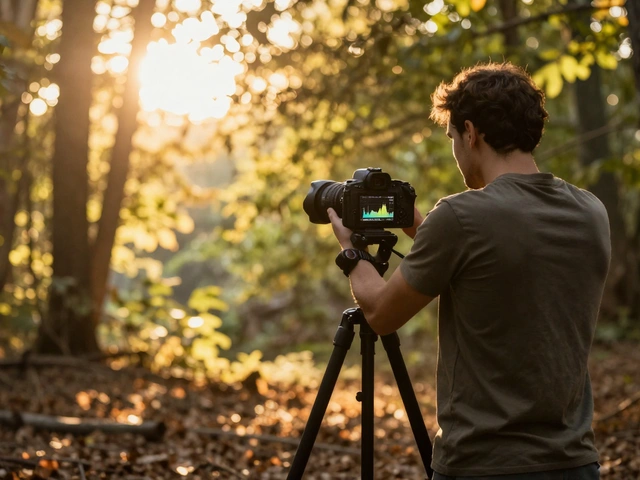
Technical Shifts: Wide Lenses and Narrow Apertures
If you use the same settings for an environmental shot as you do for a beauty headshot, your photo will fail. In a studio, you might use an 85mm lens at f/1.8 to melt the background away. In an environmental shot, that blur is your enemy because it erases the very context you're trying to capture.
To get the scene in the frame, you'll need a wider focal length. Many pros drop down to 35mm or even 28mm. This allows you to keep the person as the focal point while showing the rest of the room. But wider lenses can distort faces if you get too close, so step back and let the composition breathe.
Your
Depth of Field-which is the distance between the nearest and farthest objects in a photo that appear acceptably sharp-needs to be much deeper. Instead of f/2.8, try f/5.6, f/8, or even f/11. This ensures that the tools on the workbench behind your subject are legible. If the background is a blurry mess, the viewer doesn't know if the subject is in a garage or a grocery store, and the narrative is lost.
Lighting the Scene Without Killing the Vibe
The biggest challenge here is balancing the light on the person with the light in the room. If you blast the subject with a huge softbox, they'll look like they were photoshopped into a postcard. The goal is to make the lighting feel like it belongs in the environment.
Natural light is your best friend. A large window provides a soft, directional source that mimics how we actually see the world. For those who want more drama, try
Rembrandt Lighting, a technique that creates a small triangle of light on the cheek opposite the light source. It adds a classic, painterly feel without looking artificial.
If you must use artificial lights, use a "fill" approach. Use a small LED panel or a reflected strobe just to lift the shadows on the face, while letting the ambient light of the room define the atmosphere. If the room is dim and moody, keep the portrait moody. Don't try to turn a midnight jazz club into a bright office; let the environment dictate the mood.
Composition and Subject Placement
How do you keep the person from getting "lost" in a busy room? This is the tightrope walk of environmental photography. If you include too much clutter, it becomes a candid snapshot. If you include too little, it's just a portrait with a wall behind it.
Start by simplifying the frame. Move the distracting trash can or the bright red fire extinguisher that's stealing attention. Position your subject so they don't "overlap" with distracting background elements-like a lamp post appearing to grow out of their head.
Use leading lines. The edge of a desk, a row of bookshelves, or a hallway floor can point the viewer's eye directly toward the subject. Also, consider the subject's posture. Instead of a stiff "arms crossed" pose, have them interact with their space. Let the painter hold a brush; let the coder lean into their monitors. When the subject is engaged with their environment, the photo feels authentic rather than staged.

From Documentary to Commercial Use
These shots aren't just for art galleries. They are incredibly powerful for branding and storytelling in the professional world.
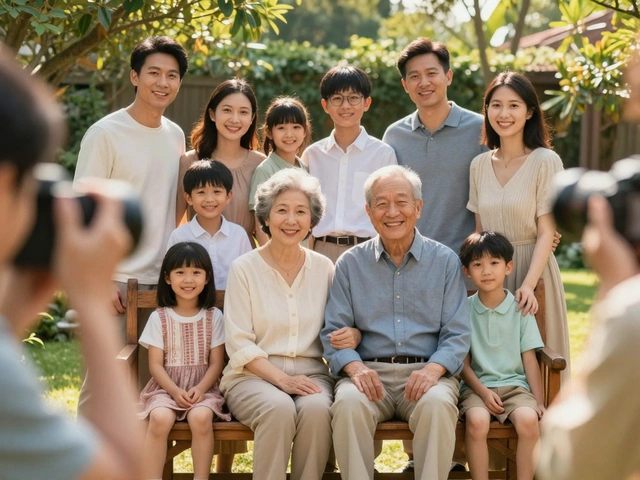
In a documentary context, environmental portraits allow a photographer to capture the essence of a culture or a specific trade. A series of portraits of fishermen in a small village tells a story about an entire economy and way of life.
In the commercial world, companies are moving away from sterile corporate headshots. A CEO photographed in their actual office, surrounded by the chaos of a growing startup, feels more relatable and trustworthy than a grey-background photo. It shows the person in their element, proving their expertise through their surroundings. Whether it's for a magazine feature or a "Meet the Team" page, the environment adds a layer of credibility that a studio can't provide.
What is the best lens for environmental portraits?
A 35mm or 50mm prime lens is usually the sweet spot. 35mm allows you to capture more of the room and context, while 50mm provides a more natural perspective with less distortion. Avoid ultra-wide lenses (below 24mm) unless you are in a very tight space, as they can warp the subject's features if you are too close.
How do I stop the background from being too distracting?
The key is "curating" the scene. Before you shoot, physically move objects that don't add to the story. You can also use a slightly narrower aperture to keep the background sharp but use a different color palette or lighting to make the subject stand out. Contrast in color or brightness is the best way to separate a subject from a detailed background.
Should I use a flash for these types of photos?
You can, but be careful. A direct flash often flattens the image and ruins the "natural" feel. If you use a flash, bounce it off a ceiling or wall, or use a softbox to mimic window light. The goal is to supplement the existing light in the room, not replace it entirely.
What aperture should I use for environmental portraits?
Avoid wide-open apertures like f/1.8 or f/2.8. Instead, aim for f/5.6 to f/11. This ensures that the background elements remain sharp enough for the viewer to recognize them, which is essential for the storytelling aspect of the image.
How do I make the subject feel comfortable in their space?
Let them guide you. Ask them to show you their favorite part of the room or the tool they use the most. When they talk about their passion, their body language relaxes and becomes more natural, which leads to much better portraits than if you just tell them where to stand.
Next Steps for Your Shoot
If you're heading out for your first environmental session, start with a "recon" phase. Spend ten minutes just walking around the space without your camera. Notice where the light hits and which objects tell the best story.
If you're a beginner, try a "natural light only" challenge. This forces you to be more mindful of how the environment shapes the subject. If you're more advanced, experiment with mixing a single strobe with ambient window light to see how you can sculpt the subject while keeping the room's character intact. No matter your level, remember that the person is the heart of the photo, but the room is the soul.