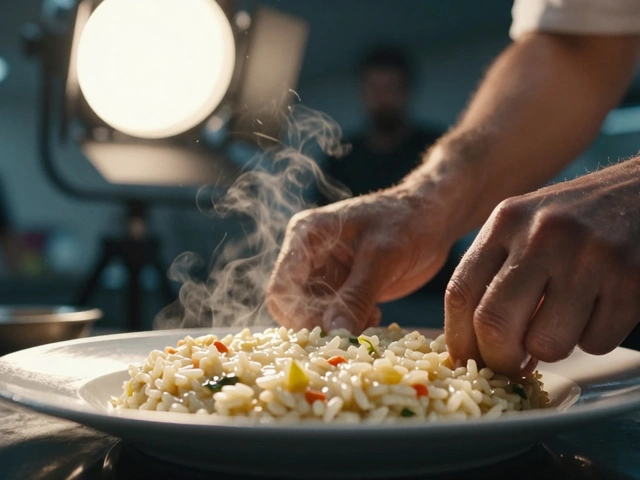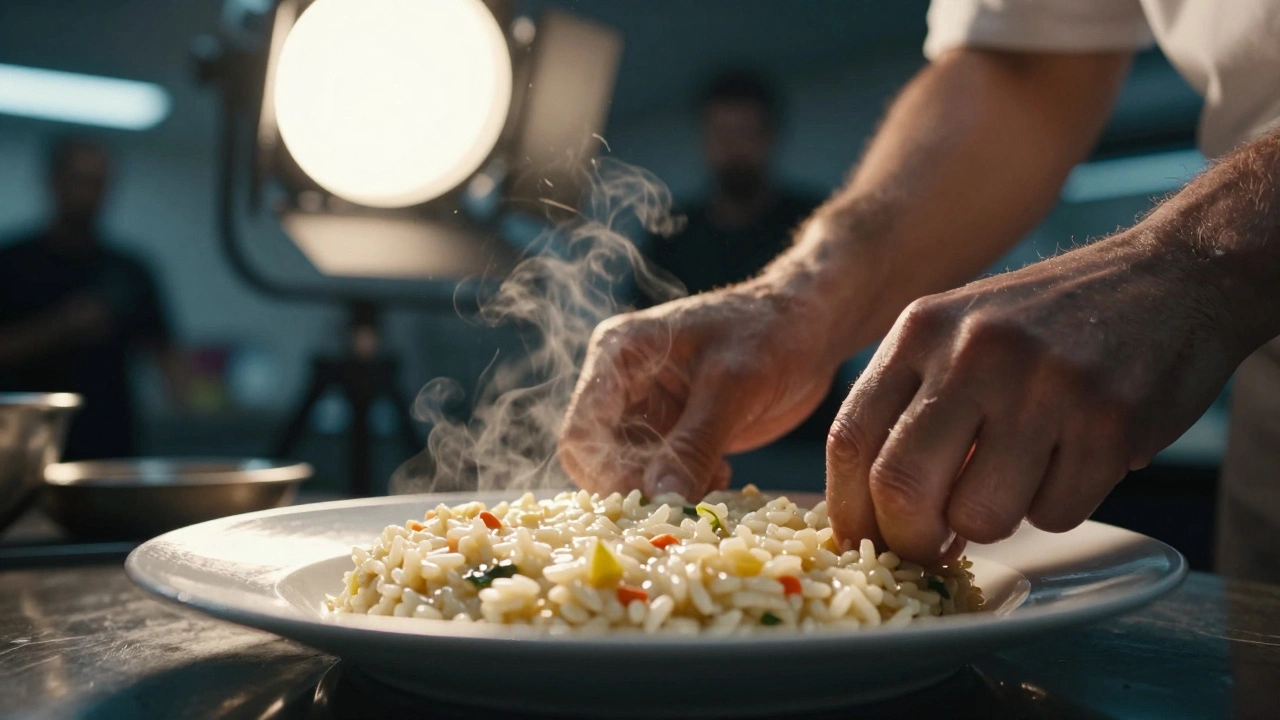
There is nothing more heartbreaking for a food stylist than watching a perfectly arranged risotto turn into a greasy puddle three minutes before the director yells "action." You have spent hours plating, glazing, and arranging. The lighting is perfect. The camera is rolling. And then, under the heat of the production lights, your hero dish starts to sweat, wilt, or melt. It’s not just an aesthetic failure; it’s a costly delay that can throw off the entire shooting schedule.
Managing food preservation on set isn’t about keeping food safe to eat-it’s about keeping it looking edible for as long as possible. We are fighting against time, temperature, and biology. Every second counts when you are dealing with enzymatic browning, microbial growth, or fat melting. To survive on set, you need to understand the science behind why food degrades and apply specific countermeasures that buy you those crucial extra minutes.
The Science of Spoilage: Why Food Fails Under Lights
Before you can fix the problem, you have to understand what is happening at a molecular level. Food degradation on set happens through three main pathways: enzymatic activity, microbial growth, and physical changes caused by heat. According to research from Penn State Extension, microorganisms and enzymes are the principal causes of spoilage. But on a film set, the enemy is often the environment itself.
Temperature fluctuations are your biggest adversary. Princeton University’s food preservation research highlights that continuous rises and falls in temperature around a phase-change point lead to the melting of fats. This is exactly what happens under hot tungsten or LED production lights. Your butter sauce separates, your chocolate ganache slumps, and your fried chicken loses its crispness. This isn't just cosmetic; the texture changes become visible on high-definition cameras.
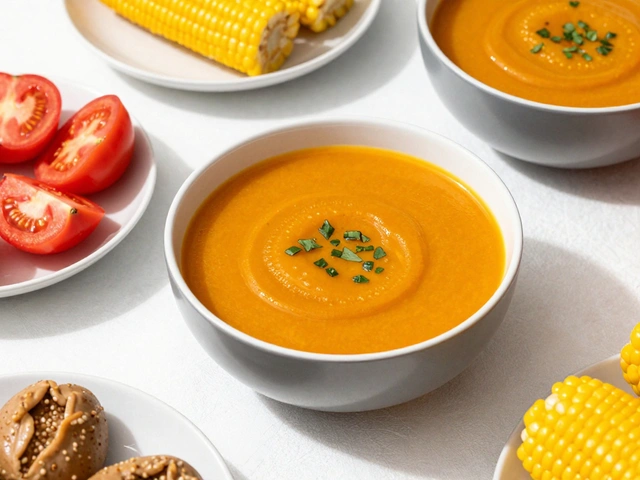
Another critical factor is water activity ($a_w$). Water activity measures how much "free" water is available for microbial growth. As Princeton researchers note, lowering water activity inhibits microbial decay sequentially. Bacteria are the most sensitive and die off first, while molds are the most resistant. Understanding this helps you decide which foods are risky. High-moisture items like fresh salads or creamy soups degrade faster than dried goods because they provide a hospitable environment for rapid bacterial multiplication. In just a few hours, bacteria can multiply from small populations to millions on a gram of food, creating slime, scum, or gas bubbles that ruin the shot.
| Visual Problem | Scientific Cause | Trigger Factor |
|---|---|---|
| Melting/Grease Pools | Fat phase-change and lipid oxidation | Heat from production lights |
| Browning (Apples/Avocados) | Enzymatic oxidation (polyphenol oxidase) | Oxygen exposure + Enzyme activity |
| Wilting (Greens/Lettuce) | Loss of turgor pressure due to dehydration | Low humidity / Heat |
| Sliminess/Off Smell | Rapid bacterial multiplication | High water activity + Time |
Stopping the Melt: Managing Fats and Liquids
If you are filming a dish with sauces, cheeses, or chocolates, you are in the danger zone. Fat melting is irreversible once it happens. You cannot un-melt butter. The key here is temperature control and substitution.
First, keep your ingredients cold until the last possible second. Use ice packs in your prep area and transport dishes in insulated containers. When you plate, consider using vegetable shortening instead of butter. Shortening has a higher melting point and doesn't separate as easily when heated. For cheese pulls, use processed cheese products or add a pinch of sodium citrate to real cheese; this stabilizes the emulsion and prevents oil separation under heat.
If you must use real butter or cream, blanching isn't an option, but you can manage the environment. Keep the lights as cool as possible. If you are using hot lights, position them away from the food whenever possible during setup. Some stylists use hair dryers on a cool setting to refresh melted areas between takes, but this is a temporary fix. For sauces, thickeners like xanthan gum can help maintain viscosity even if the temperature rises slightly.
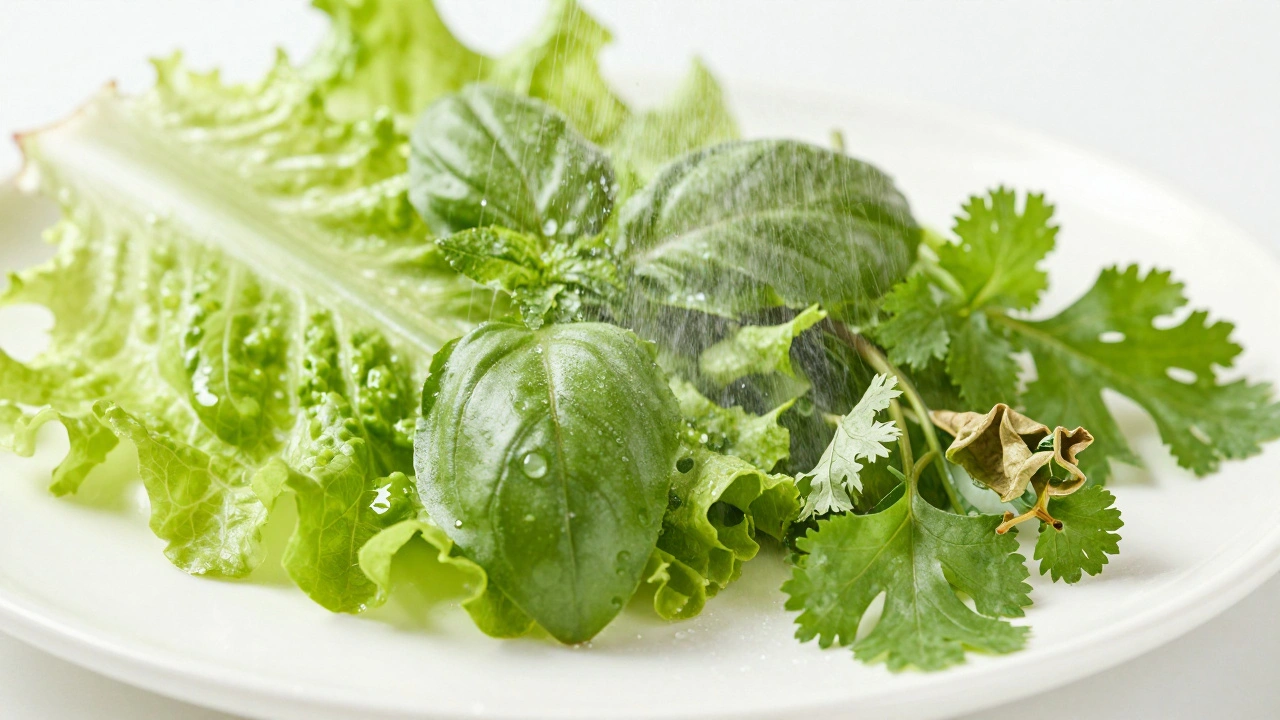
Fighting Wilting: Keeping Greens Crisp
Leafy greens are notoriously difficult. They wilt quickly due to loss of turgor pressure-the water pressure inside plant cells that keeps them rigid. Once that water evaporates, the leaf collapses. This is exacerbated by low humidity and heat.
The best defense is hydration and barrier protection. Before plating, soak greens in ice water for 15 minutes. This rehydrates the cells and makes them firmer. Then, pat them dry thoroughly. Wet leaves look unappetizing and can dilute sauces.
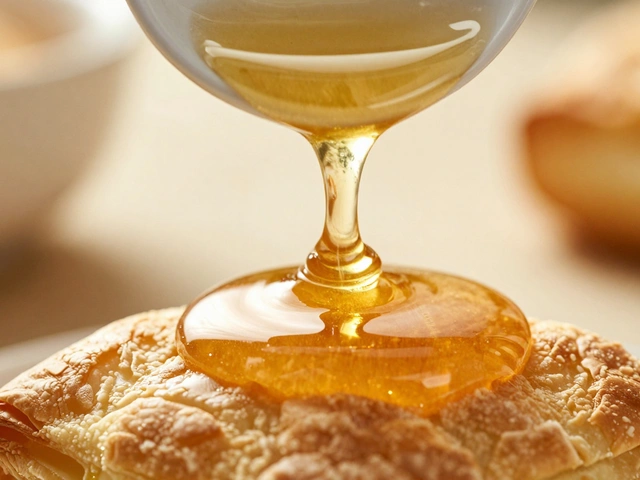
To prevent wilting during the shoot, use a light mist of glycerin or mineral oil. Glycerin slows down moisture loss without making the food look overly shiny if used sparingly. Mineral oil creates a physical barrier against evaporation. Another trick is to use celery leaves or parsley instead of delicate herbs like basil or cilantro. These hardier herbs hold their shape longer under stress. If you absolutely need delicate herbs, replace them every 10-15 minutes. It sounds tedious, but it saves the shot.
Preventing Browning and Enzymatic Decay
Enzymatic browning is the darkening of fruits and vegetables like apples, avocados, and potatoes after cutting. This is caused by the enzyme polyphenol oxidase reacting with oxygen. It looks ugly and signals "spoiled" to the viewer.
The standard solution is acidification. Dip cut surfaces in lemon juice, lime juice, or a mixture of water and citric acid. The acid lowers the pH, which deactivates the enzyme. For a more professional approach, use ascorbic acid (Vitamin C) powder dissolved in water. It’s clear and doesn’t alter the flavor profile as much as citrus juice might.
For cooked foods, blanching is your friend. UC Agriculture and Natural Resources notes that enzymes are easily inactivated by heating raw food to 170°F-190°F. Briefly boiling or steaming vegetables before freezing or styling stops the enzymatic process dead in its tracks. This is especially useful for green beans, broccoli, or spinach that need to stay bright green throughout a long day.
Advanced Techniques: Substitution and Structural Integrity
Sometimes, real food just won’t cut it. In these cases, substitution is the smartest move. You don’t always need to serve edible food to the camera.
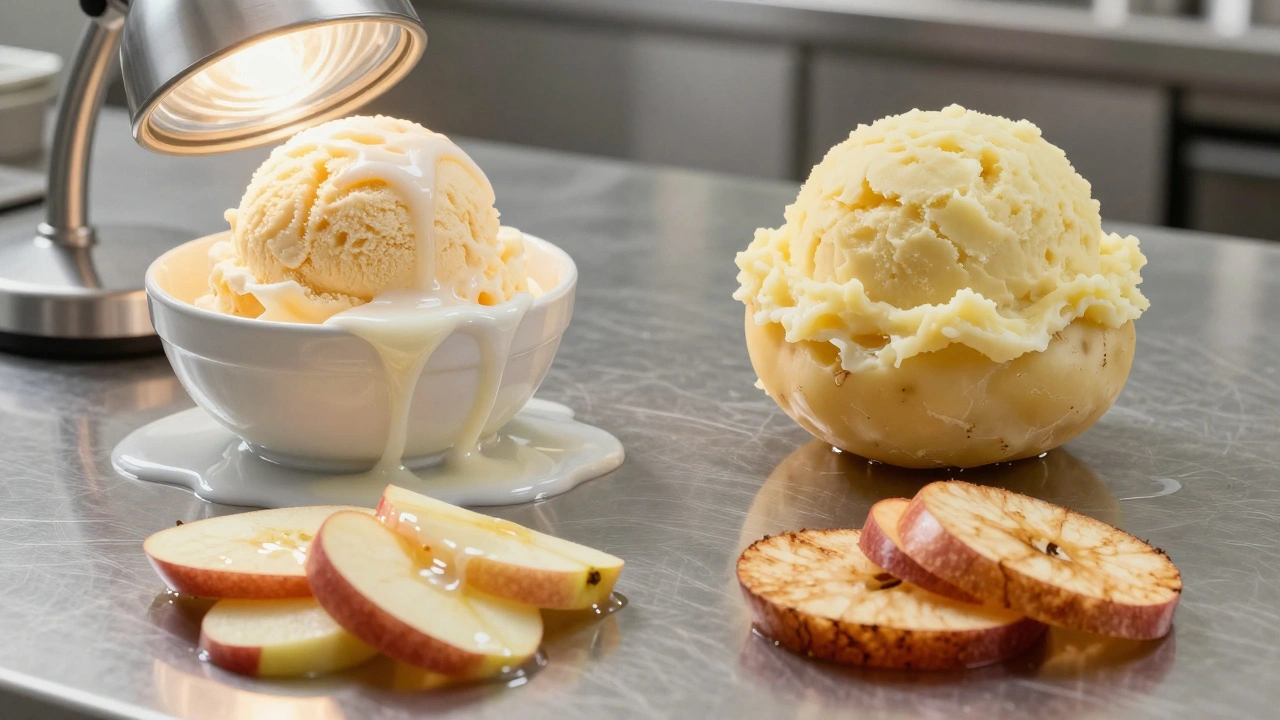
For desserts, use fondant or modeling chocolate instead of real cake. Fondant holds its shape indefinitely and can be textured to look like sponge cake. For ice cream, use mashed potatoes mixed with vanilla extract and chilled. It scoops like ice cream but doesn’t melt. For meat, sometimes a combination of real meat for close-ups and foam latex or silicone for wide shots works best. Foam latex can be painted with food-safe dyes to mimic sear marks and juices.
When working with liquids, thickening agents are essential. Real soup splashes too easily and cools too fast. Add a touch of cornstarch slurry or arrowroot powder to soups and sauces. This increases viscosity, reduces splatter, and helps retain heat longer, giving you more time between pours.
On-Set Workflow: Timing and Team Coordination
Even the best-preserved food will fail if the workflow is chaotic. Communication is key. Coordinate closely with the gaffer (lighting technician) to minimize heat output near the food. Ask for fans to be directed away from the set to prevent drying out delicate items.
Create a "refresh station" nearby where backup plates are kept ready. Rotate heroes frequently. If a shot requires multiple angles, plate each angle separately rather than trying to reuse one plate. Rehandling a plate introduces variables-sauce smears, garnish drops, and uneven textures.
Finally, respect the biological clock. If you are shooting a salad or a seafood dish, schedule it early in the day. Don’t leave perishables sitting under lights for hours. Plan your shoot order around stability: start with the most fragile items and end with the hardiest, like breads or roasted meats.
How do I stop butter from melting under hot lights?
Replace butter with vegetable shortening, which has a higher melting point. Alternatively, keep the dish on an ice pack until the moment of filming and use cool-light LEDs instead of tungsten bulbs. For sauces, add xanthan gum to stabilize the emulsion.
What is the best way to prevent apple slices from browning?
Dip the slices immediately in a solution of water and citric acid or ascorbic acid (Vitamin C). Lemon juice works but may alter the color slightly. The acid deactivates the polyphenol oxidase enzyme responsible for browning.
Can I use glycerin on food for film sets?
Yes, food-grade glycerin is safe to use in small amounts. It adds shine and slows moisture loss, helping greens stay crisp. However, avoid overusing it as it can make food look sticky or unnatural under certain lighting conditions.
Why do my greens wilt so quickly on set?
Wilting is caused by loss of turgor pressure due to dehydration. Heat and low humidity accelerate this. Soak greens in ice water before plating to rehydrate cells, then lightly mist with mineral oil or glycerin to create a barrier against evaporation.
What should I use instead of real ice cream for filming?
Use chilled mashed potatoes mixed with vanilla extract. It mimics the texture and scoopability of ice cream without melting. For decorative toppings, use crushed nuts or candy pieces that won’t dissolve.