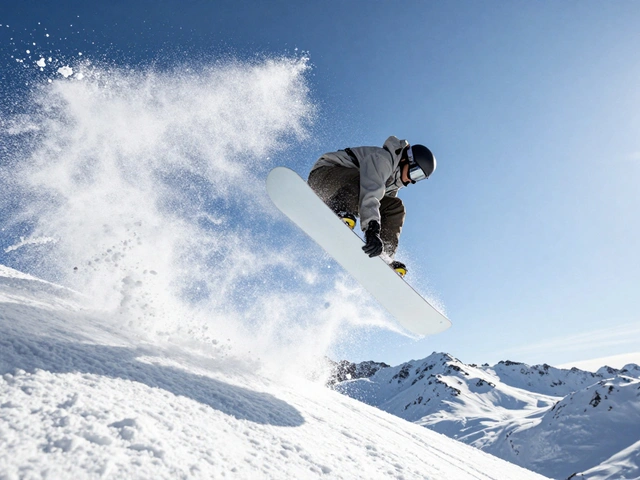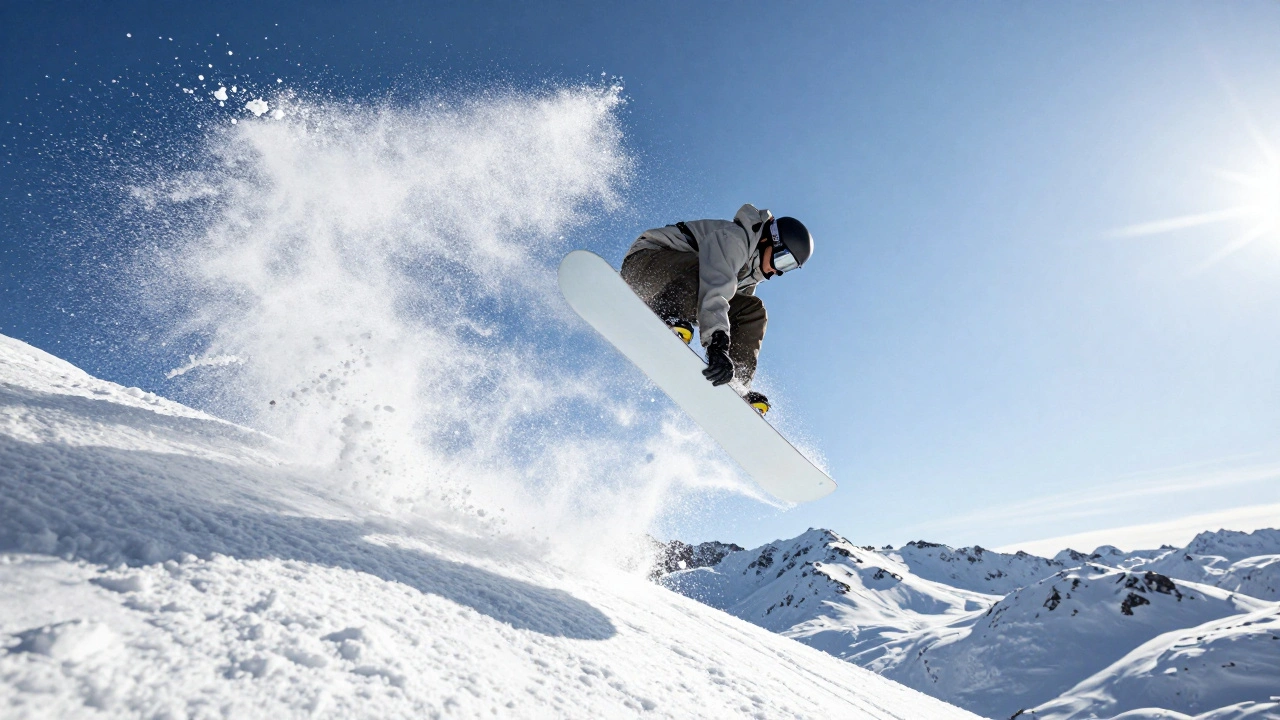
Imagine standing on a frozen ridge, the wind howling, while a snowboarder launches themselves fifty feet into the air against a blinding white backdrop. It's a shot that looks effortless in a magazine, but in reality, it's a battle against freezing fingers, deceptive lighting, and gear that wants to shut down the moment the temperature drops. Most people think you just point and shoot, but the reflective nature of snow tricks your camera into thinking it's brighter than it actually is, often leaving you with gray, muddy images or blown-out highlights that ruin the mood.
Quick Wins for Your Next Mountain Trip
- Fast Shutter Speeds: Keep it at 1/1000s or faster to freeze the spray of snow.
- Exposure Compensation: Dial in -1/3 or -2/3 stop to stop the snow from looking like a flat white sheet.
- Auto ISO: Set a ceiling around 1800 to balance noise with speed.
- Burst Mode: Use high frame rates (8+ fps) to catch the exact peak of a jump.
- Gear Care: Never bring a freezing camera straight into a warm room without a sealed bag to prevent condensation.
Nailing the Technical Settings
When you're tracking a skier carving through powder, you don't have time to fiddle with menus. The goal is to freeze the action without losing the texture of the snow. Most pros lean on Shutter Priority Mode. By locking your shutter speed at 1/1000 of a second, you ensure that the athlete isn't a blur. If they're moving faster-like in a downhill race-you might even push it to 1/2000s.
The real trick, however, is handling the light. Snow is essentially a giant mirror. Your camera's light meter sees all that brightness and tries to "correct" it by underexposing the image, which turns your brilliant white snow into a dull, depressing gray. To fight this, intentionally underexpose your shots by about 1/3 of a stop. This keeps the highlights from clipping while maintaining the natural look of the alpine environment.
For ISO, don't be afraid of a little grain. Setting your ISO to automatic with a maximum limit of 1800 gives you the flexibility to shoot in the shadows of a pine forest and then immediately pivot to a sun-drenched peak without losing the shot.
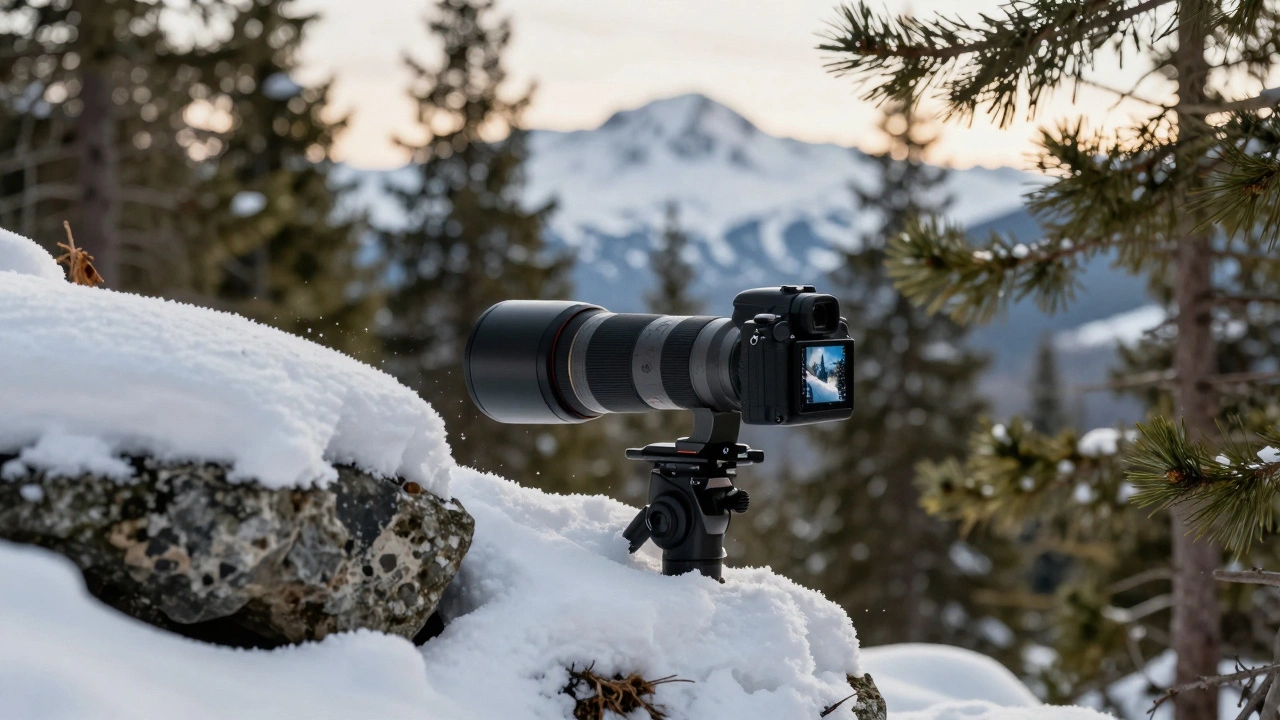
Choosing the Right Glass
Depending on where you stand, your lens choice changes everything. If you're on the sidelines of a competition, a telephoto lens is your best friend. A 70-300mm lens allows you to isolate the athlete from the chaotic background, creating that professional "pop" where the subject is sharp and the mountains behind them are softly blurred.
On the other hand, if you're riding alongside your friends, go wide. An ultra-wide-angle lens, like a 10-20mm, is perfect for environmental storytelling. The beauty of wide glass is the massive depth of field. If you focus at infinity, almost everything from two meters away to the horizon stays sharp. This removes the stress of tracking a fast-moving target because the athlete is almost always within the zone of focus.
| Lens Type | Best Use Case | Key Advantage | Trade-off |
|---|---|---|---|
| Telephoto (70-300mm) | Distant action / Portraits | Isolates subject; creates bokeh | Harder to track fast movement |
| Ultra-Wide (10-20mm) | POV / Landscape context | Huge depth of field; immersive | Requires being very close to subject |
Composition Secrets from the Pros
Don't just stand in the middle of the run and pray. The best winter shots use "compositional anchors." Find a tree, a rustic fence, or a jagged rock and use it to frame your shot. By placing these foreground elements in the frame, you create a 3D effect that draws the eye toward the athlete.
Instead of following the athlete with your camera, try "pre-composing." Set your frame, lock your focus on a specific spot in the snow, and wait for the snowboarder to slide into that exact window. This technique, combined with a high burst rate of 8 to 12 frames per second, ensures you get the perfect moment of impact or the peak of a carve without the awkward shake of a panning camera.
Survival Guide for Gear and Cold
Cold weather is brutal on batteries. Lithium-ion cells hate the freeze, and you'll notice your battery percentage dropping way faster than usual. A pro tip? Keep your spare batteries in an inside pocket close to your body heat. When you swap them, do it quickly so the camera doesn't get a shock of cold air.
Moisture is the other enemy. While frozen snow is easier to deal with than rain-since it doesn't soak into the seals as easily-it still clings to your lens. Keep a few microfiber cloths in a zipped pocket. Avoid using your glove to wipe the lens; the fibers from the fabric or trapped grit can scratch your glass. A simple lens cap is your best defense while you're actually skiing between shots.
The most dangerous part of the day is actually when you go inside. Moving a freezing camera into a warm, humid room creates instant condensation. This isn't just on the outside; it can form inside the lens and on the sensor. To prevent this, put your gear in a sealed plastic bag before leaving the mountain. Let the camera warm up slowly inside the bag; the condensation will form on the plastic rather than on your expensive electronics.
When you finally set up for drying, detach your lenses. Place the camera body with the sensor facing downward. This prevents any stray dust or moisture droplets from settling directly onto the sensor while the equipment reaches room temperature.
From Hobbyist to Professional
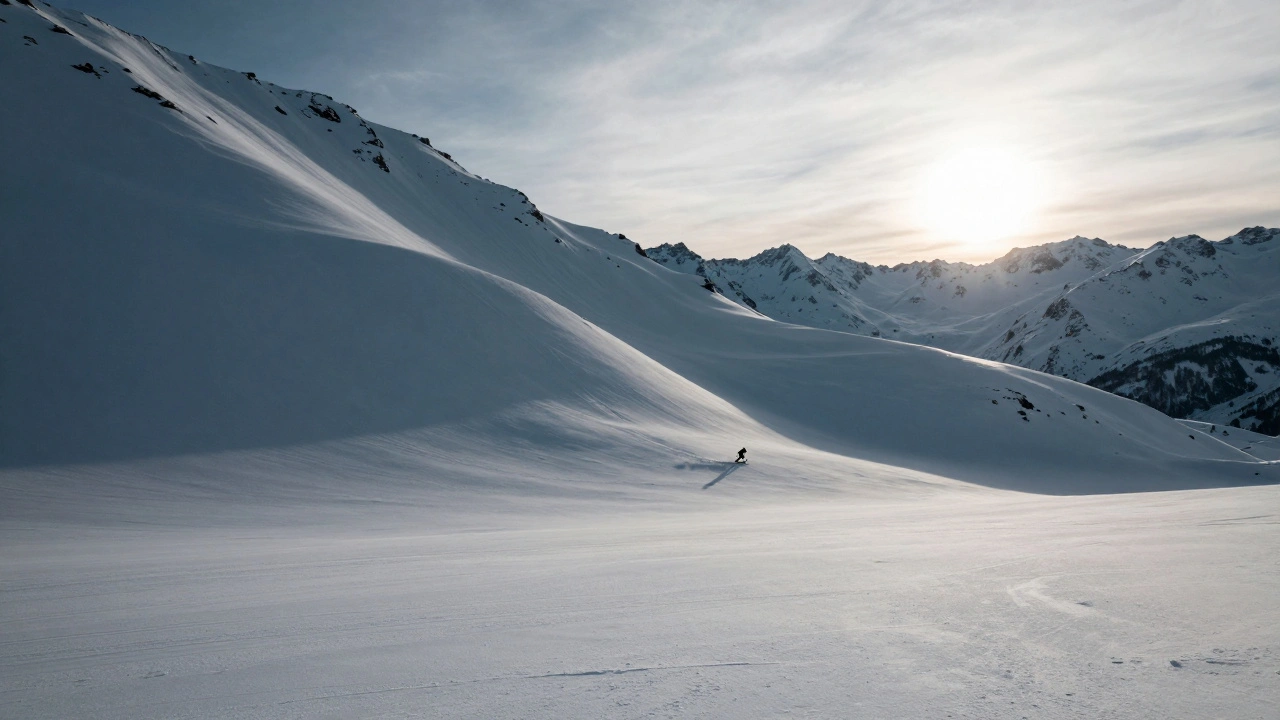
If you look at the portfolios of elite names like Jonathan Griffith or Christian Pondella, you'll see a common theme: they don't just shoot the person; they shoot the atmosphere. They balance the intensity of the speed with the silence of the alpine scenery.
The commercial market for this is huge. Platforms like Adobe Stock and Getty Images host millions of winter sports images, proving that there's a constant demand for high-quality shots of skiing and snowboarding. Whether you're shooting for a brand or just for your Instagram, the key is capturing the "thrill." Look for the spray of the powder, the tension in the athlete's body, and the scale of the mountain.
Why does my snow look gray in photos?
Your camera's light meter is designed to see a "middle gray" world. Because snow is so bright, the camera thinks the scene is overexposed and lowers the exposure to compensate. To fix this, use exposure compensation to add +0.7 or +1.0 EV, or manually underexpose slightly if you want to preserve highlight detail while maintaining a bright look in post-processing.
What is the best shutter speed for skiing?
For most action shots, a minimum of 1/1000s is required to freeze the motion. If you are shooting high-speed downhill events or want to capture every single crystal of flying snow, 1/2000s or 1/4000s is ideal. If you want to show a sense of speed, you can drop to 1/250s and pan with the athlete.
How do I stop my battery from dying in the cold?
Keep spare batteries in an interior pocket of your clothing to keep them warm. Avoid leaving the camera on standby for long periods; turn it off between sets of shots. Using a battery grip can also provide extra capacity and sometimes better insulation.
Can I use a wide-angle lens for sports?
Yes, and it's often preferred for "lifestyle" action shots. Wide lenses provide a massive depth of field, meaning you don't have to be as precise with your focus. However, you must be physically close to the athlete to make them the focal point of the image.
How do I clean snow off my lens safely?
Gently blow the snow off the glass first. If there are streaks or droplets, use a clean, dedicated microfiber cloth. Never use your gloves or a shirt, as these can grind small ice particles or grit into the lens coating, causing permanent scratches.
Next Steps for Improvement
If you've mastered the basics, try experimenting with panning shots. Set your shutter speed lower (around 1/60s to 1/125s) and move your camera at the exact same speed as the skier. This creates a blurred background and a sharp subject, emphasizing the velocity of the sport.
For those moving into professional work, focus on post-processing. Learning how to recover shadows in the deep blue mountain creases while keeping the white peaks from blowing out is where the real magic happens. Try using a polarising filter to cut the glare on the snow and make the blue skies pop.