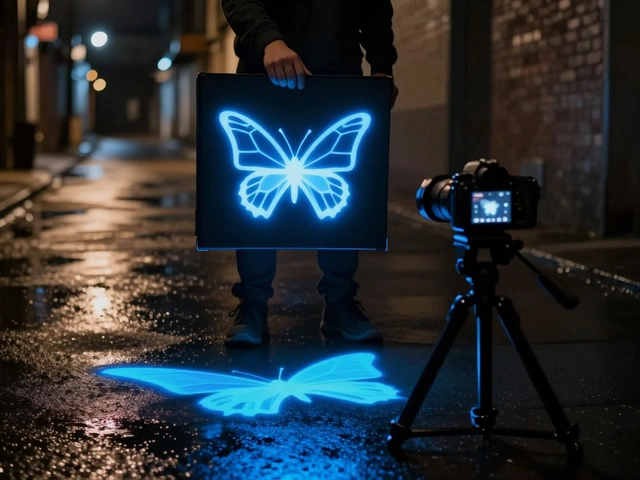
Imagine capturing a glowing logo floating in mid-air or a swarm of neon butterflies dancing across a dark landscape. You don't need complex CGI software for this. You just need a piece of paper, a light source, and your camera. This is stencil light painting, also known as light stenciling. It is a specialized technique that lets you burn precise shapes, text, and logos directly into your photograph during a long exposure shot.
Unlike traditional light painting where you draw with moving lights, stenciling relies on static masks to block light. The result is sharp, graphic elements that look like they belong in the scene. Whether you are shooting toy photography or large-scale urban art, this method adds a professional layer of design to your images without expensive post-processing.
Gathering Your Materials for the Light Box
You do not need a studio to start. In fact, many pros prefer building their own tools because they are cheaper and customizable. The core of this technique is the light stencil box. Think of it as a portable projector that emits light only through specific cutouts.
To build one, you need three main components:
- The Frame: A rigid box structure. Artists like Vitor Schietti use wooden boards cut by lasers for durability, but cardboard or plastic storage boxes work for beginners. The outside must be painted matte black to prevent stray light from leaking onto your sensor.
- The Interior Liner: Line the inside with aluminum foil or reflective silver tape. This bounces the light evenly, ensuring your shape glows uniformly rather than having hot spots in the center.
- The Diffuser: Place a sheet of white tracing paper or frosted acrylic at the front opening. This softens the light coming from the bulb behind it, creating a smooth edge for your stencil.
For the stencil itself, start with simple materials. Black cardstock or heavy construction paper works well. Use an X-Acto knife or art cutter to slice out your design. If you want more intricate details, consider using laser-cut wood or acrylic sheets. Just remember: lighter materials are easier to carry but more fragile; heavier woods are durable but bulky. Find a balance that fits your workflow.
Designing Effective Stencils
Not every image makes a good stencil. Complex photos with too much detail will turn into a muddy mess when lit from behind. You need high-contrast designs with clear negative space.
Start by finding a vector-based logo or a geometric shape. Programs like Adobe Illustrator are perfect for this because they provide clean lines. When cutting your physical stencil, ensure the bridges (the parts connecting different sections of the design) are wide enough so they don't tear. For example, if you are making a butterfly stencil, keep the wings connected to the body with thick strips of material.
Test your stencil before heading out. Hold it up to a flashlight indoors. Does the light pass through clearly? Are there any unintended holes? Adjusting these issues at home saves frustration during your night shoot.
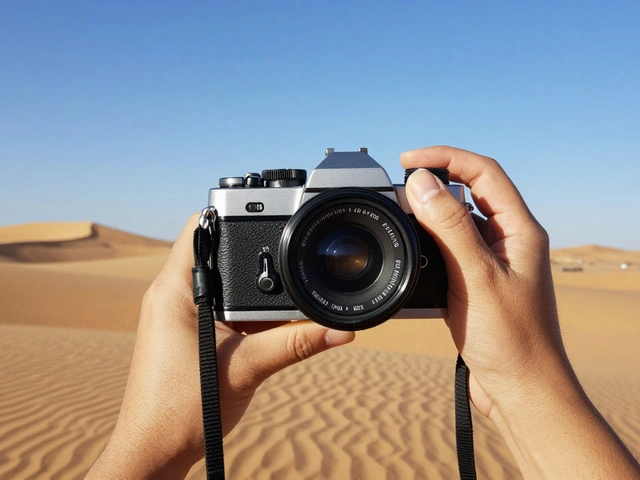
Camera Settings for Long Exposure
This technique requires manual control over your camera. Auto modes will try to compensate for the darkness and ruin the effect. Here is the setup you need:
- Mode: Switch to Manual (M) mode.
- Aperture: Set between f/8 and f/11. This ensures your stencil stays in focus while allowing enough ambient light to expose the background properly.
- ISO: Keep it low, around ISO 100 or 200, to minimize noise.
- Shutter Speed: Start with 10 to 30 seconds. You can adjust this based on how bright your light source is and how much ambient light exists.
- Focusing: This is tricky in the dark. Turn on your flashlight briefly to focus on your subject or the ground where the stencil will appear. Then switch your lens to Manual Focus so it doesn't hunt for light during the actual shot.
Use a sturdy tripod. Any movement during the long exposure will blur your crisp stencil edges. A remote shutter release or your camera's self-timer prevents shake when you press the button.
Executing the Shot Step-by-Step
Once your gear is set, here is how you capture the image:
First, position your camera and compose your shot. Decide exactly where the stencil element should appear in the frame. Mark this spot on the ground with tape if necessary.
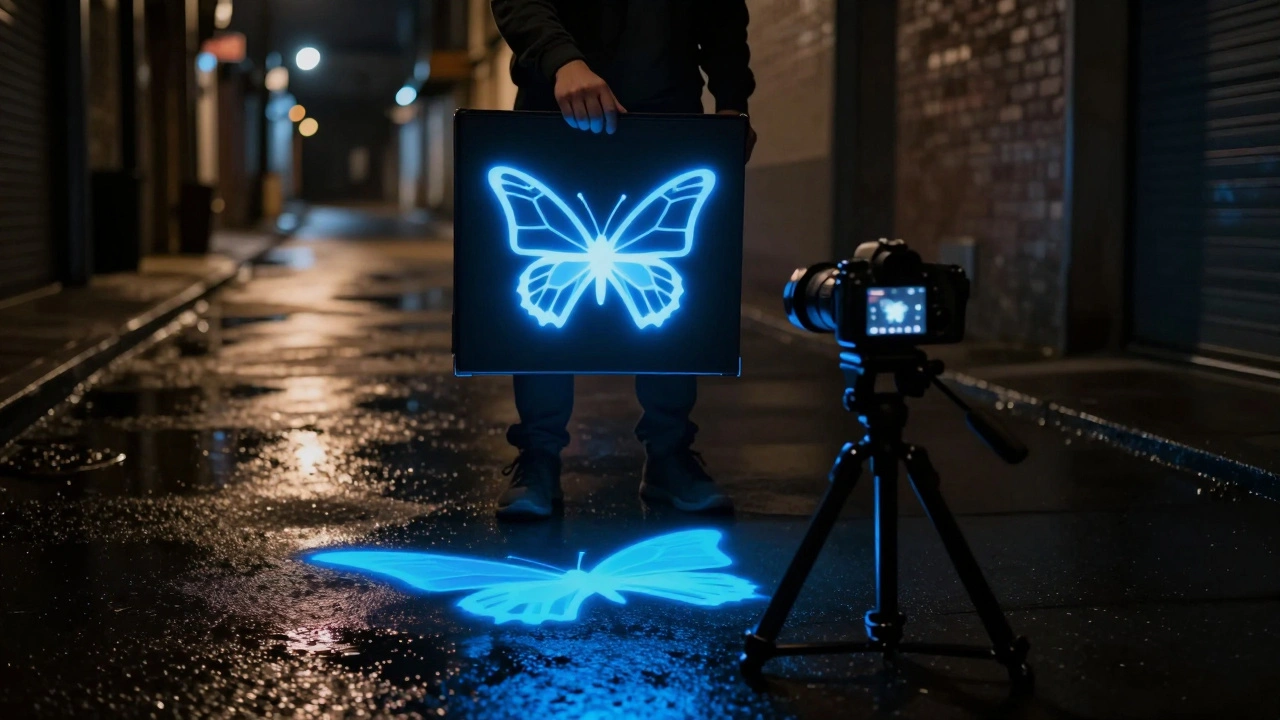
Open the shutter. Now, have your assistant hold the light box steady in the marked position. The key is stability. The person holding the box must remain perfectly still while the flash fires. Alternatively, mount the light box on a small tripod or clamp it to a stand if possible.
Fire the light source inside the box. Most practitioners use a small LED panel or a strobe light fitted with colored gels. For instance, a blue gel creates a cool, ethereal glow, while orange adds warmth. The light burns through the stencil onto the camera sensor.
You have two options for timing:
- Static Placement: Keep the stencil in place for the entire duration of the exposure. This results in a solid, brightly lit shape.
- Moving Element: Remove the stencil partway through the exposure. This allows ambient light to fill in the rest of the scene, preventing the stencil from looking too overpowering against a dark background.
Close the shutter. Review the image. If the shape is too faint, increase the power of your light source or lengthen the time the light is on. If it’s too bright, reduce the aperture or move the light box further away.
Advanced Techniques: Layering and Motion
Once you master the basics, you can combine stenciling with other light painting methods. This creates dynamic, multi-layered compositions.
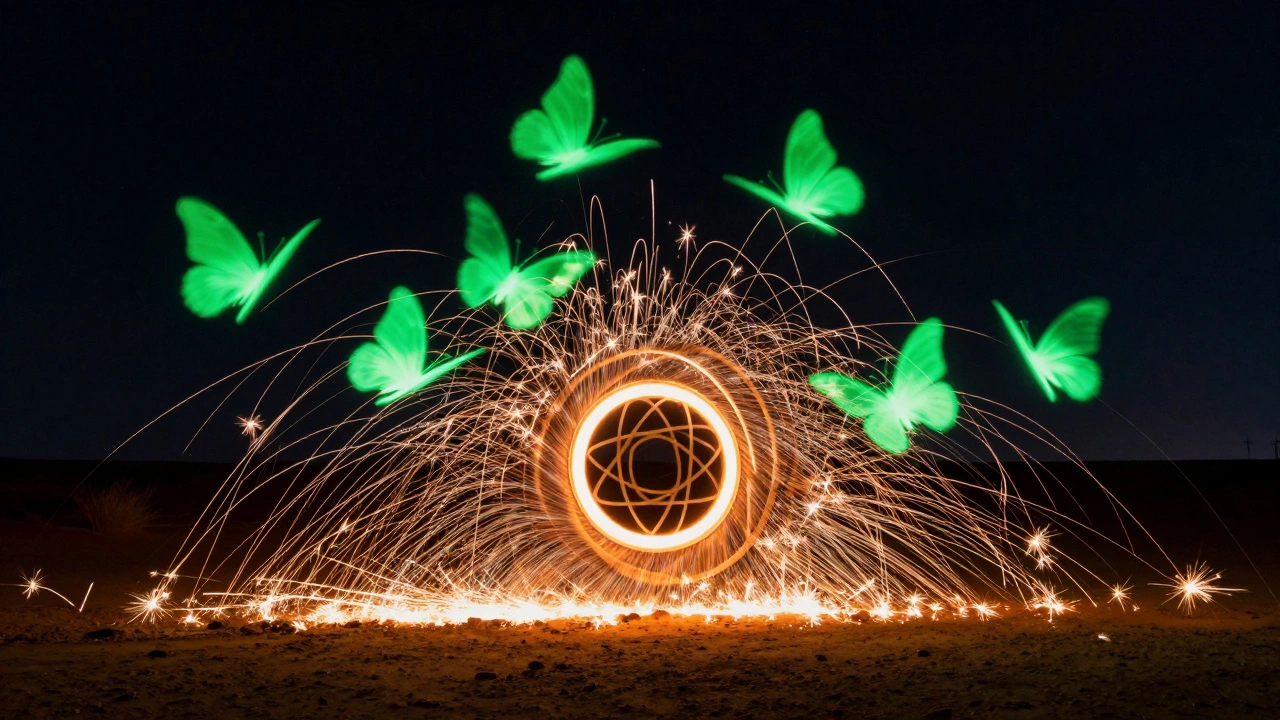
Try the "multiple exposure" trick within a single frame. Take a butterfly stencil and shoot it five times in different positions during one long exposure. To the viewer, it looks like a flock of butterflies flying. Combine this with a cold cathode light tube dragged along the ground to simulate grass or water reflections.
Another pro tip involves mixing media. Use sparklers or steel wool spinning alongside your static stencil. The contrast between the sharp, clean lines of the stencil and the chaotic, organic trails of the sparks creates visual interest. Artist Vitor Schietti often uses large wooden stencils with sacred geometry patterns, pairing them with vibrant LED colors to make the shapes pop against urban backdrops.
In toy photography, this technique shines literally. Photographers like those featured in tutorials by Chris Benbow (Nocturne) use small stencils to add stars or magical dust around LEGO sets. They might punch random holes in black paper and place a tiny LED behind it to create a starry sky effect above a miniature cityscape.
Troubleshooting Common Issues
Even experienced photographers run into problems. Here is how to fix them:
| Problem | Cause | Solution |
|---|---|---|
| Fuzzy Edges | Camera shake or stencil movement | Use a tripod and secure the light box with clamps or weights. |
| Uneven Lighting | Poor reflection inside the box | Add more aluminum foil or use a larger diffuser sheet. |
| Overexposed Shape | Light source too close or too bright | Move the light further back or lower the LED brightness. |
| Underexposed Background | Shutter speed too short | Increase exposure time or widen the aperture slightly. |
| Visible Light Source | Light leaking out of the box | Paint all exterior surfaces matte black and seal gaps with tape. |
If your autofocus fails completely, use live view and zoom in digitally on your screen to manually focus on a landmark before turning off the lights. Remember, cameras need some light to focus. Total darkness means no focus lock.
Why Choose Stenciling Over Post-Processing?
You might wonder why bother with all this effort when you can just Photoshop a logo into the image later. There are two main reasons.
First, authenticity. Light stenciling interacts with the environment. The light from the stencil casts subtle shadows on nearby objects and reflects off wet pavement or glass. These natural interactions are incredibly hard to fake in editing software. The result feels integrated and real.
Second, creativity constraints. Working with physical limits forces you to think differently. You cannot simply drag and drop a file. You have to plan angles, lighting ratios, and timing. This process often leads to more unique and thoughtful compositions than digital manipulation alone.
What is the best light source for a stencil light box?
Small LED panels or strobes with adjustable brightness are ideal. The Manfrotto Lumimuse 3 is a popular choice among professionals due to its portability and color accuracy. Ensure the light source is positioned centrally behind the diffuser for even illumination.
Can I use this technique during the day?
Yes, but it is challenging. You need a very powerful light source to compete with sunlight, or you must shoot in deep shade. Alternatively, use a neutral density filter on your lens to darken the background, allowing you to use longer exposures even in daylight.
How do I prevent the person holding the stencil from appearing in the photo?
The holder must stay completely still and avoid reflecting light onto themselves. Using a light box with opaque sides helps contain the light. If possible, mount the box on a tripod or hide behind a wall or object while triggering the light remotely.
What materials work best for detailed stencils?
For fine details, laser-cut acrylic or thin plywood is best. Cardboard can warp and has rough edges. Tracing paper is excellent for the diffuser layer but too flimsy for the stencil mask itself unless reinforced.
Is stencil light painting difficult for beginners?
It is relatively easy to learn. The basic setup requires minimal gear. Start with simple shapes like circles or squares before attempting complex logos. Practice focusing in low light conditions separately to build confidence.