There’s a reason every travel photographer wakes up before dawn or stays out past dusk. It’s not just about catching the light-it’s about catching the magic. Golden hour isn’t a buzzword. It’s a fleeting, physics-backed phenomenon that turns ordinary landscapes into unforgettable images. And if you’re shooting at popular spots without knowing how to work with it, you’re leaving money, emotion, and impact on the table.
What Exactly Is Golden Hour?
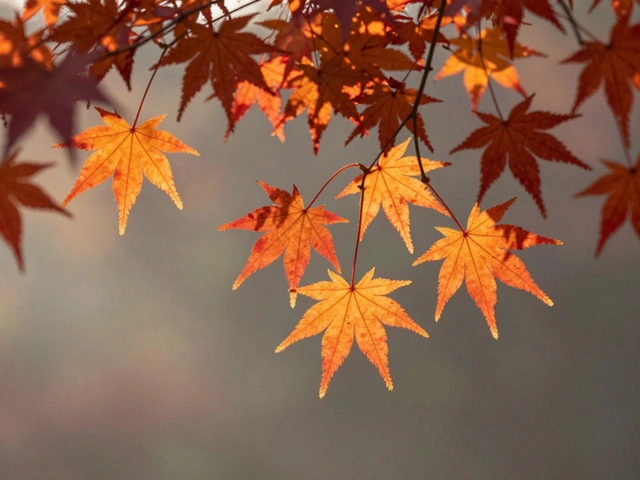
Golden hour isn’t when the sun touches the horizon. It’s the 45 to 60 minutes after sunrise and before sunset when the sun is low enough to cast long, soft light across the land. At this angle, sunlight passes through more of the atmosphere, scattering blue wavelengths and leaving behind warm, golden tones. The result? Skin glows, sand shimmers, water turns liquid gold, and shadows stretch like paintbrush strokes across the ground.
Forget the myth that golden hour starts at sunset. The best light happens 30 to 45 minutes before the sun dips below the horizon. If you arrive at 5:55 p.m. for a sunset shoot, you’ve already missed the peak. Professionals show up two hours early-not to kill time, but to scout angles, test compositions, and set up gear while the light is still usable.
Why Golden Hour Beats Midday Light
Midday sun is brutal. It flattens textures, bleaches colors, and throws harsh shadows under eyes and noses. Golden hour does the opposite. Its low angle creates dimension. It turns a flat rock face into a sculpted ridge. It makes a simple tree look like a silhouette against a glowing sky. Even a plain sidewalk becomes a leading line when bathed in warm light.
Here’s what golden hour does to your photos:
- Reduces contrast-no blown-out skies or crushed shadows
- Enhances warm tones-skin, sand, stone, and foliage pop with natural saturation
- Creates directional light-perfect for side-lighting subjects or backlighting silhouettes
- Lengthens shadows-adds depth, drama, and visual rhythm
Photographers who shoot wildlife, architecture, or portraits during this window report a 70%+ increase in client satisfaction. Why? Because the light doesn’t just look good-it feels good.
Best Camera Settings for Golden Hour
You can’t rely on auto mode. The light changes too fast. By the time you adjust settings, the moment’s gone. Here’s what works:
- Aperture: f/1.8 to f/2.8 for portraits and shallow depth-of-field shots. Use f/5.6 to f/8 for landscapes to keep everything sharp.
- Shutter Speed: Start at 1/125s and slow down as the light fades. Don’t go below 1/30s without a tripod.
- ISO: Keep it between 100 and 400. Only raise it when you’re in twilight and can’t open the aperture further.
- White Balance: Set to "Cloudy" or "Shade." This keeps the golden warmth instead of neutralizing it. Auto WB often kills the magic.
- Mode: Manual. Always. You need full control as light shifts by the second.
Use exposure bracketing: shoot three frames-one underexposed, one correct, one over. Later, merge them in editing for maximum detail in sky and shadow.
Top 5 Golden Hour Spots Around the World
Not all locations are created equal. Some places have geography, water, or architecture that turns golden hour into a spectacle. Here are five spots where the light doesn’t just shine-it sings.
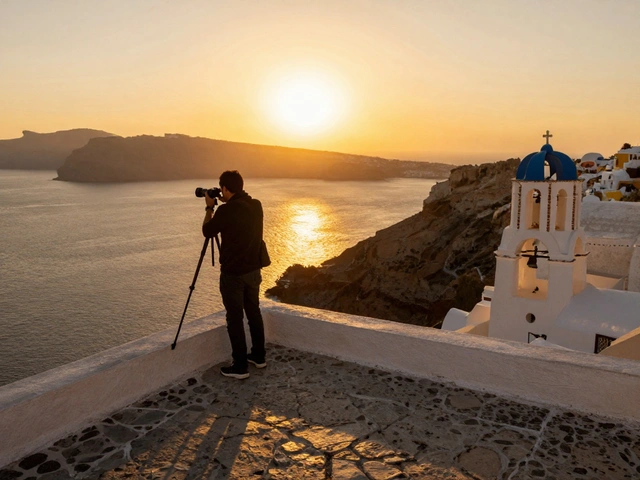
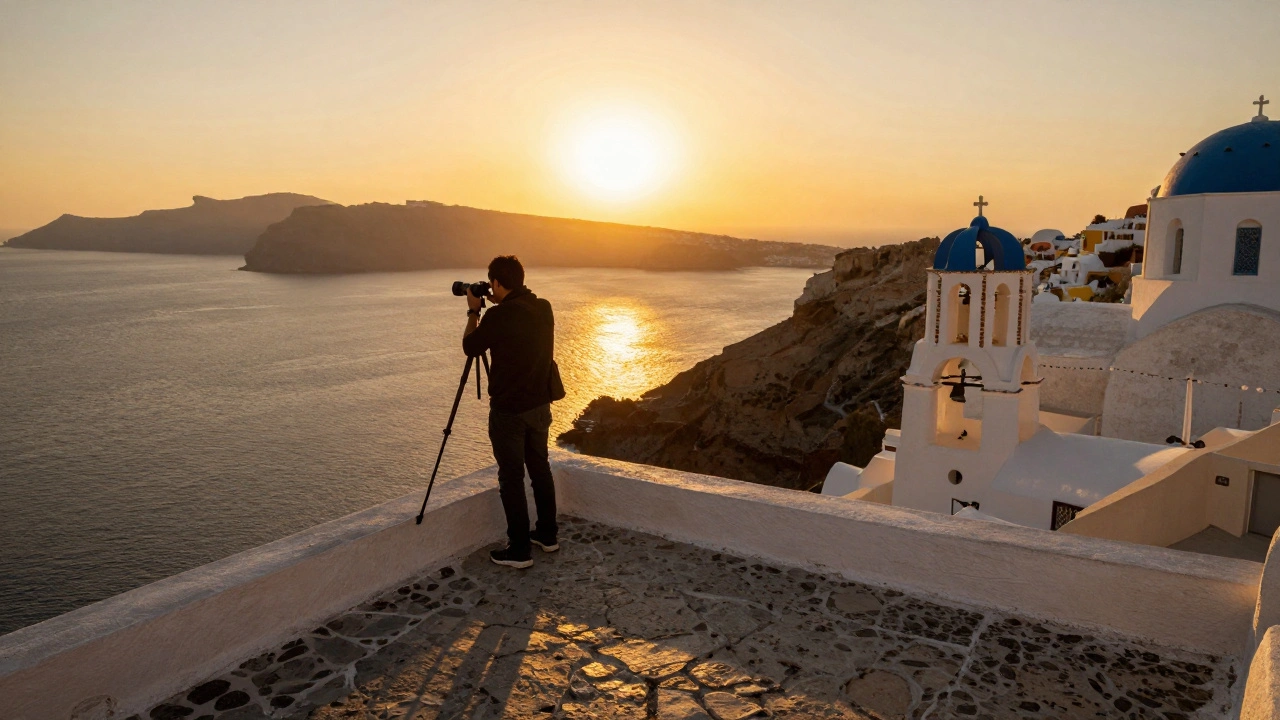
- Santorini, Greece -The whitewashed buildings reflect the sun like mirrors. Shoot from Oia’s cliffside as the sun dips behind the caldera. The light hits the domes and turns them into glowing orbs. Arrive two hours early-tourist crowds build fast.
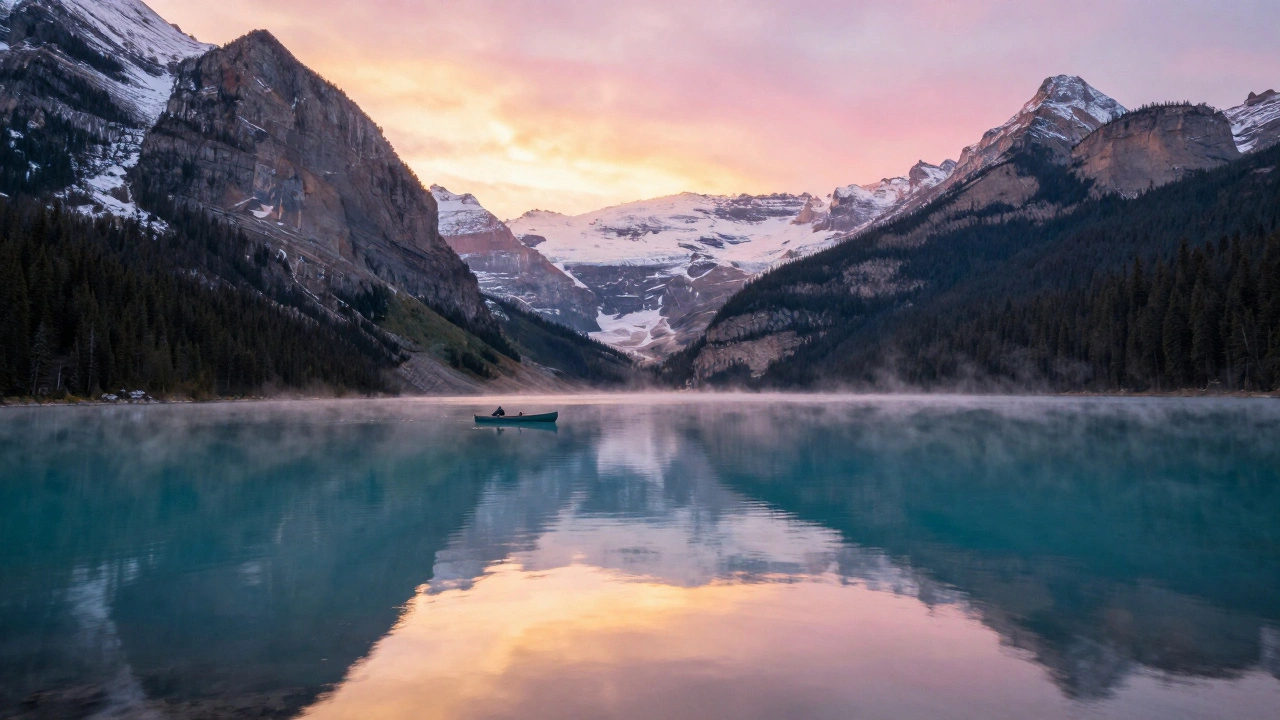
- Banff National Park, Canada -Lake Louise at sunrise is legendary. The turquoise water mirrors the pink-and-gold sky. Use a polarizing filter to cut glare and deepen the reflection. The mountains frame the scene perfectly.
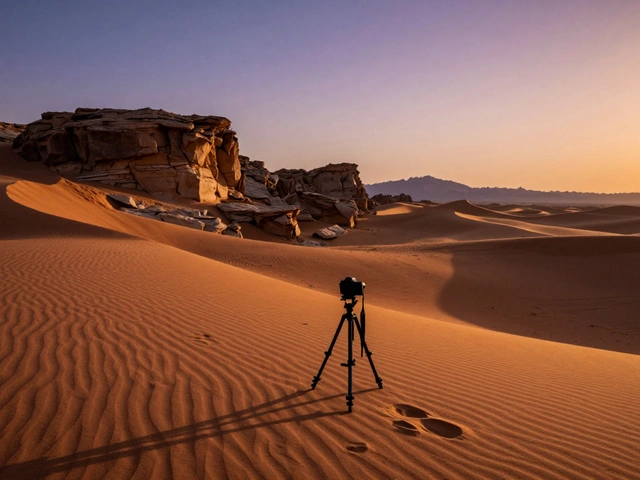
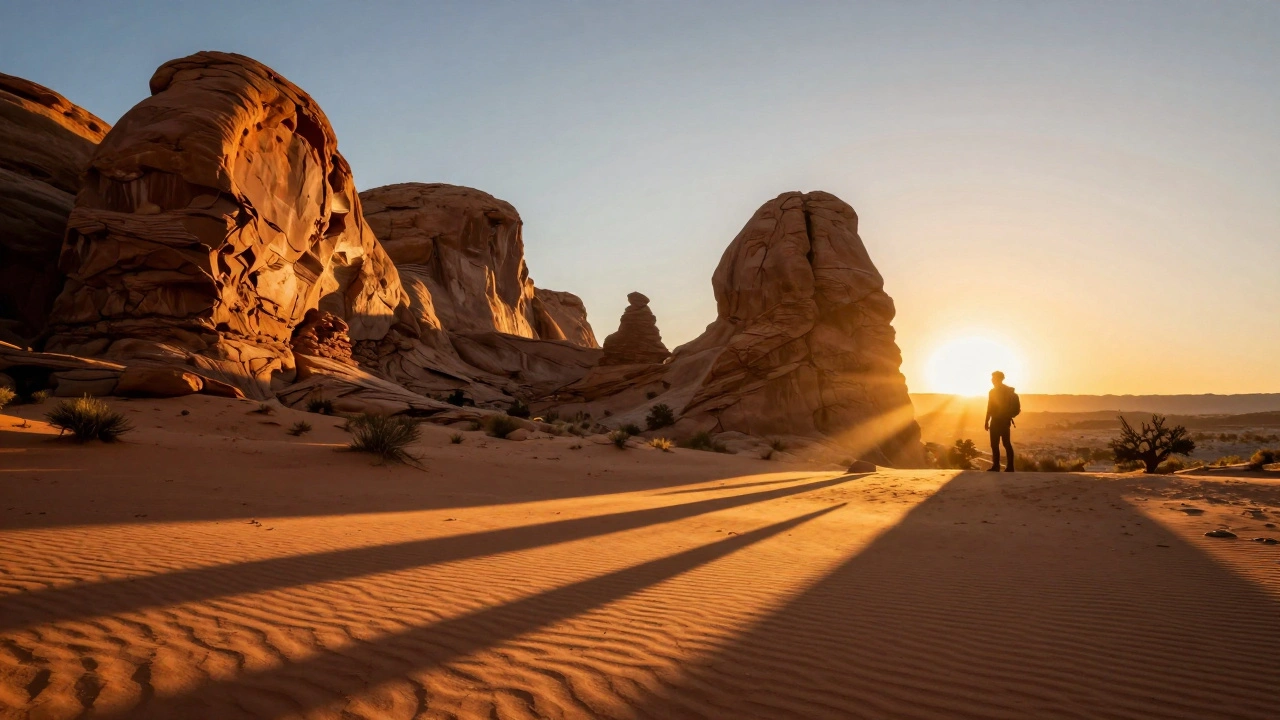
- Moab, Utah, USA -Arches National Park’s sandstone formations glow like embers at sunset. The light hits the thin fins of rock, making them look like they’re on fire. Shoot from the Windows Section just before sunset for long shadows that stretch across the desert.
- Bali, Indonesia -Uluwatu Temple at sunset is a cultural and photographic landmark. The temple clings to a cliff, and the sun sets over the Indian Ocean. Capture silhouettes of temple-goers against the glowing horizon. Bring a tripod-light fades fast here.
- Venice, Italy -The Grand Canal reflects the golden light in streaks of copper and amber. Shoot from a gondola or the Rialto Bridge at sunrise. The water ripples, and the palazzos glow with a warmth you can’t replicate in post.
Composition Tricks That Make Golden Hour Photos Stand Out
Light alone won’t save a bad photo. You need to use it intentionally.
- Backlighting: Place your subject between the camera and the sun. This creates rim lighting around hair, shoulders, or edges. Great for portraits. Use a reflector or fill flash if the face gets too dark.
- Silhouettes: Expose for the sky, not the subject. Let the person or object become a dark shape against the glow. Works best with strong outlines-trees, people, animals.
- Reflections: Water, wet sand, or even puddles double the beauty. Shoot low to the ground for maximum mirror effect. A polarizer helps control glare.
- Leading Lines: Use paths, shorelines, or architectural lines to guide the eye toward the sun. A winding road at sunrise pulls viewers into the frame.
- Foreground Interest: Don’t just shoot the sky. Include rocks, flowers, or boats in the foreground. It adds depth and scale.
Essential Gear for Golden Hour Shoots
You don’t need expensive gear, but some tools make the difference.
- Wide-aperture lens: f/2.8 or wider (like f/1.8) lets in more light and creates creamy bokeh.
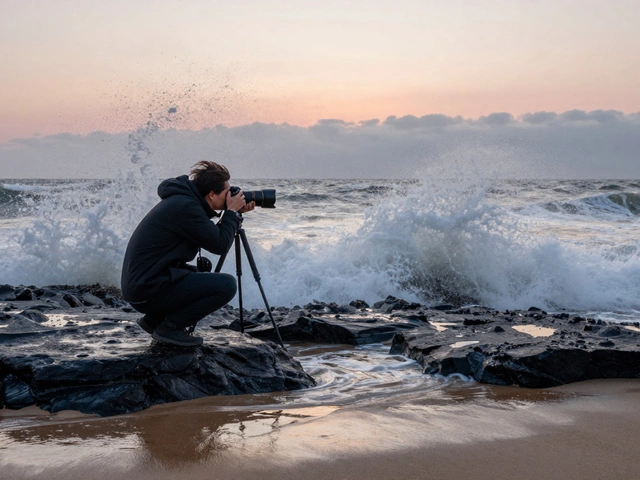
- Sturdy tripod: When light drops, you’ll need slower shutter speeds. A shaky hand ruins golden hour shots.
- Lens hood: Prevents lens flare from the low sun. Even a small angle can cause ghosting.
- Remote shutter or timer: Avoid camera shake when pressing the button.
- Reflectors or diffusers: For portraits, bounce light back onto faces. A simple white bedsheet works in a pinch.
And don’t forget batteries. Cold morning air drains them faster. Bring extras.
Golden Hour vs. Blue Hour: Know the Difference
Don’t confuse golden hour with blue hour. Blue hour happens right after sunset or before sunrise. The sun is below the horizon, but the sky still glows with cool, deep blue tones. It’s perfect for cityscapes, lit windows, and moody landscapes.
Golden hour is warm, direct, and dramatic. Blue hour is cool, calm, and atmospheric. The best photographers shoot both. Start with golden hour, then stay for blue hour. You’ll get two completely different sets of images from one trip.
Common Mistakes to Avoid
- Arriving too late. You’ll be fumbling with gear while the light fades.
- Shooting in auto mode. The camera doesn’t know you want golden tones.
- Ignoring the foreground. A blank sky with no ground detail looks flat.
- Not checking the sun’s path. Use apps like PhotoPills or Sun Surveyor to know exactly where the sun will rise or set relative to your subject.
- Over-editing. Golden hour is naturally warm. Don’t crank up the orange slider until it looks like a filter.
What to Do If You Miss Golden Hour
Weather rolled in? Clouds blocked the sun? You still have options.
- Shoot in twilight. The light is softer than midday, and colors are still rich.
- Use artificial light. A small LED panel can mimic golden hour warmth if you’re shooting portraits.
- Wait for the next day. Golden hour is always coming. It’s not a one-shot deal.
The best travel photographers don’t chase perfection. They chase consistency. Show up. Be ready. Adapt. And let the light do the rest.
How long does golden hour really last?
Golden hour typically lasts 45 to 60 minutes, but it varies by season and latitude. Near the equator, it’s shorter-closer to 30 minutes. Near the poles in summer, it can stretch for hours. The most intense light-the peak-usually occurs 30 to 45 minutes before sunset or after sunrise.
Is golden hour the same everywhere?
No. In tropical regions, the sun rises and sets quickly, making golden hour shorter. In higher latitudes, especially during summer, the sun barely dips below the horizon, stretching golden hour into two hours or more. Always check local sunrise/sunset times and use apps like PhotoPills to see the sun’s path for your exact location.
Can I shoot golden hour with a smartphone?
Yes-but with limits. Modern smartphones handle dynamic range well, but they lack manual controls. Use Pro or Manual mode if available. Avoid using HDR automatically-it can flatten the golden tones. Shoot in RAW if possible, and edit the warmth manually afterward. A tripod or stabilizer helps avoid blur in low light.
What’s the best time to shoot sunrise vs. sunset?
Sunrise often has cleaner air, fewer people, and less wind. Sunset has more vibrant colors because dust and pollution in the atmosphere scatter more red and orange light. If you’re choosing, sunrise is better for quiet, peaceful shots. Sunset is better for dramatic, colorful skies and crowds.
Do I need a tripod for golden hour photography?
Not always, but you’ll thank yourself if you use one. As the sun sets, shutter speeds drop below 1/60s. Handholding at 1/15s or slower leads to blur. A tripod lets you use slower speeds, lower ISO, and sharper results. For landscapes, it’s essential. For portraits on the move, you can skip it-but bring a reflector instead.