Most phone cameras save photos as JPEGs - compressed, processed, and locked in before you even tap the shutter. You get a decent image, sure, but you’re leaving RAW data on the table. That data? It holds every detail your sensor saw: the subtle gradation in a sunset, the texture in shadows, the exact color of a subject’s skin under mixed lighting. With Lightroom Mobile, you can capture that data directly on your iPhone or iPad - no extra apps, no complicated setup. Just raw, uncompressed, professional-grade files right on your phone.
What RAW Really Means on Your Phone
When you take a photo with your phone’s default camera app, it processes everything: exposure, color, sharpness, noise reduction. It then compresses it into a JPEG. That’s fine for quick snaps, but if you ever want to fix a blown-out sky or bring back detail from a dark corner, you’re stuck. JPEGs don’t have enough data to recover it.
RAW files - specifically DNG (Digital Negative) files in Lightroom Mobile - skip all that. They store the raw sensor data exactly as it was captured. No compression. No automatic adjustments. Just pure information. That means you can change white balance after the fact, recover shadows without turning everything into noise, or adjust exposure by a full stop and still keep clean details. It’s like having a digital negative you can develop however you want.
This isn’t new tech. Adobe added native DNG capture to Lightroom Mobile back in version 2.5. Since then, it’s been available on any iPhone or iPad with a 12-megapixel camera or better, running iOS 10 or later. That covers nearly every phone from the last five years. You don’t need a Pro model. You don’t need a fancy lens. Just Lightroom Mobile and a willingness to shoot differently.
How to Capture RAW with Lightroom Mobile
It’s simple - but easy to miss if you’re used to the default camera app.
- Open Lightroom Mobile and sign in with your Adobe account. If you don’t have one, create it - it’s free.
- Tap the camera icon in the bottom-right corner. This opens the built-in camera, not your phone’s default one.
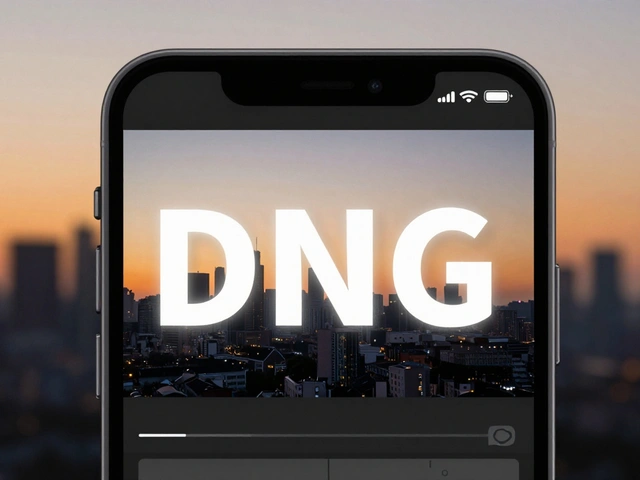
- Look at the top black bar. You’ll see a label that says either JPEG or DNG.
- If it says JPEG, tap it. A menu will pop up - select DNG. That’s it. Your camera is now set to capture raw files.
- Frame your shot, tap the shutter, and you’ve captured a DNG file.
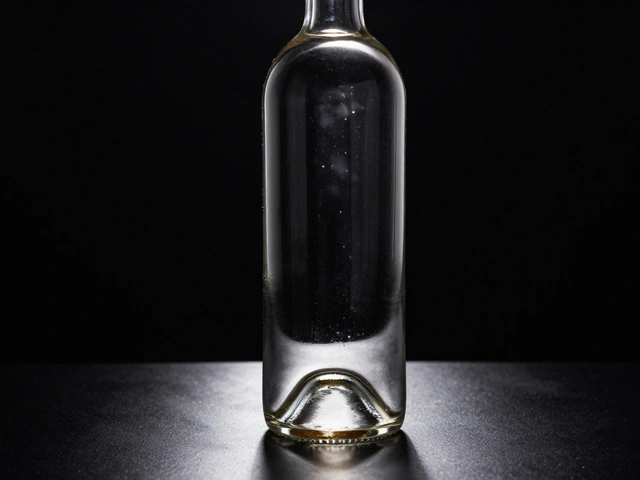
Pro tip: You can switch between JPEG and DNG anytime. If you’re shooting a quick family moment, toggle back to JPEG to save space. For scenes with tricky light - backlit subjects, high contrast, low light - switch to DNG. The app remembers your last setting, so you won’t have to reconfigure every time.
Why RAW Gives You More Control
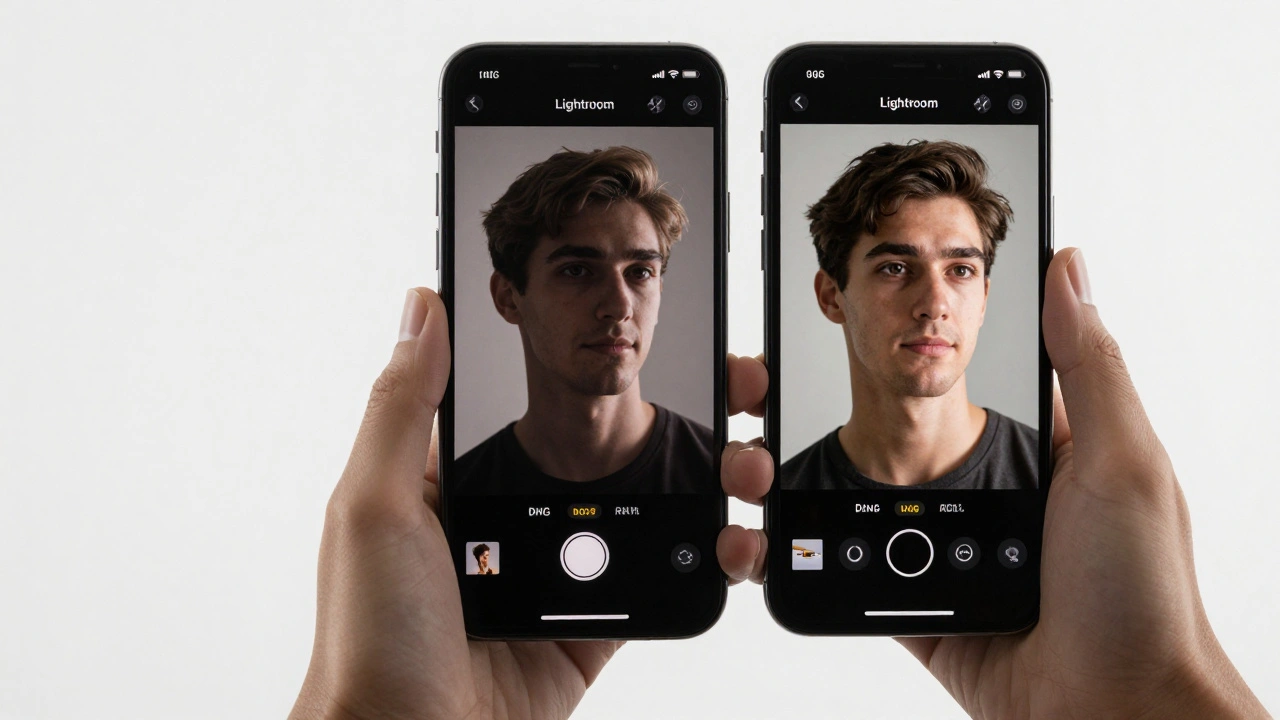
Let’s say you took a photo of a friend standing under a tree at noon. The sun’s behind them, and their face is dark. With a JPEG, you’re stuck. You can brighten it, but you’ll get grain and color shifts.
With a DNG? You open it in Lightroom Mobile, go to the Exposure slider, and pull it up. Watch as detail returns to their face - not just brighter, but textured, natural, with no halos or noise. Then you adjust the Shadows slider to lift the darkest parts of the tree. You tweak the Highlights to bring back the sun’s glow. All without losing quality. That’s because the DNG file still has all the data the sensor recorded.
White balance? You can change it after the fact. Tap the White Balance tool and pick from Daylight, Cloudy, Tungsten - or drag the temperature slider manually. A JPEG would turn muddy. A DNG stays clean.
And don’t forget HDR. Lightroom Mobile’s HDR mode isn’t just a filter. It takes multiple exposures and merges them into one DNG file, preserving detail in both bright skies and dark foregrounds. Enable it from the lower-left menu. You can even choose to save the original unprocessed image alongside the HDR version. That way, you’ve got both options - a high-dynamic-range file for editing, and a pure, untouched version just in case.
Transferring RAW Files to Your Computer
This is where most people get stuck. You take a DNG on your phone, plug it into your Mac or PC, and open the folder. All you see are JPEGs. What happened?
It’s not a bug - it’s a default. When you drag files from your phone’s storage, your computer often auto-processes them. To keep the original DNG, you must use Lightroom’s export function.
On your phone:
- Go to the Library tab in Lightroom Mobile.
- Select the DNG file(s) you want to transfer.
- Tap the Share icon (the arrow pointing up).
- Choose Export Unmodified Original.
This exports the file as a true DNG - untouched. On your computer, open Lightroom Desktop and import that folder. The files will show up as raw files, ready for lens correction, noise reduction, and advanced editing.
Alternatively, if you’re synced to Adobe Cloud, your DNGs auto-upload. Open Lightroom Desktop, and they’re already there. No manual transfer needed.
Editing RAW Files in Lightroom Mobile
You don’t need a desktop to edit RAW files. Lightroom Mobile has the full suite of tools - and they work just as well on your phone.
Here’s what you can do:
- Exposure, Highlights, Shadows: Fine-tune brightness across the whole image.
- White Balance: Adjust color temperature and tint with precision.
- Dehaze: Remove fog or haze from landscapes - great for skies and distant mountains.
- Color Grading: Add subtle color tones to shadows, midtones, and highlights.
- Lens Corrections: Automatically fix distortion and vignetting.
- Chromatic Aberration Removal: Eliminate purple/green fringing around high-contrast edges.
And here’s the kicker: you can create and save custom presets. Want your sunrise photos to have a warm, moody tone? Make a preset once, then apply it to every DNG you take. No more repeating the same edits.
Storage and Workflow Trade-Offs
RAW files are bigger. A DNG can be 5-10 times larger than a JPEG. On a phone with 128GB of storage, that means you’ll fill up faster. If you shoot 100 photos a day, you’ll need to offload regularly.
Here’s how to manage it:
- Use Adobe Cloud - 1TB of storage is included with Lightroom’s premium plan. Your DNGs upload automatically.
- Export to an external drive or SD card via USB-C or Lightning.
- Keep JPEGs for casual shots, DNGs only for scenes worth editing.
Most pros use both. They shoot DNG for landscapes, portraits, or any image they plan to edit. For quick social media posts, they switch to JPEG. It’s not about shooting everything in RAW - it’s about shooting the right things in RAW.
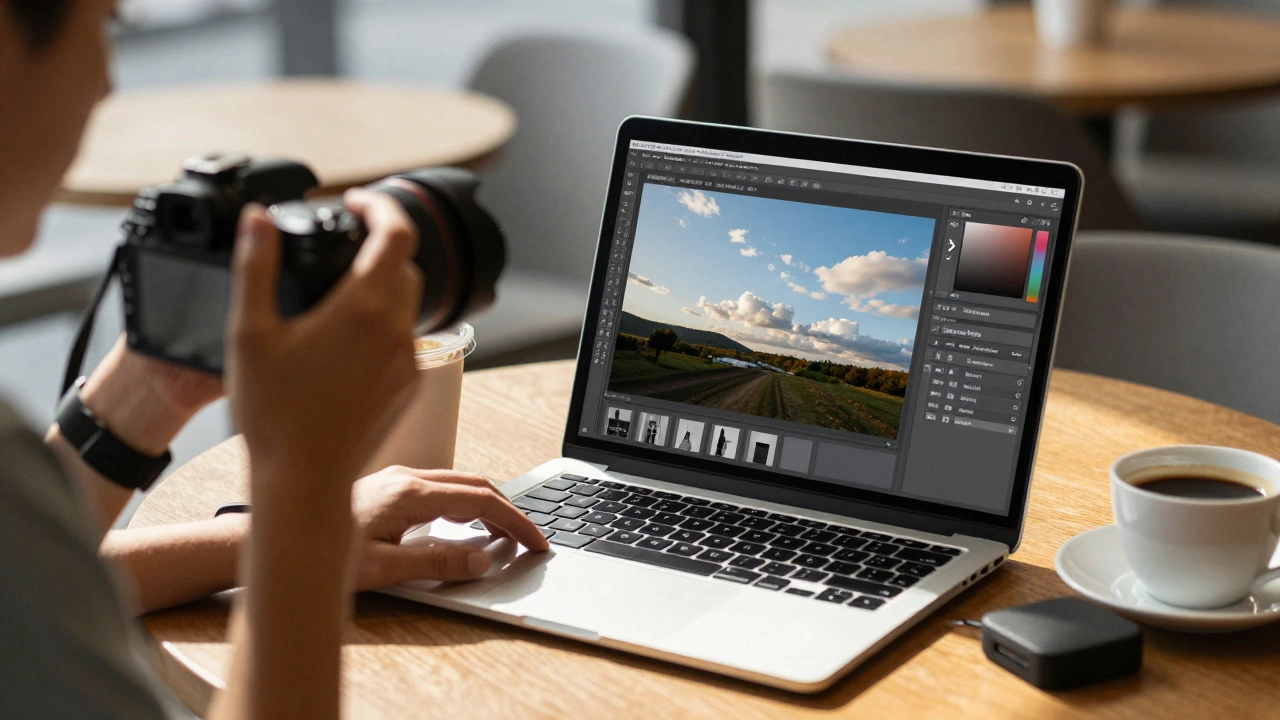
From Mobile to Photoshop
Lightroom Mobile doesn’t just stop at editing. You can send your DNG files straight into Photoshop.
On your phone, tap the Share button, then choose Open in Photoshop. The file opens as a Smart Object - meaning you can scale, rotate, or transform it without losing quality. Back in Photoshop, you can use layers, masks, and filters with full fidelity. Need to remove a power line? Clone it out. Want to enhance a sky? Use a gradient mask. All while keeping the original DNG data intact.
Professional photographers like Jamie R Mathlin and Adobe’s own Terry White have shown how this workflow fits into real-world editing. It’s not a gimmick - it’s a full pipeline: capture on the phone, edit in Lightroom Mobile, refine in Photoshop, and export for print or web.
Who Should Use This?
You don’t need to be a pro. If you’ve ever thought, “I wish I could fix this photo,” then you’re the target user.
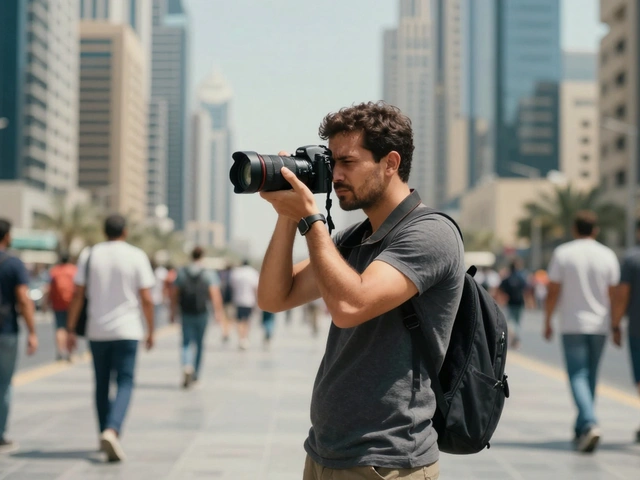
- Travel photographers who want to edit on the go.
- Parents capturing kids in low light - DNG lets you recover details without flash.
- Content creators who need consistent color for Instagram or YouTube thumbnails.
- Hobbyists who want to learn real photo editing without buying a DSLR.
It’s not about having the best phone. It’s about using the right tool. Lightroom Mobile turns your phone into a portable darkroom. And you don’t need a darkroom to use it.