Most photos feel flat. Not because they’re poorly shot, but because they’re missing something fundamental: depth. You’ve probably seen it - a landscape where the mountains look like a painted backdrop, or a portrait where the background blends into the subject like a blur. That’s not depth. That’s a missed opportunity. Real depth doesn’t happen by accident. It’s built, one layer at a time.
What Layering Actually Means in Photography
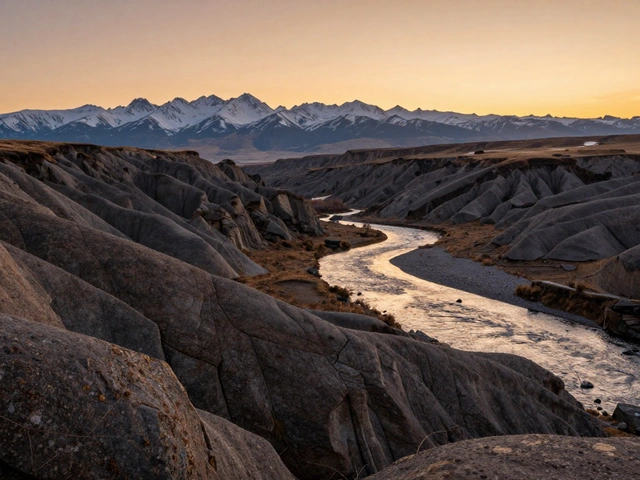
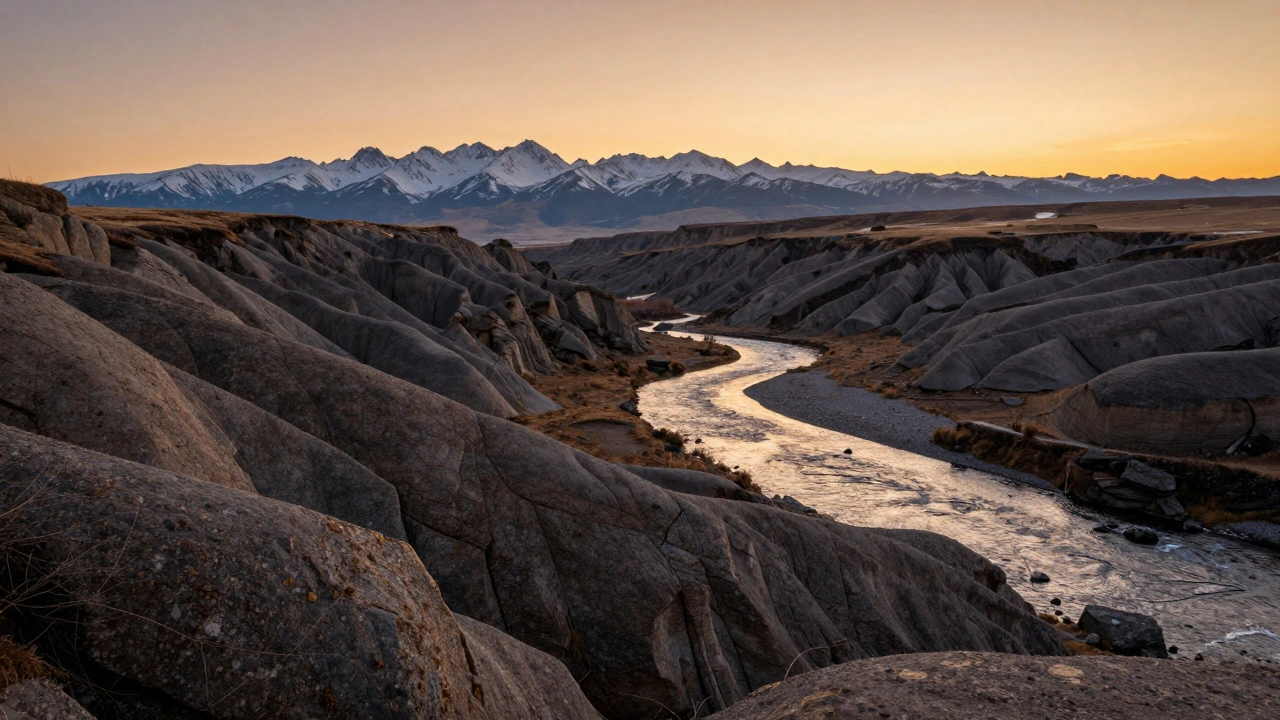
Layering isn’t just about having things in front of other things. It’s about creating distinct, readable planes that pull the viewer’s eye through the image. Think of it like a three-story building: the foreground is the ground floor, the middle ground is the second floor, and the background is the roof. Each level needs its own character, its own detail, its own reason to exist.Photographers who master layering don’t just capture scenes - they construct them. A rock in the foreground, a stream winding through the middle, and distant peaks behind it? That’s not luck. That’s intention. The goal isn’t to fill every inch of the frame. It’s to give the viewer a path to walk through the photo. Your eyes should move. They should linger. They should wonder.
The Three Planes: Foreground, Middle Ground, Background
You can’t layer without these three. Skip one, and your photo loses its dimension.- Foreground: This is your anchor. It’s what pulls the viewer in. A patch of wildflowers, a rusted gate, a puddle reflecting the sky - something close, textured, and interesting. Without it, your photo feels like a postcard.
- Middle Ground: This is where the story lives. A person walking, a trail winding through trees, a building with light on its windows. It connects the foreground to the background. If this layer is weak, the photo feels disconnected.
- Background: This sets the mood. A mountain range, a stormy sky, a city skyline. It shouldn’t be an afterthought. It should complete the narrative.
Here’s the trick: each layer needs to be visually distinct. If your foreground is blurry and your background is blurry, you don’t have layers - you have mush. You need separation. You need clarity in each zone.
How to Achieve Layering In-Camera
The simplest way to layer is to do it all in one shot. No editing. No stacking. Just you, your camera, and the scene.Start with your lens. Wide-angle lenses - 24mm to 35mm - are your best friends here. They stretch space. They exaggerate distance. A rock ten feet away looks huge. A mountain a mile away still feels far. Zoom lenses? They flatten everything. They make layers disappear.
Now, your aperture. This is where most people mess up. You want depth of field - the zone of sharpness from front to back. So don’t shoot at f/2.8. Don’t even think about f/1.8. You need f/8, f/11, maybe even f/16. Yes, that means less light. Yes, that means slower shutter speeds. But if you want every layer sharp, you have to give up the dream of creamy bokeh. This isn’t portrait work. This is landscape, street, architecture. You need everything in focus.
Focus placement matters too. Don’t just focus on the middle. Use manual focus and pick a point about one-third into the scene. Or better yet - use hyperfocal distance. It’s a fancy term, but the idea is simple: focus at a specific distance so that everything from half that distance to infinity is acceptably sharp. Apps like PhotoPills or even your camera’s live view with zoom can help you nail this.
Focus Stacking: When One Shot Isn’t Enough
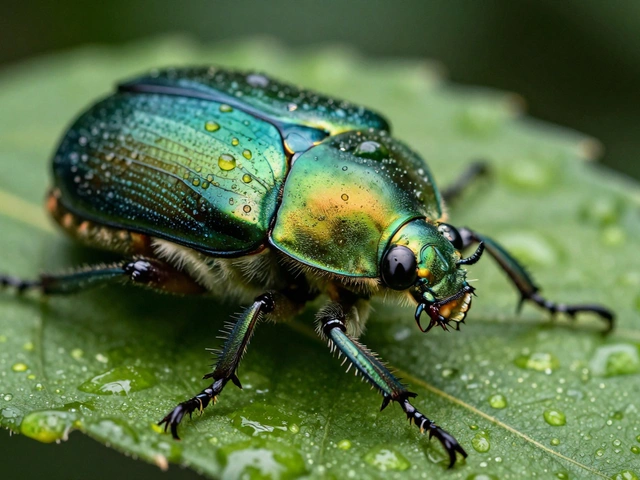
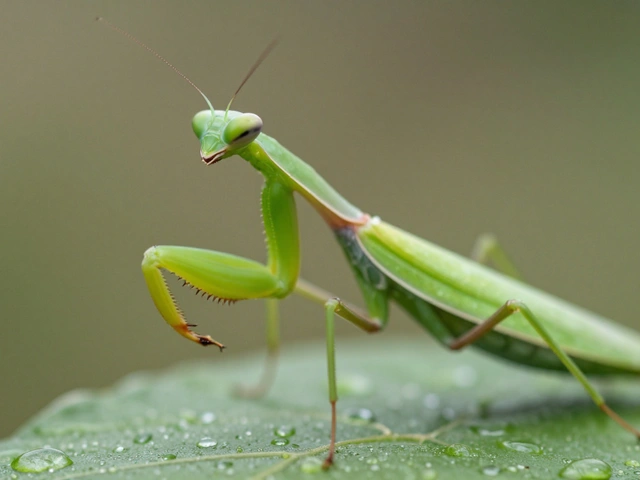
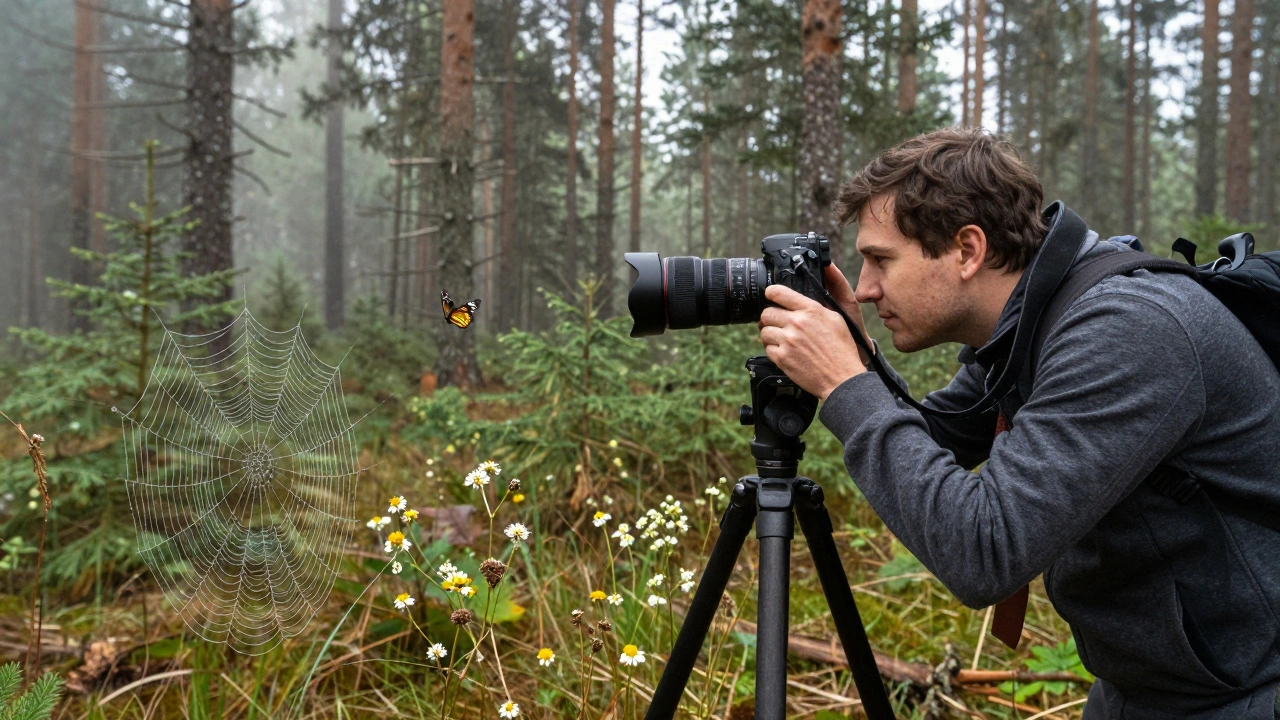
Sometimes, even f/16 won’t cut it. Especially in macro shots - think dew on a spiderweb with a flower behind it. Or in landscapes with a rock right at your feet and a mountain range 10 miles away. The depth is too great for a single exposure to handle.That’s where focus stacking comes in.
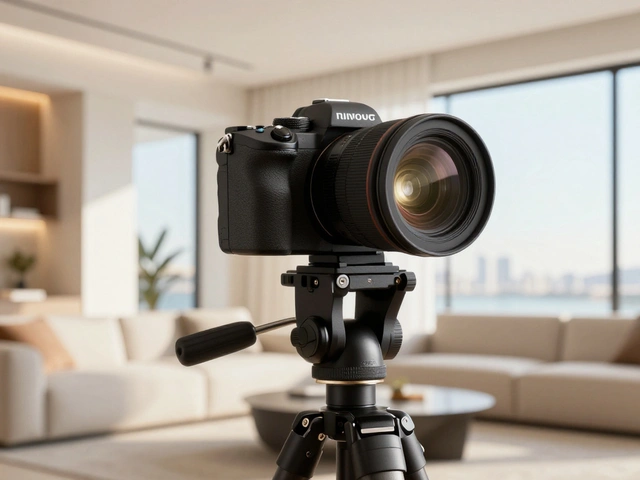
You set up your camera on a tripod - non-negotiable. No movement. Ever. Then you take multiple shots, each focused on a different plane. One shot focused on the closest rock. Another on the stream in the middle. Another on the distant ridge. You don’t guess. You move the focus point deliberately, in small increments.
Then you bring them into Photoshop. Go to File > Scripts > Load Files into Layers. Select all your shots. Once they’re loaded, go to Edit > Auto-Align Layers (to fix tiny shifts), then Edit > Auto-Blend Layers and choose Stack Images. Photoshop does the rest. It looks at every pixel, picks the sharpest part from each image, and blends them into one perfectly sharp photo.
This technique is a game-changer for nature photographers. It turns impossible scenes into breathtaking ones. A single blade of grass in the foreground? Sharp. A butterfly in the middle? Sharp. The forest behind it? Sharp. No blur. No compromise.
Double Exposure: Layering Time and Memory
Not all layering is about space. Sometimes, it’s about time.Double exposure is the art of combining two (or more) images into one. It’s not new. Film photographers did it by shooting the same frame twice. Today, you can do it in-camera or in Photoshop. Many mirrorless cameras now have built-in double exposure modes. Just shoot your first image - say, a portrait - then the camera asks you to take a second. You shoot a pattern of leaves, a city skyline, or even abstract light trails. The camera overlays them.
But here’s the secret: exposure balance is everything. If both images are too bright, you get a washed-out mess. If one is too dark, the second one drowns it. Start by underexposing each shot by 1 stop. So if your portrait normally needs f/5.6 at 1/125, shoot it at f/8 at 1/125. Then do the same for the second image. The camera will naturally brighten the blend.
Want more control? Do it in Photoshop. Load both images as layers. Set the top layer to Multiply or Screen blending mode. Use a layer mask to erase parts of the top image - maybe just the sky, leaving only the texture. This isn’t about making a weird collage. It’s about adding emotion. A portrait with a forest overlay? It doesn’t just show a person. It shows their spirit.
HDR and Pixel Shift: The Tech Side of Layering
HDR (High Dynamic Range) isn’t just for fixing overexposed skies. It’s another layering technique - but instead of layers of space, you’re layering layers of light.You take three shots: one underexposed (for the bright sky), one normal, one overexposed (for the dark foreground). You merge them in Lightroom or Photomatix. The result? A photo where the clouds have detail, the grass has texture, and the shadows aren’t black holes. It’s depth through tone, not distance.
Pixel shift is different. It’s not about multiple subjects. It’s about pixel precision. Some high-end cameras (like Sony A7R V or Fujifilm GFX100 II) move the sensor a tiny amount between shots - capturing more color and detail than a single exposure can. You end up with a file so sharp, you can zoom in and read a sign on a building 200 yards away. It’s not for moving subjects. But if you’re shooting architecture, a still lake, or a museum exhibit? It’s magic.
When Layering Goes Wrong
Layering isn’t magic. It’s a tool. And like any tool, it can be misused.Too many layers? You overwhelm the viewer. A photo with five foreground elements, three middle ground subjects, and a cluttered background? That’s not depth. That’s chaos.
Too little contrast? If all layers are the same brightness or color tone, they blend together. Your eye doesn’t know where to go. Use light, shadow, color contrast - even texture - to separate your planes.
And please - don’t use focus stacking just because you can. If your scene is only 3 feet deep, don’t take 15 shots. One well-focused shot is better than a messy stack.
Practice Makes the Layer
Start simple. Go outside. Find a scene with clear distance: a bench, a tree, a hill in the distance. Shoot it three ways:- At f/2.8 - just the bench sharp.
- At f/11 - everything in focus.
- At f/16 - everything sharp, but maybe a little soft.
Compare them. See how the depth changes. Now add a rock in front of the bench. Shoot again. Notice how the foreground changes the feeling of the whole image.
Next week, try double exposure. Take a portrait. Then shoot a pattern of leaves. Combine them. See what emotion it creates.
Layering isn’t about gear. It’s about seeing. It’s about asking: What’s in front? What’s behind? What’s in between? The answer isn’t just technical. It’s emotional. And that’s what turns a photo into a moment.
Do I need a tripod to use layering techniques?
You don’t always need one - especially for in-camera layering in daylight. But if you’re doing focus stacking, HDR, or pixel shift, a tripod is essential. Any movement between shots ruins the alignment. Even a tiny shift can make blending impossible. For handheld layering, stick to wide apertures and fast shutter speeds. For precision layering, use a tripod.
Can I layer photos without Photoshop?
Yes. Many modern cameras have built-in double exposure and HDR modes. Some even do focus stacking automatically. You can also use free tools like GIMP or online editors like Photopea to blend layers manually. The key isn’t the software - it’s understanding how the layers interact. A smartphone can do double exposure if you use its built-in mode. You don’t need pro gear to start.
What’s the best lens for layering in landscapes?
A wide-angle prime between 24mm and 35mm is ideal. It gives you enough perspective to show depth without distorting the scene. Zoom lenses work, but they’re harder to control. Avoid ultra-wide lenses (below 16mm) unless you’re going for dramatic distortion - they can make foreground elements look unnaturally large and throw off the balance of your layers.
Why does my focus-stacked image look blurry in parts?
Usually, it’s because the focus points weren’t spaced correctly. If you skip too much distance between shots, the software can’t find enough overlap to blend smoothly. Try taking 5-7 shots instead of 3. Also, make sure your tripod is stable. Wind or vibration can cause slight shifts. And always use manual focus - auto-focus can jump unpredictably between shots.
Is layering only for landscapes?
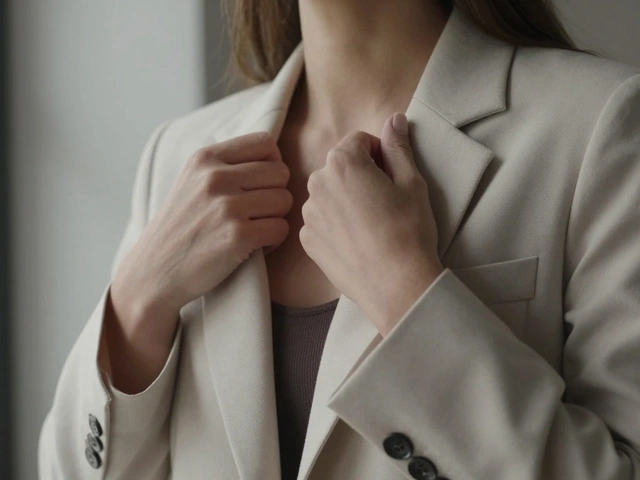
No. Street photography uses layering all the time - a person in the foreground, a bus in the middle, a building in the background. Portrait photographers layer with bokeh, props, or windows behind the subject. Even product shots use foreground elements like shadows or reflections to add depth. Layering is a compositional tool, not a genre. Use it wherever you want the viewer to feel immersed.