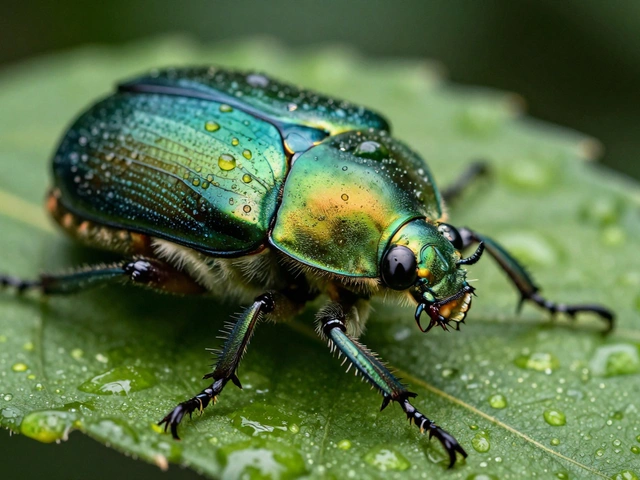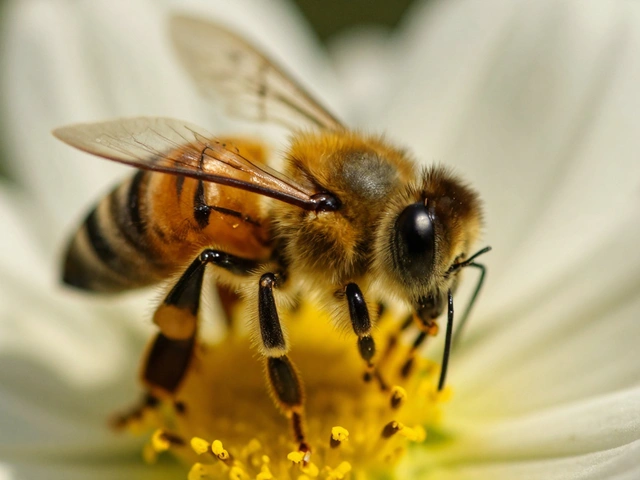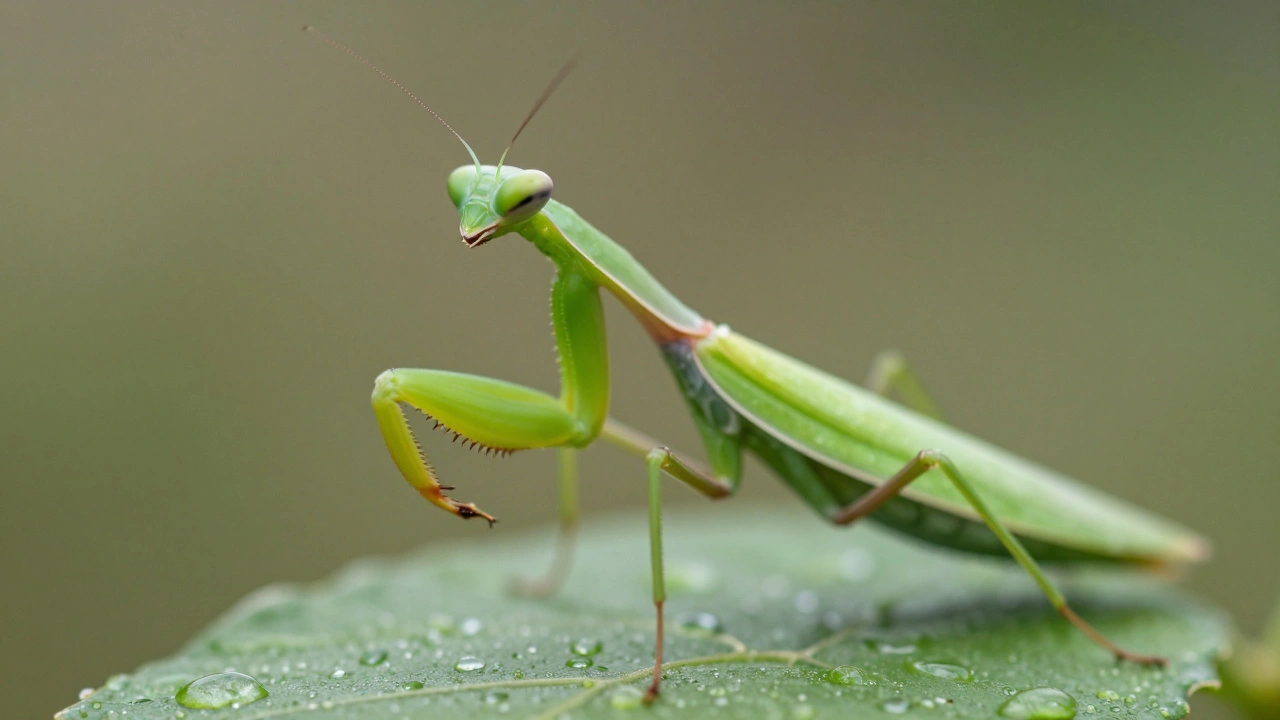
Imagine taking a photo of a tiny insect. You want every eye, every leg, and every texture on its shell to be razor-sharp. But when you look at the result, only the head is in focus. The body blurs into soft nothingness. This isn't because your camera is bad or your lens is cheap. It's physics. At close distances, depth of field-the zone where things look sharp-becomes impossibly thin. Sometimes it’s less than a millimeter.
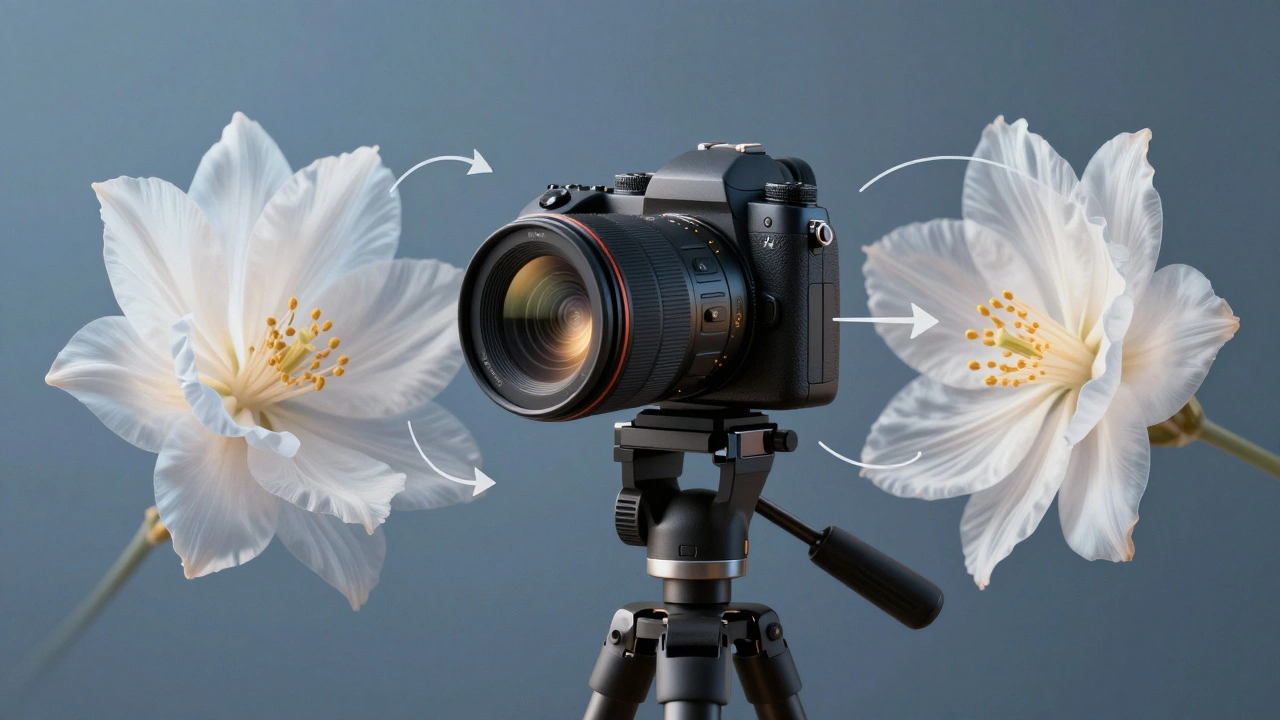
This is where focus stacking changes the game. Instead of fighting the laws of optics by cranking up your f-stop until diffraction ruins your image quality, you cheat. Well, not really cheat. You use technology. You take multiple photos, each focused on a different part of the subject, and blend them together. The result? A single image with near-infinite depth of field that looks like it was shot with a microscope but feels natural to the human eye.
Why Focus Stacking Works When Other Tricks Fail
You might think stopping down your aperture (using a higher f-number like f/16 or f/22) solves this problem. In theory, it does. A smaller aperture increases depth of field. But in practice, especially in macro photography, it creates a new enemy: diffraction. When light passes through a very small opening, it bends around the edges. This scattering causes the entire image to become soft, losing the crisp detail you were trying to capture in the first place.
Professional photographer Reed Hoffmann explains that focus stacking is essentially "a solution to increase depth of field without sharpness loss from diffraction." By keeping your aperture wide open enough to avoid diffraction (usually around f/8 to f/11 on full-frame sensors) and capturing separate frames for different depths, you get the best of both worlds. You maintain optical clarity while extending the sharp zone from front to back.
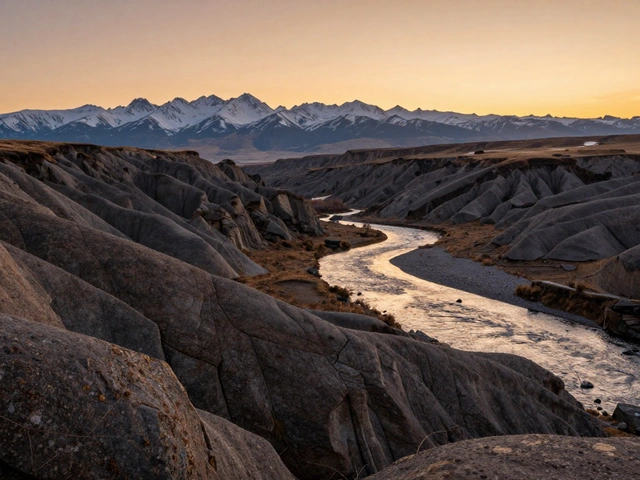
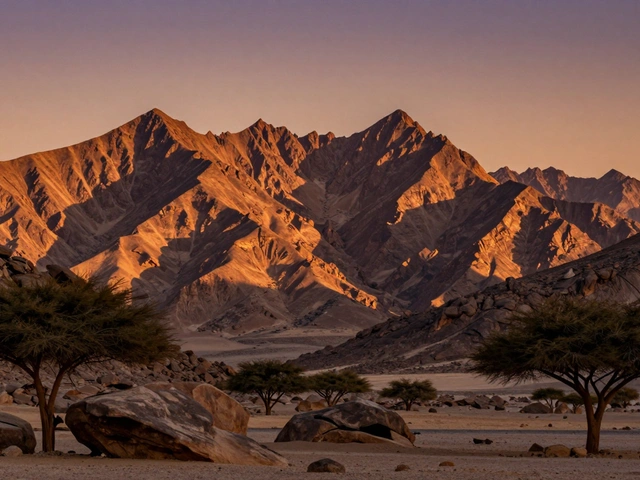
This technique became viable in the early 1990s as digital imaging advanced, with pioneering research coming out of the University of North Carolina at Chapel Hill between 1992 and 1994. Today, it’s the standard for high-end macro work, product photography, and even some landscape shots where you need everything from the foreground grass to the distant mountains to be tack-sharp.
The Three Ways to Capture Your Stack
Getting the images right is half the battle. There are three main ways to shoot a focus stack, and each has its own strengths depending on your gear and subject matter.
- Manual Focus Adjustment: This is the classic method. You mount your camera on a sturdy tripod, set your exposure manually, and turn the focus ring slightly between each shot. You start at the closest point of your subject and move backward, ensuring there is overlap between the sharp areas of consecutive shots. Zeiss Lenspire’s technical analysis from May 2023 warns that insufficient overlap creates "blur gaps"-areas in the final image that remain out of focus because no single source image had that plane sharp.
- Camera-Automated Focus Bracketing: Modern mirrorless cameras have made this easier. Nikon’s Z9 and Z8 feature a Focus Shift Mode that can shoot up to 300 frames automatically, adjusting focus in steps defined by the user. Canon’s EOS R5 also offers focus bracketing via firmware updates. This removes human error from the equation and speeds up the process significantly.
- Lens-Based Automation: Some specialized setups allow the lens itself to control the stepping mechanism, often used in extreme macro or scientific imaging. However, for most photographers, the built-in camera features are sufficient.
Whichever method you choose, consistency is key. Your shutter speed, ISO, aperture, and white balance must remain identical across all frames. Any change in lighting or color temperature will confuse the blending software later. Also, keep your camera perfectly still. Even a 0.5mm shift between frames can cause alignment failures during processing, according to tests by Toy Photographers.
Choosing the Right Software for Blending
Once you have your sequence of images, you need software to merge them. The algorithm analyzes each pixel across all images and selects the sharpest one for the final composite. Here’s how the top contenders compare:
| Software | Pricing Model | Best For | Key Limitation |
|---|---|---|---|
| Adobe Photoshop | $20.99/month (Subscription) | Generalists who already use Creative Cloud | Slower processing; struggles with complex repeating patterns |
| Helicon Focus | $179 (Perpetual License) | High-magnification macro work | Steeper learning curve for advanced algorithms |
| Zerene Stacker | ~$150 (Perpetual License) | Scientific accuracy and edge detection | Interface feels dated compared to modern apps |
| Affinity Photo 2 | $54.99 (One-time purchase) | Budget-conscious users | Lacks refined edge detection of competitors |
Adobe Photoshop’s Auto-Blend Layers feature, introduced in CS4 in 2008, remains the industry standard for many. It achieves 92-95% accurate focus selection in controlled scenarios, per Imaging Resource’s 2022 benchmarks. However, if you’re doing serious macro work, Brent Bergherm’s 2022 comparison study suggests Helicon Focus handles high-magnification details better. Affinity Photo is a great budget option, but side-by-side tests show it doesn’t detect edges as cleanly as Photoshop or Zerene Stacker.
Critical Workflow Tips for Success
Even with the best gear and software, focus stacking can fail if you skip the basics. Here’s what experienced photographers do differently:
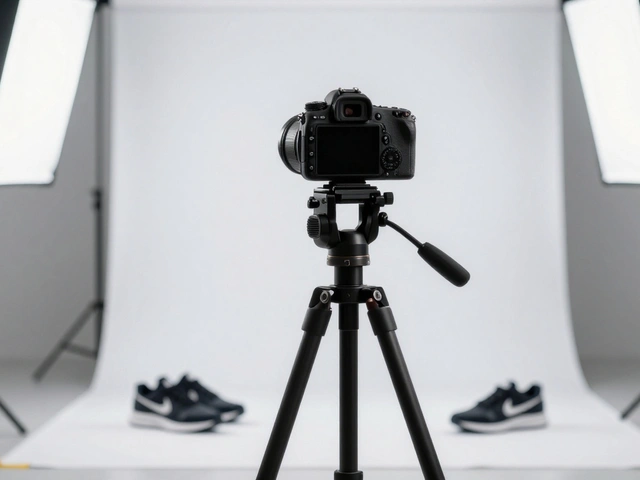
- Use a Tripod: This is non-negotiable. Handheld focus stacking is nearly impossible to align correctly. Use a heavy, stable tripod and avoid touching the camera once shooting begins.
- Turn Off Vibration Reduction: Image stabilization systems can introduce micro-shifts when the camera is mounted on a tripod. Disable VR or IS to ensure perfect alignment.
- Shoot JPEGs for Speed: While RAW files contain more data, they also create massive file sizes. Processing twenty 45MP RAW images from a Nikon D850 can create a 3.5GB PSD file and take over 45 minutes on a powerful MacBook Pro. Reed Hoffmann recommends shooting high-quality JPEGs to drastically reduce processing time unless you need the extra dynamic range.
- Frame Loose: During the blending process, the software crops the edges to remove artifacts. Leave extra space around your subject so you don’t lose important details after compositing.
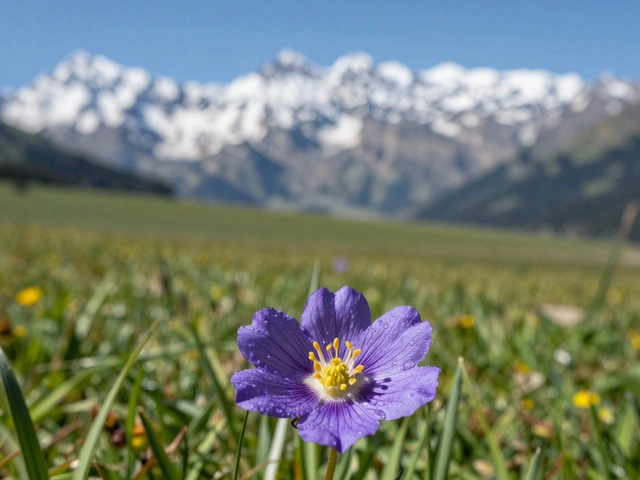
- Control Your Environment: Wind is the enemy. If you’re photographing flowers outdoors, use a windbreak or wait for calm conditions. Moving elements between frames create ghosting artifacts that are almost impossible to fix later.
When Focus Stacking Goes Wrong
It’s not magic. It’s math and mechanics. And sometimes, it breaks. The most common failure points include:
Moving Subjects: If your subject moves-even slightly-between frames, the software will try to blend mismatched pixels. This results in "ghosting," where parts of the subject appear doubled or smeared. Reddit’s r/photography community analyzed 1,200 comments in May 2024, finding that 87% of negative experiences cited subject movement as the primary issue. Focus stacking works best for static subjects: insects under observation, jewelry, food, landscapes, and architecture.
Blur Gaps: As mentioned earlier, if you don’t overlap the depth of field between shots, you’ll end up with bands of blur in your final image. To prevent this, adjust your focus step width carefully. Nikon’s firmware updates, such as version 3.10 for the Z9 released in February 2024, have improved reliability by reducing focus breathing artifacts by 37%, helping users maintain consistent steps.
Processing Power Limits: High-resolution sensors demand serious computing power. If your computer crashes or runs out of memory, you lose progress. Ensure you have at least 32GB of RAM for serious stacking work. SSD storage is also recommended to handle the rapid read/write cycles of large batches of images.
The Future of Computational Optics
We’re entering an era where the camera does more of the heavy lifting. Canon’s EOS R6 Mark II firmware 1.4.0, released in April 2024, introduced "Hybrid Stacking," which combines focus bracketing with exposure bracketing for high dynamic range results. Adobe previewed "Focus Stacking AI" at their MAX conference in October 2023, promising 60% faster processing with fewer artifacts. While still in beta, these tools suggest that focus stacking will become increasingly automated.
Dr. Markus Hofmann, Zeiss’s technical director, told Lenspire in May 2024 that "the future of focus stacking lies in computational optics where the lens and camera processor work together to optimize the focus steps rather than relying solely on post-processing." By 2026, market analysts predict that 90% of mirrorless cameras priced above $1,500 will include in-camera focus stacking with minimal user intervention.
However, optical physics won’t disappear. Dr. Emily Chen, an optical physicist, noted in her June 2023 SPIE Digital Photography presentation that "the fundamental need for focus stacking in extreme macro work will persist regardless of sensor or processing advances." No amount of AI can bypass the physical limits of light bending around small apertures. For now, and likely for years to come, focus stacking remains the ultimate tool for achieving true sharpness.
How many photos do I need for a focus stack?
The number depends on your magnification and desired depth. For general macro work, 5-10 images may suffice. For extreme close-ups (1:1 magnification), you might need 20-50 images. The key is ensuring overlap between the sharp zones of each frame to avoid blur gaps.
Can I focus stack moving subjects like birds or people?
Generally, no. Focus stacking requires the subject to remain perfectly still between frames. Movement causes ghosting artifacts that are difficult to remove. It is best suited for static subjects like insects, plants, products, and landscapes.
Should I shoot RAW or JPEG for focus stacking?
JPEG is often recommended for speed and lower file size, especially if you have limited computer resources. However, if you need maximum detail and dynamic range, RAW is superior. Just be prepared for longer processing times and larger file sizes.
What is the best aperture for focus stacking?
Avoid using extremely small apertures like f/22 due to diffraction. Instead, use a mid-range aperture like f/8 to f/11. This provides good sharpness per frame while allowing the stacking software to extend the depth of field artificially.
Does my camera need special features for focus stacking?
Not necessarily. You can focus stack manually with any DSLR or mirrorless camera and a tripod. However, cameras with built-in focus bracketing modes (like Nikon Z9, Canon EOS R5, or Sony A7R V) make the process much faster and more reliable.