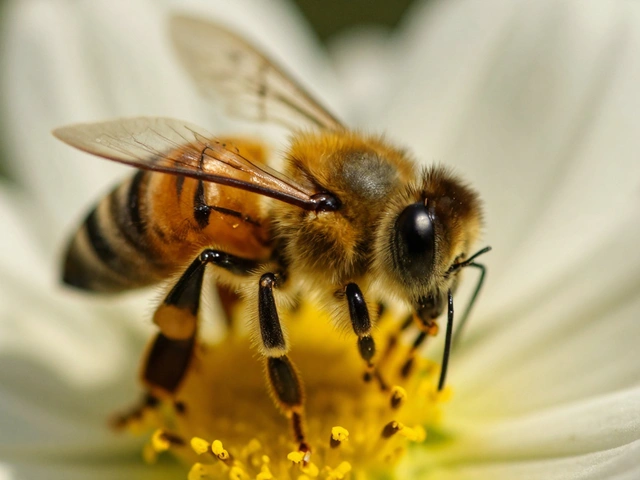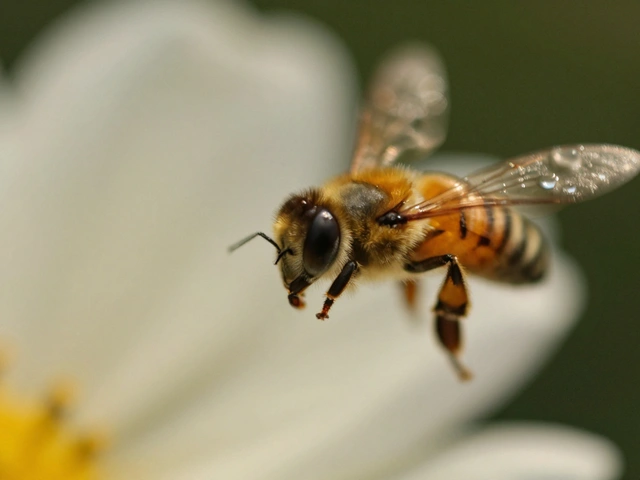
Ever take a sharp photo of a tiny insect or flower, only to realize the background is a chaotic mess of branches, leaves, and distracting colors? You aren't alone. In macro photography, where you are capturing subjects that fill the frame at close range, the background can easily steal the show. The secret to making your subject pop isn't just about having an expensive camera; it's about mastering background control.
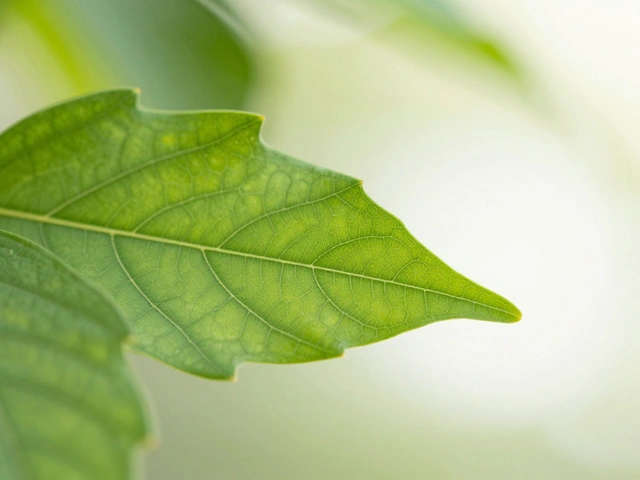
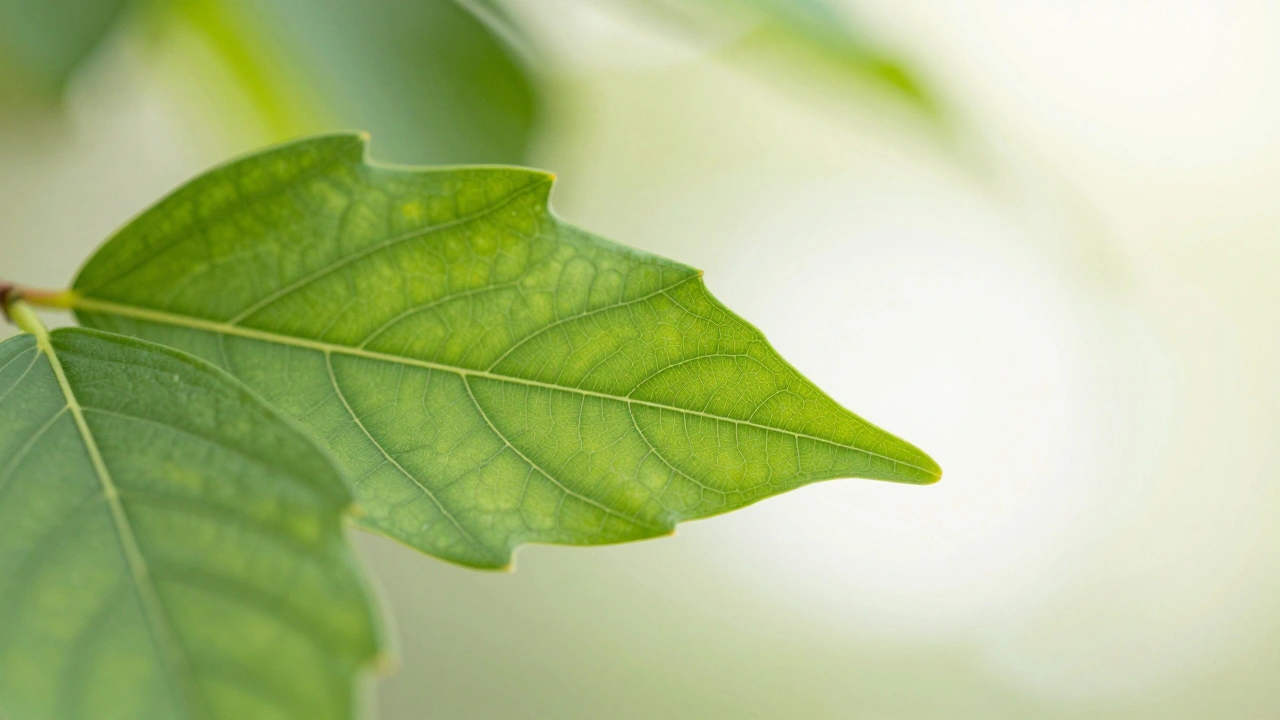
When done right, this technique creates bokeh, a term derived from the Japanese word for 'blur' or 'haze,' which refers specifically to the aesthetic quality of the out-of-focus areas in an image. It’s not just about blurring the background; it’s about shaping how that blur looks and feels. Whether you want creamy, smooth circles of light or a deep, dark void that makes your subject glow, controlling the background is what separates amateur snapshots from professional macro art.
The Physics of Blur: Aperture, Distance, and Focal Length
To create effective background isolation, you need to understand the three variables that dictate how blurry your background will be. Think of these as your primary tools.
- Aperture: This is the opening in your lens. A wider aperture (a lower f-number like f/2.8) lets in more light and creates a shallower depth of field. For macro work, experts often recommend staying between f/2.8 and f/5.6. While you might be tempted to shoot wide open at f/1.8, macro subjects are so small that going too wide can leave parts of your main subject out of focus. Stopping down slightly ensures the eye of the insect or the center of the flower remains sharp while the background melts away.
- Subject-to-Background Distance: This is arguably the most critical factor. The further the background is from your subject, the blurrier it becomes. If a bee is hovering over grass that is two inches behind it, that grass will still look relatively distinct. If that same bee is flying against a tree line fifty feet away, that background will dissolve into smooth color.
- Focal Length: Longer lenses compress space and exaggerate background blur. A 100mm macro lens will give you much stronger separation than a 50mm kit lens, even if they have the same aperture. This is why dedicated macro lenses, such as Canon’s RF or EF-S series, are so popular-they combine long focal lengths with wide maximum apertures.
Rule Number One: Simplicity
You can have the best gear in the world, but if your background is cluttered, your photo will fail. Professional macro photographer Jaymes Dempsey emphasizes that keeping the background simple and uniform is the golden rule. Even when blurred, complex shapes like twigs, stems, and bright patches of color can create visual noise that distracts the viewer.
Before you press the shutter, scan your viewfinder ruthlessly. Are there any stray leaves poking into the frame? Is there a bright spot of sunlight hitting a rock behind your subject? If yes, fix it. Move the leaf. Change your angle. Get low. Often, simply rotating your camera by just 15 degrees can replace a cluttered backdrop of grass with a clean expanse of sky or distant trees.
Positioning Yourself for Maximum Separation
How you position your camera relative to the subject changes everything. A common mistake beginners make is shooting from above. When you look down at a flower on the ground, your background is usually the soil, other plants, or debris directly behind it. This proximity kills your bokeh.
Instead, get down to the subject’s level. Lie on the ground if you have to. By positioning your camera horizontally, you increase the distance between the subject and the background naturally. Look for angles where the background is essentially "nothing"-open space, distant foliage, or the sky. This physical separation is far more effective than trying to fix a busy background in post-processing.
Controlling Light: Dark vs. Bright Backgrounds
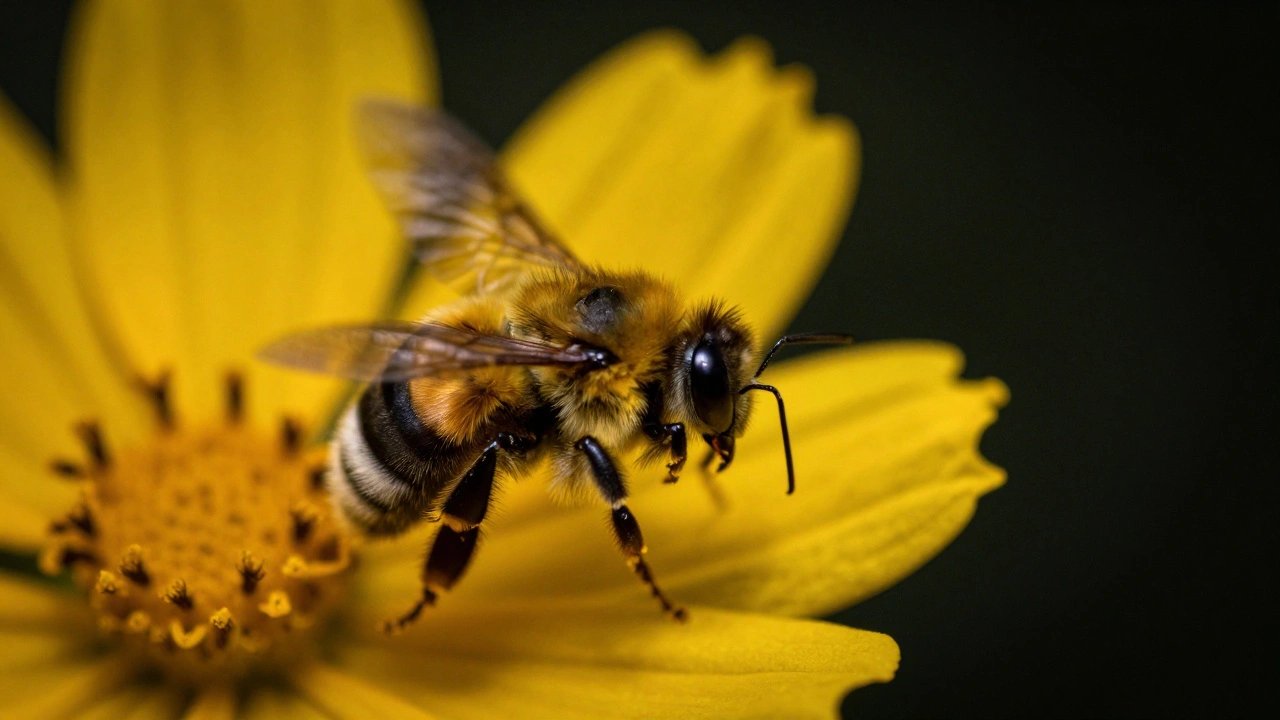
Lighting allows you to manipulate the mood of your background. You generally have two paths: creating a dark, moody background or a bright, colorful one.
| Technique | Best For | Key Settings/Tips |
|---|---|---|
| Dark Backgrounds | High contrast, dramatic isolation | Use flash on subject; underexpose ambient light by 2+ stops. Or place a black board behind the subject in shade. |
| Bright Bokeh | Vivid, colorful, natural look | Shoot subject in shade with sunlit background. Position camera so sun hits background elements behind the subject. |
| Artificial Backdrops | Consistent results in cluttered areas | Print blurred images on paper/cardboard. Place behind subject. Allows stopping down to f/8-f/11 for sharper subjects. |
Creating Dark Backgrounds: One effective method is using flash. By illuminating your close-up subject with a flash while keeping your ISO low and shutter speed fast, you expose correctly for the subject but severely underexpose the ambient-lit background. This renders the background dark or black. Alternatively, you can physically block light by placing a black sheet, painted plywood, or curtain behind your subject in the shade, while ensuring the subject itself is well-lit.
Creating Bright Bokeh: For a softer, more vibrant look, try shooting during the "golden hour," an hour or two before sunset. Find a subject in the shade and position yourself so that the background is in direct sunlight. As you rotate around the subject, look for spots where sunlit leaves or flowers appear behind it. These points of light will turn into glowing, colorful orbs of bokeh, adding depth and interest without distraction.
The Artificial Background Trick
Sometimes nature just doesn’t cooperate. Maybe your subject is surrounded by dense weeds, or you’re shooting indoors with no control over the room’s decor. Enter the artificial background hack.
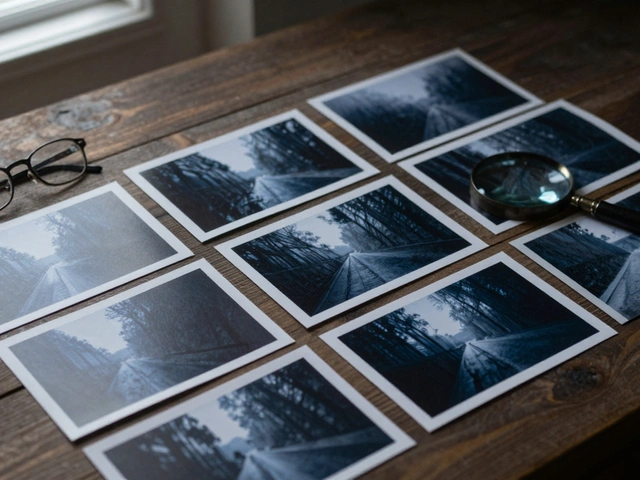
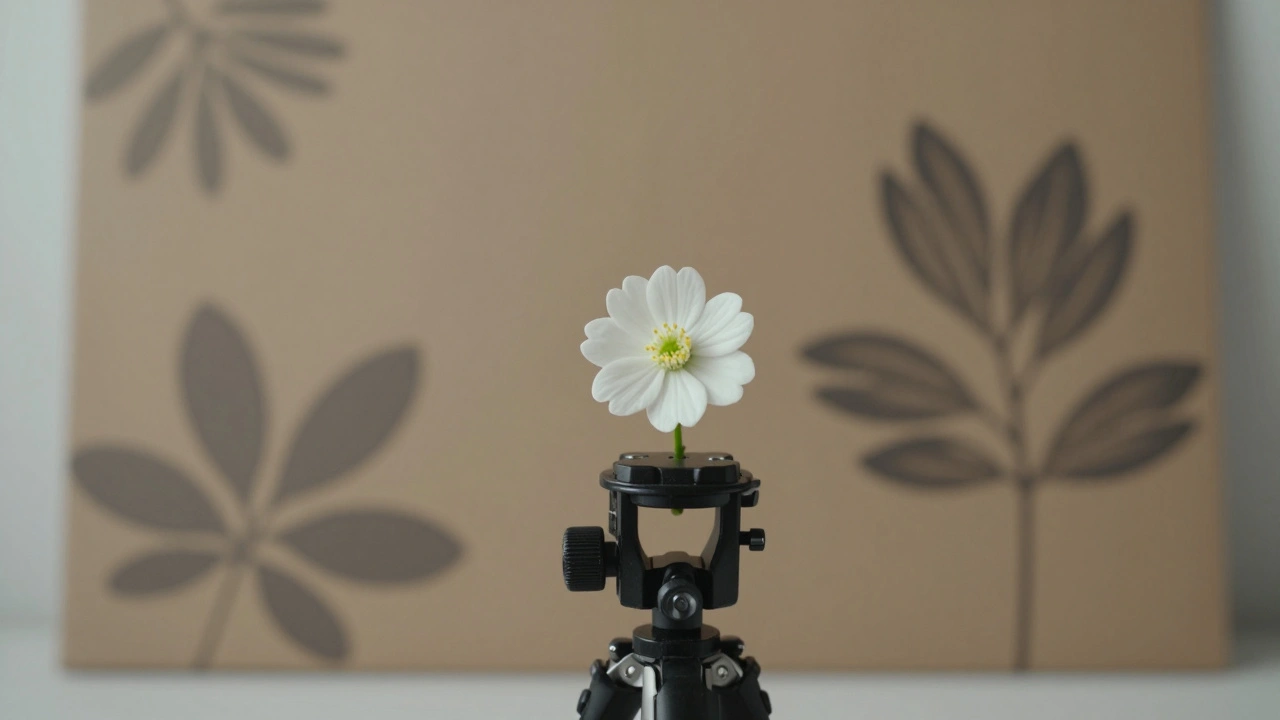
This technique involves printing out-of-focus images of foliage or flowers on standard office paper using a laser printer. Mount these prints on cardboard and clamp them behind your subject using a small tripod or stand. Because the background is now a flat, printed image placed at a distance, you gain total control. You can even stop down your aperture to f/8 or f/11 to get more of your tiny subject in focus, while the printed background remains softly blurred. It’s inexpensive, portable, and incredibly effective for studio-style macro shots.
Avoiding Common Pitfalls
Even experienced photographers fall into traps. Here are a few things to watch out for:
- Overusing Flash: Blasting your subject with flash without balancing ambient light can result in a harsh, "cut-out" look where the subject appears pasted onto a black void. Try to keep the background within 2 stops of proper exposure to retain some texture and context.
- Igoring Small Distractions: A single out-of-focus stem crossing behind your subject’s eye can ruin an otherwise perfect shot. Always zoom in on your LCD screen after taking the test shot to check for these subtle errors.
- Shooting Too Wide Open: Remember, macro depth of field is razor-thin. If you shoot at f/1.8, only a fraction of a millimeter might be in focus. Don’t sacrifice subject sharpness for background blur. Start at f/4 or f/5.6 and adjust from there.
Your Step-by-Step Workflow
To put this all together, follow this routine for your next macro session:
- Scout the Scene: Find a subject with open space behind it. Avoid cluttered environments unless you plan to use artificial backdrops.
- Set Your Gear: Switch to Aperture Priority or Manual mode. Set your aperture between f/2.8 and f/5.6. Ensure your shutter speed is fast enough (around 1/200s or faster) to avoid camera shake.
- Get Low and Rotate: Drop to the subject’s eye level. Slowly rotate around it, watching the background change in your viewfinder. Stop when the background is simplest and furthest away.
- Control the Light: Decide if you want a dark or bright background. Adjust your position relative to the sun, or set up your flash/black backdrop accordingly.
- Review Critically: Check your photos at 100% magnification. Look for distracting elements in the blur. Refine your angle if necessary.
Mastering macro background control takes practice, but the rewards are immediate. By focusing on simplicity, distance, and light, you transform tiny, overlooked details into stunning works of art. So grab your macro lens, get down on the ground, and start isolating those small wonders today.
What is the best aperture for macro bokeh?
While wider apertures like f/1.8 create more blur, they can also reduce the sharpness of your tiny subject due to extremely shallow depth of field. Most experts recommend an aperture range of f/2.8 to f/5.6 for macro photography. This balances strong background separation with enough depth of field to keep key parts of your subject in focus.
Can I create good bokeh without a dedicated macro lens?
Yes, you can. Any lens that allows you to focus closely can produce bokeh. Telephoto lenses (longer focal lengths) are particularly helpful because they compress the background and enhance blur. However, dedicated macro lenses offer superior optical performance at close distances and often have wider maximum apertures, making them easier to use for this purpose.
How do I get a black background in macro photography?
There are two main ways. First, use flash to illuminate your subject while underexposing the ambient light (lower ISO, faster shutter speed). Second, physically place a black object (like a painted board or cloth) behind your subject in the shade, ensuring the subject itself is well-lit. This blocks ambient light from reaching the background area.
Why is my background still cluttered even with a wide aperture?
The likely issue is subject-to-background distance. If the background objects are very close to your subject, they won't blur significantly regardless of aperture. Try moving closer to your subject or changing your angle so that the background is further away. Getting to the subject's eye level often helps achieve this separation.
What is the "artificial background" technique?
This involves printing blurred images of nature scenes on paper or cardboard and placing them behind your subject. This gives you complete control over the background's appearance and allows you to use smaller apertures (like f/8) for sharper subjects while maintaining a soft, pleasing backdrop.