Seeing What Others Miss
Most people walk past a beautiful building without noticing the intricate carving on its doorframe or the texture of the brickwork. They see the whole shape, but they miss the soul. That is where Architectural Detail Photography comes in. This genre isn't about capturing the entire skyscraper; it is about zooming in on the stories hidden in the corners. When you focus on the craft, you reveal the effort and history embedded in the structure.
You might wonder why anyone would spend hours photographing a window latch or a cornice. The answer lies in visual storytelling. A full shot shows scale, but a detail shot shows intent. By highlighting unique features and craftsmanship, you preserve the work of designers long after trends fade. This guide will help you master the art of seeing and capturing these elements.
Identifying Compelling Subjects
Finding a great shot starts before you even pick up your camera. You need to know what constitutes a worthy detail. It is easy to fall into the trap of snapping anything that looks slightly interesting. Instead, look for elements that define the style of the era or material quality.
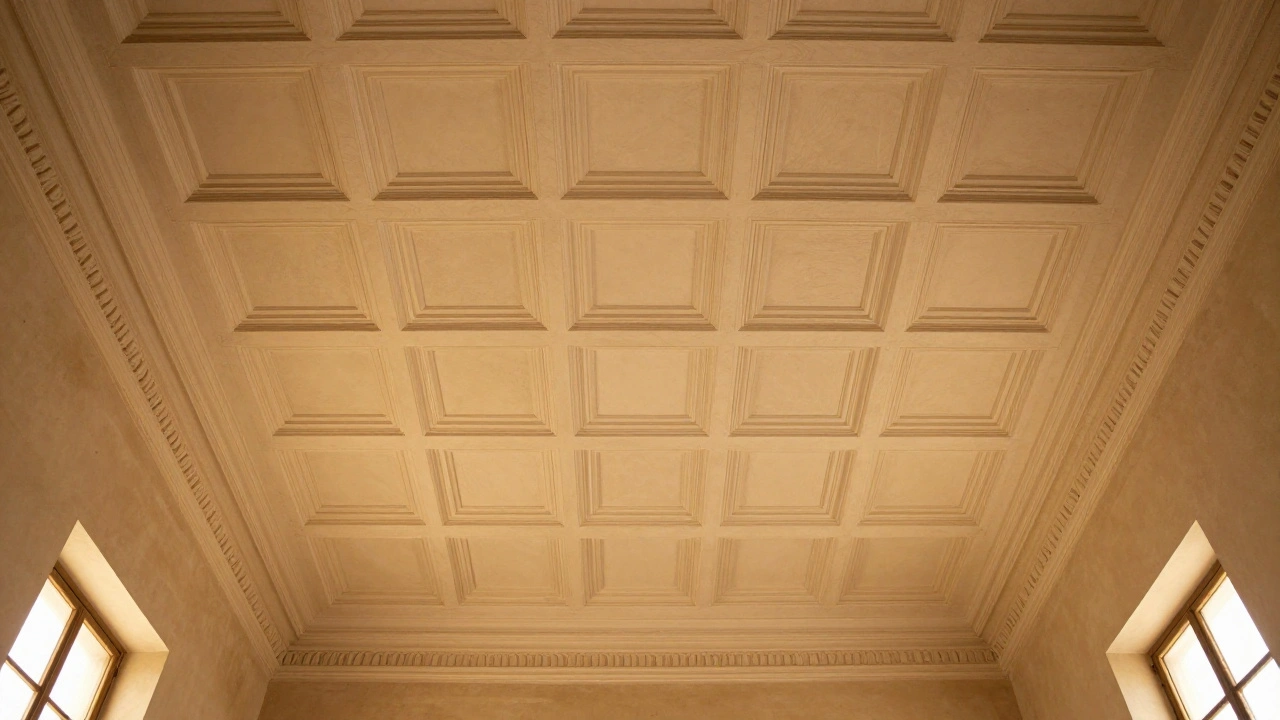
- Natural Light Features: Windows, skylights, and clerestories are functional but also make architectural statements. Notice how glass reflects the sky or how frames sit within walls.
- Crown Molding and Trim: These add sophistication. Pay attention to how wood grain interacts with paint texture.
- Structural Bones: Exposed beams, pillars, and load-bearing walls show engineering prowess.
- Decorative Elements: Statues, gargoyles, and ironwork often go overlooked until they vanish.
In places like Prague, you have bridges lined with statues that tourists walk under without looking up. Those are goldmines for detail work. Your eye needs to scan constantly, moving from the ground up to the roofline, searching for anomalies and symmetries.
Mastery of Natural Light
Lighting is the fundamental technical consideration in this discipline. Unlike product photography where you control studio strobes, here you are at the mercy of the sun. However, understanding available light gives you power over the mood.
Soft light from cloudy or overcast conditions is particularly valuable for capturing intricate architectural details. On a gray day, shadows soften, allowing you to capture texture without harsh contrast burning out highlights. If you shoot on sunny days, wait for clouds to pass over the sun or seek shaded areas. Shaded light produces excellent results, even if it lacks the perfect softness of an overcast sky.
| Lighting Condition | Best For | Challenges |
|---|---|---|
| Overcast Sky | Texture and subtle details | Lack of drama |
| Direct Sunlight | Silhouettes and high contrast | Harsh shadows hide information |
| Sidelighting | Emphasizing depth and shape | Exposure balancing difficult |
| Shade | Even illumination | Can feel flat without processing |
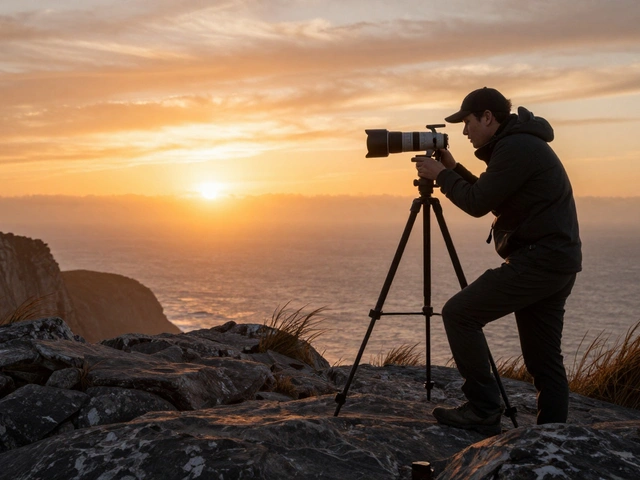
Beyond soft lighting, intense sidelighting offers an alternative approach when you seek more dramatic, shadowy, or abstract compositions. This technique emphasizes texture and shape while sacrificing some detail visibility to create fine art masterpieces. Late afternoon light creates interesting shadows that photographers can utilize to create powerful abstract compositions focused less on building details themselves and more on how light falls across the surfaces. You must decide: do you want documentation or art?

Compositional Strategies
Once you have found your light, you need to frame the shot correctly. Composition techniques are critical for creating compelling architectural detail photographs. Finding higher vantage points dramatically transforms shots by revealing details and patterns not visible from ground level.
Standing on a ladder or climbing stairs can expose architectural elements like pillar tops and ornate doorframes that appear completely different when photographed straight-on. Structures contain abundant patterns and shapes that provide significant compositional opportunities. Use telephoto lenses to zoom in on interesting patterns and fill the frame with repetitive architectural elements. This compression makes the patterns pop.
Photographers should pay careful attention to aperture and depth of field settings when composing shots. There is no single best approach here. Sometimes you want everything sharp from front to back, requiring a small aperture like f/8 or f/11. Other times, blurring the background isolates the subject beautifully.
Look for reflections, light fixtures, and lesser-noticed elements like statues that add depth to a portfolio. Don't just shoot what is obvious. If you find a reflection in a puddle or a window pane, use it to layer the image. Symmetry is another powerful tool. Searching for angles that lend themselves to abstraction helps viewers process complex structures into understandable shapes.
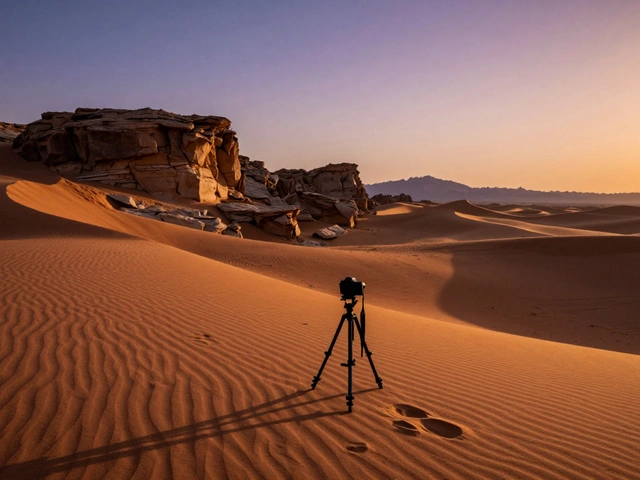
Essential Equipment
Technical equipment plays an essential role in architectural detail photography success. You cannot rely on handheld stability alone. A tripod is definitively necessary for creating architectural detail shots that maintain sharpness throughout the entire image. This is especially true when working with soft light conditions that require slower shutter speeds.
A TripodA stable support system for cameras that ensures sharp images in low light allows you to lock the camera position precisely. It also lets you take bracketed exposures for HDR blending if the dynamic range is too high for a single shot.
Telephoto lenses are recommended for capturing patterns and compressed perspectives of architectural details. A 70-200mm range is often the sweet spot for exterior work, letting you isolate details without needing to climb dangerously close. The importance of equipment extends to supporting tools and accessories that enable precise camera positioning and stability. Don't skimp on stability; micro-vibrations ruin fine detail work.
Preservation and Cultural Value
Why bother with all this precision? Architectural PhotographyThe practice of documenting buildings for historical and artistic purposes serves multiple important purposes beyond simple documentation. The discipline serves as a tribute to designers and constructors by preserving their accomplishments and allowing their work to be recognized and appreciated beyond its immediate physical environment.
By highlighting craftsmanship, materiality, and structural integrity through photography, the efforts of design and construction professionals are immortalized for years to come. It plays a crucial role in preserving history as cities evolve, buildings rise and fall, and architectural trends shift over time. Photography ensures that structures, whether iconic or obscure, are documented for future generations. This provides essential resources for historical archives, urban planning studies, and cultural heritage projects to understand the evolution of design and construction.
Trending approaches include twilight and night photography, which highlight buildings in dramatic lighting conditions and emphasize ambiance and illumination. Virtual tours and 360-degree imaging provide immersive experiences for viewers, particularly in real estate and commercial projects. Yet, the static image of a specific detail remains a timeless way to document reality.
Workflow and Post-Processing
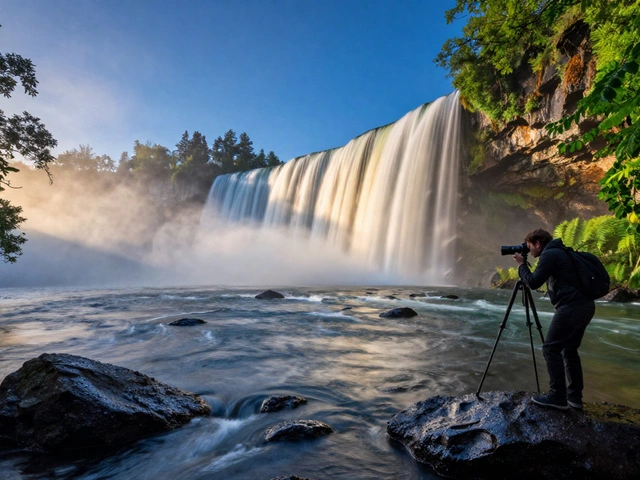
The work doesn't end when you click the shutter. In post-processing, you refine what you captured. Because you are often shooting RAW files from a professional workflow, you have latitude to recover shadows. When capturing dramatic scenes incorporating moving water or stormy skies, exposure management becomes even more critical.
Zoom in during editing to check for dust spots or sensor issues that might mar fine textures. Sharpening should be applied carefully; excessive sharpening brings out noise rather than detail. Color correction is vital for ensuring materials look true to life. Wood should look like wood, not orange plastic. Stone should look cold, not warm metal.
Frequently Asked Questions
What is the best lens for architectural detail photography?
A telephoto lens between 70mm and 200mm is ideal for isolating details. Prime lenses at 50mm or 85mm work well for interior details where space is tight.
Should I shoot in portrait or landscape mode?
It depends on the subject. Vertical lines usually favor portrait orientation, but filling the frame with a horizontal pattern requires landscape. Rotate to match the dominant lines.
How do I handle harsh sunlight when shooting outside?
Wait for cloud cover or move into shade. Alternatively, embrace the shadows to create high-contrast abstract art, but expect to lose texture details in the dark areas.
Is a tripod always necessary?
For the sharpest results, yes. Handholding introduces micro-vibration that blurs fine textures. A sturdy tripod ensures technical precision even in lower light.
How does this differ from real estate photography?
Real estate focuses on selling space and flow. Detail photography focuses on artistry, craftsmanship, and specific materials, often serving historical or design archives.
Mastering these skills takes time, but the payoff is a portfolio that speaks to the viewer about the human effort behind the built world. Keep your eyes open for the small things. Often, the smallest detail tells the biggest story.