Bad weather doesn’t kill your travel photos-it transforms them. If you’ve ever canceled a shoot because of rain or clouds, you’re thinking like a tourist, not a photographer. The truth? Some of the most powerful travel images come from days when the sun never showed up. Fog rolls over mountains. Rain slicks cobblestone streets. Wind bends grass into waves. These aren’t problems to avoid. They’re opportunities waiting to be framed.
Stop Chasing Sunlight
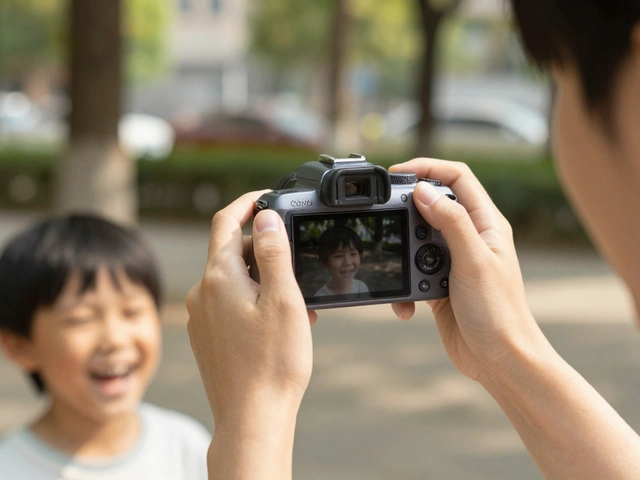
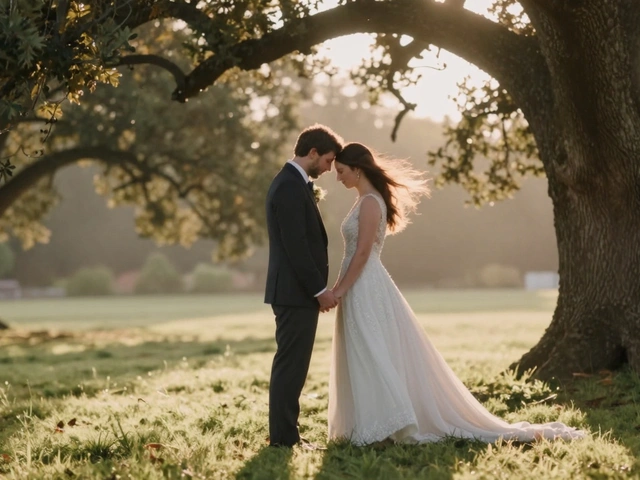
Most travelers plan their trips around perfect blue skies. But here’s the thing: sunlight is harsh. It creates harsh shadows, bleaches out colors, and flattens texture. Overcast days? They’re the opposite. Cloud cover acts like a giant softbox, diffusing light evenly across everything. That means forests look deeper, flowers pop with color, and wet pavement gleams without blowing out highlights. You don’t need sun to make great photos-you need the right light, and overcast skies give you that.Forget the rule that says “shoot at golden hour.” On a gray day, golden hour is all day. The light stays soft and consistent. You can shoot for hours without adjusting your settings. And if you’re shooting portraits? A cloudy sky becomes your best friend. No squinting. No harsh shadows under the eyes. Just smooth, even illumination.
Protect Your Gear-Without Caging It
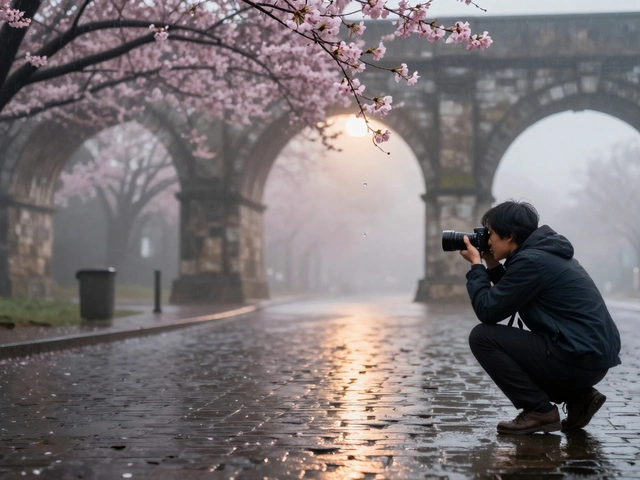
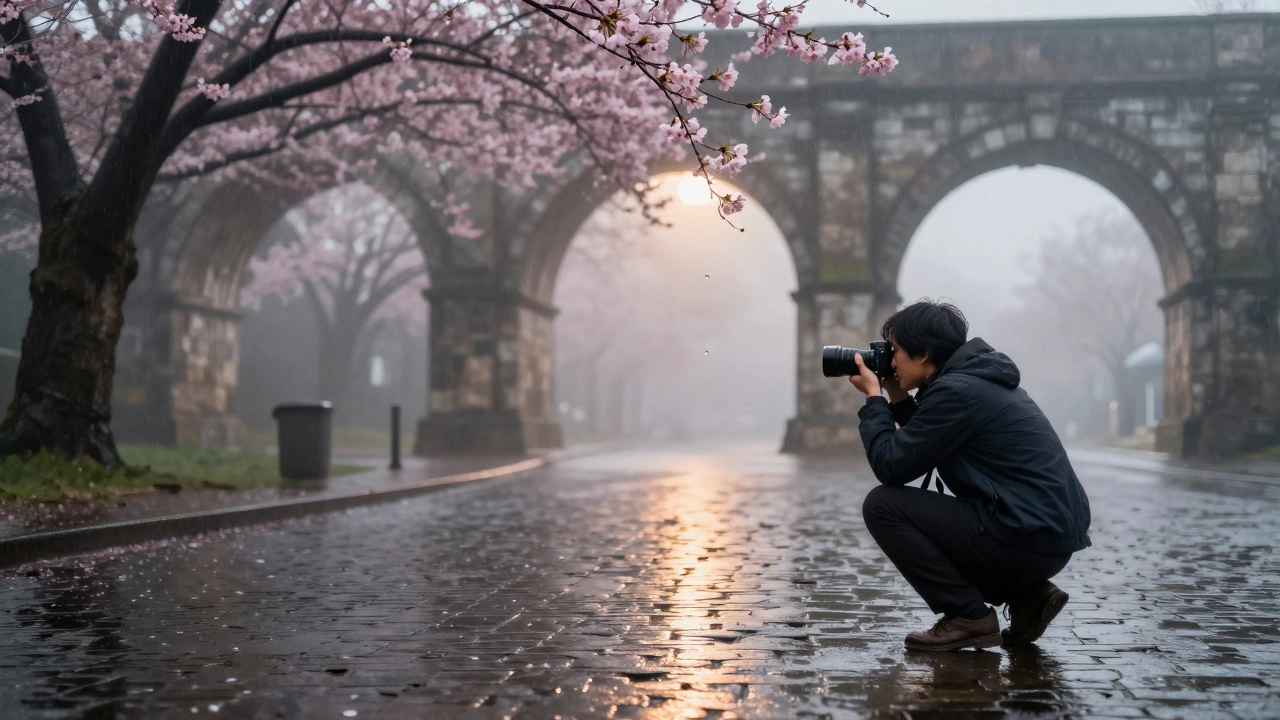
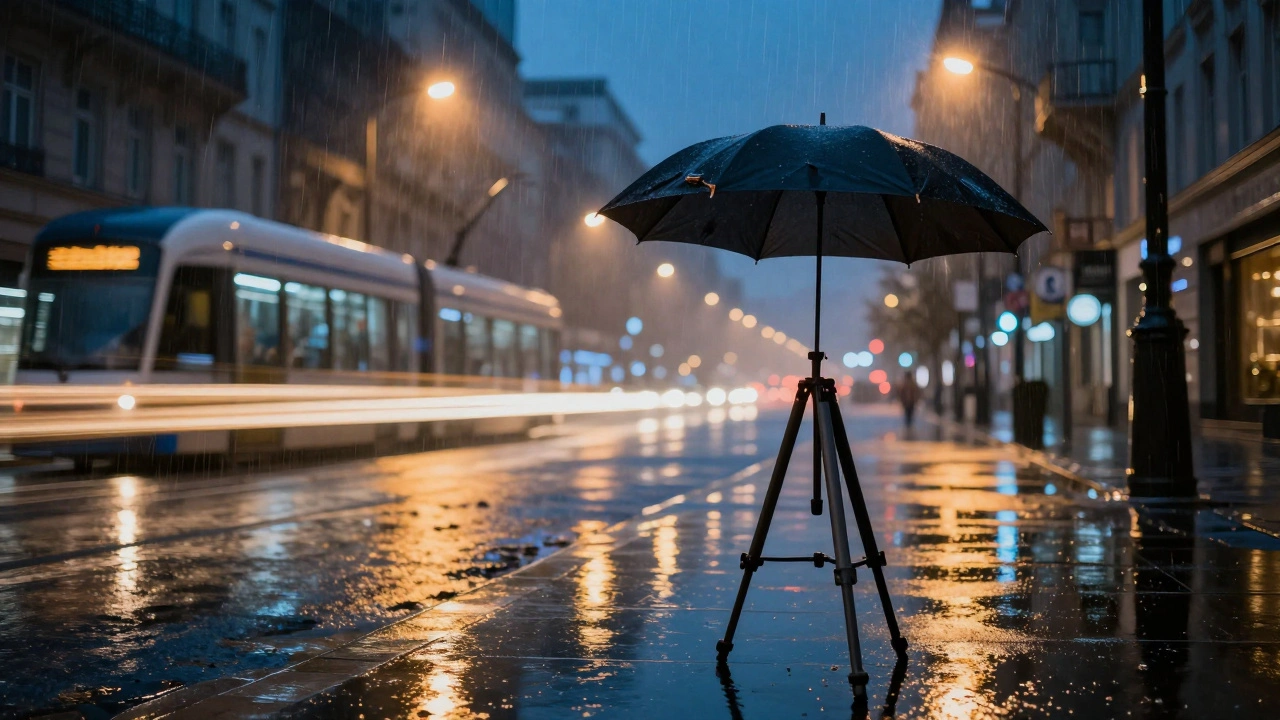
Rain doesn’t mean you lock your camera in a suitcase. It means you adapt. You don’t need a $500 weatherproof housing to shoot in drizzle. A simple plastic bag with a hole cut for the lens does the job. Keep your camera under a porch awning, a tree canopy, or even your own umbrella. The key is to protect the gear while still letting you move freely.Use a tripod. Not because it’s trendy, but because rain = low light = slower shutter speeds. You need stability. And if wind kicks up? Tie your camera bag to the tripod legs. Or better yet-clip an umbrella to the tripod with a rubber band. I’ve seen photographers do this in Kyoto during a sudden downpour. The rain hit the umbrella. The camera stayed dry. And the shot? A single raindrop hanging from a cherry blossom, background blurred into mist. That’s the kind of image you only get when you work with the weather, not against it.
Filters Aren’t Just for Sunny Days
Polarizers get a bad rap for being “sunny weather only.” But that’s wrong. On foggy or overcast days, a polarizer cuts through haze. It deepens the gray of clouds. It brings out the green in wet leaves. It removes glare from rain-slicked rocks or wet windows. I’ve used a polarizer in the Pacific Northwest on days so overcast the horizon vanished-and it still made a difference. The colors didn’t pop because of sun. They popped because the filter removed the visual noise.Neutral density (ND) filters? They’re perfect for rain. A long exposure turns a waterfall into silk. Raindrops become streaks of motion. A puddle turns into a mirror. You don’t need bright light to use an ND filter. You just need water and time. Set your camera on a tripod. Use a 10-stop ND. Shoot at f/11. Let the shutter stay open for 30 seconds. Watch how the rain transforms from chaos into calm.
Don’t Frame the Sky
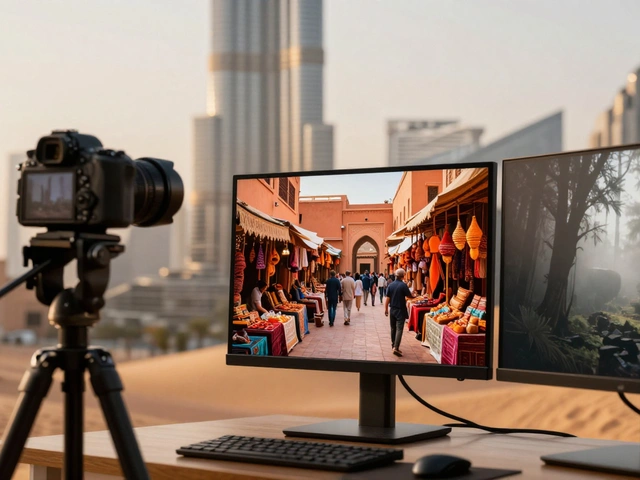
One of the biggest mistakes in bad weather photography? Including too much sky. A gray, featureless sky doesn’t add mood-it drains it. Instead, crop it out. Get low. Shoot upward into trees. Frame your subject with doorways, arches, or reflections. I once photographed a market in Lisbon during a steady rain. No sky in the frame. Just wet tiles, a vendor’s hands arranging oranges, and a single drop falling from an awning. The whole image was about texture, color, and movement. The sky? Irrelevant.When you can’t avoid sky, make it work. If clouds are layered-dark below, lighter above-use that contrast. Shoot into the wind. Let clouds streak across the top third of the frame. Use a wide-angle lens to exaggerate their movement. Or wait. Sometimes, the clouds part just enough to let a sliver of blue through. That’s when you get the most dramatic shots.
Shoot the Small Stuff
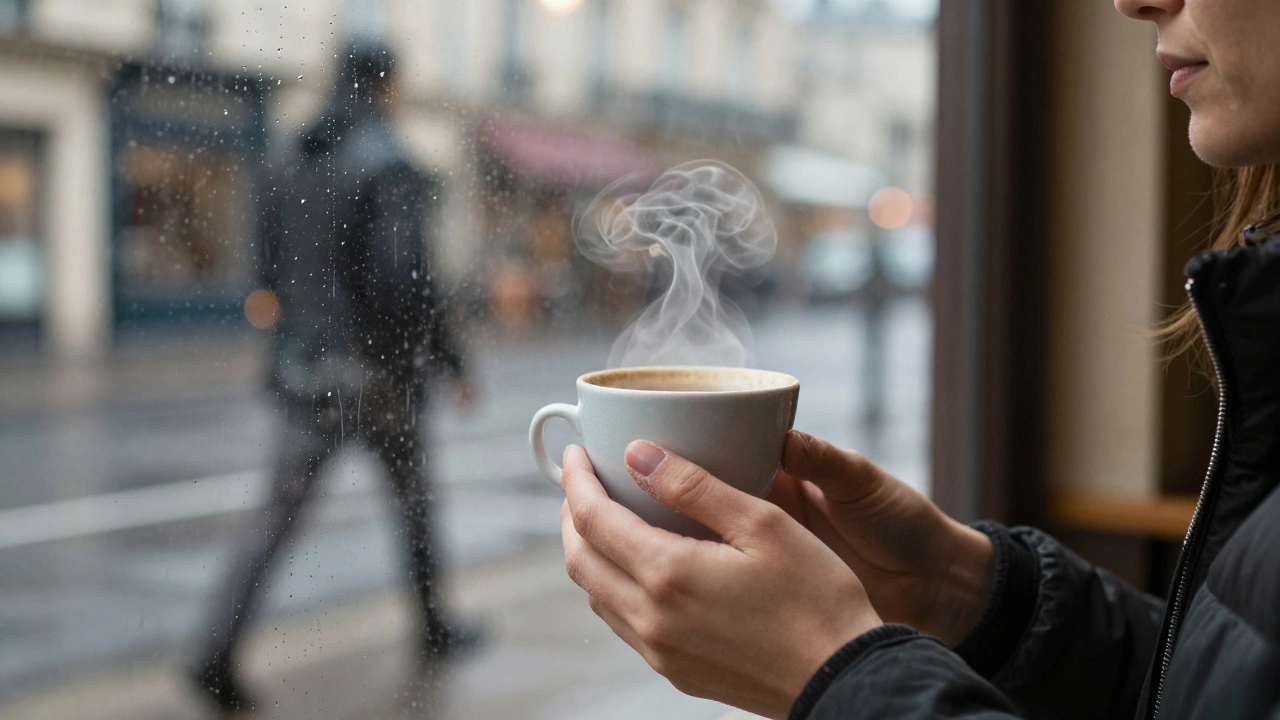
When the landscape feels dull, zoom in. Weather turns tiny details into storytelling moments. Raindrops on a spiderweb. A single leaf clinging to a wet bench. Steam rising from a coffee cup in a Parisian café. A child’s shoe splashing through a puddle. These aren’t afterthoughts. They’re the heart of travel photography.Use macro mode. Or just get close. A 50mm lens works great. Set your aperture to f/2.8. Let the background melt. The subject stays sharp. The rest? Blurred emotion. I shot a market in Oaxaca during a light drizzle. A woman sold handmade tortillas. I didn’t photograph her face. I photographed her hands-wrinkled, flour-dusted, holding a warm tortilla as rain dripped from the awning above. That photo got more shares than any of my beach shots.
Use Wind, Rain, and Fog as Tools
Wind isn’t just a nuisance. It’s motion. Let it blur a flag. Let it lift a scarf. Let it twist grass into curves. Use a slower shutter speed-1/15 or 1/8-and watch how the wind turns static scenes into something alive.Fog? It’s nature’s bokeh. It hides clutter. It adds mystery. In the mountains of Oregon, I shot a trail at dawn during fog. Trees vanished into white. Only the path remained visible. It looked like a painting. No editing. Just patience. I waited an hour. The fog lifted. And when it did? I got the shot I wanted: a single hiker walking into nothing.
Rain? It’s not just water. It’s reflection. Puddles become mirrors. Glass windows turn into layered scenes. Shoot through wet glass. Capture reflections of streetlights, people, signs. One of my favorite images from Prague was taken through a rain-streaked café window. Inside: a man reading. Outside: a tram gliding by. The glass blurred both worlds. No one else saw it. I was the only one standing there with a camera.
Shoot Indoors-Seriously
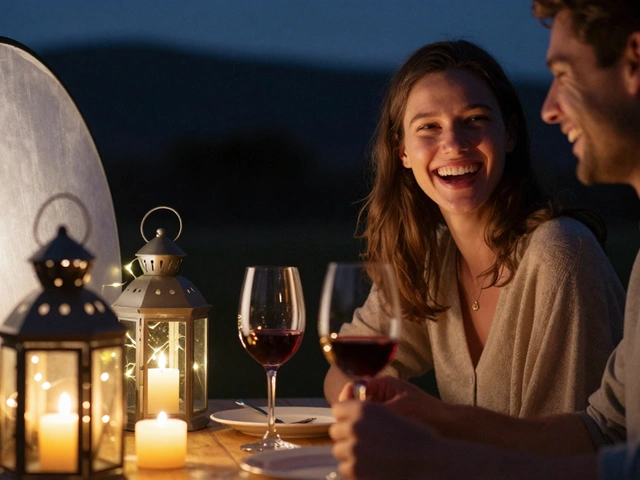
Just because it’s raining doesn’t mean you stop shooting. Travel photography isn’t just about landmarks. It’s about culture. When the weather shuts you out, go inside. Museums. Bookstores. Local bakeries. Markets. Even a train station.I spent a rainy afternoon in Bruges photographing a chocolate shop. No exterior shot. Just the steam rising from hot cocoa. The texture of wrapped truffles. The way light hit the glass display. Those photos told the story of the place better than any cathedral image ever could. The weather forced me to look closer. And that’s where the best travel photos live.
Edit for Mood, Not Perfection
A gray photo isn’t a failed photo. It’s a raw material. In editing, don’t try to make it look sunny. Lean into the mood. Cool down the white balance. Increase contrast slightly. Bring out the shadows. If colors look washed out? Try black and white. Sometimes, gray skies become timeless in monochrome.One image I took in Iceland during a snowstorm looked flat. Too gray. Too dull. I dragged the shadows up, crushed the blacks, and pulled out the blues. The snow turned icy. The rocks turned charcoal. The sky? Just a whisper. It looked like a film still. No one would guess it was taken in 10-minute bursts between snow squalls.
Stay Ready. Always.
Weather changes fast. You’ll miss the moment if you’re fumbling with gear. Keep your phone charged. Keep your camera in a dry bag, but accessible. Have a spare battery. A microfiber cloth. A lens hood. A small towel. You don’t need a full kit. You need to be ready.And don’t wait for the perfect moment. The perfect moment is often the one you didn’t plan for. I was in Vancouver, waiting for the rain to stop. I sat in my car. The windshield wipers moved. The streetlights flickered on. A lone cyclist passed. I snapped the shot. No tripod. No filter. No planning. Just a moment. That photo ended up on a travel magazine cover.
Do I need expensive gear to photograph weather while traveling?
No. You don’t need a weather-sealed camera or a $2,000 lens. A basic DSLR or mirrorless camera, a tripod, a plastic bag for rain protection, and a polarizing filter are enough. What matters is how you use what you have. Many top travel photographers shoot with entry-level gear because they focus on composition and timing-not specs.
Can I shoot rain at night?
Yes-and it’s often better. Rain at night turns streetlights into glowing halos. Puddles reflect neon signs. Long exposures turn rain into streaks of light. Use a tripod, set your ISO low (100-400), and shoot with a wide aperture (f/2.8-f/4). You’ll get motion blur that looks like liquid light.
What’s the best time of day to shoot fog?
Early morning, just after sunrise. That’s when fog is thickest and most stable. But don’t wait for perfect light. Fog can roll in at any time. If you’re traveling, stay alert. I’ve gotten my best fog shots at noon, when the sun broke through just enough to create contrast.
How do I avoid blurry photos in windy conditions?
Use a faster shutter speed-1/250 or higher-if you’re shooting people or moving objects. But if you want motion, go slower. Wind-blown hair, swaying trees, fluttering flags-they’re more powerful when blurred. The trick is intention. Don’t fight the wind. Use it.
Should I shoot in RAW for weather photography?
Always. Weather conditions change exposure quickly. RAW files give you room to recover shadows in fog, brighten dark rain, or adjust color temperature after the fact. JPEGs will look fine on the camera-but they’ll die in editing. RAW keeps your options open.
Weather doesn’t cancel your trip. It redefines it. The best travel photos aren’t taken on perfect days. They’re taken when you showed up anyway-when you saw the rain not as a problem, but as a lens. And that’s the difference between someone who takes pictures and someone who tells stories.