Ever feel like your camera is a mystery box? You hit the shutter button, and sometimes the photo is a blurry mess or looks like it was taken in a coal mine, even though the room felt bright to you. The problem isn't your eye; it's that the "Auto" mode is guessing, and it often guesses wrong. To get the shots you actually see in your head, you need to take the wheel. The secret is mastering beginner camera settings, which boils down to balancing three specific levers to control light.
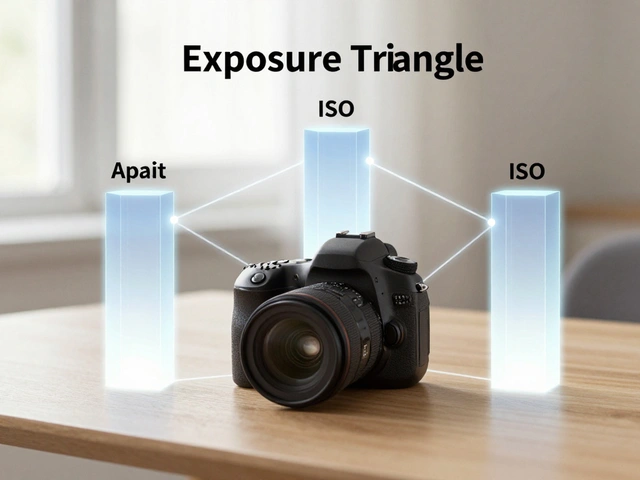
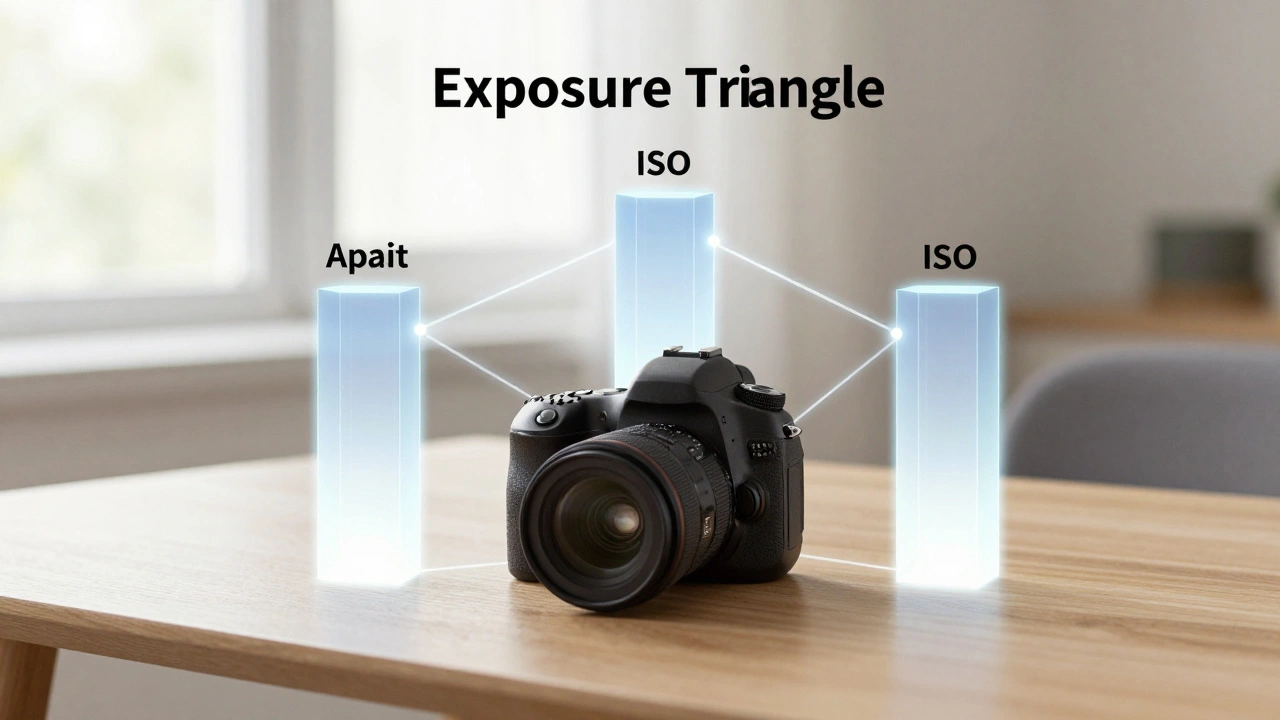
The heart of every photo is the Exposure Triangle, which is the interconnected relationship between aperture, shutter speed, and ISO. Think of it like a three-legged stool. If you shorten one leg, you have to adjust the others to keep the stool level. In photography, "level" means a properly exposed image-not too bright (overexposed) and not too dark (underexposed).
Mastering the Aperture: Controlling Focus and Light
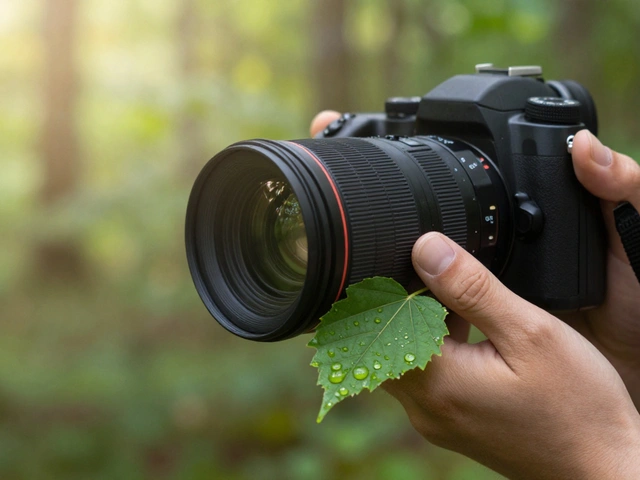
If you want that professional look where the subject is sharp but the background is a creamy blur, you're talking about aperture. Aperture is the physical opening of the lens that lets light hit the sensor. It's measured in f-stops, and this is where things get a bit weird: the smaller the number, the bigger the hole.
When you use a low f-stop like f/2.8, the lens opens wide. This lets in heaps of light and creates a "shallow depth of field," meaning only a small slice of your image is in focus. This is your best friend for portraits. If you're shooting a friend in a park, f/2.8 will make them pop while turning the trees behind them into a soft blur.
On the flip side, a high f-stop like f/11 means the opening is tiny. This lets in much less light but gives you a "deep depth of field." Everything from the pebble at your feet to the mountain in the distance stays sharp. This is the gold standard for landscape or interior photography. Just remember: because the hole is smaller, you'll need to find that missing light somewhere else-either by slowing down your shutter or cranking up your ISO.
Shutter Speed: Freezing Time or Feeling the Flow
While aperture is about the size of the opening, Shutter Speed is about time. It's the length of time the camera sensor is exposed to light, measured in fractions of a second.
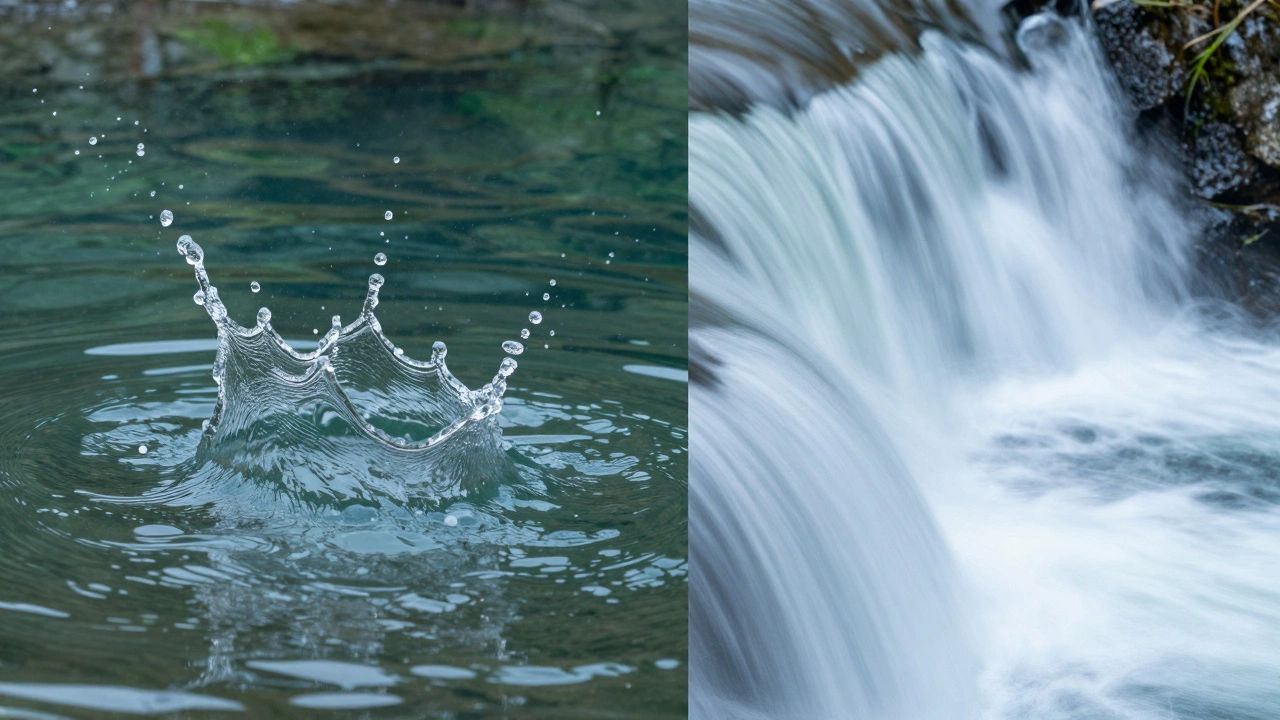
Imagine a fast-moving car. If you use a fast shutter speed, like 1/1000th of a second, you'll freeze that car in place as if time stopped. This is how sports photographers capture a bead of sweat flying off an athlete's face. The trade-off? The shutter closes so fast that very little light gets in. If it's a cloudy day, your photo might come out too dark.
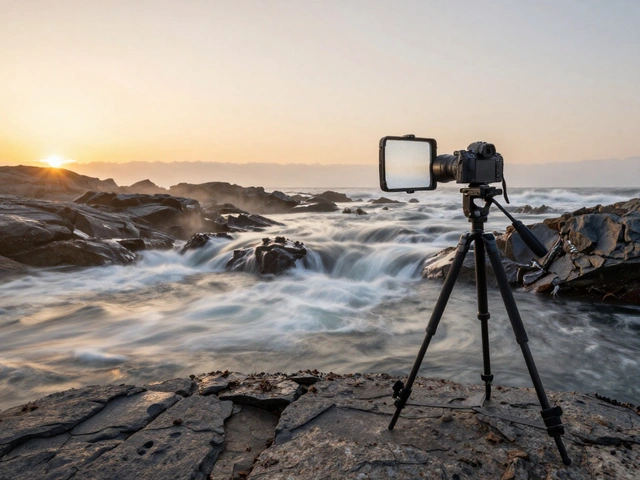
If you slow the shutter down to 1/30th of a second, you let in more light, but you also capture movement. This creates motion blur. It's great for making a waterfall look like silky ribbons, but it's a nightmare for handheld shots because your own shaky hands will blur the whole image. For beginners, a safe starting range is usually between 1/125 and 1/500 of a second to keep things crisp.
ISO: The Digital Amplifier
When you've opened your aperture as wide as it goes and slowed your shutter as much as you can without blurring, but the photo is still too dark, you turn to ISO. In simple terms, it's the sensitivity of your camera's sensor to light.
Think of ISO as a volume knob for light. Turning it up to ISO 3200 or 6400 makes the sensor "hear" the light better, brightening the image in a dim room. But there's a catch: noise. Just like turning up a cheap speaker creates static, high ISO creates "grain" or digital noise-those tiny, colorful speckles that make a photo look gritty and less sharp.
The golden rule here is to keep your ISO as low as possible. Start at ISO 100 for bright sunlight. If you move into an overcast afternoon, bump it to 400 or 800. Only hit those high numbers like 3200 when you're in a dark indoor setting and have no other choice. High-end full-frame cameras handle this better than entry-level ones, but the principle remains: more ISO equals more grain.
| Setting | Low Value (e.g., f/2.8, 1/30s, ISO 100) | High Value (e.g., f/11, 1/1000s, ISO 3200) | Primary Creative Effect |
|---|---|---|---|
| Aperture | More light / Blurry background | Less light / Everything sharp | Depth of Field |
| Shutter Speed | More light / Motion blur | Less light / Frozen action | Motion Capture |
| ISO | Less light / Clean image | More light / Grainy image | Image Quality |
The Workflow: How to Actually Set Your Camera
Knowing the settings is one thing; knowing which one to move first is where most people get stuck. Instead of guessing, follow this simple logical flow:
- Pick your look (Aperture): Decide if you want a blurry background (f/2.8) or a sharp landscape (f/11). Set this first because it's your primary creative choice.
- Check the light (ISO): Look at your environment. Sunny? ISO 100. Overcast? ISO 400. Indoors? ISO 1600. Keep it as low as the light allows.
- Balance the exposure (Shutter Speed): Now, adjust your shutter speed until the light meter in your viewfinder hits the center. If the photo is too dark, slow the shutter down. If it's too bright, speed it up.
If you're still intimidated by full manual mode, try Aperture Priority (labeled as 'A' or 'Av' on most dials). In this mode, you choose the aperture, and the camera does the math to set the shutter speed for you. It's the perfect training wheel for beginners because it lets you control the "look" of the photo while the camera handles the technical safety net.
Common Pitfalls and How to Fix Them
Even with these rules, things go wrong. If your photos are consistently blurry, you're probably using a shutter speed that's too slow for your steady-hand capacity. A good rule of thumb is to keep your shutter speed faster than 1/60th of a second when holding the camera. If you must go slower, use a tripod.
Another common mistake is "ISO creep." This happens when you keep raising the ISO to fix a dark photo instead of opening your aperture or slowing your shutter. This results in muddy, grainy images. Always try to maximize your aperture and shutter speed before touching the ISO knob.
Finally, don't trust the camera's "Scene" modes too much. While a "Portrait" mode attempts to mimic an f/2.8 setting, it often fails in tricky lighting. By manually setting your aperture and ISO, you remove the guesswork and start making intentional artistic choices.
Why is my photo blurry even though it's bright outside?
This usually happens because your shutter speed is too slow. Even in bright light, if you've set a very small aperture (like f/22), the camera needs to keep the shutter open longer to let in enough light. If that speed drops below 1/60s, the natural shake of your hands will cause blur. Increase your ISO or open your aperture to allow for a faster shutter speed.
Does a higher ISO always mean a worse photo?
Not necessarily. While higher ISO introduces noise, a sharp, grainy photo is always better than a blurry, clean photo. If the choice is between ISO 6400 (grainy) and a shutter speed of 1/10s (blurry), take the grain. You can often fix noise in editing software, but you can't fix motion blur.
What is the best aperture for portraits?
For a classic look with a blurred background (bokeh), try f/1.8, f/2.8, or f/4. The lower the number, the more blur you get. However, be careful-at f/1.8, the area in focus is very thin. If you're not careful, the person's nose might be sharp but their eyes are blurry.
How do I know when my exposure is "correct"?
Look for the exposure compensation scale in your viewfinder (the line with a 0 in the middle and + and - signs). When the little tick mark is on 0, the camera believes the exposure is balanced. However, trust your eyes-if the image looks too dark or bright on the screen after you take it, adjust your settings and try again.
Can I use Auto ISO with Manual mode?
Yes, and many pros do! This allows you to lock in your desired aperture and shutter speed for creative reasons, while letting the camera adjust the ISO to make sure the image is bright enough. It's a great way to bridge the gap between Auto and full Manual control.
Next Steps for Your Photography Journey
The best way to learn this isn't by reading-it's by breaking things. Spend an hour today taking the same photo of a coffee mug or a houseplant three different ways. First, keep ISO and shutter speed the same but change the aperture from f/2.8 to f/11. Then, keep aperture and ISO the same but change your shutter speed from 1/1000 to 1/30. Finally, try a low ISO versus a high ISO.
Once you feel comfortable with the triangle, start experimenting with composition-the way you arrange things in the frame. Now that you can control the light, you can focus on the art. If you find yourself struggling with low-light shots even at high ISO, your next step should be exploring external lighting or a tripod to enable those ultra-slow shutter speeds without the blur.