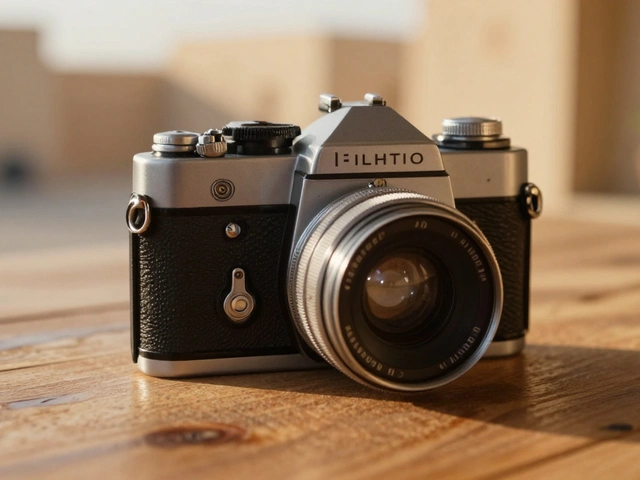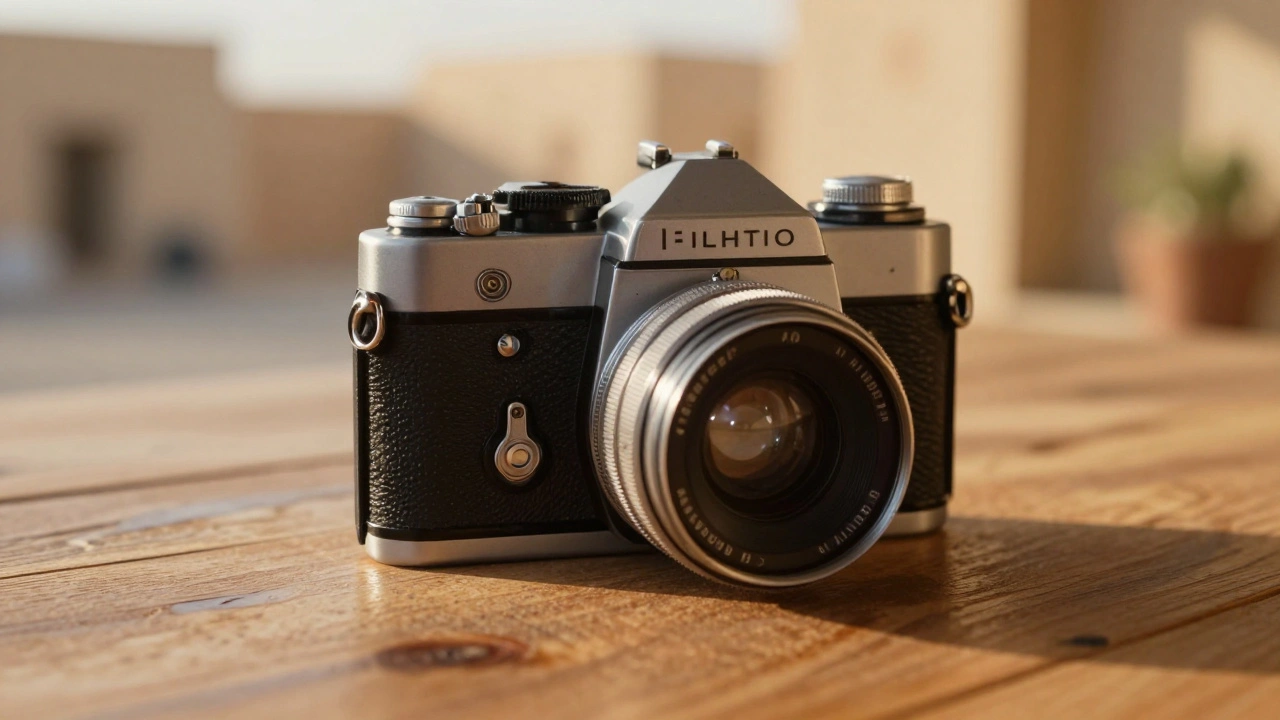
There is a specific weight to holding a 35mm camera a compact analog photographic device using standardized 35mm film strips. It feels deliberate. In a world where you can delete a photo instantly, the mechanical click of a shutter tells you that this moment is captured forever-or not at all. This format, born from splitting 70mm motion picture film in Thomas Edison’s laboratory, remains the most popular film format for good reason. It offers a perfect balance of portability, image quality, and creative control.
Whether you are shooting gritty black and white film monochrome photographic film known for high contrast and tonal range or vibrant color negative film film stock designed to capture full-spectrum color with daylight or tungsten balancing, understanding the mechanics behind the emulsion changes how you see light. You stop looking at pixels and start looking at shadows, highlights, and the grain structure itself.
The Anatomy of 35mm Film
To shoot well, you need to know what is inside that metal canister. The standard 35mm frame measures approximately 24mm by 36mm, creating a 3:2 aspect ratio. This ratio is why your digital "full-frame" sensors look the way they do-they mimic this classic dimension. But the magic isn't just in the size; it's in the layers.
Every strip of film has an emulsion layer the light-sensitive coating containing silver halide crystals suspended in gelatin. These tiny crystals change chemically when hit by light. On the back of many films, especially color stocks, there is a Rem-Jet layer a carbon-based black backing layer that prevents light reflection and protects the emulsion. This black layer stops light from bouncing through the clear plastic base and reflecting back into the image, which would cause ugly halos around bright lights. However, if your scanner is too powerful, it can burn through this layer, creating those same halos intentionally-a stylistic choice some photographers love.
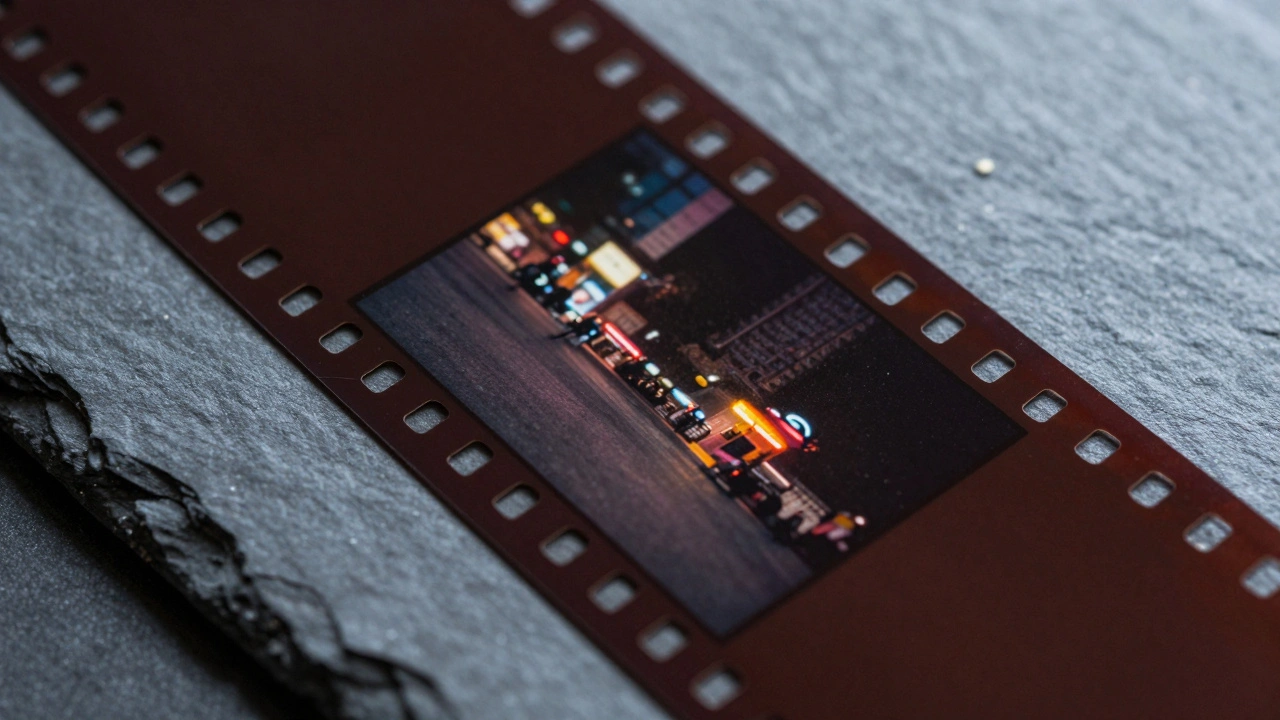
The edges of the film feature sprocket holes perforations along the film edges that engage with camera transport mechanisms. These allow the camera’s gears to pull the film precisely between frames. Because this spacing is universal, a roll of Kodak film works in a Canon, a Nikon, or a vintage Pentax without modification. This compatibility is the backbone of the 35mm ecosystem.
Understanding ISO: The Fixed Variable
In digital photography, you change ISO with a dial. In film, the ISO is fixed for the entire roll. This constraint forces you to think before you load. ISO, formerly ASA, measures the film’s sensitivity to light. It is one corner of the exposure triangle, but unlike aperture and shutter speed, you cannot adjust it mid-roll.
Here is how the speeds break down in practical terms:
- ISO 100-200 (Slow Film): Ideal for bright sunlight, landscapes, and portraits where fine detail matters. The grain is incredibly fine, almost invisible. Think of Kodak Portra 160 a professional color negative film known for smooth skin tones and fine grain here. It renders colors beautifully under natural light.
- ISO 400 (Medium Speed): The workhorse. Versatile enough for overcast days, indoor events, and mixed lighting. Kodak Portra 400 a versatile color negative film suitable for various lighting conditions is a favorite among wedding and street photographers because it handles both sun and shade reasonably well.
- ISO 800-3200 (Fast Film): Necessary for low light, night streets, or fast action. The trade-off is visible grain. While some find grain distracting, others use it as a texture tool. Cinestill 800T a cross-processed motion picture film known for unique halation effects and low-light performance is famous for its dreamy glow around streetlights, thanks to its specific emulsion properties.
When you buy a new roll, check for DX coding electronic markers on the film canister that auto-set camera ISO and frame count. Most modern film cameras will read these metallic contacts on the canister and automatically set the correct ISO. If you are using an older manual camera, you must set the ISO dial yourself. Getting this wrong means every photo on the roll will be overexposed or underexposed.
Black and White vs. Color: Choosing Your Emulsion
The choice between monochrome and color is more than aesthetic; it affects how you expose and process your images.
Black and White Film relies on silver halides converting to metallic silver during development. It has an incredible dynamic range-often capturing details in deep shadows and bright highlights simultaneously that color film might crush. Films like Ilford HP5 Plus a versatile black and white film with ISO 400 sensitivity and fine grain structure are forgiving. You can push them (develop longer) to simulate higher ISO or pull them (develop shorter) for finer grain. B&W also separates subject from background purely through tone, forcing you to focus on composition and light shapes rather than color distractions.
Color Negative Film is generally more forgiving regarding exposure errors than slide film (E-6), but less so than B&W. It requires careful attention to white balance. Unlike digital, you cannot fix white balance in post-processing easily. If you shoot daylight-balanced film under tungsten indoor lights, your photos will turn orange. To counteract this, you have two options:
- Use a blue filter (like an 80A) over your lens to cool down the light.
- Shoot tungsten-balanced film color film calibrated for artificial lighting, indicated by a 'T' suffix, such as Cinestill 800T. This film looks normal indoors but will appear very blue outdoors unless you use a warm filter.
Loading and Handling: Avoiding Common Mistakes
Nothing ruins a day faster than finding out you didn’t advance the film properly. Here is the reliable method for loading any 35mm camera:
- Open in Low Light: Even though film is protected by the canister, open the back panel away from direct sunlight to prevent accidental fogging.
- Thread the Leader: Pull the film leader across the take-up spool. Ensure the teeth of the spool catch the paper leader or the film edge securely.
- Engage Sprockets: Make sure the sprocket holes align with the guide pins on both sides. If they don’t, the film won’t advance evenly, leading to uneven exposures or jammed cameras.
- Advance to First Frame: Close the back. Advance the lever until it clicks firmly. Press the shutter. Repeat until the frame counter shows 1 or 0. This ensures the first frame is actually exposed.
- Check Exposure: Use your light meter. If your camera doesn’t have one, use the "Sunny 16" rule: on a sunny day, set f/16 and shutter speed to 1/ISO (e.g., 1/125 for ISO 125).
A common mistake is forgetting to rewind the film after the last shot. Once the counter passes 36, wind the crank continuously until you feel resistance drop-that means the spring is loose and the film is back in the canister. Only then should you open the back.
| Film Name | Type | ISO | Best Use Case | Key Characteristic |
|---|---|---|---|---|
| Kodak Portra 400 | Color Negative | 400 | Portraits, Weddings | Smooth skin tones, fine grain |
| Ilford HP5 Plus | Black & White | 400 | Street, Documentary | High contrast, pushable |
| Cinestill 800T | Motion Picture (C-41) | 800 | Night, Neon Lights | Tungsten balanced, halation |
| Kodak Gold 200 | Color Negative | 200 | Vacation, Family | Warm tones, affordable |

Resolution and Print Limitations
Let’s address the elephant in the room: resolution. A 35mm negative is small. Compared to medium format (120 film) or large format, it holds less information. If you plan to make poster-sized prints, 35mm will show grain and softness up close. For web use or standard 4x6 and 5x7 prints, it is perfectly sharp. Modern scanners can digitize 35mm negatives at 4000 DPI or higher, yielding files comparable to 24-megapixel digital sensors. But don’t expect infinite cropping ability. Composition matters more on film because you can’t zoom in later.
Lenses play a huge role here. A high-quality prime lens, like a 35mm f/1.4, will render images sharper than a cheap kit zoom. The combination of a fast lens and high-speed film allows you to shoot handheld in dim light, embracing the grain rather than fighting it.
Development and Scanning
Once the roll is done, you have choices. C-41 processing is the standard for color negative film. It’s widely available and consistent. Black and white film uses D-76 or HC-110 developers, which offer more control over contrast and grain if you develop at home. Many photographers in Portland and other cities enjoy home developing B&W because it’s cost-effective and gives you immediate feedback on your technique.
Scanning is the final step. Professional labs use high-end drum scanners or flatbeds with ICE (Image Cleanup Enhancement) technology to remove dust. DIY scanning with a dedicated film scanner or even a high-resolution DSLR and copy stand is becoming popular for those seeking maximum quality. Remember, the scan is your negative’s digital twin-treat it with care.
Is 35mm film dead?
Absolutely not. Sales of 35mm film have surged in recent years. Major manufacturers like Kodak and Fujifilm continue to produce new stocks, and niche brands like Cinestill and Ilford innovate constantly. The tactile experience and unique aesthetic keep demand high among both beginners and professionals.
Can I use expired film?
Yes, but with expectations managed. Expired film loses sensitivity (requiring slower shutter speeds or wider apertures) and may shift in color balance. Black and white film ages better than color. Store expired film in a refrigerator or freezer to slow degradation. Test a few frames first to gauge the shift.
What is the difference between DX coding and manual ISO setting?
DX coding is an electronic system on the film canister that tells compatible cameras the ISO and number of exposures automatically. Manual ISO setting requires you to physically turn a dial on the camera body to match the film’s speed. Older cameras lack DX readers, so manual setting is essential for them.
Why does my film have orange tint?
If you shot daylight-balanced film under tungsten (indoor) lights, the result will be overly orange. Conversely, tungsten film shot outdoors will look very blue. This is a white balance mismatch. Use filters or choose the correct film type for your lighting environment to avoid this.
How do I store unused film?
Store unopened film in a cool, dry place. A refrigerator is ideal for short-term storage (months). For long-term storage (years), use a freezer. Let the film reach room temperature before opening to prevent condensation inside the canister, which can ruin the emulsion.