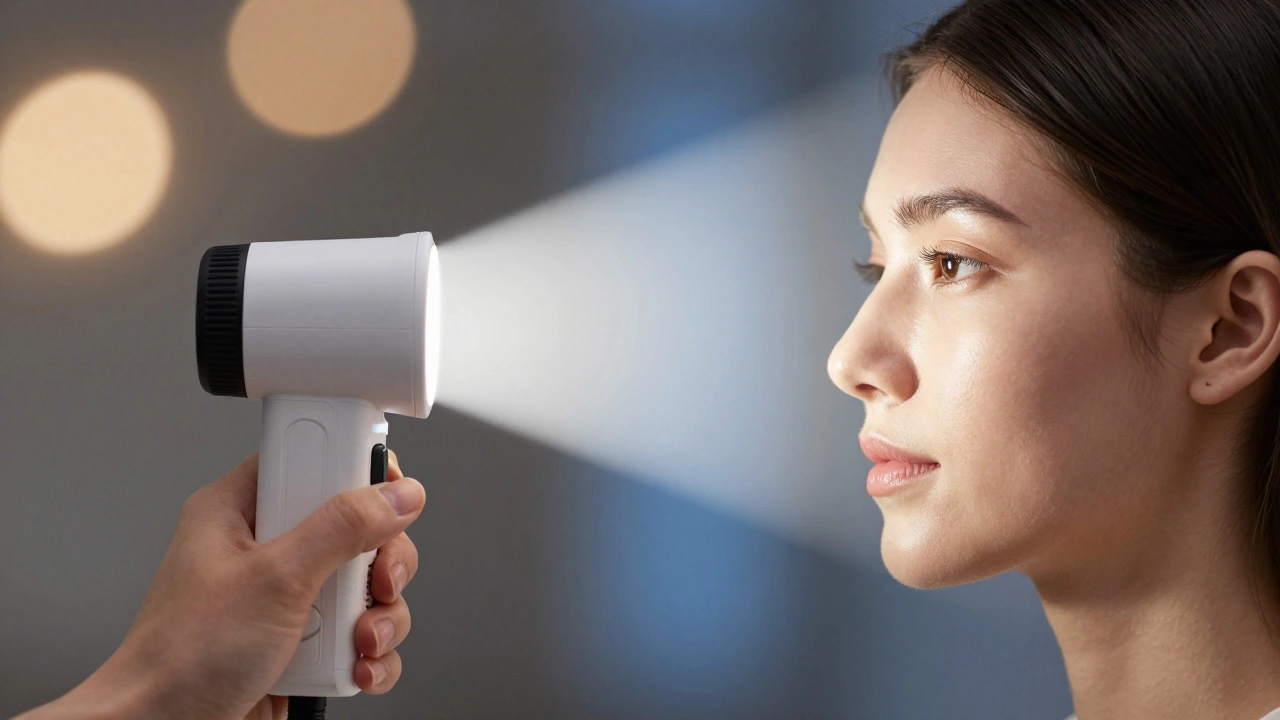
Why does your camera keep turning a beautiful face into a dull gray mask? It’s not your lens, and it’s not the lighting. Your camera is simply doing exactly what it was told to do: make everything look like middle gray. When you shoot portraits, relying on automatic settings often leads to underexposed dark skin or washed-out pale skin because the camera’s meter doesn’t know that human flesh isn’t an 18% gray card.
To get reliable exposure every time, you need to stop trusting the camera’s default judgment and start using metering for skin tones. This approach treats the subject’s face as the priority over the background, ensuring natural brightness and detail regardless of whether your model has deep brown skin or fair complexions. By understanding how meters interpret light and applying simple compensation rules, you can take control of your exposure and produce flattering portraits with confidence.
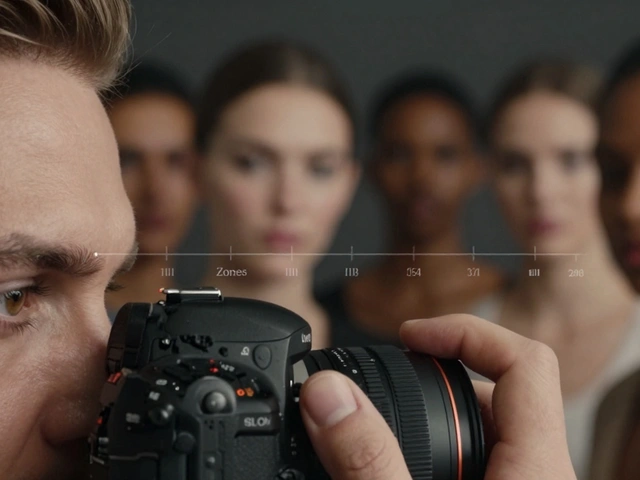
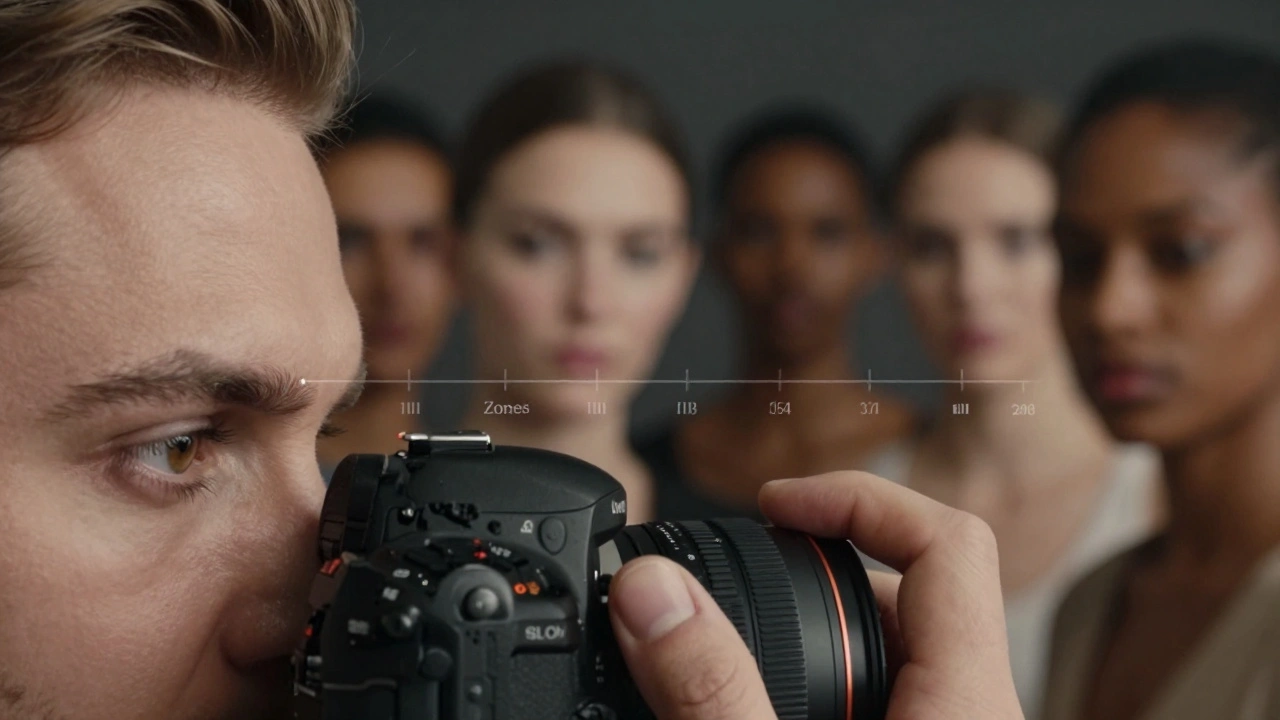
How Camera Meters See Skin
Most cameras use reflected-light metering. They measure the light bouncing off the scene back into the lens and assume the average reflectance is around 12-18%, known as Zone V or "middle gray." If you point this meter at a bright white wall, the camera thinks the scene is too bright and darkens it. If you point it at black velvet, the camera thinks it’s too dark and brightens it. Human skin falls somewhere in between, but rarely right in the middle.
This creates a consistent bias. Light Caucasian skin typically reflects more light than middle gray, so the camera will underexpose it if left unchecked. Darker skin reflects less light, leading the camera to overexpose it in an attempt to bring it up to gray. The result? Pale subjects look muddy and gray, while darker subjects lose texture and contrast, looking flat or overly bright. Understanding this baseline error is the first step to fixing it.
The Zone System for Digital Portraits
Developed by Ansel Adams and Fred Archer in the late 1930s, the Zone System divides tonal values into eleven zones, each one stop apart. While originally designed for film, it remains the most precise framework for digital exposure. In portrait photography, we care primarily about where skin falls within these zones.
- Zone III: Deep shadows with visible texture (often used for shadow sides of darker skin).
- Zone IV: Dark tones with detail; common for mid-tone areas on deeper skin.
- Zone V: Middle gray; the camera’s default target.
- Zone VI: Light tones; typical for average Caucasian skin.
- Zone VII: Very light tones; common for pale skin or highlights.
If you spot-meter a person’s cheek and let the camera expose for Zone V, you are forcing their skin to be gray. To render light skin correctly, you usually need to place it in Zone VI, which means adding +1 EV of exposure compensation. For medium-dark skin aiming for Zone IV, you might subtract -1 EV. Knowing your subject’s typical zone allows you to dial in the correct exposure instantly.
Spot Metering: Precision Control
Spot metering is the most accurate way to apply the Zone System in-camera. It measures only a tiny portion of the frame-usually 2-5%-allowing you to ignore distracting backgrounds. Here is how to use it effectively for skin tones:
- Set your camera to spot metering mode.
- Aim the spot at the best-lit part of the subject’s cheek, avoiding specular highlights (shiny spots) and deep shadows.
- Note the exposure reading the camera gives you. This places that specific patch of skin at Zone V.
- Apply exposure compensation based on skin tone:
- Pale/Light Skin (Zone VI-VII): Add +1 to +1.5 EV.
- Medium/Olive Skin (Zone V-VI): Add 0 to +1 EV.
- Dark/Deep Brown Skin (Zone III-IV): Subtract -1 to -2 EV, or meter a shadow area instead.
- Recompose and shoot.
This method ensures the skin looks natural. The trade-off is that the background may become overexposed or underexposed. In portraiture, this is acceptable. The face is the subject; the background is secondary context.
Incident Metering: The Consistent Alternative
If guessing zones feels tedious, incident metering removes the guesswork entirely. Unlike reflected meters, an incident meter (like a Sekonic L-478) measures the light falling onto the subject, not the light reflecting off them. Place the meter at the subject’s face, pointing the white dome toward the camera or the main light source.
Because it measures the light source itself, the reading is independent of the subject’s skin color. A person with very dark skin and a person with very light skin standing in the same light will receive the exact same exposure recommendation from an incident meter. This makes it the gold standard for studio work and controlled environments. For digital shooters, many still add +0.3 to +0.7 EV to this reading to ensure cleaner shadows and a slightly brighter, healthier look to the skin.
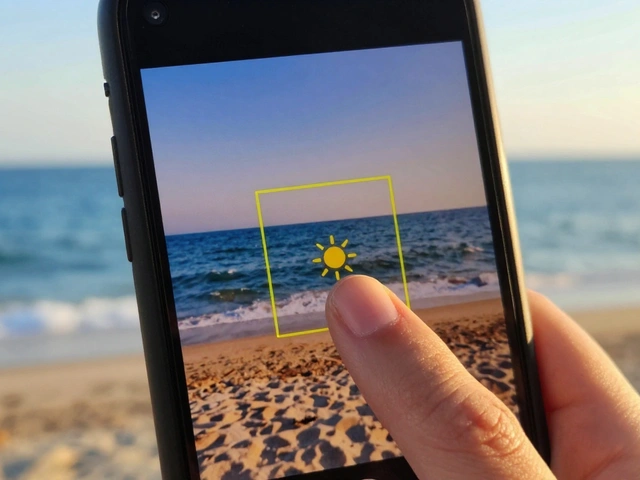
Evaluative Metering and Compensation
In fast-paced situations like weddings or events, stopping to spot-meter isn’t always practical. Most photographers rely on evaluative (or matrix) metering combined with exposure compensation. Modern cameras weigh the center of the frame and detected faces heavily, but they still aim for a neutral average.
A reliable heuristic for evaluative metering is to start with +0.3 to +1.0 EV compensation when the subject dominates the frame. This slight overexposure helps protect shadow detail in RAW files, which is easier to recover than blown-out highlights. If the subject is backlit, increase compensation to +1.0 EV or higher to prevent the face from becoming a silhouette. Always check your histogram after a few shots to ensure you aren’t clipping critical details.
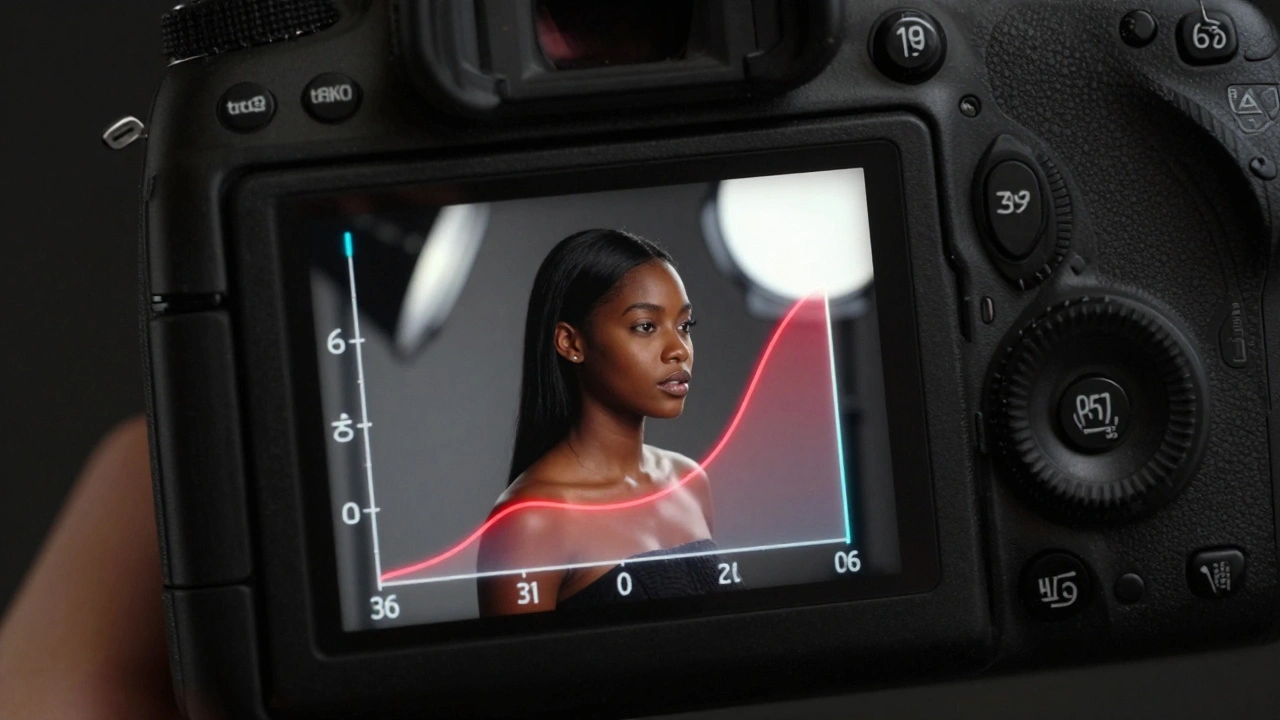
Reading the Red Histogram
Standard histograms show luminance, but they don’t tell the whole story about color fidelity. Lauren Baker, a prominent portrait educator, emphasizes monitoring the red channel histogram specifically. Human skin contains significant red information. If the red channel clips (hits the far right edge), you lose subtle tonal variations in the cheeks and forehead, resulting in plastic-looking, flat skin that is difficult to fix in post-processing.
When exposing for skin, aim for the red histogram to be spread across the range without touching the right edge. You might notice the overall image preview looks slightly darker than usual. Trust the data, not the screen. Preserving highlight detail in the red channel ensures you retain smooth gradients and natural texture when editing in Lightroom or Capture One.
| Skin Tone Category | Target Zone | Compensation from Spot Meter | Common Pitfall |
|---|---|---|---|
| Very Light / Pale | VI - VII | +1.0 to +1.5 EV | Underexposure (Grayish look) |
| Medium-Light | VI | +0.5 to +1.0 EV | Slight Underexposure |
| Medium / Olive | V - VI | 0 to +0.5 EV | Neutral Bias |
| Medium-Dark | IV - V | -0.5 to 0 EV | Overexposure (Loss of Texture) |
| Dark / Deep Brown | III - IV | -1.0 to -1.5 EV | Washed Out / Ashy |
White Balance and Color Consistency
Exposure and color are linked. Auto White Balance (AWB) can shift dramatically between frames, especially in mixed lighting, causing skin tones to swing between orange and blue. For consistent results, set a manual Kelvin temperature. Use Daylight (~5500K) for outdoor sun, Tungsten (~3200K) for indoor bulbs, or Shade (~7000K) for open shade. Locking WB ensures that your exposure adjustments affect brightness, not color cast, making post-processing predictable and efficient.
What is the best metering mode for portrait photography?
For maximum precision, spot metering is best because it isolates the skin tone from the background. For speed and consistency in studio settings, incident metering is ideal. For event photography where speed is critical, evaluative metering with positive exposure compensation (+0.3 to +1 EV) works well.
Why does my camera underexpose light skin tones?
Why does my camera underexpose light skin tones?
Camera meters are calibrated to render scenes as middle gray (Zone V). Light skin reflects more light than middle gray, so the camera compensates by reducing exposure to bring that brightness down to gray, resulting in a dull, underexposed image unless you manually add exposure compensation.
How do I expose for dark skin tones correctly?
Avoid letting the camera overexpose dark skin to reach middle gray. Instead, spot meter a shadow area near the skin and place it in Zone III (-2 EV from mid-gray), or use incident metering. Ensure you monitor the red histogram to preserve texture and avoid washing out the rich tones.
What is the Zone System in photography?
The Zone System is a technique for determining exposure and development, dividing tonal values into 11 zones from pure black (Zone 0) to pure white (Zone X). Each zone represents one stop of light. In portraiture, it helps photographers decide exactly where to place skin tones relative to middle gray for optimal detail.
Should I use Auto White Balance for portraits?
No. Auto White Balance can fluctuate between shots, causing inconsistent skin colors. Set a manual Kelvin value (e.g., 5500K for daylight) to maintain consistent chroma across your session, making editing faster and more reliable.