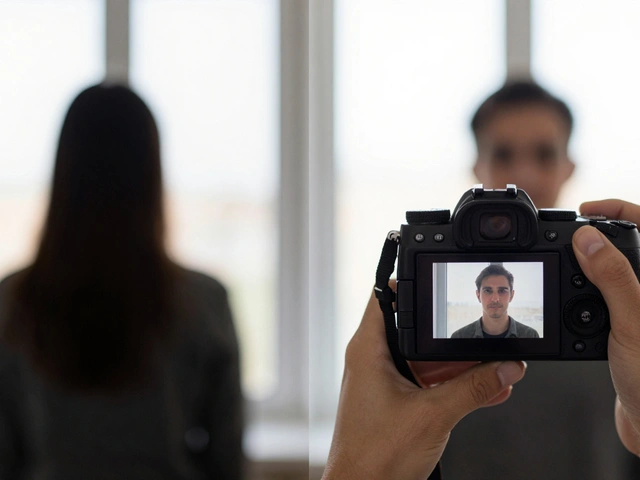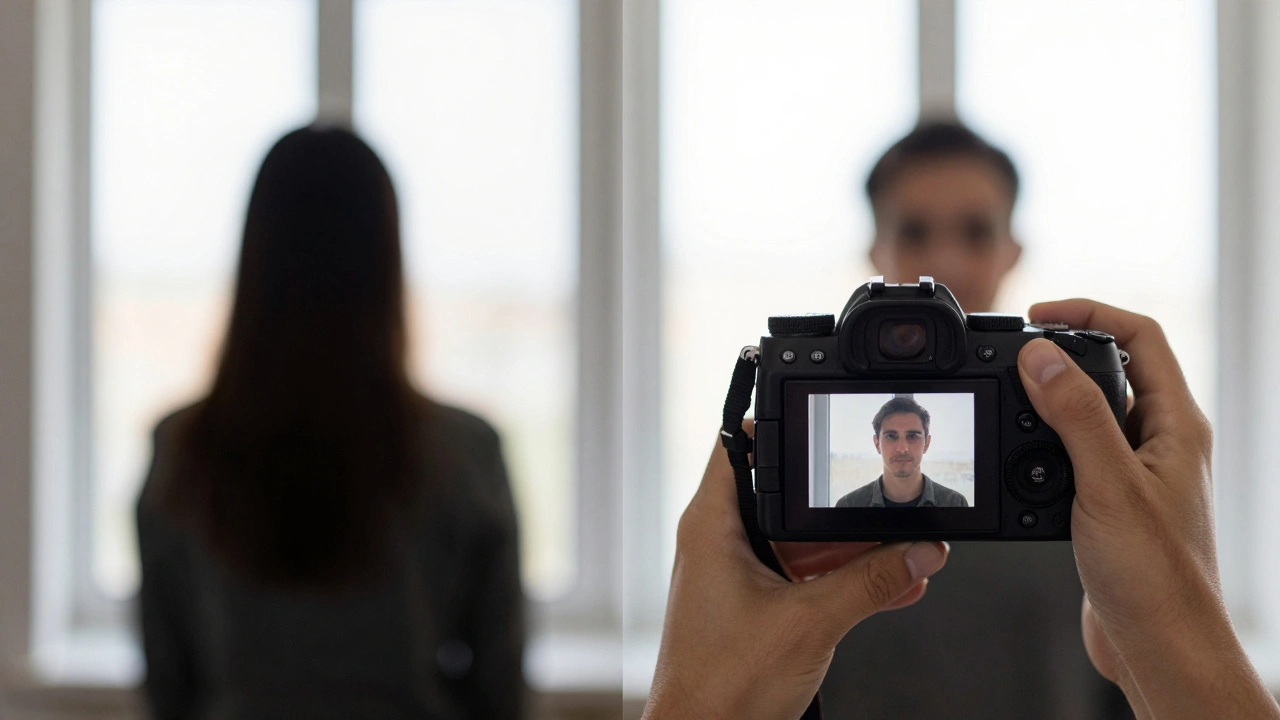
Imagine you're shooting a portrait of a friend standing in front of a bright, sunny window. You frame the shot, press the shutter, and the result is a disaster: your friend is a dark silhouette and the window is a blown-out white mess. What happened? Your camera's light meter saw all that bright light from the window and panicked, automatically cutting the exposure to prevent overexposure. This is where Exposure Lock is a lifesaver. By using the AE-L button, you tell your camera, "Stop thinking and just use these settings," allowing you to get the brightness exactly right regardless of what else is in the frame.
What Exactly is AE-L?
Auto Exposure Lock (or AE-L) is a feature that freezes the camera's exposure settings-aperture, shutter speed, and ISO-at a specific value. Normally, in automatic or semi-automatic modes, your camera constantly re-evaluates the light in the scene. If you move the camera slightly, the meter sees a different amount of light and changes the settings. AE-L stops this constant recalculation. It's an old-school tool that dates back to the film era, long before we had digital tools like histograms to tell us if a photo was too bright or too dark.
When you engage the lock, the camera ignores any new light readings. This means if you meter for a subject's face and then move the camera to include a bright sky, the camera won't darken the image to compensate for the sky. You keep the exposure that worked for the face.
Common Metering Patterns and Their Role
To make the most of exposure lock, you need to understand how your camera "sees" light. The AE-L button doesn't work in a vacuum; it locks whatever your current Metering Mode is calculating. If you're using Matrix metering, the camera looks at the whole scene. If you're using Spot metering, it looks only at a tiny point in the center.
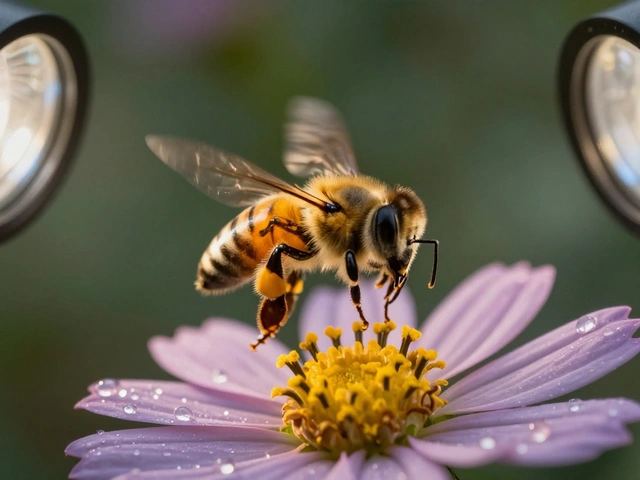
The real magic happens when you combine Spot metering with AE-L. For example, if you have a subject in a dark room with one bright spotlight, you can point the center of your frame at the subject's face, use Spot metering to get the brightness right, hit the AE-L button, and then recompose the shot to show the rest of the room. The face stays perfectly exposed even though the rest of the frame is much darker.
How to Use AE-L: A Simple Step-by-Step Workflow
Whether you're using a mirrorless camera or a DSLR, the process is generally the same. Here is the most effective way to handle the workflow:
- Choose your metering mode: Select Spot or Center-weighted metering if you want a specific part of the image to dictate the brightness.
- Frame for the subject: Point your camera so the subject you want correctly exposed is in the metering area.
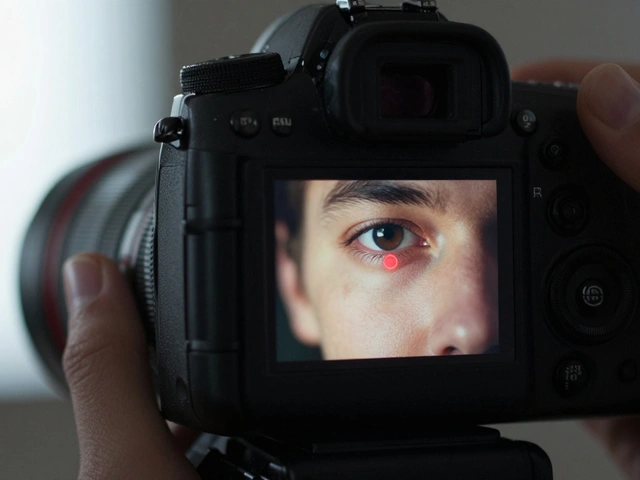
- Lock the exposure: Press the AE-L button. You'll usually see a visual cue in the viewfinder (like "AEL" or an asterisk).
- Recompose the shot: Move your camera to frame the final composition you actually want.
- Capture the image: Press the shutter. The settings will remain exactly as they were when you hit the lock button.
- Reset: Press the AE-L button again or wait for the camera to enter standby to unlock the settings for your next shot.
Comparing AE-L Behaviors Across Brands
Not all cameras handle the "lock" the same way. Some act like a toggle switch, while others act like a temporary hold. This is especially true for Nikon cameras, which offer deep customization through their function menus.
| Brand | Visual Indicator | Common Behavior/Feature |
|---|---|---|
| Nikon | "AE-L" or "AEL" | Customizable (Hold, Reset on Release, or Temporary) |
| Canon | Asterisk (*) | Often used with the * button for exposure/focus lock |
| Sony | Asterisk (*) | Quick-lock for rapid recomposition |
| Fujifilm | Blue "AE-L" | Clear on-screen indicator for locked status |
If you use a Nikon, check your custom function settings (often labeled f6). You can choose "AE Lock (Hold)", which is the gold standard for most pros. It keeps the exposure locked until you hit the button again. This is great for taking a series of photos in the same lighting without the camera changing the brightness between shots.
Scenarios Where Exposure Lock is Mandatory
There are a few classic "trap" scenarios where your camera's automatic brain will fail you every time. Here is how to beat them:
- High Contrast Backgrounds: When you have a dark subject against a bright sky, the camera tries to "save" the sky by darkening the whole image. Lock your exposure on the subject first, then move the camera to include the sky.
- Snowy Landscapes: Cameras hate white. They see a field of snow and think, "Wow, that's way too bright!" and underexpose the image, making your beautiful white snow look grey and muddy. Lock the exposure on a mid-tone area or use exposure compensation with AE-L to keep the snow white.
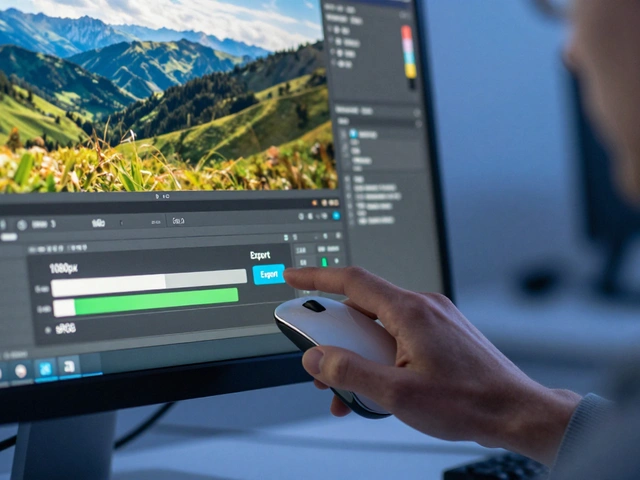
- Consistent Series: If you're taking photos of a product for an e-commerce store, you want every photo to have the exact same brightness. Instead of switching to full manual, you can lock the exposure on the first product and keep that setting for the next ten shots.
- Creative Lighting Shifts: You can intentionally create "high-key" (bright) or "low-key" (dark) images by locking the exposure on a very bright or very dark part of the room and then framing your subject.
AE-L vs. Manual Mode: Which One Should You Use?
You might be wondering, "Why not just use Manual mode and set everything myself?" While manual is great, AE-L offers a middle ground. When you use AE-L in a semi-automatic mode like Aperture Priority, you get the best of both worlds. You get the stability of manual exposure (the camera won't change your settings), but you still have the flexibility to use the exposure compensation dial to tweak the brightness on the fly.
Manual mode is a total lock; the camera does nothing. AE-L is a "smart lock." It freezes the current state but still lets you use the camera's internal logic for things like automatic ISO if you have that enabled. This makes it much faster for street photography or event work where lighting changes every few seconds, but you need a specific look for a specific moment.
Does AE-L affect the focus of the image?
No, AE-L only affects the exposure (brightness). However, on many cameras, the AE-L button is shared with the AF-L (Auto Focus Lock) button. If your camera is set to lock both, it will freeze the focus and the exposure. If it's set to AE-L only, your focus will still adjust based on your focus point.
Can I use exposure lock with a flash?
Yes, but be careful. AE-L locks the ambient light settings. The flash has its own metering system (TTL) that calculates how much light to put out based on the distance to the subject. Locking your exposure helps keep the background consistent, but the flash will still adjust its own power unless you switch the flash to manual mode.
Why is my image still too dark after using AE-L?
This usually happens if you locked the exposure on something too bright. For example, if you accidentally locked the exposure on a bright light source before recomposing, the camera will keep the settings very dark. Always double-check that you are metering off the subject you actually want to be the primary focus of the exposure.
Does AE-L work in fully Manual mode?
In full Manual mode, AE-L is redundant. Since you have already manually set the shutter speed and aperture, the camera isn't changing them anyway. The lock is only useful in modes where the camera is making decisions for you, like Program or Aperture Priority.
How do I know if the lock is actually active?
Look for the symbols in your viewfinder or on the LCD screen. Nikon users should look for "AEL," Canon and Sony users should look for an asterisk (*), and Fujifilm users should look for a blue "AE-L" icon. If you don't see these, the lock isn't engaged.
Next Steps for Better Metering
If you're feeling comfortable with AE-L, try these two challenges to sharpen your skills. First, try a "High-Key" shot: find a bright white wall, lock the exposure on it, and then frame a subject. The image will be intentionally dark and moody. Then, do the opposite: lock exposure on a dark shadow and frame a bright area. You'll see the image blow out into a bright, airy look.
If you're still struggling with inconsistent brightness, check if your camera supports Exposure Compensation. Using the +/- dial in tandem with AE-L allows you to lock a value and then slightly nudge it brighter or darker without having to unlock and re-meter the entire scene.