Think about the last time you saw a photo of food that made your mouth water. Was it the dish itself? Or was it the garnish - that tiny sprinkle of parsley, the drizzle of balsamic glaze, the slice of citrus perched on the edge? In food photography, garnishes aren’t an afterthought. They’re the final, critical layer that turns a good shot into a mouthwatering one.
Why Garnishes Matter More Than You Think
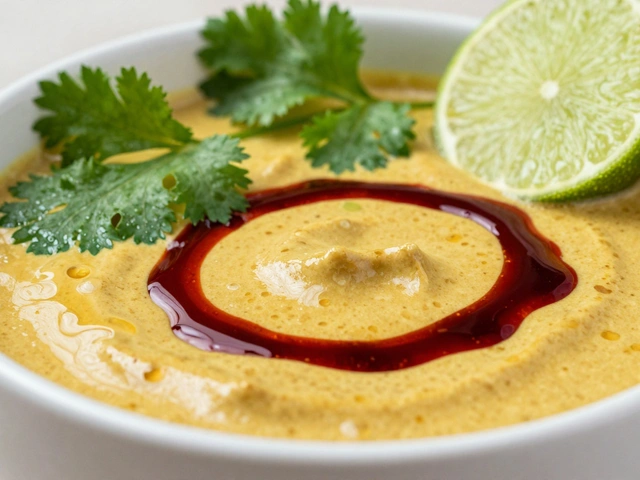
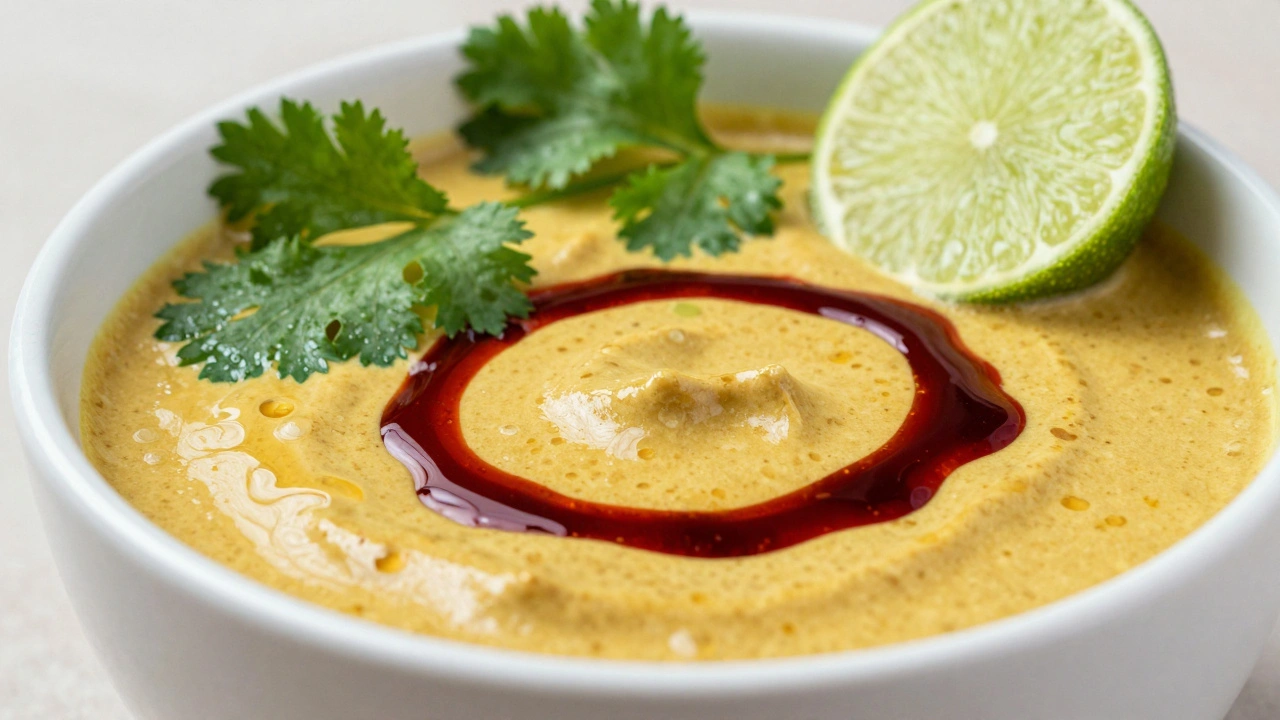
A plate of plain pasta or a bowl of oatmeal might taste great, but in a photo? It can look flat, dull, or even unappetizing. Garnishes solve that. They add visual energy. They tell the viewer what the food tastes like before they even read the caption. A sprinkle of red paprika on a creamy curry doesn’t just look pretty - it screams "spicy." A few blueberries scattered over yogurt don’t just decorate - they whisper "fresh," "healthy," "natural." This isn’t guesswork. Professional food stylists use garnishes like brushstrokes on a canvas. Each one has a job: to contrast, to balance, to guide the eye. Without them, even the most perfectly cooked dish can disappear into the background.Color: The First Thing Your Eyes Notice
Color is the quickest way to grab attention. And not just any color - the right color. Think about complementary colors. If your dish is mostly orange (like a curry or pumpkin soup), a pop of green from fresh cilantro or arugula makes it jump off the plate. Why? Because green sits directly across from orange on the color wheel. They’re opposites. Opposites create contrast. Contrast creates interest. Same goes for white plates. A bright red tomato sauce drizzled in a swirl? Instant visual punch. A pale yellow risotto? A few dark green peas and a dusting of black pepper make it look alive. Even simple things like a slice of lemon on the side of a glass of iced tea - that yellow against the clear glass and cool blue background? It’s not random. It’s calculated. Avoid the trap of matching everything. A salmon dish with a side of roasted carrots and a garnish of orange zest? That’s not harmony - that’s confusion. Your garnish should stand out, not blend in. Use color to highlight, not copy.Texture: The Secret to Making Food Look Real
Flat, smooth, glossy - those are the enemies of good food photography. Texture is what makes food feel real. It’s the difference between a photo that looks like a painting and one that makes you want to reach in and grab a bite. That’s where toppings come in. Crushed nuts on top of a smoothie? Crunchy. Toasted sesame seeds on a burger? Grainy, earthy, satisfying. A dusting of powdered sugar on pancakes? Soft, delicate, sweet. Each texture adds a layer your brain reads as "this is real food, not a prop." Brown foods - like roasted chicken, stewed beans, or grilled bread - are especially tricky. They’re rich in flavor but low in color. That’s when texture becomes your best friend. A few coarse sea salt crystals on top, a scattering of chopped chives, or a light brush of olive oil to catch the light? Suddenly, that dull brown looks deep, juicy, and inviting. Don’t forget the contrast between textures. A creamy avocado toast topped with crispy fried shallots? That crunch against the smoothness is what makes the photo unforgettable.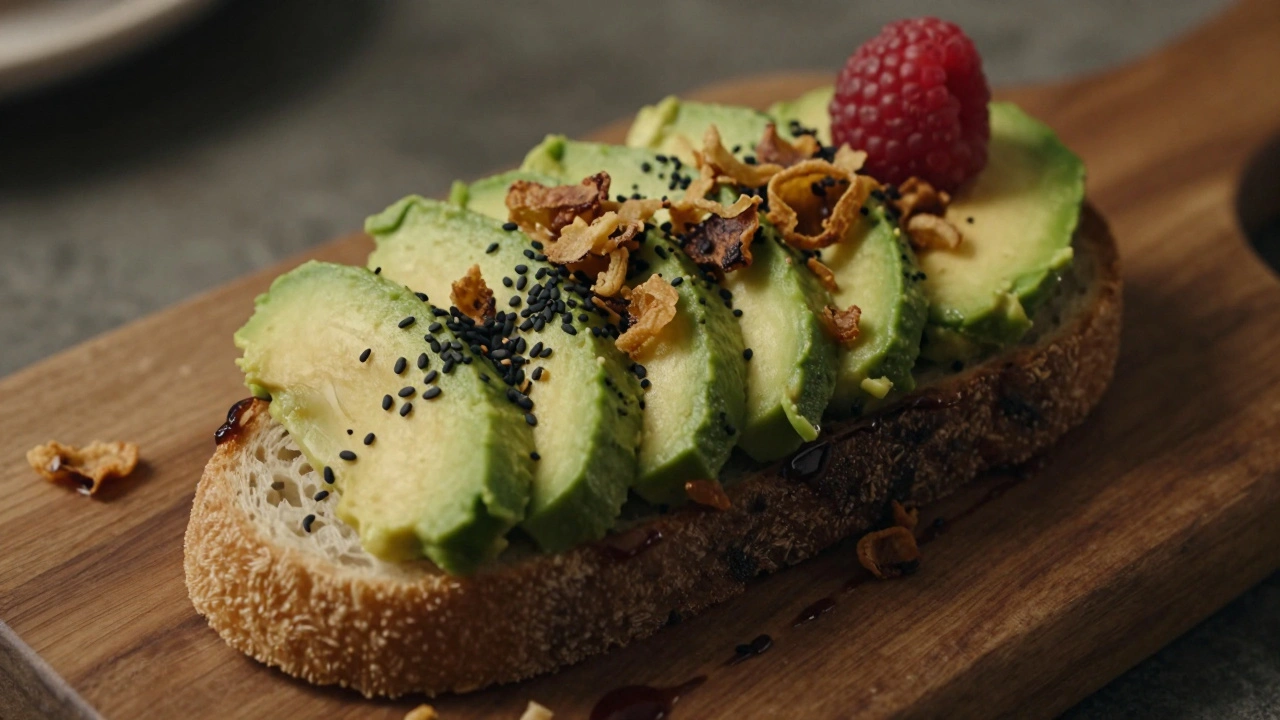
Layering: Build Depth Like a Pro
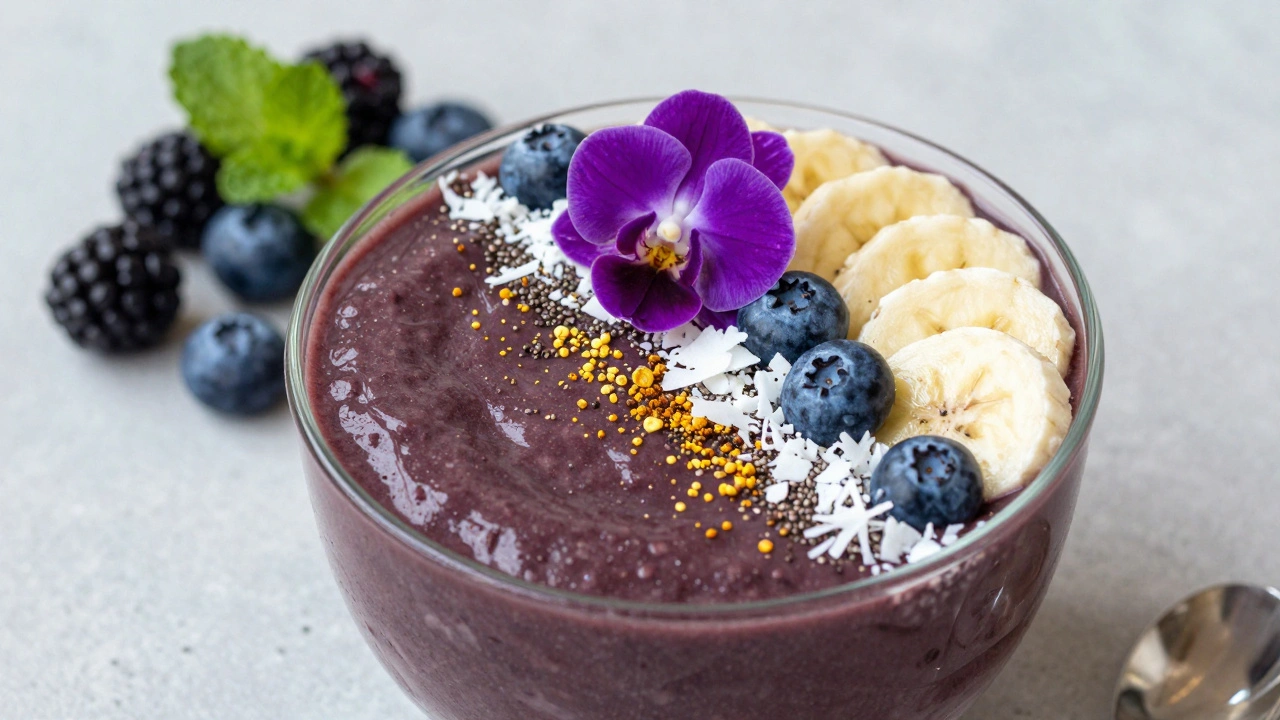
A single garnish on top of a plate? That’s basic. The best food photos have layers. Think of it like building a sandwich - but visually. Start with the plate. Then the food. Then the sauce drizzle. Then the herbs. Then maybe a fork, a napkin, or a spoon resting nearby. Each layer adds depth. The garnish? That’s your top layer - the final detail that pulls it all together. For example: a smoothie bowl. The base is blended fruit. The first layer is granola. The second is sliced banana. The third is a few raspberries. The fourth? A single edible flower or a tiny sprinkle of bee pollen. Now you’ve got depth. You’ve got movement. You’ve got a story. Even in simple shots - like a single slice of cake - you can layer. A dollop of whipped cream. A raspberry on top. A dusting of cocoa powder around the plate. Three elements. One visual journey.Practical Tips That Actually Work
You don’t need fancy tools. But you do need smart tricks.- Keep herbs fresh with a spray bottle of water. A light mist right before shooting keeps them crisp and vibrant.
- Brush roasted veggies or meats with a tiny bit of olive oil. It adds shine without looking greasy.
- Use toothpicks to hold burgers or stacked sandwiches in place. No one sees them in the shot - but they keep everything perfect.
- For desserts, use a fine sieve to dust powdered sugar or cocoa in a pattern. A swirl, a star, a simple line - it adds artistry without effort.
- Place raw ingredients near the dish. A few whole strawberries next to a strawberry smoothie? Instant flavor hint. A sprig of rosemary beside a roasted lamb? You don’t need to say "herbs" - the photo says it for you.
Match the Garnish to the Dish
Not every garnish works everywhere. Here’s how to pick the right one:- Smoothies & bowls: Berries, sliced fruit, seeds, coconut flakes. They add color, crunch, and a sense of freshness.
- Oatmeal: A few sliced strawberries, a drizzle of honey, or a sprinkle of cinnamon. Avoid too many toppings - keep it clean.
- Sandwiches & burgers (side angle): Stack toppings. Let the cheese drip. Show the lettuce curl. Height is key. A single pickle slice on the edge? Perfect.
- Curries & stews: Fresh herbs. A swirl of yogurt. A pinch of spice on top. Break up the monochrome.
- Desserts: Edible flowers, citrus zest, chocolate shavings, powdered sugar patterns. Delicate is better than messy.
- Seafood: Lemon wedges, microgreens, a single chili slice. Keep it light. Don’t overpower.
Composition: Where to Place It
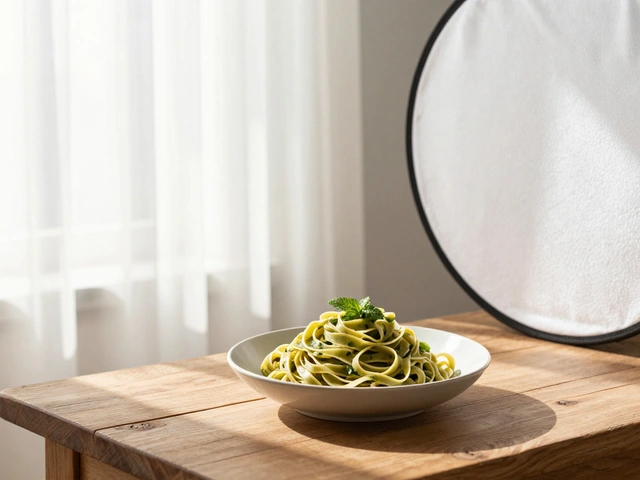
Placement matters as much as what you use. A garnish thrown randomly looks sloppy. A garnish placed with intent looks professional. Use the rule of thirds. Imagine your plate divided into nine squares. Put your main garnish where the lines cross - not in the dead center. A sprig of dill off to the right? More dynamic than right on top. Also, think about movement. A drizzle of sauce that flows from the edge of the plate toward the center? That guides the eye. A few scattered seeds that look like they’ve been tossed? That feels natural. And always shoot from the hero side. Find the angle where the dish looks its best - then arrange your garnishes to support it. If the main ingredient is on the left, don’t pile all the toppings on the right. Balance the composition.Less Is More - But Only If It’s Purposeful
It’s easy to go overboard. A plate with five different herbs, three sauces, a sprinkle of seeds, and a flower? That’s not art. That’s chaos. The best food photos have one or two standout garnishes. One bold color. One clear texture. One intentional placement. That’s all it takes. Ask yourself: Does this garnish add flavor, or just noise? If it doesn’t help the viewer understand what they’re looking at - take it away.Final Thought: Garnishes Are Storytellers
A garnish doesn’t just look nice. It tells a story. It says: "This was made with care." "This is fresh." "This tastes like summer." "This is special." In food photography, you’re not just capturing food. You’re capturing a feeling. And the right garnish? It’s the brushstroke that turns a picture into a memory.Can I use non-edible garnishes in food photography?
Yes, but only if you’re not planning to eat the food afterward. Non-edible items like plastic herbs, wax fruits, or painted wood chips are sometimes used in commercial shoots where the food won’t be consumed. But for authentic, appetizing photos - especially for home cooks or food blogs - always use real, edible garnishes. They look more natural, reflect light better, and feel more inviting to viewers.
How do I keep garnishes from wilting during a long photo shoot?
Use a small spray bottle filled with cold water to lightly mist herbs and greens right before shooting. For fruits like berries, keep them chilled until the last moment. Brushing a tiny bit of oil on vegetables helps them retain shine and prevents drying. If you’re shooting over several hours, have backup garnishes ready to swap in. Never rely on one set - freshness is temporary.
What’s the most overused garnish in food photography?
The single parsley sprig. It’s everywhere - on everything. But it rarely adds value. If you’re using parsley just because it’s "traditional," you’re missing the point. Ask: Does it add color? Texture? Flavor hint? If not, replace it. A pinch of sumac, a drizzle of chili oil, or a few microgreens often work better.
Can I use frozen fruit as a garnish?
Only if you thaw and pat it dry completely. Frozen fruit releases water as it thaws, which can make the plate look soggy or muddy. Fresh is always better. But if you’re shooting a smoothie bowl and need a pop of color, frozen blueberries can work if they’re still firm and not dripping. Just don’t use them for anything that needs to look crisp - like a salad or a dessert topping.
Do I need to use the same garnish for every photo of the same dish?
No. In fact, varying your garnishes can make your portfolio look more dynamic. One time, use lemon zest on your pancakes. Another time, try a dusting of cinnamon or a drizzle of maple syrup. Different garnishes create different moods - cozy, bright, indulgent, fresh. Don’t get stuck in a rut. Experiment.